Love this? Save it for later!
Share the inspiration with your friends
“I wasn’t expecting a coffee shake to become my afternoon lifesaver,” I admitted to my friend while stirring the last bits of ice in my glass. It was that random Tuesday afternoon when my usual coffee routine felt, well, a little boring. I had just gotten back from a quick jog, craving something refreshing but also packed with enough protein to keep me going through the rest of the day.
That’s when I remembered the espresso machine tucked away in the corner of my kitchen, gathering dust because I usually opt for drip coffee. I thought, why not mix that bold, intense flavor with a creamy vanilla twist and a scoop of protein powder? Honestly, it felt like a mad experiment—especially since I nearly forgot to add the vanilla extract and scrambled to find it before blending everything together.
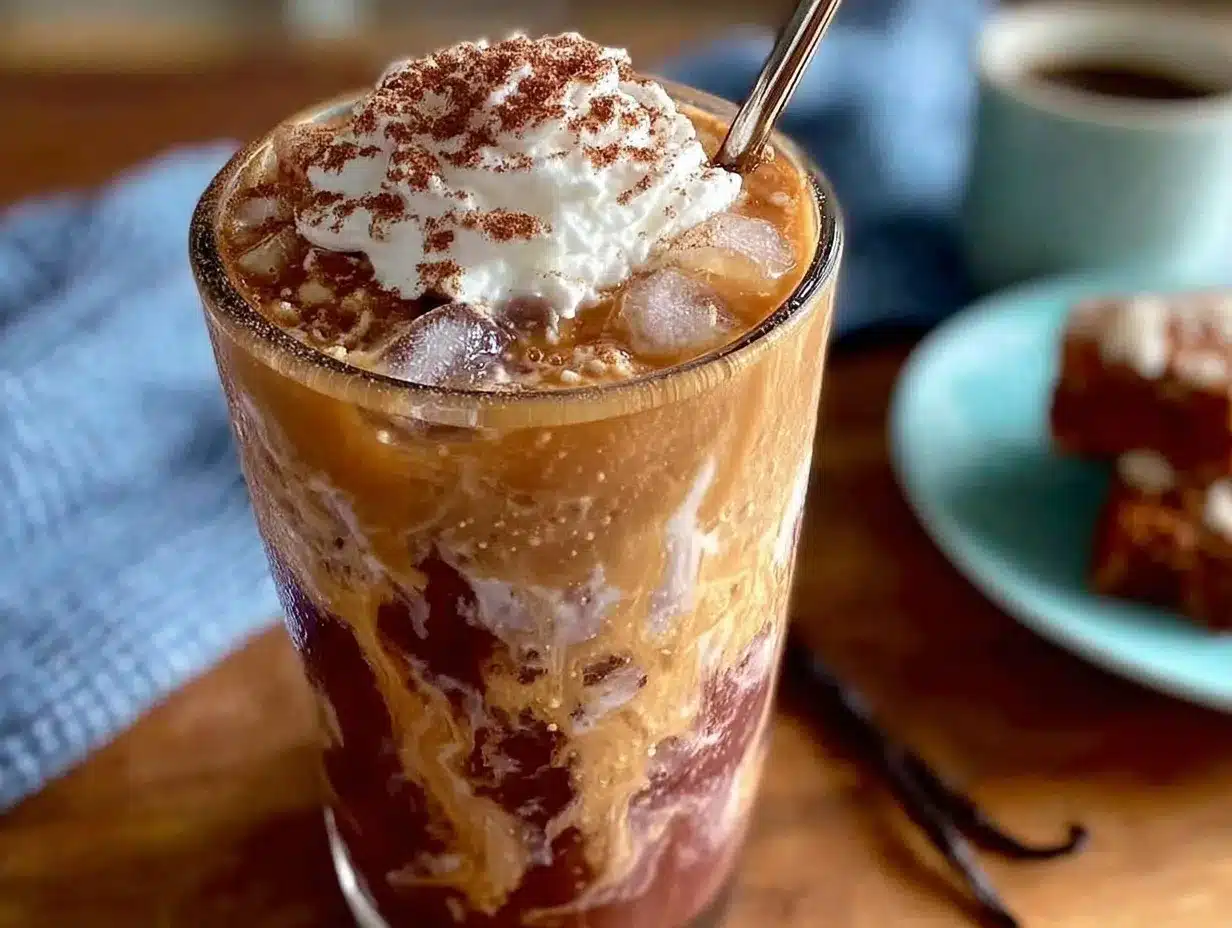
The result? A creamy iced protein coffee shake that tasted like a café treat but packed the punch of a post-workout boost. The smooth vanilla softened the espresso’s edge, making it sweet but not overpowering, and the protein gave it a silky thickness that I simply adore. Maybe you’ve been there—need a quick pick-me-up that feels indulgent but also fuels your day. This recipe stayed with me because it’s that perfect balance between comfort and function, and trust me, I keep coming back to it every time I want that little moment of joy in a glass.
Why You’ll Love This Recipe
This creamy iced protein coffee shake with espresso and vanilla isn’t just another coffee drink. It’s the kind of recipe that turns your usual caffeine fix into a satisfying mini-meal. Let me tell you why it’s become a staple in my kitchen:
- Quick & Easy: Whips up in under 5 minutes, making it ideal for busy mornings or afternoon slumps.
- Simple Ingredients: No fancy or hard-to-find items—just your everyday protein powder, espresso, and vanilla.
- Perfect for On-the-Go: Whether you’re heading to work or need a gym-time refresher, this shake travels well.
- Crowd-Pleaser: Even non-coffee drinkers in my family loved this one, thanks to the smooth vanilla and creamy texture.
- Unbelievably Delicious: The balance of bold espresso with creamy vanilla and protein powder creates a luscious, satisfying drink.
What sets this apart from your average coffee shake? It’s the way the espresso is freshly brewed and cooled, not just instant coffee, adding a rich depth of flavor. Plus, blending in vanilla extract alongside quality protein powder (I usually go for Optimum Nutrition Gold Standard) gives it an indulgent but wholesome vibe. Honestly, this isn’t just a quick caffeine fix—it’s a little homemade luxury that helps me power through hectic days with a smile.
What Ingredients You Will Need
This recipe uses straightforward ingredients that come together to deliver a creamy, smooth shake with a punch of caffeine and protein. You likely have most of these in your kitchen already.
- Espresso: 2 shots (about 60 ml), freshly brewed and cooled — fresh espresso makes all the difference here.
- Vanilla Protein Powder: 1 scoop (about 30g) — I recommend a whey or plant-based powder with a natural vanilla flavor.
- Milk of Choice: 1 cup (240 ml), dairy or plant-based (almond, oat, or soy work great).
- Ice Cubes: 1 cup — for that refreshing chill and thicker shake texture.
- Vanilla Extract: 1 teaspoon — pure vanilla extract adds that extra fragrant sweetness.
- Sweetener (Optional): 1-2 teaspoons honey, maple syrup, or your preferred sweetener — adjust according to taste.
- Greek Yogurt (Optional): 2 tablespoons — adds extra creaminess and protein for a richer texture.
If you want a dairy-free option, swap regular milk and Greek yogurt for coconut or almond milk and dairy-free yogurt. In summer, I sometimes toss in frozen banana chunks for natural sweetness and a thicker shake. If fresh espresso isn’t handy, strong cold brew can be a decent stand-in, but the flavor won’t be quite the same. Choose a protein powder with minimal additives for the cleanest taste.
Equipment Needed
- Espresso Machine or Coffee Maker: To brew fresh espresso shots; a stovetop moka pot works well too.
- Blender: A standard blender or personal blender (like a NutriBullet) to mix the shake smoothly.
- Measuring Cups and Spoons: For accurate ingredient portions.
- Glass or Shaker Bottle: To serve or take your shake on the go.
If you don’t have an espresso machine, a strong brewed coffee concentrate can work in a pinch. I’ve found that blending with a high-speed blender creates the best creamy texture, but a sturdy immersion blender can also do the job. For those on a budget, a hand frother and a good shaker bottle can help combine ingredients if you don’t have a blender handy.
Preparation Method
- Brew the espresso: Prepare 2 shots (about 60 ml) of espresso using your machine or moka pot. Set aside to cool for at least 5 minutes — you can speed this up by placing it in the fridge or freezer for a couple of minutes.
- Measure ingredients: Scoop 1 scoop (30g) of vanilla protein powder into your blender.
- Add milk: Pour in 1 cup (240 ml) of your milk of choice. This creates the creamy base for the shake.
- Include vanilla extract and sweetener: Add 1 teaspoon vanilla extract and 1–2 teaspoons sweetener if you like it sweeter. I recommend starting with less—you can always add more after blending.
- Add ice cubes: Toss in 1 cup of ice cubes to chill and thicken the shake.
- Optional Greek yogurt: If you want a richer, creamier texture, add 2 tablespoons of Greek yogurt here.
- Pour in cooled espresso: Add the cooled espresso shots to the blender.
- Blend: Blend everything on high for about 30 seconds or until smooth and frothy. The shake should have a thick, creamy texture without any powder lumps.
- Taste and adjust: Give it a quick taste. If it needs more sweetness or vanilla, add a little extra and pulse to combine.
- Serve immediately: Pour into your favorite glass and enjoy right away for the best flavor and texture.
Quick tip: If the shake is too thick, add a splash more milk and blend again. If it’s too thin, a few more ice cubes or a bit more protein powder will firm it up. Also, watch the espresso temperature—too hot can make the shake melt the ice prematurely, leading to a watery texture. Cooling the espresso thoroughly before blending is key to that perfect creamy consistency.
Cooking Tips & Techniques
Making the perfect creamy iced protein coffee shake requires attention to a few details I’ve learned over many attempts:
- Freshness matters: Freshly brewed espresso always beats instant or pre-made coffee in flavor and aroma.
- Protein powder choice: Some powders clump more than others. To avoid gritty shakes, add protein powder to the liquid first, then ice, and blend immediately.
- Ice management: Use fresh ice cubes, and don’t overblend or you’ll end up with a watery shake. Pulse blending helps keep texture intact.
- Vanilla extract: Use pure vanilla extract, not imitation. It makes a noticeable difference in flavor depth.
- Sweetener balance: Start with less sweetener than you think you need—you can always add more after tasting.
- Timing: Prepare the espresso first and cool it while gathering ingredients to save time.
One lesson I learned the hard way was trying to blend hot espresso directly with ice—it just watered down the shake and made it icy in an unpleasant way. Cooling it first is a small step that pays off big time. Also, blending the vanilla protein powder with milk before adding espresso and ice reduces clumping. Keep these in mind, and you’ll nail that creamy texture every time.
Variations & Adaptations
This creamy iced protein coffee shake is super flexible, so you can tweak it to suit your tastes or dietary needs.
- Mocha Version: Add 1 tablespoon unsweetened cocoa powder or a shot of chocolate syrup for a chocolate-coffee combo.
- Dairy-Free: Use almond or oat milk and swap Greek yogurt for coconut yogurt or skip it entirely.
- Keto-Friendly: Use a low-carb vanilla protein powder, unsweetened almond milk, and a keto-approved sweetener like stevia or erythritol.
- Seasonal Twist: In fall, stir in a pinch of cinnamon and nutmeg for a cozy vibe.
- Extra Creamy: Add half an avocado for a silky texture and extra healthy fats (trust me, it works!).
Personally, I once tried adding a splash of coconut cream for a tropical spin—it was unexpectedly delicious and made the shake extra indulgent without overwhelming the coffee flavor. Feel free to adjust based on your mood or pantry stash!
Serving & Storage Suggestions
This creamy iced protein coffee shake is best enjoyed fresh, served cold right after blending. Pour it into a tall glass with a straw and maybe a dusting of cocoa powder or a vanilla bean pod for a little flair.
If you’re prepping it for later, store it in an airtight container in the fridge for up to 24 hours. Give it a good shake or quick whisk before drinking, as some separation may occur. Avoid freezing the shake—it can change texture and make it grainy.
Pair this shake with a light breakfast like a whole-grain muffin or fruit for a balanced start. It also makes a great mid-afternoon treat alongside a handful of nuts or a small salad to keep you satisfied. The flavors actually mellow and blend a bit if you let it rest for 30 minutes in the fridge, which some folks love for a smoother taste.
Nutritional Information & Benefits
This shake packs a solid nutritional punch, combining caffeine, protein, and healthy fats for a balanced energy boost. Here’s an estimate per serving:
| Calories | 250-300 |
|---|---|
| Protein | 25-30g (depending on protein powder) |
| Carbohydrates | 10-15g |
| Fat | 5-8g |
| Caffeine | ~150 mg (from espresso) |
Key benefits come from the espresso’s natural antioxidants and the protein’s muscle-repairing qualities, making this shake popular with fitness enthusiasts. Using plant-based milk or yogurt can add calcium and probiotics, depending on your choice. This recipe is naturally gluten-free and can be adapted for dairy-free diets. Just watch your protein powder labels if you have allergies.
Conclusion
So, here it is: a creamy iced protein coffee shake recipe that’s quick, satisfying, and surprisingly versatile. It’s the kind of drink that makes you feel like you’ve treated yourself while still staying on track with your health goals. I love how easy it is to customize this—whether you want it fruity, chocolatey, or keto-friendly—and how it keeps me energized without the crash.
Give it a try, and maybe tweak it to your taste. I’d love to hear about your favorite add-ins or how you make it your own. Drop a comment below or share your version—I’m always curious how this simple recipe finds its way into your day. Here’s to creamy, cool, and caffeinated happiness in every sip!
FAQs
Can I use instant coffee instead of espresso?
While you can, the flavor won’t be as rich or creamy. Freshly brewed espresso or strong cold brew gives the best taste and texture.
What type of protein powder works best?
Vanilla-flavored whey or plant-based protein powders work well. Choose one with minimal additives to avoid clumps and off-flavors.
How do I make this shake vegan?
Use a plant-based protein powder and swap dairy milk and yogurt for almond, oat, or coconut alternatives.
Can I prepare this shake ahead of time?
Yes, store it in the fridge for up to 24 hours and shake well before drinking. Freshly blended is best for texture.
Is it possible to make this shake thicker?
Absolutely! Add more ice, Greek yogurt, or a frozen banana to thicken the shake to your liking.
Pin This Recipe!
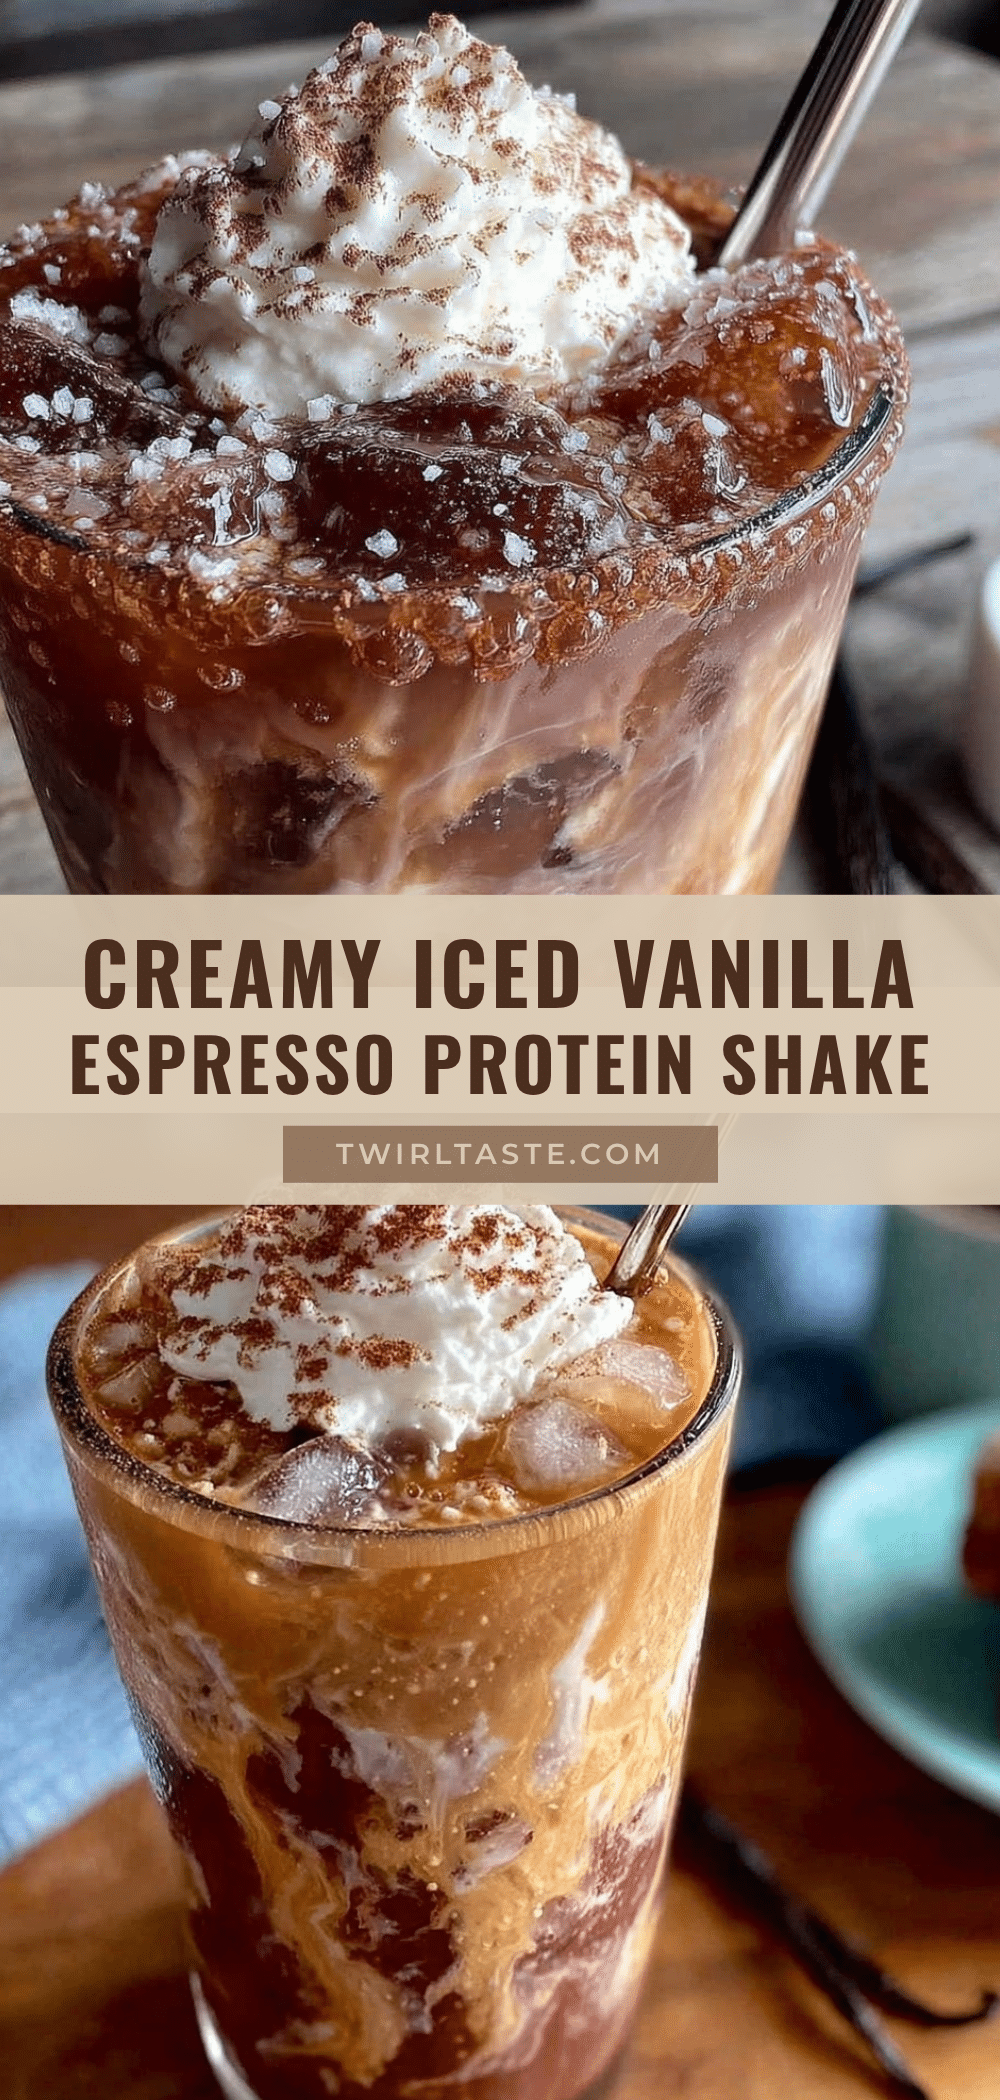
Creamy Iced Protein Coffee Shake Recipe Easy Homemade Espresso Vanilla Boost

A creamy iced protein coffee shake combining freshly brewed espresso, vanilla protein powder, and milk for a refreshing and energizing treat that’s perfect as a quick mini-meal or post-workout boost.
- Prep Time: 5 minutes
- Cook Time: 0 minutes
- Total Time: 5 minutes
- Yield: 1 serving 1x
- Category: Beverage
- Cuisine: American
Ingredients
- 2 shots (about 60 ml / 2 fl oz) freshly brewed and cooled espresso
- 1 scoop (about 30g) vanilla protein powder (whey or plant-based)
- 1 cup (240 ml / 8 fl oz) milk of choice (dairy or plant-based such as almond, oat, or soy)
- 1 cup ice cubes
- 1 teaspoon pure vanilla extract
- 1–2 teaspoons sweetener (honey, maple syrup, or preferred sweetener) – optional
- 2 tablespoons Greek yogurt – optional
Instructions
- Brew 2 shots (about 60 ml / 2 fl oz) of espresso using your machine or moka pot. Set aside to cool for at least 5 minutes.
- Scoop 1 scoop (30g) of vanilla protein powder into your blender.
- Pour in 1 cup (240 ml / 8 fl oz) of your milk of choice.
- Add 1 teaspoon vanilla extract and 1–2 teaspoons sweetener if desired.
- Add 1 cup of ice cubes to chill and thicken the shake.
- Add 2 tablespoons of Greek yogurt if you want a richer, creamier texture (optional).
- Pour in the cooled espresso shots.
- Blend everything on high for about 30 seconds or until smooth and frothy.
- Taste and adjust sweetness or vanilla as needed, then pulse to combine.
- Serve immediately in your favorite glass.
Notes
Cool espresso thoroughly before blending to avoid watery texture. Add protein powder to liquid first, then ice, and blend immediately to avoid clumps. Adjust sweetness after blending. For dairy-free, use plant-based milk and yogurt alternatives. Can add frozen banana or avocado for extra creaminess. Store in fridge up to 24 hours, shake before drinking.
Nutrition
- Serving Size: 1 glass (about 12-14
- Calories: 250300
- Fat: 58
- Carbohydrates: 1015
- Protein: 2530
Keywords: iced coffee shake, protein coffee shake, espresso shake, vanilla protein shake, post-workout drink, creamy coffee shake, healthy coffee shake