Love this? Save it for later!
Share the inspiration with your friends
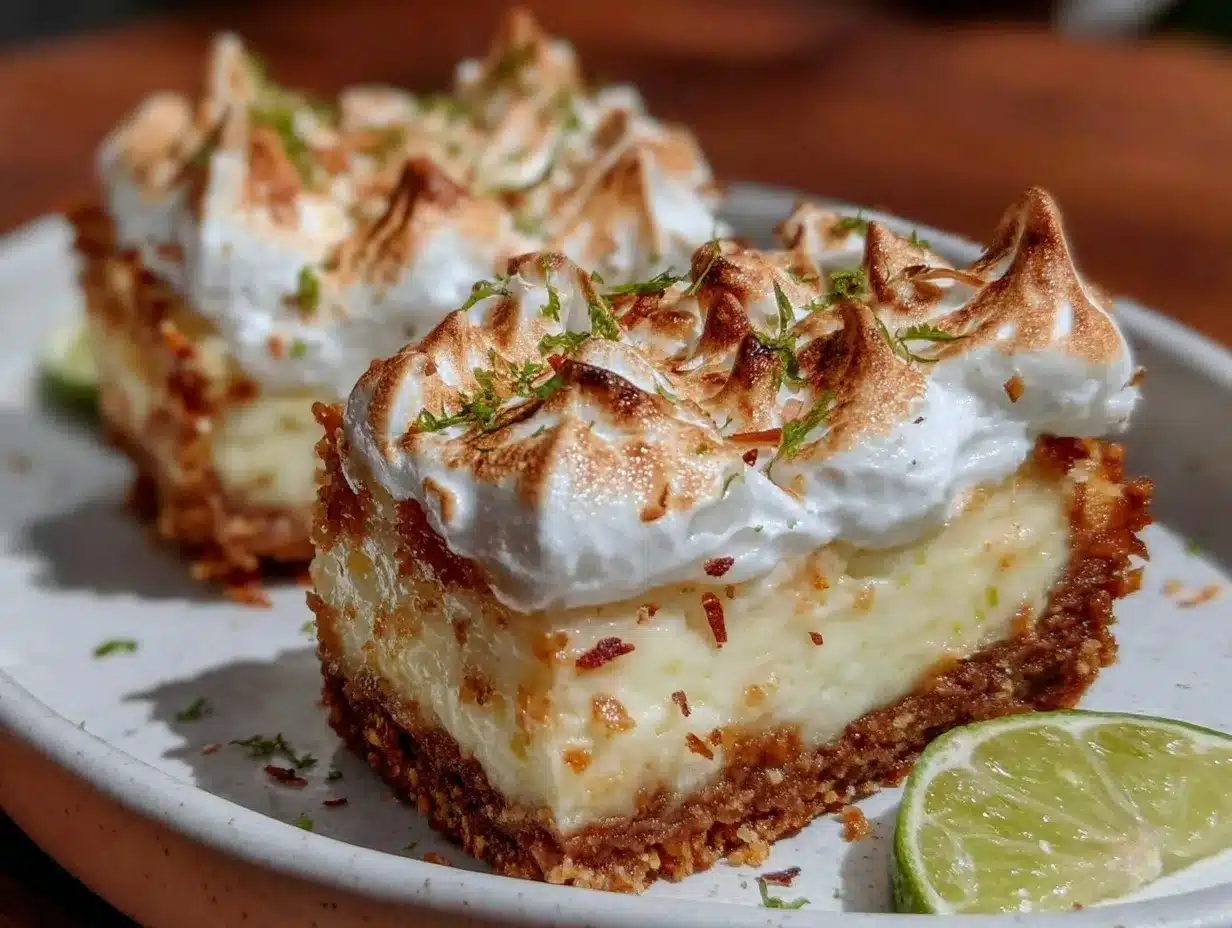
“You gotta try this,” my neighbor said, sliding a plate across the fence one sunny Saturday morning. I wasn’t expecting much—just another sweet treat among the usual cookies and brownies—but that first bite of these Flavorful Key Lime Pie Bars with Toasted Coconut Meringue caught me completely off guard. The zing of the lime, the buttery crust, and that fluffy, lightly browned coconut meringue on top? Honestly, it was like a little tropical vacation in dessert form.
It all started when I was helping her clean out her pantry—because, you know, sometimes neighbors just turn into impromptu sous chefs—and we stumbled upon a lonely jar of toasted coconut flakes. Neither of us could think what to do with it until she suggested mixing it into a meringue topping for key lime bars she’d been tinkering with. I was skeptical at first; meringue can be tricky, and coconut sometimes overwhelms a dish. But the result? Totally worth the mess we made whisking egg whites and dropping coconut flakes everywhere.
Maybe you’ve been there—wanting a dessert that’s light but still packs a punch, not too fussy but impressive enough to bring to a summer barbecue or just enjoy on the back porch. This recipe stuck with me because it’s that perfect balance of tangy, sweet, and toasty, with a texture that’s creamy yet crisp. Plus, it’s a fun twist on the classic key lime pie that’s just unexpected enough to become a new favorite. Let me tell you, once you try making these bars, you’ll keep going back for more—trust me, I do.
Why You’ll Love This Recipe
After making these key lime pie bars countless times (and sharing them with friends, family, and that fence-line neighbor), I can confidently say they’re a winner for so many reasons:
- Quick & Easy: The entire recipe comes together in about 45 minutes, making it perfect for those last-minute dessert cravings or casual gatherings.
- Simple Ingredients: You likely have most of these in your pantry already—no need for a special trip to the store unless you’re topping off on fresh limes.
- Perfect for Summer: These bars bring a refreshing, tropical vibe to any meal, ideal for backyard picnics, potlucks, or holiday celebrations.
- Crowd-Pleaser: Kids love the tangy sweetness, and adults appreciate the sophisticated toasted coconut meringue finish.
- Unbelievably Delicious: The creamy lime filling contrasts beautifully with the crunchy crust and the light, airy meringue—each bite is a delightful mix of textures and flavors.
What sets this recipe apart is the toasted coconut meringue topping. Instead of plain meringue, the coconut adds a nutty, toasty note that complements the citrus tang perfectly. It’s a small twist that makes a big difference—no more boring key lime bars! Honestly, it’s the kind of recipe that’ll make you want to close your eyes and savor each bite. Seriously, it’s comfort food with a fresh, bright twist that’s both satisfying and exciting.
What Ingredients You Will Need
This recipe calls for straightforward, wholesome ingredients that work together to create bold flavors and satisfying textures without much fuss. Most are pantry staples, with a couple of fresh items to brighten the dish.
- For the crust:
- 1 ½ cups graham cracker crumbs (I prefer Honey Maid for the perfect crunch)
- ⅓ cup granulated sugar
- 6 tablespoons unsalted butter, melted (adds richness and helps bind the crust)
- Pinch of salt
- For the key lime filling:
- 4 large egg yolks, room temperature
- 1 can (14 oz / 400 g) sweetened condensed milk
- ½ cup fresh key lime juice (about 8-10 key limes; regular limes work if key limes are unavailable)
- 1 tablespoon lime zest (for an extra punch of citrus flavor)
- For the toasted coconut meringue topping:
- 4 large egg whites, room temperature
- ½ cup granulated sugar
- 1 teaspoon vanilla extract
- ¾ cup sweetened shredded coconut (toasted until golden brown)
If you want a dairy-free twist, swap butter for a plant-based alternative and use coconut milk condensed milk if you can find it. Also, for a gluten-free crust, almond flour with a touch of coconut flour works surprisingly well. The toasted coconut is the star here—look for unsweetened shredded if you want less sugar, but sweetened coconut really sings with the tart lime.
Equipment Needed
- Baking pan (I use a 9×9-inch / 23×23 cm square pan; glass or metal works fine)
- Mixing bowls (at least two—one for crust and filling, one for meringue)
- Electric mixer or stand mixer (whisking egg whites by hand is possible but takes time and muscle!)
- Zester or fine grater (for lime zest)
- Measuring cups and spoons
- Spatula and wooden spoon
- Oven thermometer (optional, but handy to avoid overbaking delicate meringue)
For budget-friendly alternatives, you can use a hand mixer instead of a stand mixer. Just make sure your mixing bowl is completely grease-free to get those perfect stiff peaks when whipping the egg whites. Also, if you don’t have a zester, finely grated lime peel with a microplane or sharp knife works well.
Preparation Method
- Preheat your oven: Set it to 350°F (175°C). Line your 9×9-inch pan with parchment paper, leaving an overhang on two sides for easy removal later.
- Make the crust: In a medium bowl, combine 1 ½ cups graham cracker crumbs, ⅓ cup sugar, and a pinch of salt. Pour in the melted butter and stir until the mixture looks like wet sand. Press it firmly and evenly into the bottom of your prepared pan—don’t be shy, get those edges nice and compact. Bake for 10 minutes until it’s golden and smells toasty. Let it cool while you prepare the filling.
- Prepare the key lime filling: In a bowl, whisk 4 egg yolks until smooth and slightly thickened (about 1-2 minutes). Add the sweetened condensed milk, lime juice, and lime zest. Mix gently until combined and creamy. Pour this mixture over the cooled crust and bake for 15 minutes, or until the edges are set but the center still jiggles slightly—this keeps it creamy after chilling.
- Toast the coconut: While the filling bakes, spread shredded coconut on a baking sheet. Toast in the oven at 350°F (175°C) for 5-7 minutes, stirring halfway, until golden brown and fragrant. Keep a close eye so it doesn’t burn!
- Make the meringue: In a clean, dry bowl, beat the 4 egg whites on medium speed until foamy. Gradually add ½ cup sugar, a tablespoon at a time, then increase speed to high. Whip until stiff, glossy peaks form (you know it’s ready when you lift the whisk and the peak holds its shape). Gently fold in the toasted coconut and vanilla extract.
- Top and bake: Spread the coconut meringue evenly over the warm key lime filling. Use the back of a spoon or spatula to create little peaks and swirls—this helps the meringue toast beautifully. Bake for another 12-15 minutes until the meringue is golden brown on top.
- Cool and chill: Remove from the oven and let the bars cool completely at room temperature. Then refrigerate for at least 3 hours, or overnight if you can wait that long (patience is a virtue here!). The longer they chill, the firmer and more sliceable they become.
- Slice and serve: Use the parchment overhang to lift the bars out of the pan. Cut into squares with a sharp knife—wiping the blade between cuts helps keep clean edges.
If your meringue starts to weep, it might be due to humidity—try to avoid making these bars on a very damp day, or serve them shortly after baking. Also, don’t skip chilling; the filling needs time to set properly.
Cooking Tips & Techniques
Getting the perfect key lime pie bars with toasted coconut meringue isn’t rocket science, but a few tricks help:
- Egg whites need to be room temperature for maximum volume when whipping meringue. Cold whites just won’t fluff up the same.
- Use a clean, grease-free bowl. Any fat residue can prevent egg whites from whipping properly. I sometimes wipe my bowl with a little vinegar before starting—old kitchen habit!
- Gradually adding sugar to the egg whites stabilizes the meringue and gives it that glossy sheen. Don’t dump it all at once or the meringue might deflate.
- Keep an eye on toasting the coconut. It can go from perfectly golden to burnt in seconds, so stir frequently and watch the color.
- Don’t overbake the filling. It should jiggle slightly in the center when you take it out—carryover heat finishes the job while cooling.
- Make sure to cool and chill completely. Warm bars are delicate and hard to cut cleanly, so patience pays off.
I once skipped chilling because I was too impatient (don’t judge), and the bars fell apart when sliced. Learned my lesson the hard way! Also, multitasking by toasting coconut while the crust and filling bake saves time and keeps things moving smoothly.
Variations & Adaptations
If you want to switch things up or accommodate dietary needs, here are some ideas:
- Gluten-Free: Swap the graham cracker crust for almond flour mixed with a bit of coconut flour and butter. It’s rich and nutty, and pairs wonderfully with the lime filling.
- Dairy-Free: Use coconut oil instead of butter in the crust and find a dairy-free sweetened condensed milk alternative (some brands offer coconut-based versions).
- Flavor Twists: Add a teaspoon of finely grated ginger to the filling for a spicy zing, or sprinkle chopped macadamia nuts into the meringue for extra crunch.
- Cooking Methods: You can make these bars in a convection oven to get a slightly crisper crust and meringue; just reduce the temperature to 325°F (160°C) and watch closely.
- Personal Variation: I’ve tried folding in a little crushed pineapple with the coconut in the meringue—gives a sweet surprise that pairs beautifully with the tart lime.
Serving & Storage Suggestions
These key lime pie bars are best served chilled or at cool room temperature. The contrast between the cool, creamy filling and the lightly toasted meringue is what makes them special. For presentation, a sprinkle of extra toasted coconut or a small lime wedge on the side adds a nice touch.
They pair wonderfully with a cup of iced tea, a light white wine, or even a tropical cocktail if you’re feeling festive. Think of them as the perfect ending to a summer meal or a refreshing pick-me-up dessert on a warm afternoon.
Store leftovers in an airtight container in the refrigerator for up to 4 days. The bars hold up well, but the meringue may soften a bit over time. For longer storage, freeze the bars (without meringue), then add fresh meringue and toast it after thawing for best texture.
Reheating isn’t really recommended since you want to keep that delicate meringue intact. But if you must, a quick 5-second zap in the microwave can take the chill off without melting the topping.
Nutritional Information & Benefits
These bars offer a delightful balance of indulgence and nutrition. Each serving (about 2-inch square) provides approximately:
| Calories | 220-250 kcal |
|---|---|
| Fat | 12g (mostly from butter and coconut) |
| Carbohydrates | 28g (including sugars from condensed milk and coconut) |
| Protein | 3g |
Key lime juice is rich in vitamin C and antioxidants, while coconut provides healthy fats and fiber. Using fresh lime juice instead of bottled enhances the bright, natural flavors and nutritional profile. If you’re watching carbs, consider using a sugar substitute in the crust and filling.
Note: Contains eggs, dairy, gluten (unless adapted), and coconut, so keep allergies in mind. From a wellness perspective, these bars strike a nice balance between treat and nourishment—perfect for when you want something sweet but not overly heavy.
Conclusion
These Flavorful Key Lime Pie Bars with Toasted Coconut Meringue have earned a permanent spot in my recipe rotation because they’re just that good—tangy, sweet, creamy, and crunchy all at once. Whether you’re new to making key lime desserts or a seasoned pie fan, this recipe welcomes you with open arms and a little tropical flair.
Don’t hesitate to tweak the topping, try different crusts, or add your own personal spin. I love hearing how readers make these bars their own, so please share your adaptations or stories in the comments below. Honestly, there’s nothing better than swapping kitchen wins and mishaps!
Give these bars a try for your next get-together or quiet night in—you might find, like me, that they quickly become a household favorite. Happy baking and enjoy every zesty, toasty bite!
FAQs
Can I use regular limes instead of key limes?
Yes! Regular limes work perfectly and are usually easier to find. The flavor will be slightly less tart but still delicious.
How do I know when the meringue is ready?
The meringue should be glossy with stiff peaks that hold their shape when you lift the whisk. It shouldn’t be grainy or runny.
Can I prepare these bars ahead of time?
Absolutely! They taste even better after chilling overnight, which helps the filling set and flavors meld.
What if I don’t have shredded coconut for the meringue?
You can make plain meringue without coconut, but the toasted coconut adds a lovely texture and flavor. Toasted slivered almonds could be an interesting alternative.
How do I prevent the meringue from weeping?
Make sure to whip the egg whites properly and bake the bars soon after spreading the meringue. Avoid high humidity days if possible, as moisture can cause weeping.
Pin This Recipe!
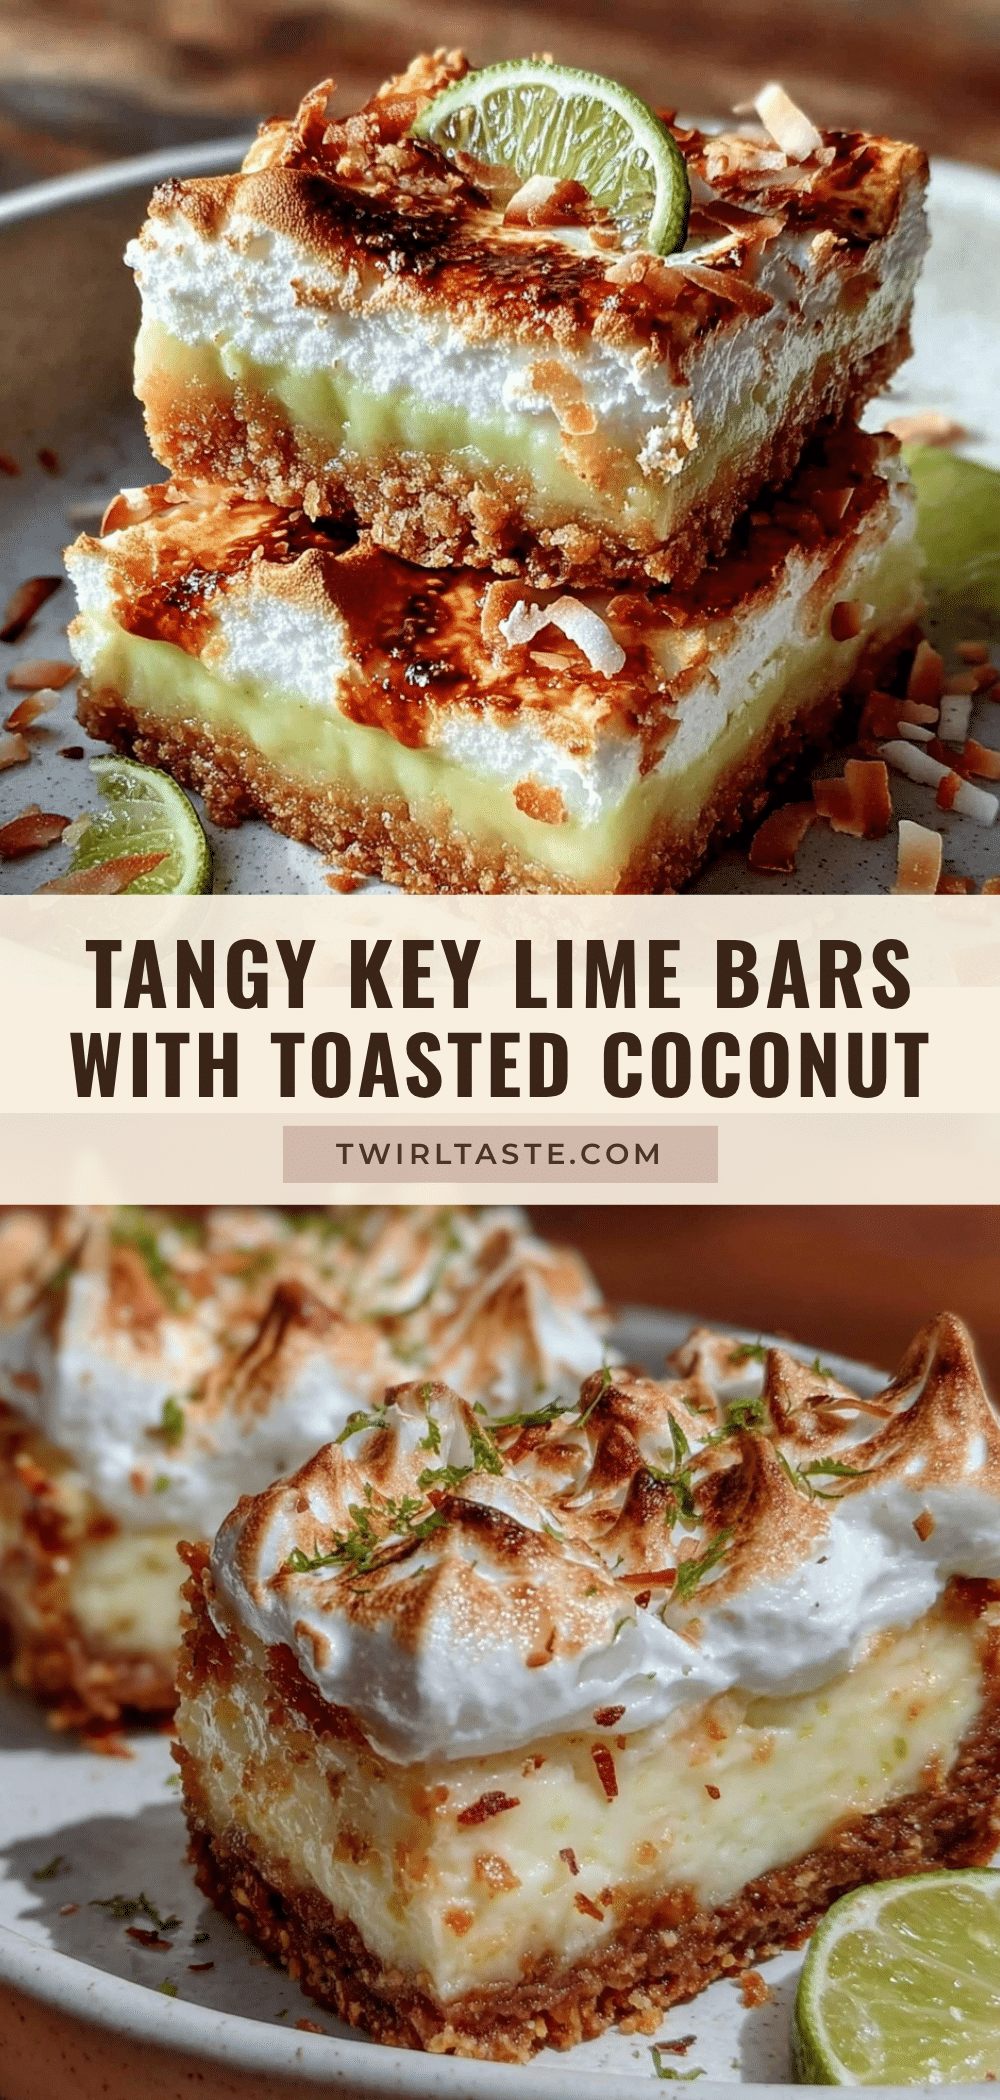
Flavorful Key Lime Pie Bars with Toasted Coconut Meringue
These key lime pie bars feature a tangy lime filling, a buttery graham cracker crust, and a fluffy toasted coconut meringue topping, creating a refreshing tropical dessert perfect for summer gatherings.
- Prep Time: 15 minutes
- Cook Time: 30 minutes
- Total Time: 45 minutes plus chilling time
- Yield: 16 servings 1x
- Category: Dessert
- Cuisine: American
Ingredients
- 1 ½ cups graham cracker crumbs
- ⅓ cup granulated sugar
- 6 tablespoons unsalted butter, melted
- Pinch of salt
- 4 large egg yolks, room temperature
- 1 can (14 oz / 400 g) sweetened condensed milk
- ½ cup fresh key lime juice (about 8–10 key limes)
- 1 tablespoon lime zest
- 4 large egg whites, room temperature
- ½ cup granulated sugar
- 1 teaspoon vanilla extract
- ¾ cup sweetened shredded coconut (toasted until golden brown)
Instructions
- Preheat your oven to 350°F (175°C). Line a 9×9-inch pan with parchment paper, leaving an overhang on two sides for easy removal.
- Make the crust: In a medium bowl, combine graham cracker crumbs, sugar, and salt. Pour in melted butter and stir until mixture resembles wet sand. Press firmly and evenly into the bottom of the prepared pan. Bake for 10 minutes until golden and toasty. Let cool.
- Prepare the key lime filling: Whisk egg yolks until smooth and slightly thickened (1-2 minutes). Add sweetened condensed milk, lime juice, and lime zest. Mix gently until combined. Pour over cooled crust and bake for 15 minutes until edges are set but center jiggles slightly.
- Toast the coconut: Spread shredded coconut on a baking sheet and toast in the oven at 350°F (175°C) for 5-7 minutes, stirring halfway, until golden brown and fragrant.
- Make the meringue: Beat egg whites on medium speed until foamy. Gradually add sugar, then increase speed to high and whip until stiff, glossy peaks form. Fold in toasted coconut and vanilla extract gently.
- Top and bake: Spread coconut meringue evenly over warm key lime filling, creating peaks and swirls. Bake for 12-15 minutes until meringue is golden brown.
- Cool and chill: Let bars cool completely at room temperature, then refrigerate for at least 3 hours or overnight.
- Slice and serve: Use parchment overhang to lift bars from pan. Cut into squares with a sharp knife, wiping blade between cuts.
Notes
Use room temperature egg whites for best meringue volume. Ensure mixing bowls are grease-free. Toast coconut carefully to avoid burning. Avoid overbaking the filling; it should jiggle slightly when done. Chill bars thoroughly for best slicing. Avoid making on very humid days to prevent meringue weeping.
Nutrition
- Serving Size: 1 bar (approximately
- Calories: 220250
- Sugar: 20
- Sodium: 150
- Fat: 12
- Saturated Fat: 7
- Carbohydrates: 28
- Fiber: 1
- Protein: 3
Keywords: key lime pie bars, toasted coconut meringue, summer dessert, tropical dessert, easy key lime bars, homemade key lime bars