Love this? Save it for later!
Share the inspiration with your friends
Introduction
“You know that feeling when you’re craving something sweet but don’t want to haul out the ice cream maker? Well, that was me last Friday night. The power flickered off just as I was about to start a batch of homemade ice cream, and honestly, I was a bit bummed. But then I remembered a tip from an old college roommate who swore by no-churn recipes. I figured, why not give it a whirl with some salted caramel I had bubbling away on the stove? The result? A rich, creamy, dreamy ice cream that didn’t involve any fancy gadgets or waiting forever.
It was the kind of dessert that felt like a warm hug on a chilly evening, with that perfect blend of sweet and salty doing a little dance on my taste buds. Maybe you’ve been there—wanting a homemade treat but lacking the time or tools. This creamy no-churn salted caramel ice cream recipe is exactly what you need. It’s quick, forgiving, and truly indulgent without being complicated. Plus, I had caramel dribbling down my hands and the kitchen counter—classic me—but it was totally worth the mess. This recipe stuck with me because it captures all the joy of traditional ice cream but with a laid-back vibe that anyone can pull off.”
Why You’ll Love This Recipe
- Quick & Easy: Comes together in under 15 minutes, perfect for last-minute dessert cravings or casual get-togethers.
- Simple Ingredients: Uses pantry staples like sweetened condensed milk and heavy cream, so you probably already have most of the stuff on hand.
- Perfect for Warm Weather or Cozy Nights: Whether it’s a summer barbecue or a chilly evening treat, this salted caramel ice cream hits the spot.
- Crowd-Pleaser: The sweet-salty combo is always a hit with family and friends, even with those picky dessert lovers.
- Unbelievably Delicious: The no-churn method keeps the texture silky smooth, and the homemade salted caramel adds a depth of flavor you just don’t get from store-bought tubs.
What makes this recipe different? Honestly, it’s the balance. The caramel isn’t too sugary or burnt; it’s rich but not overwhelming. Plus, you don’t have to fuss with ice cream machines or complicated churning. I’ve tested this recipe multiple times (sometimes twice in one week, if I’m being honest), tweaking the salt level and caramel thickness until it was just right. It’s like comfort food in frozen form—no frills, just pure, creamy goodness that makes you close your eyes with every bite.
What Ingredients You Will Need
This creamy no-churn salted caramel ice cream recipe depends on a few key components that come together to create that luscious texture and irresistible flavor. Most are pantry staples, and if you’re like me, you might even have some salted caramel sauce lurking in the fridge waiting for a starring role.
- Sweetened Condensed Milk (14 oz / 397 g) – This is the magic ingredient that sweetens and thickens without needing an ice cream maker. I usually grab Nestlé for consistent results.
- Heavy Cream (2 cups / 480 ml) – Whipped to soft peaks, it’s what gives the ice cream that airy, creamy texture. Use cold cream straight from the fridge for best whipping.
- Vanilla Extract (1 tsp) – Adds warmth and rounds out the caramel flavor nicely. Pure vanilla extract works best.
- Granulated Sugar (1 cup / 200 g) – For the salted caramel sauce. I prefer organic cane sugar for a deeper flavor.
- Unsalted Butter (6 tbsp / 85 g) – Adds richness to the caramel. Make sure it’s room temperature for smooth melting.
- Heavy Cream (1/2 cup / 120 ml) – For the caramel sauce, to create that silky, luscious texture.
- Sea Salt (1 tsp, or to taste) – The star of the salted caramel, balancing sweetness with a little punch.
Ingredient tips: If you want to keep it dairy-free, swap the heavy cream with full-fat coconut cream (chill the can overnight and scoop the thick part). For a gluten-free option, no worries here—the recipe is naturally gluten-free. Seasonal twist? Try swirling in a handful of toasted pecans or a drizzle of bourbon for grown-up flair.
Equipment Needed
- Mixing Bowls: A large bowl for whipping cream and a medium bowl for combining ingredients. Glass or metal works well.
- Electric Mixer or Stand Mixer: To whip the heavy cream to soft peaks. I’ve done it by hand before, but it takes forever and your arm might hate you.
- Saucepan: Needed to make the salted caramel sauce. A heavy-bottomed pan helps prevent burning.
- Spatula: For folding the whipped cream gently into the condensed milk and caramel mixture.
- Loaf Pan or Airtight Container: To freeze the ice cream. I like a metal loaf pan because it freezes faster, but any freezer-safe container will do.
- Measuring Cups and Spoons: Accuracy is key for that perfect texture and flavor balance.
If you don’t have a stand mixer, an electric hand mixer is perfect. For budget-friendly kitchen tools, I recommend checking out basic silicone spatulas and sturdy mixing bowls from stores like Target or Walmart. Keep your saucepan clean and dry before starting the caramel to avoid crystallization, and don’t skip the butter—it really makes the caramel silky.
Preparation Method
- Make the Salted Caramel Sauce (15 minutes): In a medium saucepan over medium heat, melt the granulated sugar, stirring constantly with a wooden spoon or heatproof spatula. It will clump before melting—don’t worry, keep stirring until it’s a smooth amber color. Watch closely here; sugar can burn fast.
- Add Butter: Remove the pan from heat and stir in the unsalted butter until fully melted and combined. The mixture will bubble vigorously—classic caramel behavior—so be careful.
- Slowly Pour in Heavy Cream: Pour in the 1/2 cup heavy cream in a steady stream while stirring. The sauce will bubble again, but keep stirring until smooth. Stir in sea salt and set aside to cool for about 20 minutes.
- Whip the Heavy Cream (5 minutes): In a chilled large bowl, beat the 2 cups heavy cream with an electric mixer until soft peaks form. You want it fluffy but not over-whipped or it will become butter.
- Combine Sweetened Condensed Milk and Vanilla: In another bowl, mix condensed milk with vanilla extract and the cooled caramel sauce (reserve a little caramel to swirl on top if you like).
- Fold Whipped Cream into Caramel Mixture: Gently fold the whipped cream into the condensed milk and caramel mixture using a spatula. Be gentle—you want to keep the airiness but have everything blended evenly.
- Transfer and Freeze: Pour the mixture into a loaf pan or airtight container. For extra caramel goodness, drizzle the reserved salted caramel on top and swirl with a knife.
- Freeze for at least 6 hours: Ideally overnight. You’ll know it’s ready when it’s firm but scoopable.
Tip: If caramel hardens too much or crystallizes, a quick microwave zap (10 seconds) and stirring usually smooths it out. And yes, patience is key here—rushing the freezing can lead to icy texture.
Cooking Tips & Techniques
- Caramel Color Matters: Don’t rush the caramel melting stage. The sugar needs to reach a deep amber color, but if it turns too dark, your caramel will taste bitter. I learned this the hard way—burnt caramel means tossing the whole batch.
- Whipping Cream to the Right Consistency: Soft peaks are your goal. Stop whipping when the cream holds shape but still looks silky. Overwhipping leads to grainy texture or accidental butter.
- Folding Technique: Use a gentle folding motion to keep the air in the whipped cream. Overmixing can deflate it, making the ice cream dense.
- Salt Control: Taste your caramel before folding it into the ice cream base. You can always add more salt gradually; it’s easier than fixing an overly salty batch.
- Freeze Time: Don’t skip the freeze time! The texture needs those hours to set properly. If you’re impatient like me, try to at least freeze 6 hours to avoid icy grit.
- Multitasking: While the caramel cools, whip your cream. This saves time and prevents caramel from setting too hard before mixing.
Variations & Adaptations
- Nutty Twist: Stir in toasted pecans or walnuts for crunch. I once added chopped pecans and it turned into an unexpected family favorite.
- Chocolate Drizzle: Mix melted dark chocolate into the caramel before folding it in for a salted caramel chocolate combo.
- Dairy-Free Version: Swap heavy cream with chilled coconut cream and use a dairy-free sweetened condensed milk alternative. The coconut flavor pairs surprisingly well with salted caramel.
- Spiced Caramel: Add a pinch of cinnamon or cayenne to the caramel sauce for a warming, spicy kick.
- Alcohol Infusion: Add a tablespoon of bourbon or rum to the caramel for a boozy adult version. Just be mindful of freezing times as alcohol can affect texture slightly.
Serving & Storage Suggestions
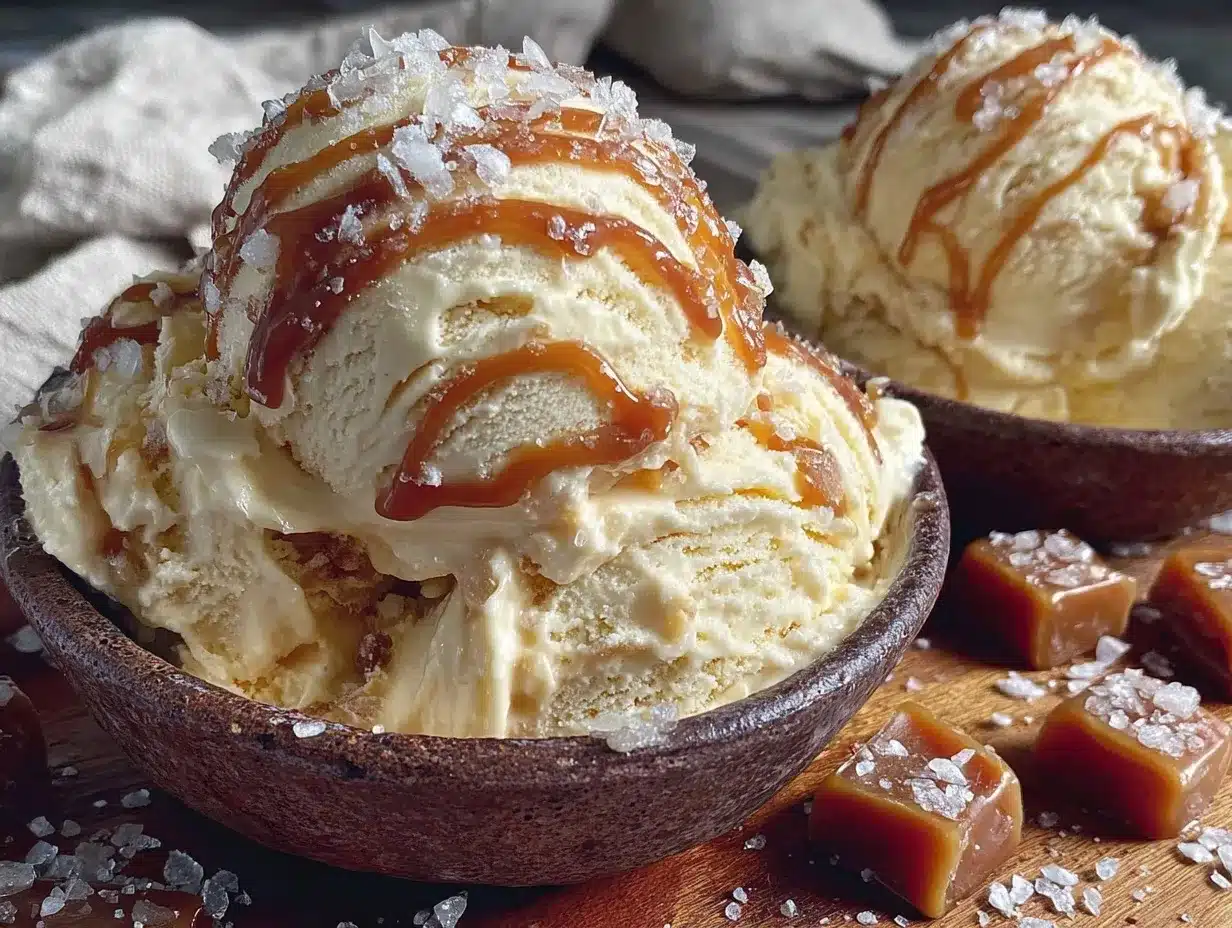
This ice cream is best served straight from the freezer with a few minutes to soften for easier scooping. I like to garnish with a sprinkle of flaky sea salt or a drizzle of extra caramel sauce. It pairs beautifully with warm apple pie or even alongside a slice of crispy garlic chicken for a surprising sweet-savory meal finale.
Store any leftovers in an airtight container in the freezer. For best texture, consume within two weeks. When reheating leftovers or softening scoops, let sit at room temperature for 5-10 minutes—microwaving tends to melt unevenly and ruin the creamy consistency.
Flavors deepen a bit after a day or two in the freezer, so if you can wait, it’s worth it. Just give it a good stir before serving if you notice any ice crystals forming.
Nutritional Information & Benefits
Each serving (about 1/2 cup) contains approximately 280 calories, 16g fat, and 28g sugar. While indulgent, the recipe uses real ingredients without preservatives or artificial flavors. The homemade salted caramel has less sugar and no stabilizers compared to store-bought sauces.
Sea salt adds trace minerals and helps balance blood sugar spikes from the sweetened condensed milk. Using high-quality vanilla extract also contributes antioxidants. For those avoiding gluten or looking for a quick dessert without additives, this recipe is a solid choice.
Conclusion
This creamy no-churn salted caramel ice cream recipe is a total game-changer for anyone who loves dessert but hates fuss. It’s straightforward, satisfying, and just the right amount of fancy without needing an appliance parade. I love how it brings that homemade charm and buttery caramel magic together, and honestly, it’s become my go-to treat when I want to impress with minimal effort.
Feel free to tweak the salt level or add your own twist—you might discover your personal favorite version. If you give it a try, I’d love to hear how it turns out for you. Leave a comment or share your adaptations; it’s always fun to see how this recipe grows with different cooks. Happy scooping, friends!
FAQs About Creamy No-Churn Salted Caramel Ice Cream
Can I make this ice cream without heavy cream?
You can substitute chilled coconut cream for a dairy-free version, but the texture will be a bit different—still delicious but less fluffy.
How long does the salted caramel ice cream keep in the freezer?
Stored properly in an airtight container, it stays fresh for up to two weeks without losing its creamy texture.
Can I prepare the caramel sauce ahead of time?
Absolutely! Make the caramel a day or two ahead and store it in the fridge. Warm it slightly before folding into the ice cream base so it mixes smoothly.
What if my caramel sauce crystallizes or hardens?
Gently warm it in the microwave for 10-15 seconds and stir to smooth it out. Avoid stirring too much while cooking to prevent crystallization.
Is this recipe suitable for kids?
Yes! It’s a kid-friendly dessert with no alcohol unless you choose to add it. The salted caramel flavor is usually a big hit with little ones and grown-ups alike.
Pin This Recipe!
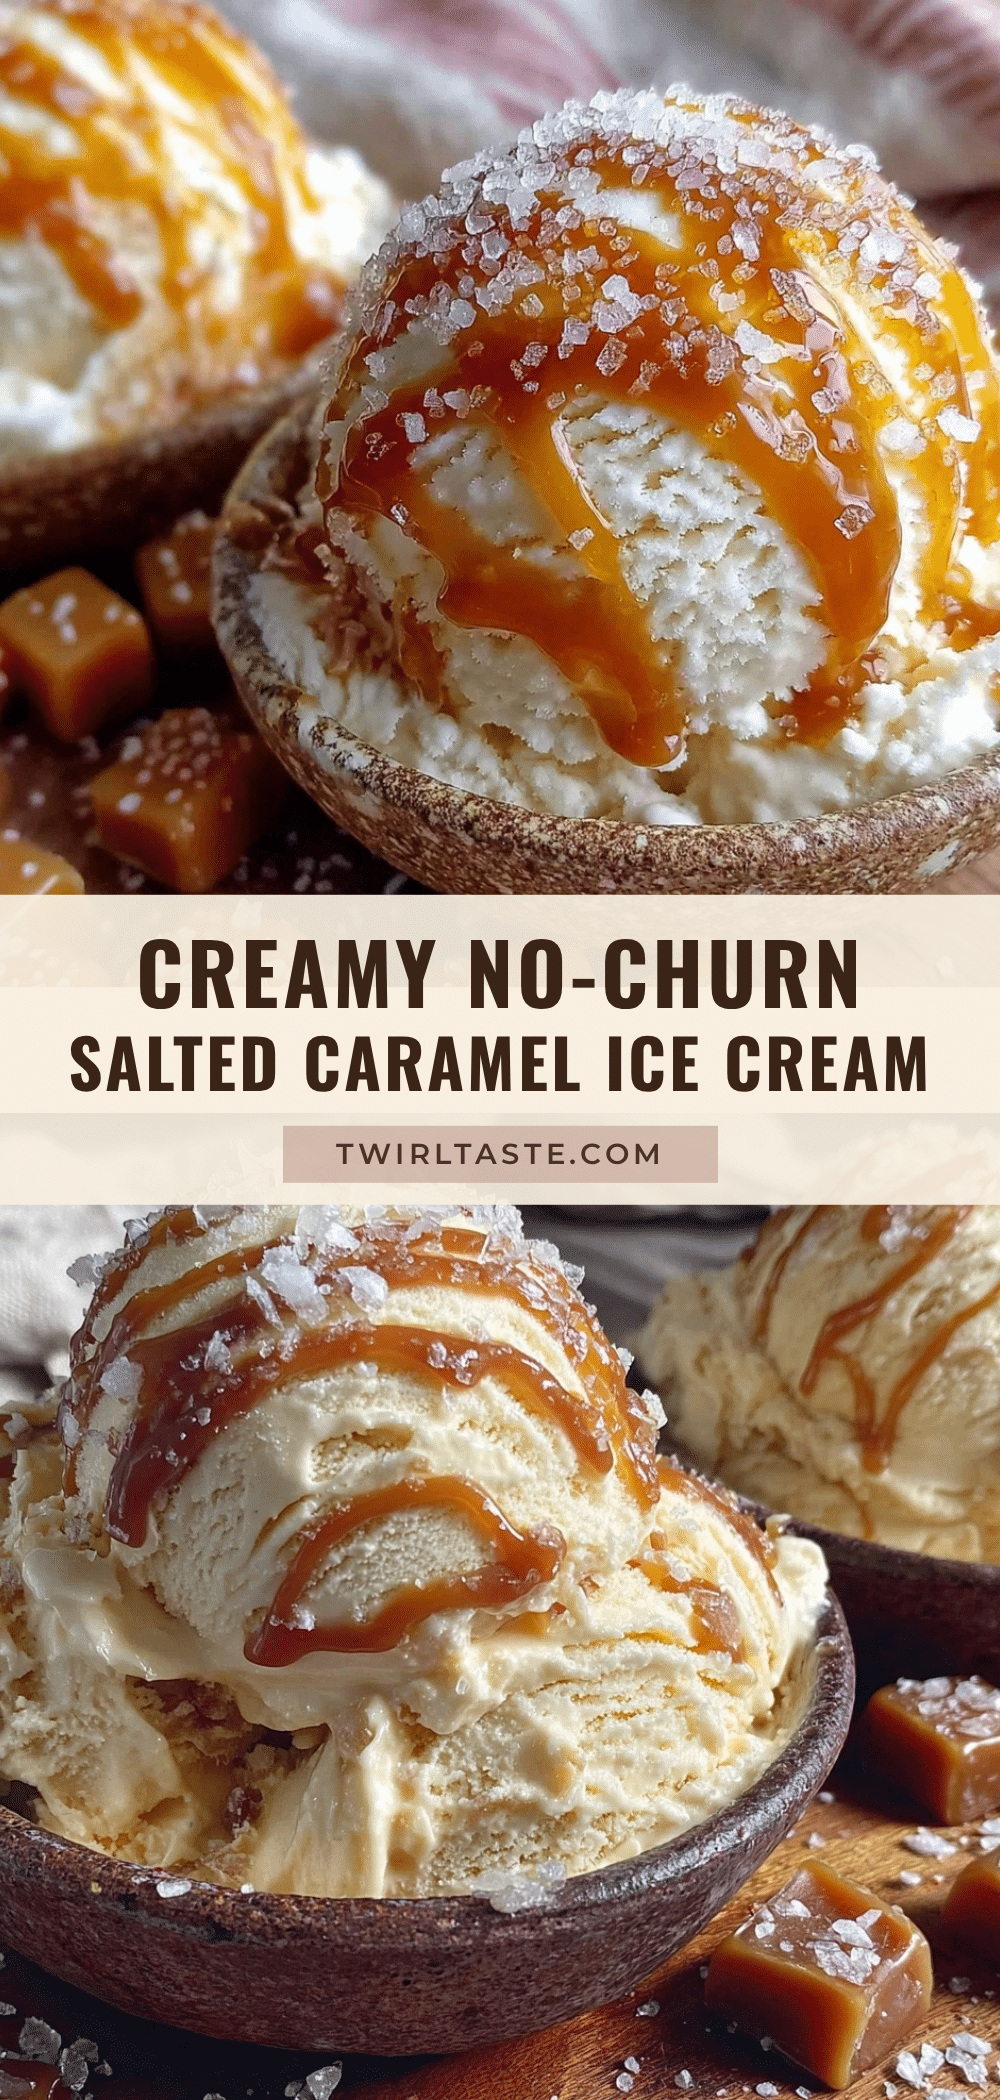
Creamy No-Churn Salted Caramel Ice Cream

A rich, creamy, and indulgent no-churn ice cream featuring homemade salted caramel sauce. Perfect for quick homemade dessert without an ice cream maker.
- Prep Time: 15 minutes
- Cook Time: 15 minutes
- Total Time: 6 hours 30 minutes
- Yield: 8 servings 1x
- Category: Dessert
- Cuisine: American
Ingredients
- 14 oz (397 g) sweetened condensed milk
- 2 cups (480 ml) heavy cream, cold
- 1 tsp vanilla extract
- 1 cup (200 g) granulated sugar
- 6 tbsp (85 g) unsalted butter, room temperature
- 1/2 cup (120 ml) heavy cream (for caramel sauce)
- 1 tsp sea salt, or to taste
Instructions
- Make the Salted Caramel Sauce (15 minutes): In a medium saucepan over medium heat, melt the granulated sugar, stirring constantly with a wooden spoon or heatproof spatula until smooth and amber colored.
- Remove the pan from heat and stir in the unsalted butter until fully melted and combined. The mixture will bubble vigorously.
- Slowly pour in the 1/2 cup heavy cream in a steady stream while stirring. Stir in sea salt and set aside to cool for about 20 minutes.
- Whip the 2 cups heavy cream in a chilled large bowl with an electric mixer until soft peaks form (about 5 minutes).
- In another bowl, mix sweetened condensed milk with vanilla extract and the cooled caramel sauce (reserve a little caramel to swirl on top if desired).
- Gently fold the whipped cream into the condensed milk and caramel mixture using a spatula, keeping the mixture airy and evenly blended.
- Pour the mixture into a loaf pan or airtight container. Drizzle reserved caramel on top and swirl with a knife if desired.
- Freeze for at least 6 hours or ideally overnight until firm but scoopable.
Notes
Do not rush caramel melting to avoid bitterness. Whip cream to soft peaks only. Fold gently to keep airiness. Freeze at least 6 hours for best texture. If caramel crystallizes, microwave for 10-15 seconds and stir.
Nutrition
- Serving Size: 1/2 cup
- Calories: 280
- Sugar: 28
- Fat: 16
- Carbohydrates: 28
Keywords: no-churn ice cream, salted caramel, homemade ice cream, easy dessert, no ice cream maker, creamy ice cream, quick dessert