Love this? Save it for later!
Share the inspiration with your friends
Introduction
“I used to think Halloween snacks were all about sugary chaos and messy fingers,” my roommate once confessed as we prepped for a last-minute costume party. Honestly, I had my doubts too—how could something labeled “witch finger” possibly be more than a gimmick? That was until the night I whipped up these Crispy Witch Finger Breadsticks with Roasted Garlic Marinara Dip. Let me tell you, the first time I caught her sneaking a second finger while thinking no one was watching, I knew I’d quietly won her over.
The secret isn’t just in the spooky shape, though that cracked bowl of flour on the counter after my enthusiastic kneading might suggest otherwise. No, it’s the way the breadsticks bake up perfectly crisp on the outside yet tender inside, with just the right hint of herbs and garlic. Paired with a roasted garlic marinara dip that’s rich, slightly sweet, and packed with depth, it turns this snack from a cheesy gimmick to something your guests might actually fight over.
Maybe you’ve been there—searching for that one Halloween recipe that’s both fun and actually worth eating. This recipe stayed with me because, well, it’s not only a conversation starter but also surprisingly comforting. Plus, it’s way easier than you’d think, even if you forget the almond flour like I did on a frantic Thursday night. Let me walk you through why these breadsticks deserve a place at your spooky table this season.
Why You’ll Love This Recipe
After testing countless Halloween snacks over several seasons, this Crispy Witch Finger Breadsticks recipe stood out for its blend of fun and flavor. It’s one of those rare treats that’s both playful and satisfying, and honestly, that’s a hard balance to find. Here’s why it’s become a favorite:
- Quick & Easy: Ready in under 45 minutes, making it perfect for last-minute party prep or spontaneous snack cravings.
- Simple Ingredients: Uses pantry staples like all-purpose flour, butter, and garlic—no special trips to the store required.
- Perfect for Halloween Gatherings: The creepy finger shape adds a playful touch that’s ideal for spooky celebrations or themed dinners.
- Crowd-Pleaser: Kids and adults alike love the crispy texture combined with the garlicky dip. It’s always a hit, no matter the crowd.
- Unbelievably Delicious: The roasted garlic marinara dip isn’t just a side; it’s a game-changer that brings out the savory notes of the breadsticks.
What really sets this recipe apart is the technique of shaping each breadstick with subtle knuckle-like indentations and an almond “nail” for that extra eerie realism. Plus, roasting the garlic for the marinara mellows the flavor, giving it a rich sweetness that’s far from your typical jarred sauce. It’s not just a gimmick — it’s a carefully crafted snack that makes you want to savor every bite, closing your eyes and imagining a cozy autumn night with friends.
What Ingredients You Will Need
This recipe uses simple, wholesome ingredients to deliver a bold flavor and satisfying texture without fuss. Most are pantry staples, making it incredibly accessible.
- For the Witch Finger Breadsticks:
- 2 ½ cups (320g) all-purpose flour, plus extra for dusting (King Arthur Flour works great for consistent texture)
- 1 teaspoon instant yeast
- 1 teaspoon sugar (balances the savory flavors)
- 1 teaspoon salt
- ¾ cup (180ml) warm water (about 110°F / 43°C)
- 2 tablespoons unsalted butter, melted (adds richness)
- 1 teaspoon dried Italian herbs (oregano, basil, thyme blend)
- 30 whole almonds (for the “nails,” raw or blanched)
- 1 egg, beaten with 1 tablespoon water (for egg wash)
- For the Roasted Garlic Marinara Dip:
- 1 whole head garlic, roasted (softens and sweetens the garlic flavor)
- 1 can (14 oz / 400g) crushed tomatoes
- 1 tablespoon olive oil
- 1 teaspoon dried oregano
- ½ teaspoon red pepper flakes (optional, adds subtle heat)
- Salt and freshly ground black pepper, to taste
- 1 teaspoon honey or sugar (balances acidity)
- Fresh basil leaves for garnish (optional)
If you want a gluten-free option, swapping the all-purpose flour with a 1:1 gluten-free blend works well, though texture will be slightly different. For dairy-free, replace butter with a plant-based alternative.
Equipment Needed
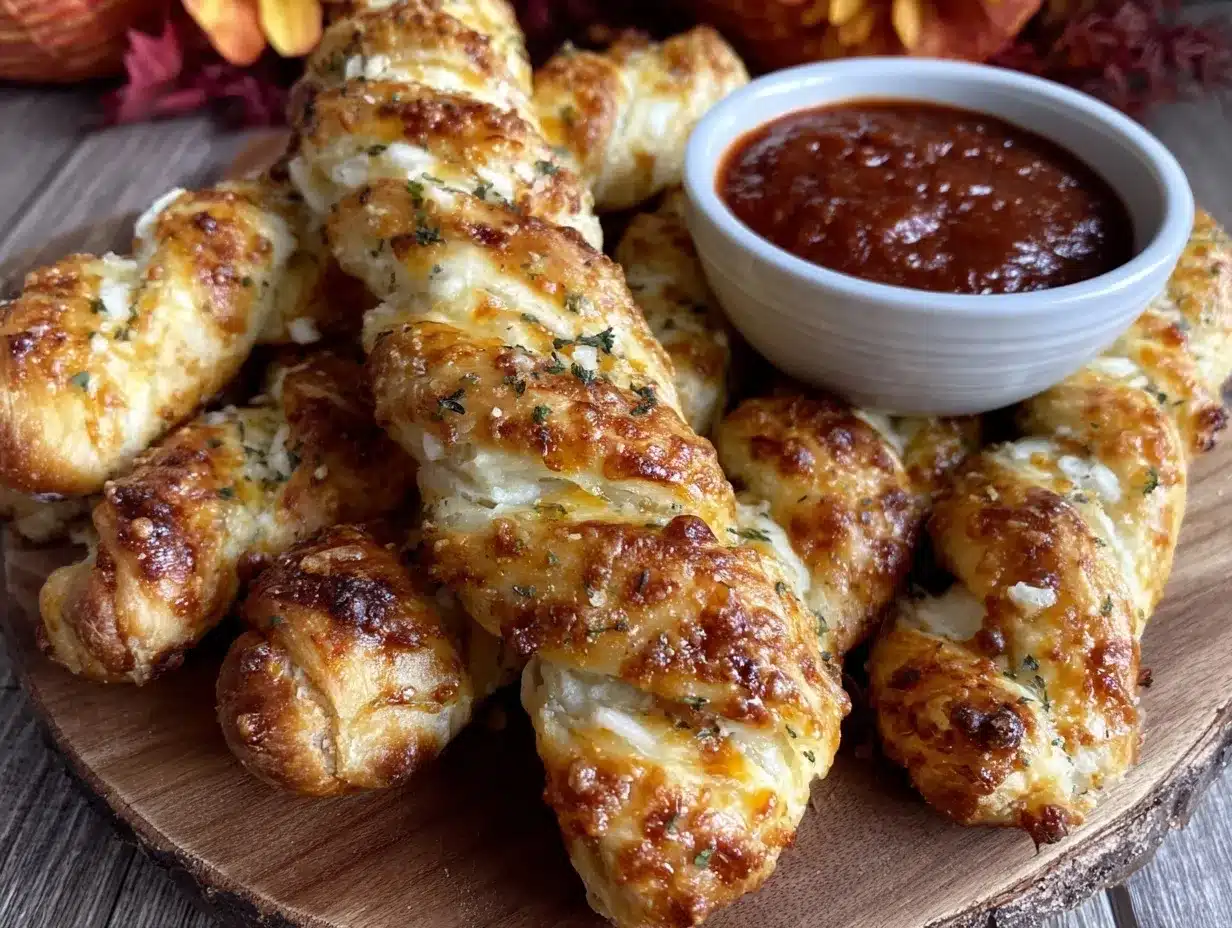
- Mixing bowls (one large for dough, one small for egg wash)
- Measuring cups and spoons (for accuracy)
- Stand mixer with dough hook (optional but helpful for kneading; you can knead by hand)
- Baking sheet lined with parchment paper or silicone mat
- Pastry brush (for egg wash application)
- Aluminum foil (for roasting garlic)
- Small saucepan (to make the marinara dip)
- Knife (for scoring dough and trimming almonds)
I personally love using a stand mixer because it saves my hands during kneading, but honestly, mixing and kneading by hand works just as well if you don’t mind a bit of elbow grease. The pastry brush is a must to get a shiny, golden finish on the breadsticks, so don’t skip that one.
Preparation Method
- Prepare the dough: In a large bowl, whisk together 2 ½ cups (320g) flour, 1 teaspoon instant yeast, 1 teaspoon sugar, and 1 teaspoon salt. Add ¾ cup (180ml) warm water and 2 tablespoons melted butter. Stir until a shaggy dough forms.
- Knead the dough: Turn the dough onto a lightly floured surface. Knead for about 8-10 minutes until smooth and elastic. (Tip: If dough feels sticky, sprinkle a little more flour but don’t overdo it—too much flour makes breadsticks tough.) Alternatively, use a stand mixer with a dough hook for 6-7 minutes.
- First rise: Place the dough in a lightly greased bowl, cover with a clean towel, and let it rise in a warm spot for about 1 hour or until doubled in size.
- Roast the garlic: While dough rises, preheat oven to 400°F (200°C). Cut the top off the whole head of garlic, drizzle with olive oil, wrap tightly in foil, and roast for 35-40 minutes until soft. Let cool, then squeeze out the cloves.
- Shape the breadsticks: Preheat oven to 375°F (190°C). Divide the dough into 12 equal pieces (about 2 ounces / 57g each). Roll each piece into a finger shape about 5 inches (13 cm) long. Pinch and twist gently to create knuckle dents and indentations.
- Add “nails”: Press an almond onto the tip of each breadstick to act as a fingernail. (If almonds are too large, trim down to fit.)
- Apply egg wash: Brush each breadstick with the beaten egg mixture to get a golden, glossy finish.
- Bake: Arrange breadsticks on a parchment-lined baking sheet, leaving space between each. Bake for 15-18 minutes until golden and crispy on the outside.
- Make the marinara dip: In a small saucepan, heat 1 tablespoon olive oil over medium heat. Add roasted garlic cloves and mash with a spoon. Stir in crushed tomatoes, 1 teaspoon oregano, red pepper flakes if using, honey, salt, and pepper. Simmer gently for 10-15 minutes until slightly thickened.
- Serve warm: Plate breadsticks alongside the roasted garlic marinara. Garnish dip with fresh basil if desired.
Pro tip: If you want extra crispiness, brush the breadsticks with a little garlic-infused olive oil just as they come out of the oven. Also, keep an eye on your almonds—they can toast quickly and go from perfect to bitter if left too long in the oven.
Cooking Tips & Techniques
One thing I learned the hard way was not to rush the dough rising — patience makes a huge difference in texture. Let it double fully, and you’ll get that lovely airy, soft crumb inside the crispy crust. Another trick is shaping the “knuckles” by gently pressing with your thumb — it adds that delightfully creepy realism.
Don’t skip the egg wash. It seals the surface, helping the breadsticks brown beautifully and hold their shape. And when roasting garlic, wrapping it tightly in foil traps the steam, softening the cloves perfectly without drying them out.
For consistent results, weigh your dough pieces if possible — I use a small kitchen scale for even finger sizes, which makes baking uniform and presentation neat. If you’re multitasking, roast the garlic while the dough rises to save time.
Common mistake: over-flouring the dough during kneading leads to dense breadsticks. Light dusting is enough. Also, don’t press the almonds too hard when adding nails; otherwise, they might pop off during baking.
Variations & Adaptations
- Spicy Witch Fingers: Add ½ teaspoon cayenne pepper or smoked paprika to the dough for a subtle heat that pairs well with the marinara.
- Cheesy Fingers: Incorporate ½ cup (50g) shredded mozzarella or cheddar into the dough for melty pockets of cheese.
- Gluten-Free Version: Use a gluten-free all-purpose baking mix (like Bob’s Red Mill 1-to-1) and add a tablespoon of xanthan gum if your blend doesn’t contain it.
- Vegan Adaptation: Swap butter for coconut oil or vegan margarine and replace egg wash with a mixture of plant milk and maple syrup for a glossy finish.
- I once tried swapping the roasted garlic marinara with a pumpkin Alfredo dip for a fall twist — surprisingly tasty and a hit at my book club night!
Serving & Storage Suggestions
These Crispy Witch Finger Breadsticks are best served warm, fresh from the oven with that garlicky marinara dip on the side. They make a fantastic appetizer for Halloween parties or a fun snack during movie nights.
If you want to get fancy, arrange them on a platter with some fresh herbs or a sprinkle of smoked paprika over the dip. They also pair wonderfully with a chilled glass of dry red wine or a spicy pumpkin ale for adults.
To store, place cooled breadsticks in an airtight container in the refrigerator for up to 3 days. The marinara dip keeps well in the fridge for about a week. For longer storage, freeze breadsticks in a zip-top bag for up to 2 months; reheat in the oven at 350°F (175°C) for 8-10 minutes to regain crispness.
Flavors actually deepen after a day as the herbs meld into the dough and the garlic in the dip intensifies. So, if you can resist, make them a day ahead for a fuller flavor experience.
Nutritional Information & Benefits
Each serving (2 breadsticks with dip) roughly contains:
| Calories | Carbs | Protein | Fat | Fiber |
|---|---|---|---|---|
| 220 kcal | 30g | 5g | 7g | 2g |
Thanks to the roasted garlic, this dip offers antioxidant properties and supports heart health. The breadsticks provide satisfying energy from carbs and a modest amount of protein. Using whole ingredients and avoiding processed sauces makes this a better-for-you Halloween snack option.
For those watching gluten or dairy, the substitutions mentioned earlier keep it accessible without losing the fun factor.
Conclusion
Trust me when I say these Crispy Witch Finger Breadsticks with Roasted Garlic Marinara Dip are worth every minute in the kitchen. They bring a playful spookiness to your table while delivering real, comforting flavor. Whether you’re feeding a crowd or just craving a snack with a twist, this recipe adapts beautifully to your needs and preferences.
I love making these because they turn a simple dough into a memorable experience — and honestly, catching someone mid-bite, surprised at how good “witch fingers” can taste, never gets old. I’d love to hear how you customize yours or what spooky additions you try out. Don’t be shy—drop a comment or share your photos!
So, ready to bring a bit of fun and flavor to your next gathering? Let’s get baking and make this Halloween a little tastier.
FAQs
- Can I make the dough ahead of time? Yes! You can prepare the dough and refrigerate it overnight. Just bring it to room temperature before shaping and baking.
- What if I don’t have almonds for the nails? You can use pumpkin seeds or slivered almonds as alternatives. Or simply shape the dough tip to look like a fingernail without adding anything.
- How do I store leftover breadsticks? Store in an airtight container in the fridge for up to 3 days or freeze for longer storage. Reheat in the oven to regain crispness.
- Can I make the marinara dip without roasting garlic? While roasting mellows the garlic, you can use raw minced garlic sautéed lightly, but the flavor will be sharper.
- Is this recipe kid-friendly? Absolutely! The spice level is mild, and kids enjoy the fun shape and dipping experience.
Pin This Recipe!
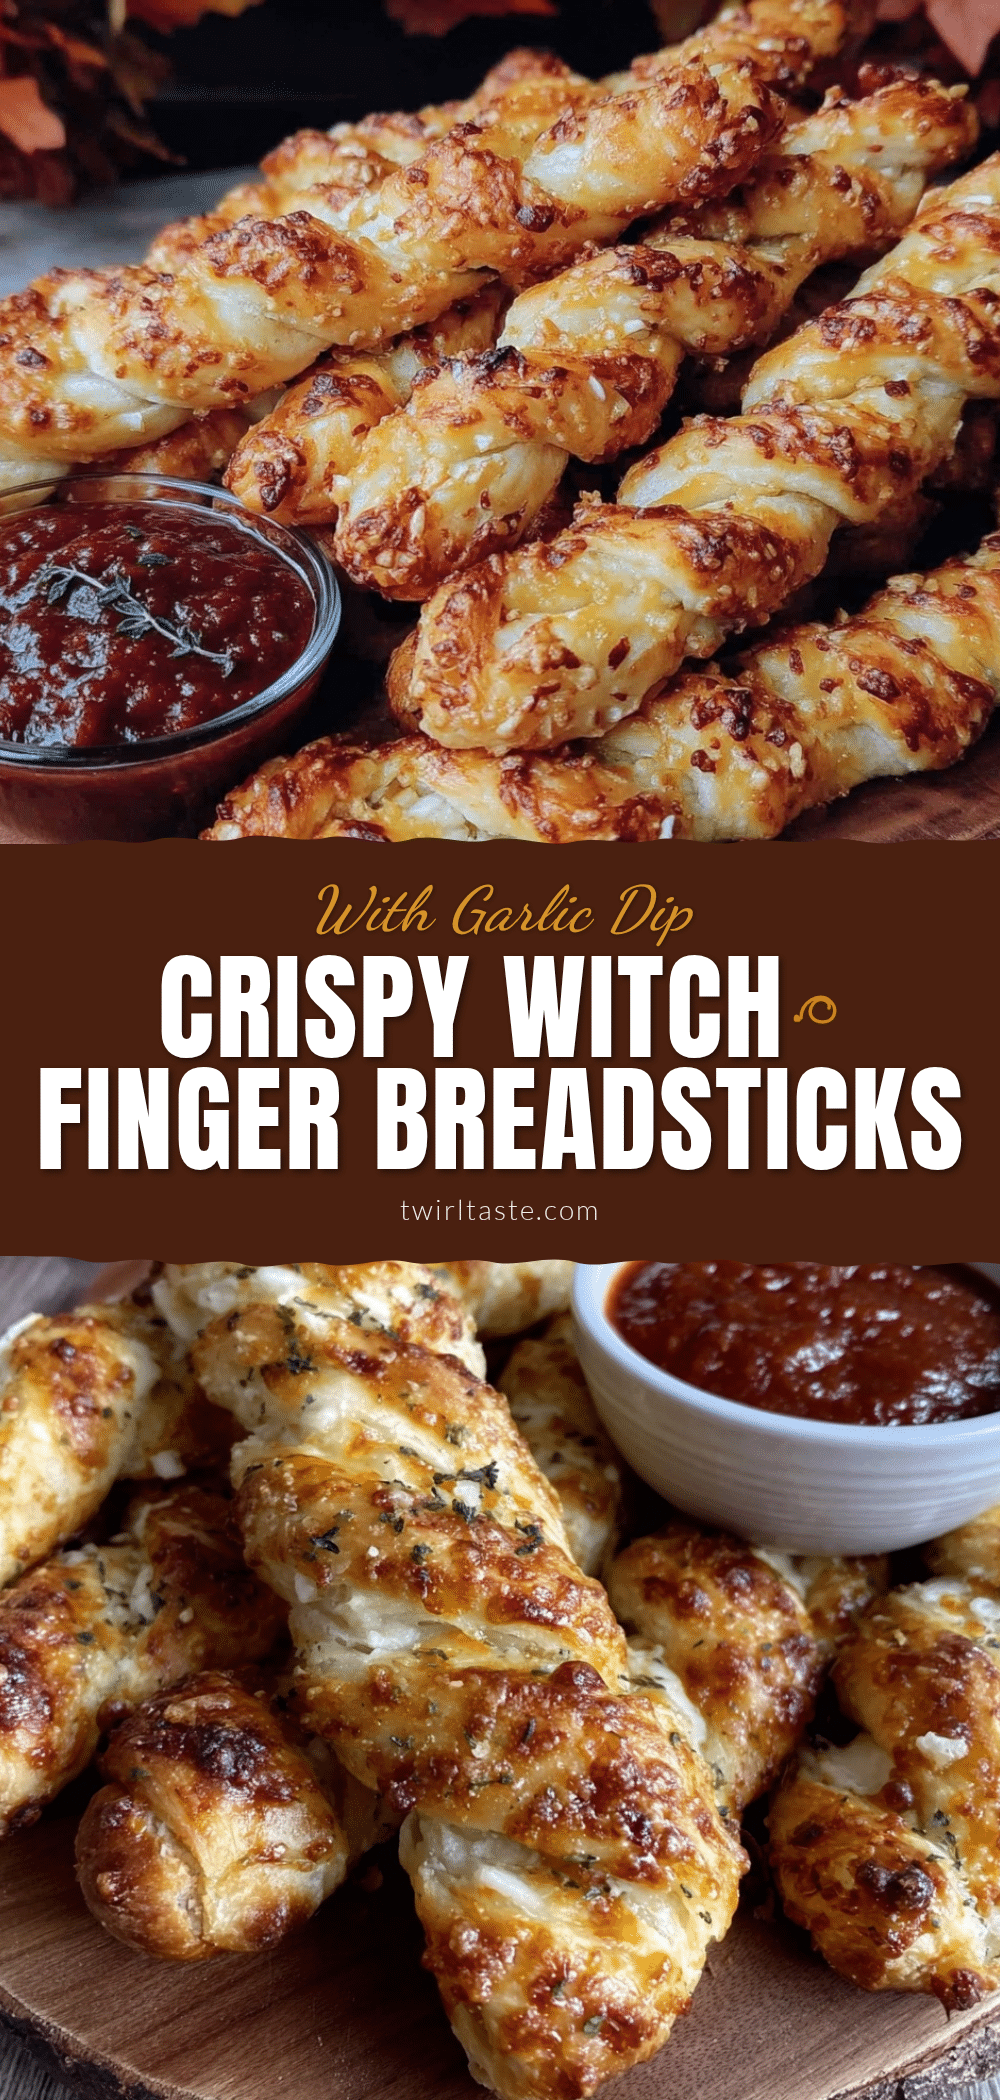
Crispy Witch Finger Breadsticks Recipe Easy Homemade with Garlic Marinara Dip
These Crispy Witch Finger Breadsticks are perfectly crisp on the outside and tender inside, shaped with eerie knuckle details and served with a rich roasted garlic marinara dip. A fun and flavorful Halloween snack that’s quick and easy to make.
- Prep Time: 15 minutes
- Cook Time: 35 minutes
- Total Time: 50 minutes
- Yield: 12 breadsticks (about 6 servings) 1x
- Category: Appetizer
- Cuisine: American
Ingredients
- 2 ½ cups (320g) all-purpose flour, plus extra for dusting
- 1 teaspoon instant yeast
- 1 teaspoon sugar
- 1 teaspoon salt
- ¾ cup (180ml) warm water (about 110°F / 43°C)
- 2 tablespoons unsalted butter, melted
- 1 teaspoon dried Italian herbs (oregano, basil, thyme blend)
- 30 whole almonds (for the “nails”, raw or blanched)
- 1 egg, beaten with 1 tablespoon water (for egg wash)
- 1 whole head garlic, roasted
- 1 can (14 oz / 400g) crushed tomatoes
- 1 tablespoon olive oil
- 1 teaspoon dried oregano
- ½ teaspoon red pepper flakes (optional)
- Salt and freshly ground black pepper, to taste
- 1 teaspoon honey or sugar
- Fresh basil leaves for garnish (optional)
Instructions
- Prepare the dough: In a large bowl, whisk together 2 ½ cups flour, 1 teaspoon instant yeast, 1 teaspoon sugar, and 1 teaspoon salt. Add ¾ cup warm water and 2 tablespoons melted butter. Stir until a shaggy dough forms.
- Knead the dough: Turn the dough onto a lightly floured surface. Knead for about 8-10 minutes until smooth and elastic. Alternatively, use a stand mixer with a dough hook for 6-7 minutes.
- First rise: Place the dough in a lightly greased bowl, cover with a clean towel, and let it rise in a warm spot for about 1 hour or until doubled in size.
- Roast the garlic: Preheat oven to 400°F (200°C). Cut the top off the whole head of garlic, drizzle with olive oil, wrap tightly in foil, and roast for 35-40 minutes until soft. Let cool, then squeeze out the cloves.
- Shape the breadsticks: Preheat oven to 375°F (190°C). Divide the dough into 12 equal pieces (about 2 ounces / 57g each). Roll each piece into a finger shape about 5 inches (13 cm) long. Pinch and twist gently to create knuckle dents and indentations.
- Add “nails”: Press an almond onto the tip of each breadstick to act as a fingernail. Trim almonds if too large.
- Apply egg wash: Brush each breadstick with the beaten egg mixture to get a golden, glossy finish.
- Bake: Arrange breadsticks on a parchment-lined baking sheet, leaving space between each. Bake for 15-18 minutes until golden and crispy on the outside.
- Make the marinara dip: In a small saucepan, heat 1 tablespoon olive oil over medium heat. Add roasted garlic cloves and mash with a spoon. Stir in crushed tomatoes, 1 teaspoon oregano, red pepper flakes if using, honey, salt, and pepper. Simmer gently for 10-15 minutes until slightly thickened.
- Serve warm: Plate breadsticks alongside the roasted garlic marinara. Garnish dip with fresh basil if desired.
Notes
For extra crispiness, brush breadsticks with garlic-infused olive oil after baking. Avoid over-flouring dough to prevent tough breadsticks. Use a kitchen scale for even breadstick sizes. Almonds can be substituted with pumpkin seeds or slivered almonds. Dough can be prepared ahead and refrigerated overnight.
Nutrition
- Serving Size: 2 breadsticks with d
- Calories: 220
- Fat: 7
- Carbohydrates: 30
- Fiber: 2
- Protein: 5
Keywords: Halloween snacks, breadsticks, witch finger breadsticks, garlic marinara dip, spooky snacks, party appetizers, easy breadsticks


