Love this? Save it for later!
Share the inspiration with your friends
My phone buzzed for the third time during the second quarter. “You bringing those wings next Sunday?” my brother-in-law texted. I hadn’t even left the party yet, and people were already planning around the food. That’s when I knew this crispy baked chicken wings recipe had officially become a football Sunday tradition.
Honestly, it started as a happy accident. I was tired of the greasy mess from deep-frying and the sad, rubbery skin from typical baked wings. I wanted that crackling crunch without standing over a pot of hot oil all afternoon. So I experimented—a lot. I tried different temperatures, weird coatings, and a few batches that ended up in the trash (RIP, those sad wings). But finally, I landed on this method. It’s not complicated, and it doesn’t require any fancy gadgets. It just works.
The first time I served these at a game day gathering, they disappeared before the first commercial break. People actually asked if I had a secret deep-fryer hidden somewhere. Nope. Just a hot oven and a little patience. This recipe has become my go-to for every football Sunday, and I think it’s about to become yours too.
Why You’ll Love This Recipe
Let’s be real—football food needs to be forgiving. You’re juggling dips, drinks, and watching the game. These wings are exactly that. They deliver that satisfying crunch everyone craves without the hassle of deep-frying.
- Perfect for Game Day: These wings come together with minimal active time, so you can actually watch the game instead of hovering over a fryer.
- Simple Ingredients: You probably already have everything in your pantry and fridge. No weird specialty items required.
- Unbelievably Crispy: The texture is unreal—crackling skin with juicy, tender meat inside. No one will believe they’re baked.
- Crowd-Pleaser: I’ve served these at multiple gatherings, and they always get devoured by kids and adults alike.
- Less Mess: No splattering oil, no lingering fryer smell in your house for days. Just delicious wings and happy guests.
What makes these different from every other baked wing recipe? It’s the technique. Most recipes skip a crucial step or use a temperature that just doesn’t work. I’ve tested this method more times than I care to count, and the combination of a dry brine, a specific baking powder trick, and high-heat roasting is what creates that shatteringly crispy skin. This isn’t just another version—it’s the version you’ll come back to every single game day.
And honestly? There’s something special about serving food that makes people close their eyes after the first bite. These wings do that. They’re the kind of dish that turns a regular football Sunday into something memorable.
What Ingredients You Will Need
This recipe relies on a handful of simple, pantry-friendly ingredients to deliver big flavor and that perfect crispy texture. Most of these are probably already in your kitchen.
- Chicken wings (3 lbs, about 15-18 whole wings, separated into drums and flats) — Look for fresh, not frozen, wings if possible. They have better texture and less moisture.
- Baking powder (2 teaspoons, aluminum-free) — This is the secret to crispy skin! Do NOT use baking soda. I prefer Rumford brand for its aluminum-free formula.
- Cornstarch (1 tablespoon) — Helps absorb moisture and adds extra crunch.
- Kosher salt (1 ½ teaspoons) — Use Diamond Crystal if you have it. It’s less salty by volume than Morton’s, so adjust if needed.
- Garlic powder (1 teaspoon) — Adds savory depth without being overpowering.
- Onion powder (½ teaspoon) — Rounds out the flavor profile.
- Smoked paprika (1 teaspoon) — Gives a subtle smoky flavor and beautiful color. Sweet paprika works too if that’s what you have.
- Black pepper (½ teaspoon, freshly ground) — A little goes a long way.
- Neutral oil spray (like avocado or canola oil) — A light mist helps the seasoning stick and promotes browning.
For the sauce (optional but highly recommended):
- Unsalted butter (3 tablespoons, melted) — Use good quality butter for the best flavor.
- Hot sauce (⅓ cup, like Frank’s RedHot) — The classic choice for buffalo-style wings.
- Honey (1 tablespoon) — Balances the heat with a touch of sweetness.
- Worcestershire sauce (½ teaspoon) — Adds umami depth.
For serving:
- Celery sticks (1 cup, cut into 3-inch pieces)
- Carrot sticks (1 cup)
- Blue cheese or ranch dressing (for dipping)
If you’re looking for another great game day option, my football field charcuterie board is a fun and easy way to round out your spread.
Equipment Needed
You don’t need much for this recipe, which is part of the beauty. Here’s what you’ll need:
- Baking sheet (half-sheet pan, 18×13 inches) — A rimmed baking sheet is essential to catch any drips.
- Wire rack (fits inside the baking sheet) — This is crucial for airflow and even crisping. If you don’t have one, you can still make these, but the rack really makes a difference.
- Paper towels (lots of them) — For drying the wings thoroughly. This step is non-negotiable.
- Large bowl (for tossing wings with the seasoning mixture)
- Tongs (for flipping the wings halfway through baking)
- Small saucepan (if making the buffalo sauce)
- Instant-read thermometer (optional but recommended for checking doneness)
I bought my wire rack set from a restaurant supply store for about $10, and it’s been a game-changer for all kinds of roasted foods. If you don’t want to invest, you can try using a cooling rack that’s oven-safe, just make sure it’s not coated with non-stick material that can’t handle high heat.
Preparation Method
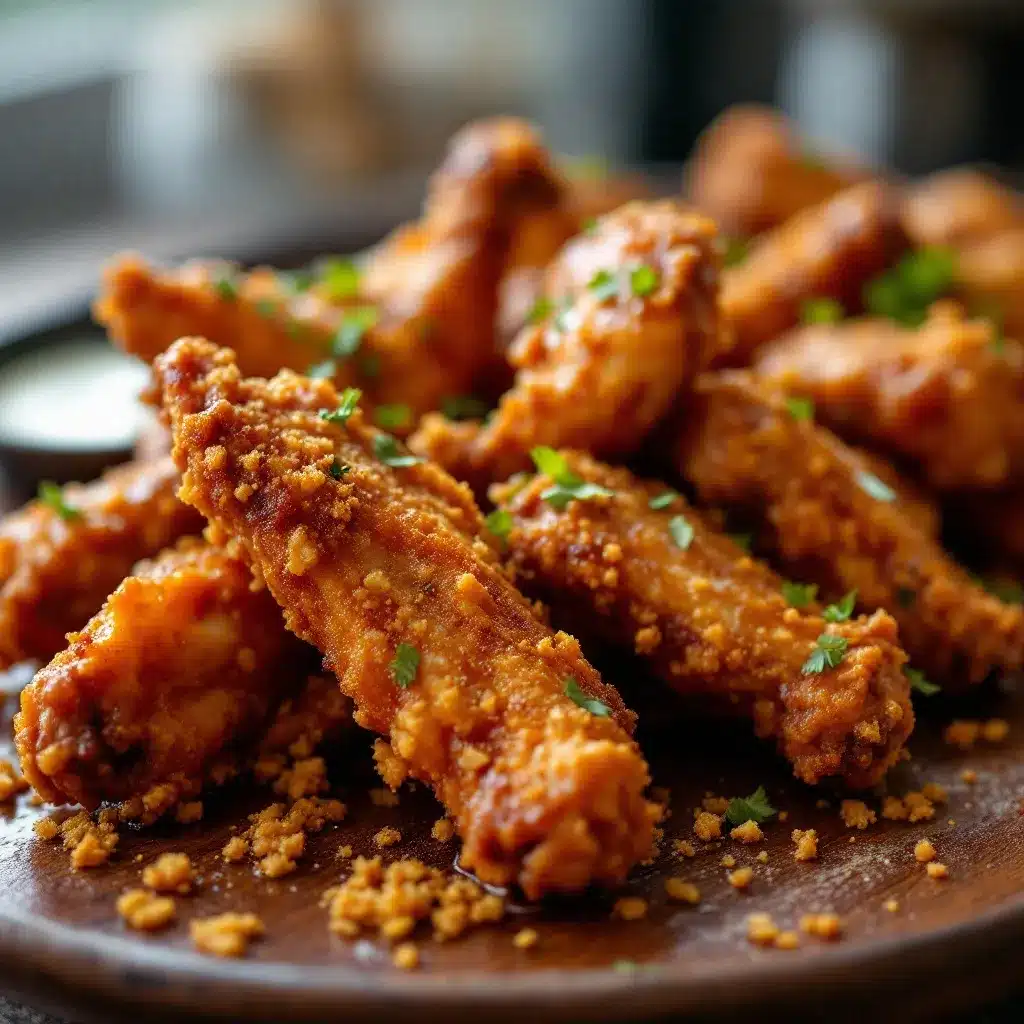
- Prep the wings. Start by patting the chicken wings completely dry with paper towels. I mean really dry—you want to remove as much surface moisture as possible. This is the single most important step for crispy skin. If the wings are wet, they’ll steam instead of crisp. (I usually go through about 5-6 paper towels for 3 lbs of wings.)
- Separate the wings. If your wings aren’t already separated, cut through the joint between the drumette and flat. Discard the wing tips or save them for making stock. You should have about 30 pieces total from 3 lbs of whole wings.
- Make the seasoning mixture. In a small bowl, combine the baking powder, cornstarch, kosher salt, garlic powder, onion powder, smoked paprika, and black pepper. Whisk until evenly combined. The baking powder is the key here—it helps create tiny bubbles on the skin’s surface that crisp up beautifully in the oven.
- Season the wings. Place the dried wings in a large bowl. Sprinkle the seasoning mixture over them and toss with your hands until every piece is evenly coated. Don’t be shy—make sure the seasoning gets into all the nooks and crannies.
- Arrange on the rack. Place the wire rack on the baking sheet. Arrange the wings in a single layer on the rack, making sure they’re not touching. If they overlap, they’ll steam instead of crisp. You might need to use two baking sheets if your wings are crowded.
- Refrigerate uncovered (optional but highly recommended). Place the baking sheet with the wings in the refrigerator, uncovered, for at least 1 hour and up to 24 hours. This allows the skin to dry out further, which leads to even crispier results. If you’re short on time, you can skip this step, but trust me—the overnight rest is worth it.
- Preheat the oven. When you’re ready to bake, preheat your oven to 425°F (218°C). Make sure the rack is in the middle position. Let the oven come to temperature completely before putting the wings in.
- Bake the wings. Remove the wings from the refrigerator and let them sit at room temperature for about 15 minutes while the oven preheats. Lightly spray the tops of the wings with neutral oil spray. Bake for 30 minutes.
- Flip and continue baking. After 30 minutes, remove the baking sheet from the oven. Using tongs, carefully flip each wing over. Spray the other side lightly with oil. Return to the oven and bake for another 20-25 minutes, or until the wings are golden brown and the skin is crispy. The internal temperature should reach 165°F (74°C) when checked with an instant-read thermometer.
- Make the sauce (if using). While the wings are baking, melt the butter in a small saucepan over low heat. Stir in the hot sauce, honey, and Worcestershire sauce. Keep warm until the wings are ready.
- Toss and serve. Once the wings are done, transfer them to a large bowl. Pour the warm sauce over the wings and toss gently until evenly coated. Serve immediately with celery sticks, carrot sticks, and your favorite dipping sauce.
If you’re looking for more easy game day recipes, these smoky BBQ pulled pork sliders are another crowd favorite that pairs perfectly with wings.
Cooking Tips & Techniques
I’ve made a lot of mistakes with wings over the years. Here’s what I’ve learned so you don’t have to repeat my failures:
Don’t skip the drying step. I know it seems tedious, but moisture is the enemy of crispy skin. Pat those wings dry like your life depends on it. I once rushed through this step and ended up with sad, soggy wings that tasted more like steamed chicken than crispy baked wings. Never again.
Use aluminum-free baking powder. Regular baking powder can leave a metallic aftertaste. Trust me on this one—I learned the hard way. Check the label and look for “aluminum-free” on the front.
Don’t overcrowd the pan. This is probably the most common mistake. If the wings are touching, they’ll steam in their own juices instead of crisping up. Give them space to breathe. If necessary, use two baking sheets and rotate them halfway through.
Let them rest after baking. If you’re not saucing them immediately, let the wings rest on the rack for 5 minutes after they come out of the oven. This allows the skin to stay crispy instead of getting soggy from trapped steam.
Double-bake for extra crunch. If you really want next-level crispiness, try this: bake the wings for 30 minutes, then turn off the oven and let them sit inside for 10 more minutes before flipping and continuing to bake. The residual heat helps dry out the skin even more.
Use a meat thermometer. Don’t guess when it comes to doneness. Chicken wings are safe to eat at 165°F (74°C), but I find they’re best at around 175-180°F (80-82°C) because the connective tissue breaks down more, making the meat more tender.
Variations & Adaptations
One of the best things about this recipe is how adaptable it is. Here are some of my favorite variations:
Buffalo Garlic Parmesan. After baking, toss the wings in a mixture of melted butter, minced garlic, and grated Parmesan cheese. Then drizzle with your favorite buffalo sauce. The combination of savory garlic and tangy heat is incredible.
Honey Sriracha Glaze. Mix ¼ cup honey, 2 tablespoons sriracha, 1 tablespoon soy sauce, and 1 teaspoon rice vinegar. Brush onto the wings during the last 10 minutes of baking. The sweetness caramelizes beautifully, and the heat sneaks up on you.
Lemon Pepper Dry Rub. Skip the sauce altogether and add 1 tablespoon of lemon zest and 1 teaspoon of cracked black pepper to the dry seasoning mix. The bright citrus flavor is perfect for those who prefer a lighter option.
Air Fryer Method. If you have an air fryer, you can make these wings in about 20 minutes. Preheat the air fryer to 400°F (200°C). Cook the seasoned wings in a single layer for 10 minutes, shake the basket, then cook for another 8-10 minutes until crispy. No need to flip individually!
Gluten-Free Option. This recipe is naturally gluten-free as written, as long as you use gluten-free baking powder. Double-check your labels, but most standard baking powders are gluten-free.
For a completely different flavor profile, try my crispy garlic Parmesan air fryer chicken thighs—they use a similar technique but with a totally different taste.
Serving & Storage Suggestions
These wings are best served immediately after baking, while the skin is still crackling hot. Arrange them on a large platter with celery and carrot sticks. I like to serve the dipping sauce on the side so people can add as much or as little as they want.
For a complete game day spread, pair these wings with my fresh cowboy caviar for a refreshing contrast to the rich, savory wings.
Storage: If you have leftovers (unlikely, but possible), store them in an airtight container in the refrigerator for up to 3 days. The skin will soften, but they’ll still be delicious.
Reheating: The best way to revive leftover wings is in the oven or air fryer. Preheat your oven to 375°F (190°C) and bake the wings on a wire rack for 8-10 minutes, or until heated through and the skin re-crisps. Avoid the microwave—it will make the skin rubbery and sad.
Freezing: You can freeze baked (un-sauced) wings for up to 3 months. Let them cool completely, then arrange in a single layer on a baking sheet and freeze until solid. Transfer to a freezer-safe bag or container. To reheat, bake directly from frozen at 375°F (190°C) for 15-20 minutes, then toss with sauce if desired.
The flavors actually develop a bit overnight, so leftover wings tossed in buffalo sauce and reheated the next day are still pretty fantastic—just don’t expect the same level of crunch.
Nutritional Information & Benefits
Here’s the approximate nutritional breakdown per serving (about 5-6 wing pieces, without sauce):
- Calories: 380
- Protein: 32g
- Fat: 26g
- Carbohydrates: 3g
- Fiber: 0g
- Sugar: 0g
- Sodium: 680mg
Chicken wings are a good source of protein, which helps keep you full and satisfied during a long day of game watching. The skin contains some fat, but baking instead of frying significantly reduces the overall fat content. Plus, you’re avoiding the trans fats and extra calories that come with deep-frying.
If you’re watching your sodium intake, you can reduce the salt in the seasoning mix or use a low-sodium hot sauce. This recipe is also naturally gluten-free and can be made dairy-free by using a dairy-free butter alternative in the sauce.
For a healthier game day option that still feels indulgent, these wings are a great choice. Pair them with fresh vegetables and a light dip for a more balanced spread.
Conclusion
These crispy baked chicken wings have become a staple in my kitchen for a reason. They deliver everything you want from game day food—crunch, flavor, and that satisfying feeling of pulling meat off the bone—without the mess and hassle of deep-frying. Whether you’re hosting a Super Bowl party, a Sunday afternoon gathering, or just craving wings on a random Tuesday, this recipe is your ticket to crispy perfection.
I’d love to hear how these turn out for you! Did you try a different sauce? Did you use the air fryer method? Drop a comment below and let me know. And if you have a favorite game day recipe that you think I should try, share that too. Until next time, happy cooking—and go team!
Frequently Asked Questions
Can I use frozen chicken wings?
Yes, but you’ll need to thaw them completely in the refrigerator first. Frozen wings release too much moisture during baking, which prevents the skin from getting crispy. Pat them extra dry after thawing.
Why are my wings not crispy?
Most likely, they were too wet when they went into the oven. Make sure you pat them thoroughly dry with paper towels. Also, check that your oven is at the right temperature—an oven that runs cool will steam the wings instead of crisping them. Using a wire rack is essential for airflow.
Can I make these wings ahead of time?
You can prep the wings up to 24 hours in advance by seasoning them and refrigerating uncovered on the wire rack. This actually improves the texture! Just bake them right before serving for the best results.
What’s the best hot sauce for buffalo wings?
Frank’s RedHot is the classic choice and what most wing joints use. It has the perfect balance of heat and vinegar. Crystal hot sauce is another great option if you want something a little milder.
How do I get the sauce to stick without making the wings soggy?
The key is to toss the wings in sauce immediately after they come out of the oven, while they’re still hot. The heat helps the sauce adhere. Don’t drown them—just a light coating is enough. Serve any extra sauce on the side for dipping.
Pin This Recipe!
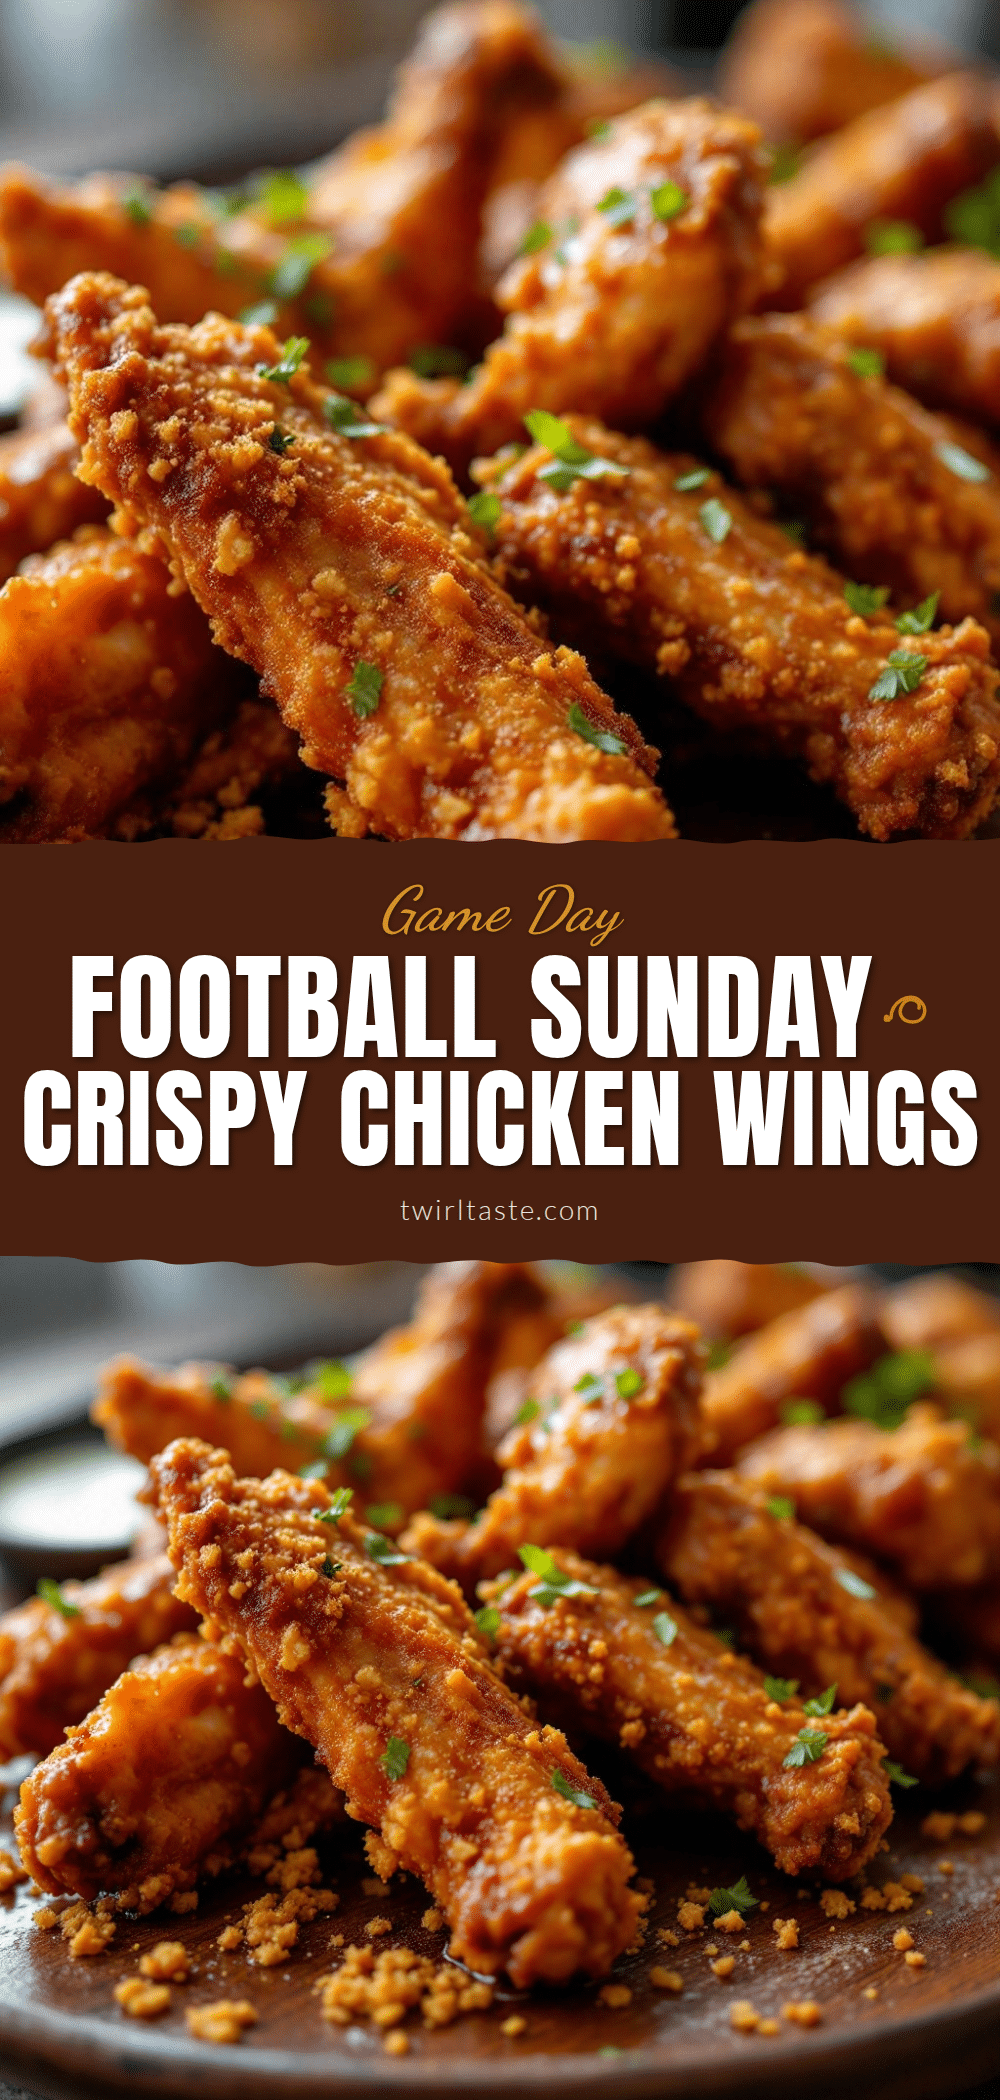
Crispy Baked Chicken Wings for Football Sunday

These crispy baked chicken wings deliver a satisfying crunch without the mess of deep-frying. Perfect for game day, they’re made with simple ingredients and a special technique for shatteringly crispy skin.
- Prep Time: 15 minutes
- Cook Time: 50 minutes
- Total Time: 1 hour 5 minutes (plus optional 1-24 hour refrigeration)
- Yield: 4 servings 1x
- Category: Appetizer
- Cuisine: American
Ingredients
- 3 lbs chicken wings (about 15–18 whole wings, separated into drums and flats)
- 2 teaspoons baking powder (aluminum-free)
- 1 tablespoon cornstarch
- 1 ½ teaspoons kosher salt
- 1 teaspoon garlic powder
- ½ teaspoon onion powder
- 1 teaspoon smoked paprika
- ½ teaspoon freshly ground black pepper
- Neutral oil spray (like avocado or canola oil)
- 3 tablespoons unsalted butter (melted, for sauce)
- ⅓ cup hot sauce (like Frank’s RedHot)
- 1 tablespoon honey
- ½ teaspoon Worcestershire sauce
- 1 cup celery sticks (cut into 3-inch pieces)
- 1 cup carrot sticks
- Blue cheese or ranch dressing (for dipping)
Instructions
- Prep the wings: Pat the chicken wings completely dry with paper towels, removing as much surface moisture as possible.
- Separate the wings: If not already separated, cut through the joint between the drumette and flat. Discard wing tips or save for stock. You should have about 30 pieces.
- Make the seasoning mixture: In a small bowl, combine baking powder, cornstarch, kosher salt, garlic powder, onion powder, smoked paprika, and black pepper. Whisk until evenly combined.
- Season the wings: Place dried wings in a large bowl. Sprinkle seasoning mixture over them and toss with hands until every piece is evenly coated.
- Arrange on the rack: Place a wire rack on a baking sheet. Arrange wings in a single layer on the rack, making sure they are not touching.
- Refrigerate uncovered (optional but highly recommended): Place the baking sheet with wings in the refrigerator, uncovered, for at least 1 hour and up to 24 hours.
- Preheat the oven: When ready to bake, preheat oven to 425°F (218°C) with rack in the middle position.
- Bake the wings: Remove wings from refrigerator and let sit at room temperature for 15 minutes. Lightly spray tops with neutral oil spray. Bake for 30 minutes.
- Flip and continue baking: After 30 minutes, remove baking sheet. Flip each wing over using tongs. Spray other side lightly with oil. Return to oven and bake for another 20-25 minutes, until golden brown and crispy (internal temperature should reach 165°F/74°C).
- Make the sauce (if using): While wings bake, melt butter in a small saucepan over low heat. Stir in hot sauce, honey, and Worcestershire sauce. Keep warm.
- Toss and serve: Once wings are done, transfer to a large bowl. Pour warm sauce over wings and toss gently until evenly coated. Serve immediately with celery sticks, carrot sticks, and dipping sauce.
Notes
Don’t skip drying the wings thoroughly; moisture is the enemy of crispy skin. Use aluminum-free baking powder to avoid a metallic aftertaste. Do not overcrowd the pan; wings should not touch. For extra crunch, double-bake: bake 30 minutes, turn off oven, let sit 10 minutes, then flip and continue baking. For best results, refrigerate seasoned wings uncovered overnight.
Nutrition
- Serving Size: 5-6 wing pieces
- Calories: 380
- Sodium: 680
- Fat: 26
- Saturated Fat: 8
- Carbohydrates: 3
- Protein: 32
Keywords: crispy baked chicken wings, game day wings, football wings, buffalo wings, baked chicken wings, easy wings recipe


