Love this? Save it for later!
Share the inspiration with your friends
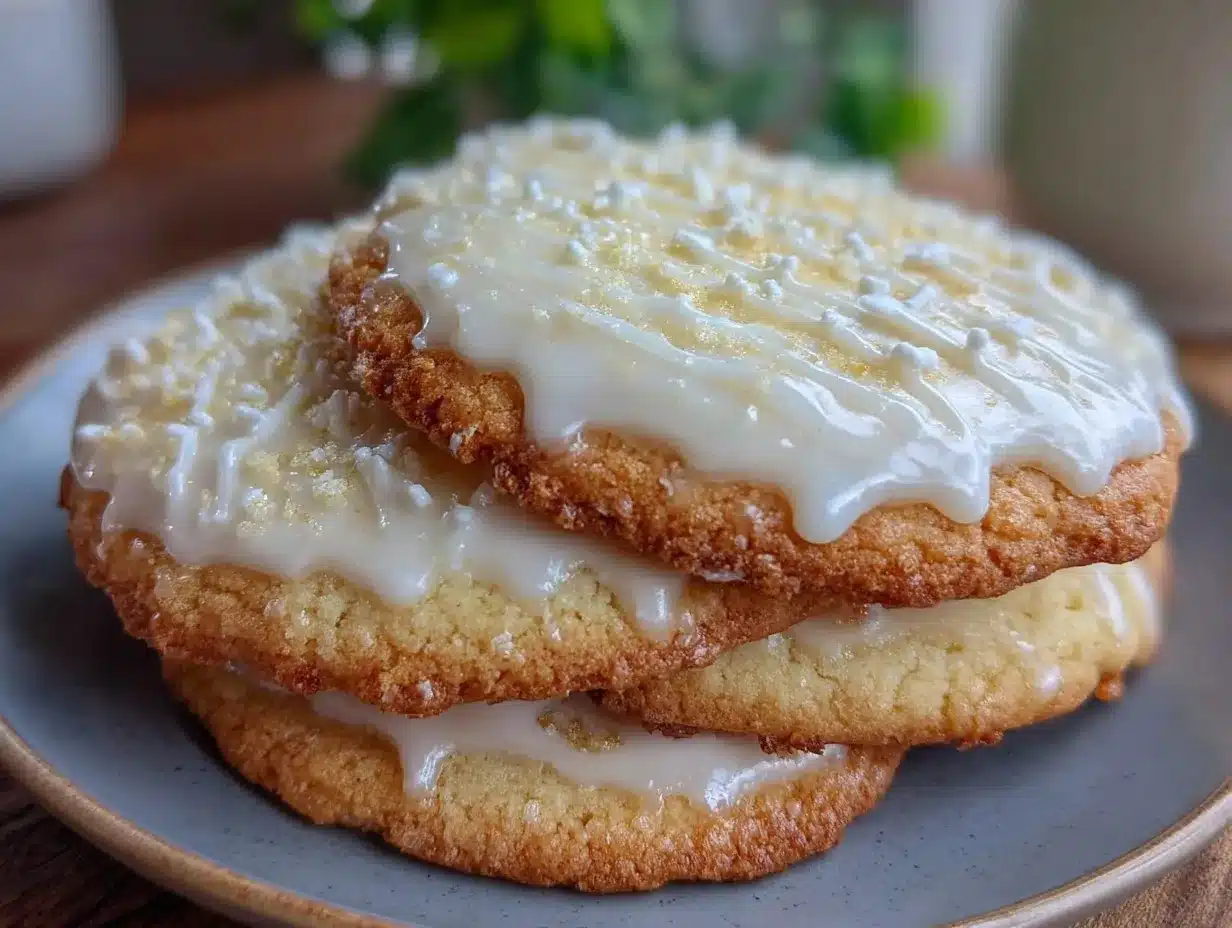
“You’ve got to see this!” my neighbor called out last Saturday morning from across the fence, holding up a plate of sugar cookies that looked like they belonged in a bakery window. I shuffled over, still half-asleep, curious but skeptical — I mean, royal icing can be tricky, right? Sticky, grainy, or worse, cracked and dull. But these cookies? They had a smooth, shiny finish that caught the sunlight just right. Turns out, she wasn’t some fancy baker but a busy mom who swears by this easy no-fail sugar cookie royal icing recipe that dries perfectly smooth and shiny every time. I was intrigued. She shared the recipe with a shrug, mentioning how she’d messed up dozens of batches before getting it just right. Honestly, watching her pipe that glossy icing felt like magic.
I decided to test it out myself the very next day, and let me tell you, it’s been a game changer. No more stressing over gritty textures or cracked surfaces. Whether you’re decorating for a party or just want to impress your family with pretty cookies that taste as good as they look, this royal icing recipe is your new best friend. Maybe you’ve been there too—trying to get that flawless finish only to end up frustrated. Well, this one stuck with me because it’s simple, forgiving, and really, truly works.
So, if you’ve been hunting for that perfect royal icing to top your sugar cookies with a smooth, shiny finish that holds up beautifully, you’re in the right place. Let me walk you through everything you need to know to make it happen in your own kitchen.
Why You’ll Love This Recipe
After testing countless royal icing recipes, this one stands out for a bunch of reasons that make it a keeper in my book:
- Quick & Easy: Comes together in under 15 minutes, perfect for last-minute cookie decorating marathons.
- Simple Ingredients: No fancy or hard-to-find stuff—just basics you probably already have in your pantry.
- Perfect for Any Occasion: Whether it’s holiday baking, birthday parties, or casual weekend treats, it shines.
- Crowd-Pleaser: Kids and adults alike admire how smooth and glossy the icing looks—and it tastes great too.
- Unbelievably Delicious: The balance of sweetness and texture is just right—never too hard or sticky.
This isn’t just another royal icing recipe. What makes it different? The secret is in the perfect balance of meringue powder, icing sugar, and a splash of water that creates a silky, shiny finish without the hassle of cracking or dullness. Plus, the consistency is spot on for piping crisp edges or flooding cookie surfaces evenly. Honestly, it’s the kind of icing that makes you close your eyes after the first bite because it just feels right.
And hey, if you like a bit of fun in the kitchen (who doesn’t?), this recipe gives you space to personalize your colors and designs without worrying about the icing falling flat. It’s stress-free decorating that delivers professional-looking results. So, let’s get into the details!
What Ingredients You Will Need
This recipe uses simple, wholesome ingredients to deliver that bold flavor and satisfying smooth texture without fuss. Most are pantry staples, and you can easily swap a few if needed.
- Powdered (Icing) Sugar: 4 cups (about 480g), sifted to avoid lumps and help with smoothness. I like brands like Domino or C&H for consistent texture.
- Meringue Powder: 3 tablespoons. This is the magic ingredient that gives royal icing its structure and shine. Look for brands like Wilton or Ateco. (If you prefer, you can substitute with 2 large egg whites, but meringue powder is safer for food safety.)
- Water: 5 to 6 tablespoons (75-90 ml). Adjust to get the perfect consistency—start with less and add more as needed.
- Vanilla Extract: 1 teaspoon. Adds subtle flavor; you can swap for almond or lemon extract for variation.
- Lemon Juice (optional): 1 teaspoon to add a slight tang and help preserve the icing, but it’s optional.
If you want a dairy-free or vegan version, stick with meringue powder instead of egg whites and double-check your powdered sugar brand. For seasonal flair, add a few drops of natural food coloring or flavored extracts.
Equipment Needed
- Mixing Bowl: A medium glass or stainless steel bowl works best to prevent sticking.
- Electric Hand Mixer or Stand Mixer: For whipping the icing to the right consistency. Hand whisking is possible but takes longer and is more tiring.
- Sifter: To sift your powdered sugar for that ultra-smooth texture.
- Rubber Spatula: For scraping down the sides and mixing.
- Piping Bags and Tips: For decorating—fine tips like Wilton #2 or #3 are great for outlines and details.
- Plastic Wrap: To cover the icing and prevent it from drying out between uses.
If you don’t have a stand mixer, a hand mixer will do just fine. I remember once trying to do this by hand and ended up with an arm workout I didn’t plan for! Also, keeping your equipment clean and dry is key to avoid clumps in the icing.
Preparation Method
- Sift the powdered sugar: Measure 4 cups (480g) of powdered sugar and sift it into your mixing bowl. This helps keep the icing smooth and lump-free.
- Add the meringue powder: Sprinkle 3 tablespoons of meringue powder over the sugar. This ingredient is essential for structure and shine.
- Mix dry ingredients briefly: Use your mixer on low speed to combine the sugar and meringue powder evenly—about 15 seconds.
- Add water and vanilla extract: Pour in 5 tablespoons (75 ml) of water and 1 teaspoon of vanilla extract. Start mixing on low speed.
- Beat on medium-high speed: Whip the mixture for 5 to 7 minutes until stiff peaks form and the icing looks glossy. The texture should be thick but spreadable—not runny or crumbly.
- Adjust consistency: For outlining, the icing should hold its shape when piped. For flooding (filling in), add a little more water (1 teaspoon at a time) and stir gently until it flows smoothly but isn’t too runny.
- Cover when not in use: Keep the icing covered with plastic wrap pressed directly on the surface to prevent drying.
- Test before decorating: Pipe a small line or dot on parchment paper to check drying and shine. It should dry hard within a few hours and have a smooth, glossy finish.
Watch out for common pitfalls: adding too much water at once can make your icing too thin, so go slow. If your icing feels grainy, it might mean the sugar wasn’t sifted enough or the mixer wasn’t running long enough. And hey, don’t be surprised if your first batch isn’t perfect; it took me a couple tries to get it right (and yes, I made a sticky mess on my favorite apron!).
Cooking Tips & Techniques
Getting royal icing just right takes some finesse, but these tips can save you headaches:
- Use fresh meringue powder: Old powder can affect the texture and shine—check the expiration date.
- Mix long enough: Whipping for 5–7 minutes is key. Under-mixing leads to dull icing; over-mixing can dry it out.
- Test your icing consistency: The “10-second rule” helps: if the icing stays smooth for 10 seconds after stirring, it’s ready for piping.
- Work in small batches: It’s easier to control consistency and color.
- Keep icing covered: Air dries it quickly, causing crusts.
- Use gel food coloring: Avoid liquid colors that can thin the icing.
- Practice piping on parchment: Before decorating cookies, get a feel for the flow.
I once skipped sifting the sugar to save time and regretted it instantly—it made the icing gritty and hard to work with. Also, I learned that leaving the mixer running a bit longer really makes the difference in that shiny finish everyone admires.
Variations & Adaptations
Want to switch things up? Here are some easy ways to adapt this royal icing recipe:
- Flavor twists: Swap vanilla for almond, lemon, or peppermint extract to suit your theme.
- Color variations: Use natural food coloring like beet juice for red or spinach powder for green for a healthier touch.
- Gluten-free or Vegan: This recipe is naturally gluten-free. Use meringue powder and avoid egg whites to keep it vegan-friendly.
- Different consistencies: Thicken with more powdered sugar for stiffer piping or thin with water for flooding large areas.
- Alternative sweeteners: Try powdered erythritol for a low-sugar version, though texture may vary slightly.
Personally, I once added a splash of orange extract and it gave the cookies a fresh zing that was surprisingly delightful. Also, if you try hand-painting designs on your cookies, thin the icing a bit to use as edible paint.
Serving & Storage Suggestions
Serve your sugar cookies once the royal icing is fully dry—usually after 6 to 8 hours at room temperature. The icing should be hard but not brittle, with a glossy sheen that catches the light beautifully.
Pair these cookies with warm tea or a cold glass of milk for a comforting treat. For parties, arrange on a platter garnished with fresh berries or edible flowers to impress guests.
To store, place cookies in an airtight container layered with parchment paper. Keep at room temperature for up to one week. If you want to keep them longer, freeze the decorated cookies in a single layer, wrapped tightly in plastic wrap and placed in a freezer-safe container. Thaw at room temperature before serving.
Reheating isn’t needed; in fact, heat can soften the icing and dull the shine. Over time, you’ll notice flavors mellow and blend, making the cookies even tastier a day or two after baking.
Nutritional Information & Benefits
Each serving of sugar cookies with this royal icing contains approximately:
| Calories | 120 kcal |
|---|---|
| Carbohydrates | 28g |
| Fat | 0g |
| Protein | 1g |
| Sugar | 22g |
This recipe is naturally gluten-free when paired with gluten-free sugar cookies, and free of dairy and nuts, making it friendly for many common allergies. The key ingredient, meringue powder, adds protein without extra fat. While this is definitely a treat, it’s a classic that brings comfort and joy, especially when you’re baking with loved ones. Personally, I like to think of these cookies as a sweet reward for a day well spent in the kitchen.
Conclusion
This easy no-fail sugar cookie royal icing recipe is one I keep coming back to because it’s reliable, forgiving, and produces results that look like they took hours to master. Whether you’re a beginner or a seasoned decorator, it offers a smooth, shiny finish that makes every cookie feel special. So go ahead, make it your own—add your favorite flavors, colors, or designs.
Honestly, I love how this icing brings a little sparkle to ordinary days, and I’m sure you’ll find it just as satisfying. If you try it, I’d love to hear how your cookies turn out or any creative twists you put on it—drop a comment below, share your photos, or tell me about your decorating adventures. Now, get your piping bags ready—it’s time to make some magic happen in your kitchen!
FAQs
Can I use fresh egg whites instead of meringue powder?
Yes, you can substitute 2 large egg whites for the meringue powder, but be cautious of food safety and freshness. Meringue powder is recommended for convenience and consistency.
How long does royal icing take to dry completely?
It usually takes 6 to 8 hours at room temperature to dry hard and shiny. Avoid rushing by chilling, as this can cause cracks.
What if my royal icing is too thick or too thin?
If too thick, add water 1 teaspoon at a time until you reach the desired consistency. If too thin, add more sifted powdered sugar gradually.
Can I store leftover royal icing?
Yes! Store in an airtight container with plastic wrap pressed directly on the surface for up to 5 days at room temperature. Stir before using.
How do I get shiny royal icing without cracks?
Mix thoroughly, avoid over-thinning with water, keep icing covered when not in use, and let it dry slowly at room temperature for the smoothest, shiniest finish.
Pin This Recipe!
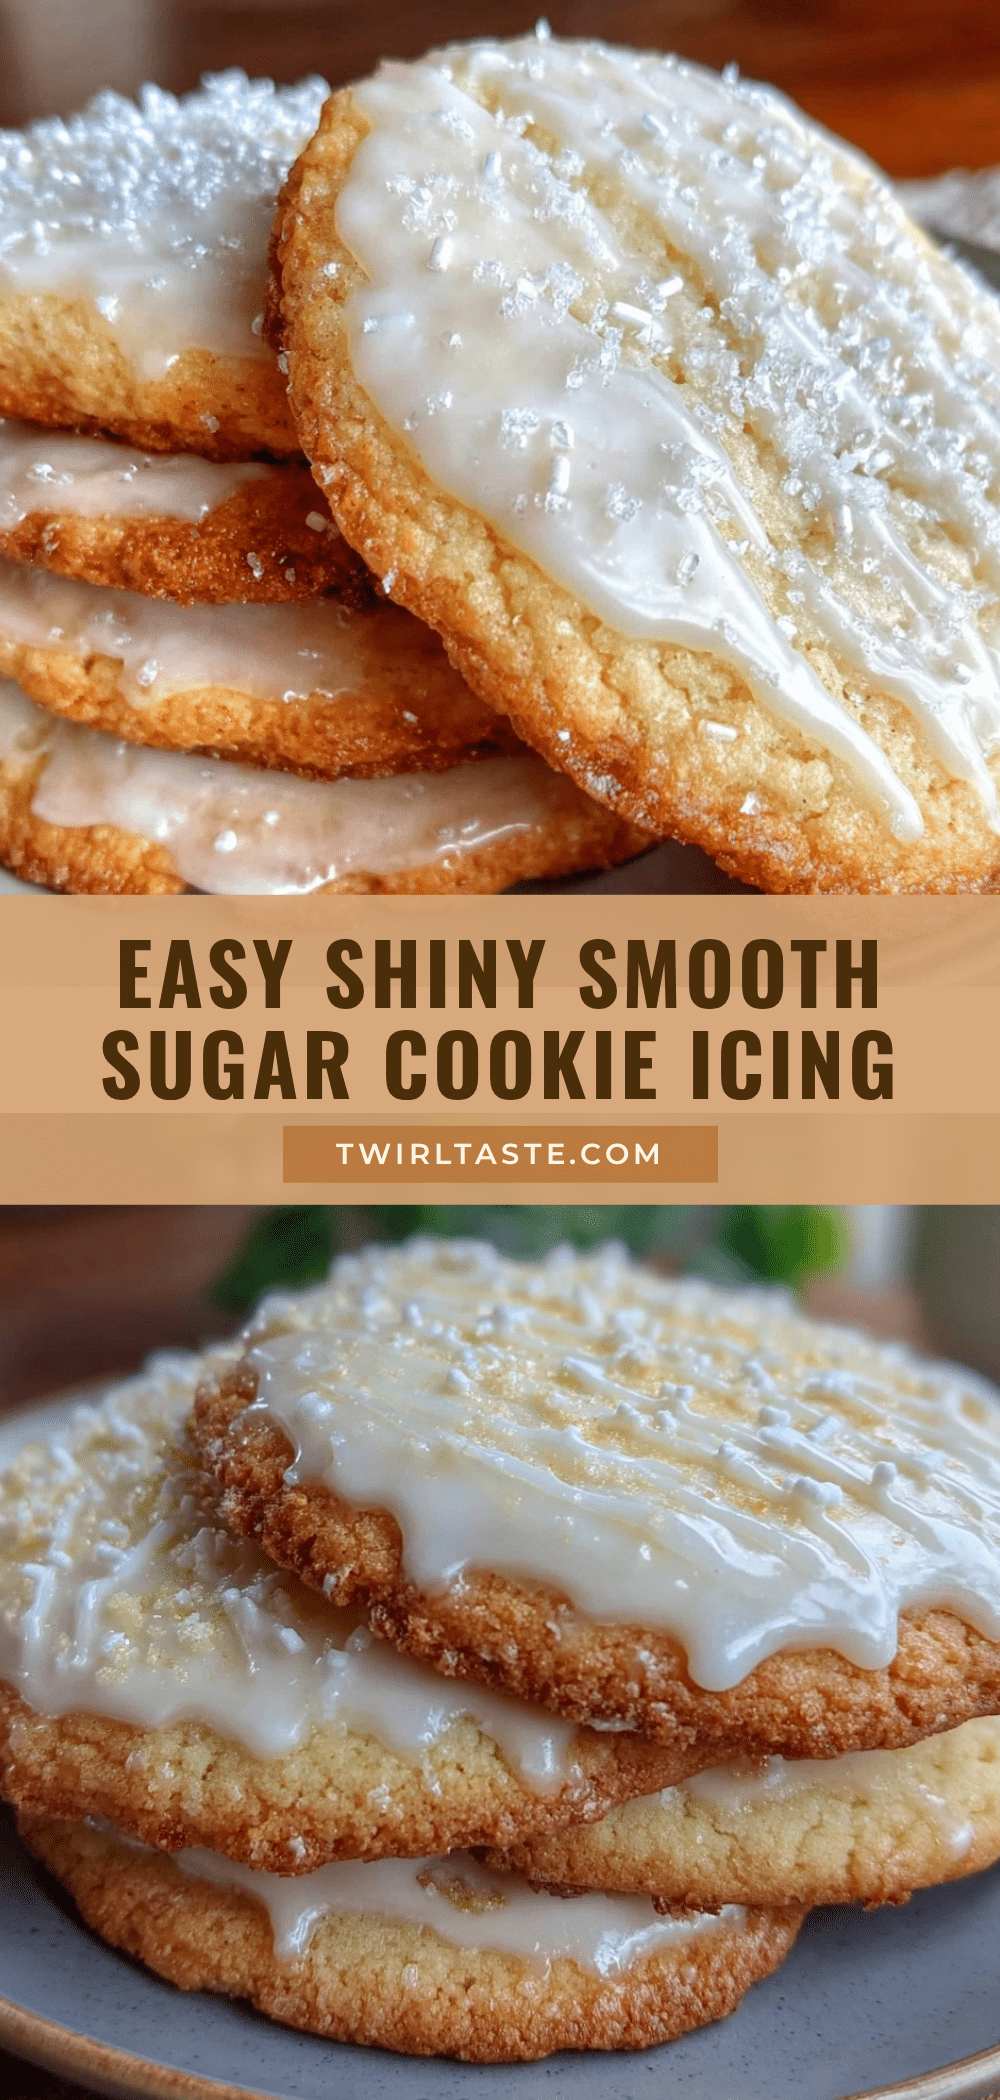
Easy No-Fail Sugar Cookie Royal Icing Recipe for Smooth Shiny Finish

This easy no-fail royal icing recipe delivers a smooth, shiny finish perfect for decorating sugar cookies. It is quick, simple, and produces professional-looking results every time.
- Prep Time: 10 minutes
- Cook Time: 7 minutes
- Total Time: 17 minutes
- Yield: Enough icing to decorate approximately 2 dozen sugar cookies
- Category: Dessert
- Cuisine: American
Ingredients
- 4 cups (about 480g) powdered (icing) sugar, sifted
- 3 tablespoons meringue powder (or 2 large egg whites as a substitute)
- 5 to 6 tablespoons (75–90 ml) water
- 1 teaspoon vanilla extract
- 1 teaspoon lemon juice (optional)
Instructions
- Sift the powdered sugar into a mixing bowl to avoid lumps and ensure smoothness.
- Sprinkle 3 tablespoons of meringue powder over the sugar.
- Mix dry ingredients briefly on low speed for about 15 seconds to combine.
- Add 5 tablespoons (75 ml) of water and 1 teaspoon of vanilla extract, then start mixing on low speed.
- Beat on medium-high speed for 5 to 7 minutes until stiff peaks form and the icing looks glossy and thick but spreadable.
- Adjust consistency by adding more water (1 teaspoon at a time) for flooding or more powdered sugar for stiffer piping.
- Cover the icing with plastic wrap pressed directly on the surface when not in use to prevent drying.
- Test the icing by piping a small line or dot on parchment paper; it should dry hard within a few hours with a smooth, glossy finish.
Notes
Use fresh meringue powder for best results. Whip for 5-7 minutes to achieve a glossy finish. Adjust water slowly to avoid thinning icing too much. Keep icing covered to prevent crusting. Use gel food coloring to avoid thinning the icing. Test piping on parchment paper before decorating cookies.
Nutrition
- Serving Size: Per decorated sugar
- Calories: 120
- Sugar: 22
- Carbohydrates: 28
- Protein: 1
Keywords: royal icing, sugar cookie icing, smooth icing, shiny icing, cookie decorating, easy royal icing, no-fail icing