Love this? Save it for later!
Share the inspiration with your friends
Introduction
The other day, I was waiting at the bus stop, and a sudden breeze carried the faint, sweet scent of caramel from a nearby bakery — and just like that, I was ten years old again, sitting cross-legged on the kitchen floor of my old apartment, watching my aunt stir a bubbling pot of sugar on the stove. It was late afternoon, the sun casting long shadows through the window, and I remember the way the golden caramel thickened slowly, the air filled with that warm, buttery aroma that made everything feel cozy and a little magical. I was utterly fascinated, even though I kept accidentally knocking over the mixing bowl, making a sticky mess that my aunt patiently cleaned up with a smile. That moment stuck with me — not just the taste, but the feeling of something homemade, simple, and utterly comforting.
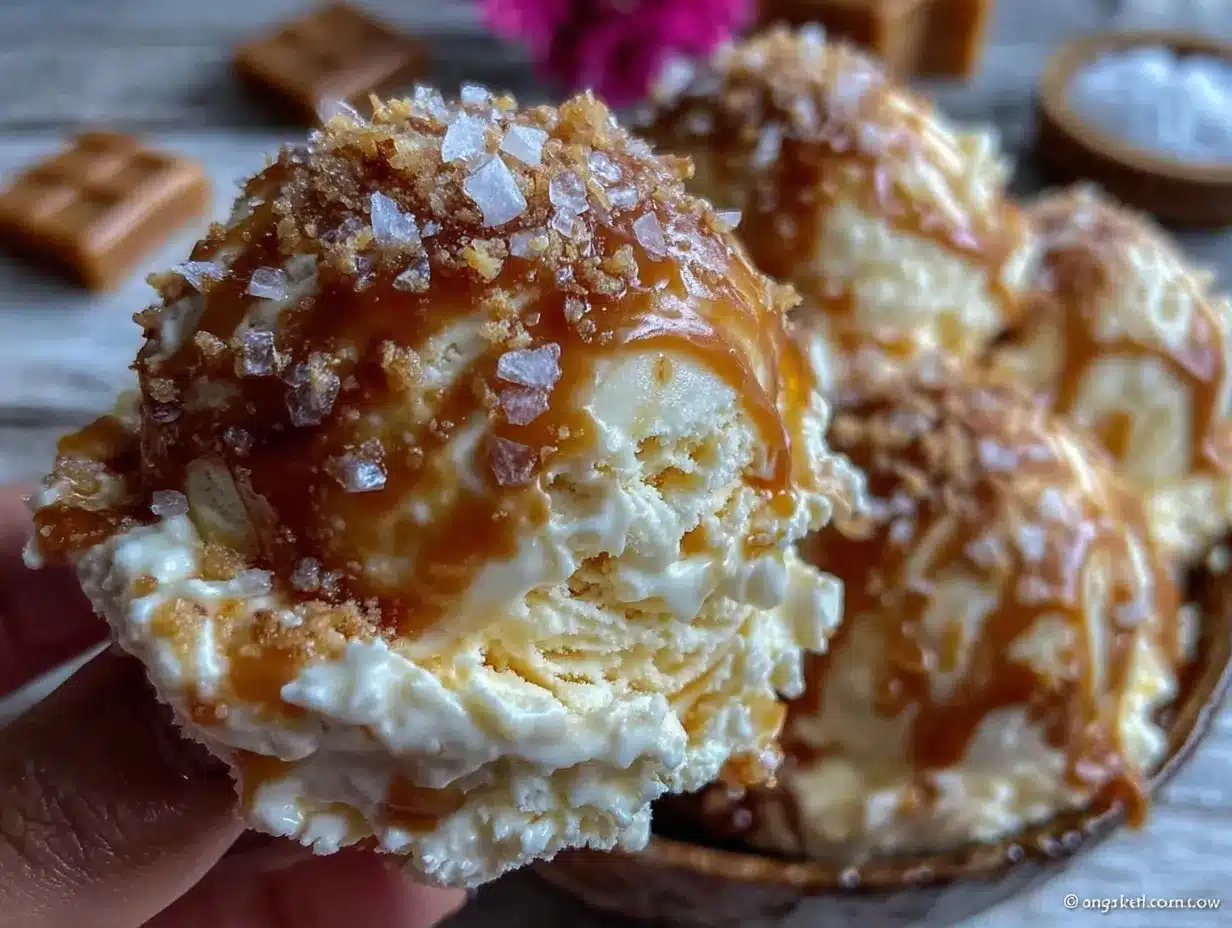
Years later, chasing that elusive memory of creamy, luscious salted caramel ice cream, I realized I didn’t need an ice cream maker or complicated steps to recreate that smooth, rich flavor. Honestly, the first time I whipped up this no-churn salted caramel ice cream, I was half-expecting it to be a flop — but it was just as indulgent and dreamy as I remembered. Maybe you’ve been there, craving that perfect scoop of caramel decadence without the fuss or the wait. This recipe is my little secret for capturing that exact feeling — creamy, sweet with a hint of salt, and so easy you can make it on a whim. Let me tell you, it’s become a staple in my kitchen for those quiet evenings when I want something comforting but fuss-free.
Why You’ll Love This Recipe
I’ve tested countless ice cream recipes over the years, and this creamy no-churn salted caramel ice cream stands out in so many ways. Here’s why you’ll want to keep this one bookmarked:
- Quick & Easy: Ready in under 4 hours, no ice cream maker needed — perfect for spontaneous dessert cravings or last-minute guests.
- Simple Ingredients: Uses everyday pantry staples like sweetened condensed milk and heavy cream, plus that irresistible homemade salted caramel sauce.
- Perfect for Any Occasion: Whether it’s a summer BBQ, cozy dinner, or a treat to impress friends, this ice cream fits the bill.
- Crowd-Pleaser: The balance of sweet and salt hits a universal sweet spot, making it a favorite with kids and adults alike.
- Unbelievably Delicious: The texture is silky smooth with pockets of gooey caramel — honestly, it’s like having a gourmet scoop right at home.
This isn’t just another salted caramel ice cream recipe — it’s the one I trust to deliver that perfect texture without churning or complicated steps. The secret? Folding whipped cream gently into sweetened condensed milk and swirling in homemade salted caramel at just the right moment. And if you’re curious about other sweet treats, you might enjoy my crispy garlic chicken recipe for a savory balance or chocolate peanut butter brownies for a rich dessert companion.
What Ingredients You Will Need
This recipe uses simple, wholesome ingredients to deliver bold flavor and satisfying texture without the fuss. Most are pantry staples, and you’ll find it easy to swap or adjust according to your taste or dietary needs.
- Heavy whipping cream (2 cups / 480 ml) – chilled for best whipping results.
- Sweetened condensed milk (1 can / 14 oz / 396 g) – provides natural sweetness and creamy body.
- Vanilla extract (1 tsp) – adds depth and warmth to the ice cream base.
- Granulated sugar (1 cup / 200 g) – for homemade caramel sauce.
- Unsalted butter (6 tbsp / 85 g) – use high-quality butter for a richer caramel flavor.
- Heavy cream (1/2 cup / 120 ml) – for the caramel sauce; can substitute with coconut cream for a dairy-free twist.
- Sea salt flakes (1 tsp) – the star that balances the caramel’s sweetness with a touch of savory.
Look for firm, fresh heavy cream and a trusted brand like Carnation for sweetened condensed milk — it really makes a difference in texture. If you want a seasonal twist, try adding a handful of chopped toasted pecans or swirl in some dark chocolate chips.
Equipment Needed
- Mixing bowls – one large for whipping cream, one medium for mixing.
- Electric hand mixer or stand mixer – essential for whipping the cream to soft peaks.
- Heavy-bottomed saucepan – for making the salted caramel sauce without burning.
- Rubber spatula – to fold ingredients gently without deflating the whipped cream.
- Loaf pan or airtight container – for freezing the ice cream.
- Measuring cups and spoons – to keep the recipe balanced.
If you don’t have an electric mixer, a sturdy whisk and some elbow grease can work, but be ready for a workout! For budget-friendly options, a basic hand mixer does the job well and is easy to store. Keeping your mixing bowl chilled helps the cream whip up faster and fluffier — trust me, it makes a noticeable difference.
Preparation Method
- Make the salted caramel sauce: In a heavy-bottomed saucepan over medium heat, melt 1 cup (200 g) of granulated sugar, stirring constantly with a wooden spoon. The sugar will clump up before melting into a smooth amber liquid — be patient and keep stirring to prevent burning. This step usually takes about 5-7 minutes.
- Add butter and cream: Once the sugar is fully melted and amber-colored, carefully stir in 6 tbsp (85 g) of unsalted butter until melted and combined. Remove from heat and slowly pour in 1/2 cup (120 ml) of heavy cream, stirring constantly. The mixture will bubble vigorously, so be cautious. Let it cool to room temperature, then stir in 1 tsp of sea salt flakes. Set aside.
- Whip the cream: In a large chilled bowl, whip 2 cups (480 ml) of heavy whipping cream with an electric mixer on medium-high speed until soft peaks form — about 3-4 minutes. Be careful not to overbeat; the cream should be light and fluffy but not grainy.
- Combine base: In a separate bowl, whisk together the sweetened condensed milk (1 can, 14 oz / 396 g) and 1 tsp vanilla extract until smooth.
- Fold the cream: Gently fold the whipped cream into the condensed milk mixture using a rubber spatula. Use slow, sweeping motions to keep it airy and light — this step takes about 2-3 minutes.
- Swirl in caramel: Pour half of the cooled salted caramel sauce into the ice cream base and fold gently just a few times to create ribbons of caramel. Save the other half for drizzling when serving.
- Freeze: Transfer the mixture to a loaf pan or airtight container, smoothing the top with a spatula. Cover with plastic wrap or a lid and freeze for at least 4 hours, preferably overnight.
- Serve: Before scooping, let the ice cream sit at room temperature for 5-10 minutes to soften slightly for easier scooping. Drizzle with remaining salted caramel sauce and a pinch of sea salt for extra flair.
Keep a close eye on the caramel stage — it’s easy to burn if you rush. Also, folding the whipped cream just right is key to that creamy texture. I learned the hard way that overmixing leads to a denser ice cream, so go slow and steady. Sometimes, I add a quick sprinkle of chopped nuts on top before freezing for a surprise crunch.
Cooking Tips & Techniques
When making this creamy no-churn salted caramel ice cream, a few tricks can save you some headaches and make the dessert shine.
- Caramel patience: The sugar stage requires attention. Stir consistently, and don’t rush the melting process — burnt caramel tastes bitter and will ruin your ice cream.
- Chill your tools: Cold bowls and beaters help the cream whip faster and hold its structure better.
- Fold gently: Use a spatula to fold the whipped cream into the condensed milk mixture. Avoid vigorous stirring; the goal is to keep as much air as possible for a light texture.
- Salt balance: Adjust sea salt flakes to your taste. I like a bold salty contrast, but you might prefer a lighter touch.
- Freeze time: Don’t rush freezing. The longer it sets, the better the texture. If you’re impatient like me, 4 hours minimum is key.
- Prevent ice crystals: The high fat content from cream and condensed milk keeps ice crystals at bay, but avoid opening the freezer often to maintain smoothness.
One time, I forgot to cool the caramel before folding it in — it melted the whipped cream a bit, and the texture suffered. Live and learn! Multitasking helps too — while the caramel cools, whip the cream so you’re ready to combine immediately. Trust me, it cuts down on waiting and keeps everything fresh.
Variations & Adaptations
This creamy no-churn salted caramel ice cream recipe is really versatile and welcomes some creative twists:
- Nutty caramel: Stir in toasted pecans or almonds for texture and extra flavor.
- Vegan twist: Use coconut cream instead of heavy cream and a dairy-free sweetened condensed milk alternative. Swap butter for coconut oil in the caramel sauce.
- Chocolate swirl: Add ribbons of melted dark chocolate or fudge sauce along with the caramel for a double treat.
- Spiced caramel: Infuse the caramel sauce with a pinch of cinnamon or cayenne pepper for subtle warmth and complexity.
Personally, I tried a batch with a sprinkle of espresso powder in the base — it added a lovely mocha undertone that pairs wonderfully with the caramel. Also, if you’re short on time, freezing in smaller containers helps it set faster and makes portioning a breeze.
Serving & Storage Suggestions
Serve this salted caramel ice cream slightly softened to scoop easily and reveal those luscious caramel swirls. A simple bowl with a drizzle of extra caramel and a sprinkle of flaky sea salt makes a stunning presentation. Pair it with warm apple pie or a rich chocolate cake for an indulgent dessert combo.
Store leftovers in an airtight container in the freezer for up to 2 weeks. To re-soften, transfer to the fridge for 20-30 minutes or leave at room temperature for 5-10 minutes before scooping. Flavors actually deepen after a day or two of resting in the freezer, so feel free to make it ahead for stress-free entertaining.
Nutritional Information & Benefits
This ice cream is rich and indulgent — expect around 300-350 calories per serving (about 1/2 cup). The heavy cream and sweetened condensed milk provide a creamy texture and natural sweetness without added refined sugars beyond the caramel. Sea salt adds trace minerals that balance flavors.
If you’re mindful of allergens, this recipe contains dairy and sugar. For gluten-free needs, it’s naturally suitable. The high-fat content makes it quite filling, so a small serving satisfies most sweet cravings. I appreciate having a homemade dessert option that feels like a treat but avoids unnecessary preservatives or artificial ingredients.
Conclusion
This creamy no-churn salted caramel ice cream recipe is a keeper for anyone who loves rich, silky desserts without the hassle of an ice cream maker. I love how it captures that perfect balance of sweet and salty with a texture that feels homemade but sophisticated. You can easily tweak it to suit your taste or dietary needs, making it truly your own. Honestly, making this ice cream always brings me back to those quiet afternoons with my aunt and that warm caramel smell — it’s comfort in a bowl.
Give it a try and let me know how you customize it to fit your cravings or special occasions. I’d love to hear your versions and any tweaks that made you smile!
Frequently Asked Questions
Can I make this ice cream without an ice cream maker?
Yes! This recipe is designed to be no-churn, so all you need is a freezer and some patience. The whipped cream and condensed milk create a creamy texture without the need for churning.
How long does the ice cream need to freeze?
It should freeze for at least 4 hours, but overnight is best for the creamiest texture.
Can I store the ice cream for a long time?
Store it in an airtight container in the freezer for up to 2 weeks. Avoid thawing and refreezing multiple times to maintain quality.
Is it possible to make a dairy-free version?
Absolutely! Substitute heavy cream with coconut cream and use dairy-free sweetened condensed milk alternatives. Replace butter in the caramel with coconut oil.
How do I prevent ice crystals from forming?
Use the full amount of cream and condensed milk, minimize opening the freezer, and fold ingredients gently to maintain smooth texture.
Pin This Recipe!
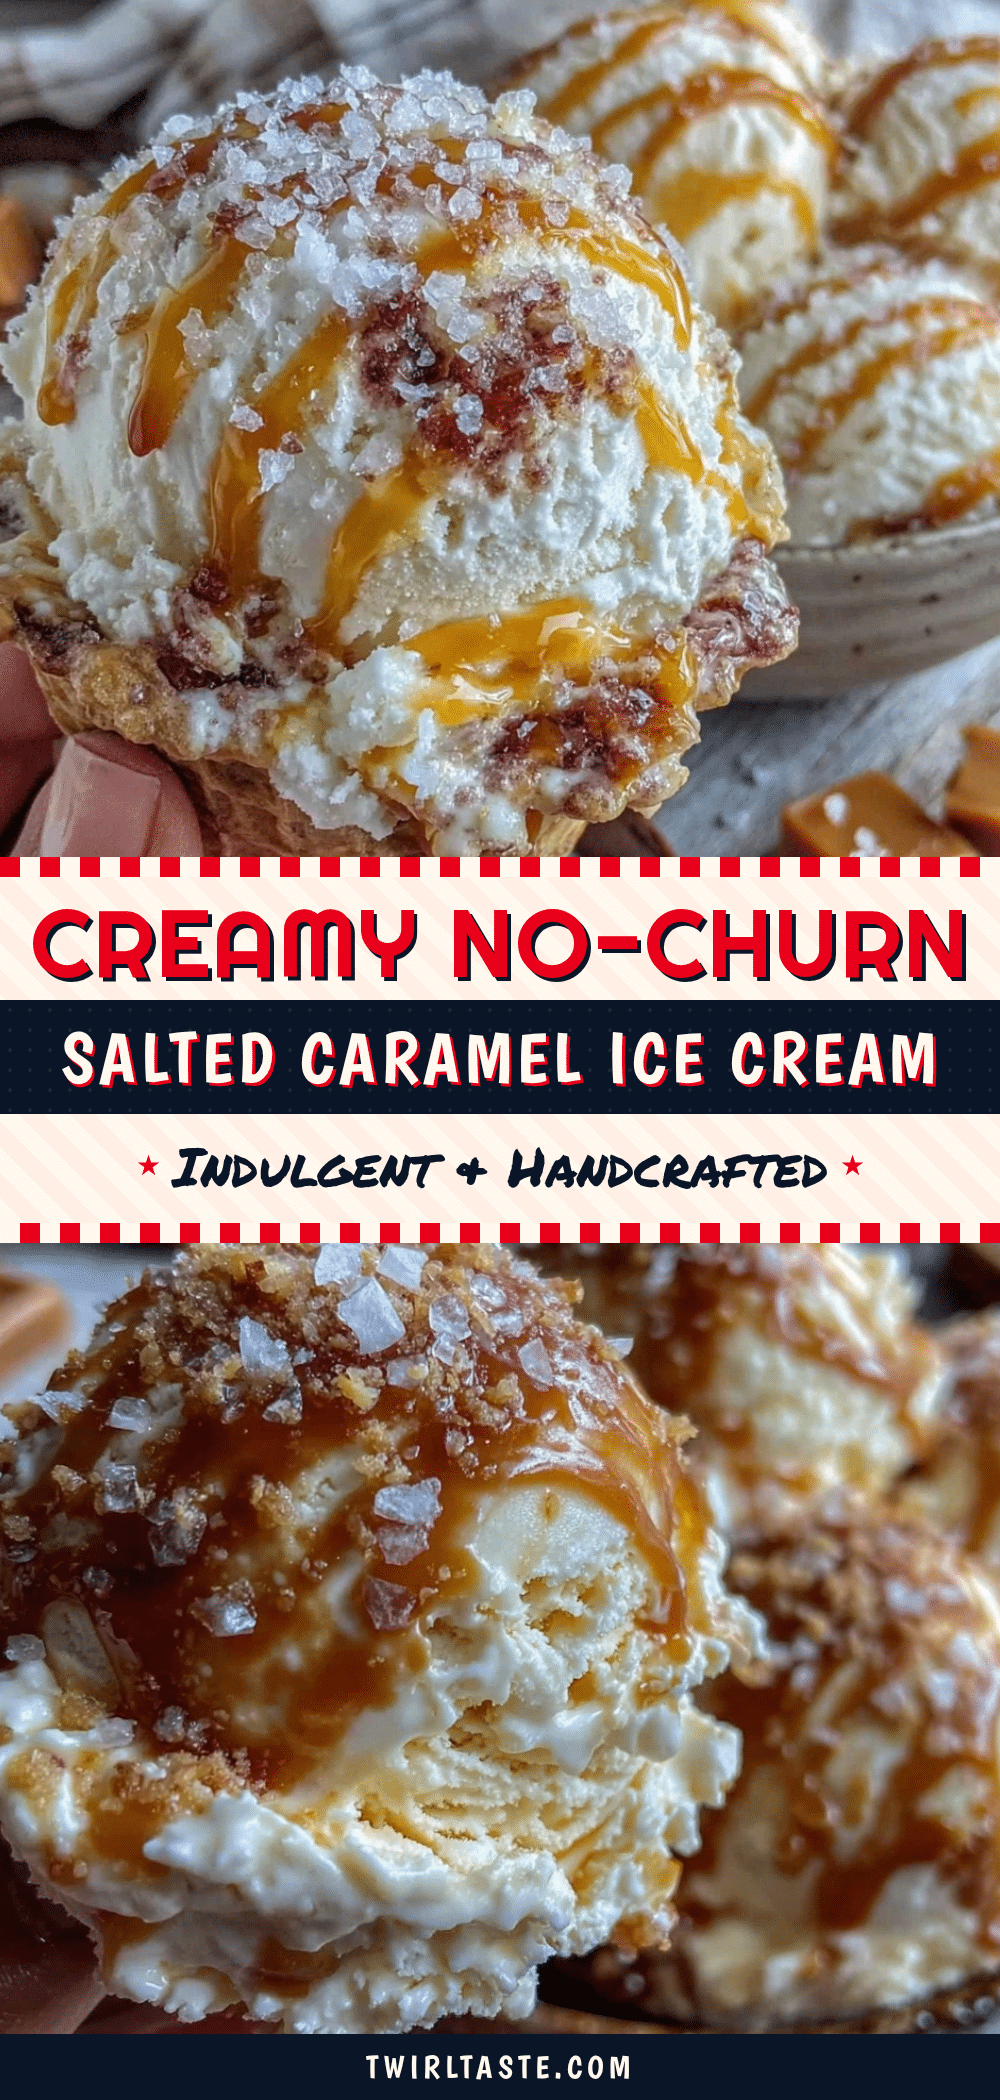
Creamy No-Churn Salted Caramel Ice Cream

A rich and indulgent no-churn salted caramel ice cream recipe that is easy to make at home without an ice cream maker. It features a silky smooth texture with luscious caramel swirls and a perfect balance of sweet and salty flavors.
- Prep Time: 15 minutes
- Cook Time: 10 minutes
- Total Time: 4 hours 25 minutes
- Yield: 8 servings 1x
- Category: Dessert
- Cuisine: American
Ingredients
- 2 cups (480 ml) heavy whipping cream, chilled
- 1 can (14 oz / 396 g) sweetened condensed milk
- 1 tsp vanilla extract
- 1 cup (200 g) granulated sugar
- 6 tbsp (85 g) unsalted butter
- 1/2 cup (120 ml) heavy cream (for caramel sauce; can substitute with coconut cream for dairy-free)
- 1 tsp sea salt flakes
Instructions
- Make the salted caramel sauce: In a heavy-bottomed saucepan over medium heat, melt 1 cup (200 g) of granulated sugar, stirring constantly with a wooden spoon until it melts into a smooth amber liquid (about 5-7 minutes).
- Add butter and cream: Stir in 6 tbsp (85 g) unsalted butter until melted and combined. Remove from heat and slowly pour in 1/2 cup (120 ml) heavy cream, stirring constantly. Let cool to room temperature, then stir in 1 tsp sea salt flakes. Set aside.
- Whip the cream: In a large chilled bowl, whip 2 cups (480 ml) heavy whipping cream with an electric mixer on medium-high speed until soft peaks form (about 3-4 minutes).
- Combine base: In a separate bowl, whisk together the sweetened condensed milk and 1 tsp vanilla extract until smooth.
- Fold the cream: Gently fold the whipped cream into the condensed milk mixture using a rubber spatula, using slow sweeping motions to keep it airy (about 2-3 minutes).
- Swirl in caramel: Pour half of the cooled salted caramel sauce into the ice cream base and fold gently a few times to create ribbons of caramel. Save the other half for drizzling when serving.
- Freeze: Transfer the mixture to a loaf pan or airtight container, smooth the top, cover, and freeze for at least 4 hours or preferably overnight.
- Serve: Let the ice cream sit at room temperature for 5-10 minutes before scooping. Drizzle with remaining salted caramel sauce and sprinkle with sea salt flakes.
Notes
Be patient when melting sugar to avoid burnt caramel. Chill mixing bowls and beaters for better whipping results. Fold whipped cream gently to maintain airy texture. Freeze for at least 4 hours for best texture. Can add toasted nuts or chocolate chips for variation. For dairy-free version, substitute heavy cream with coconut cream and butter with coconut oil.
Nutrition
- Serving Size: 1/2 cup (approximate
- Calories: 325
- Sugar: 30
- Sodium: 150
- Fat: 22
- Saturated Fat: 14
- Carbohydrates: 32
- Protein: 3
Keywords: no-churn ice cream, salted caramel, homemade dessert, easy ice cream, no ice cream maker, creamy ice cream, caramel sauce