Love this? Save it for later!
Share the inspiration with your friends
Introduction
“You won’t believe what just happened in my tiny kitchen last Saturday,” I told my friend as I balanced a tray of these creamy no-bake lemon Oreo cheesecake bars. Honestly, I was halfway through making a totally different dessert when my oven decided to throw a tantrum. No heat, no backup plan, and a potluck looming in less than two hours. So there I was, rummaging through my pantry, trying to whip up something fast, tasty, and—most importantly—no oven required.
Somehow, the combination of zesty lemon, crushed Oreo crust, and that silky cheesecake filling came together like magic (and yes, a little bit of luck). I had a cracked mixing bowl, a distracted cat, and a phone buzzing non-stop, but those bars? They stole the show. Maybe you’ve been there—frantic, a little frazzled, but ending up with a recipe so good you can’t stop making it.
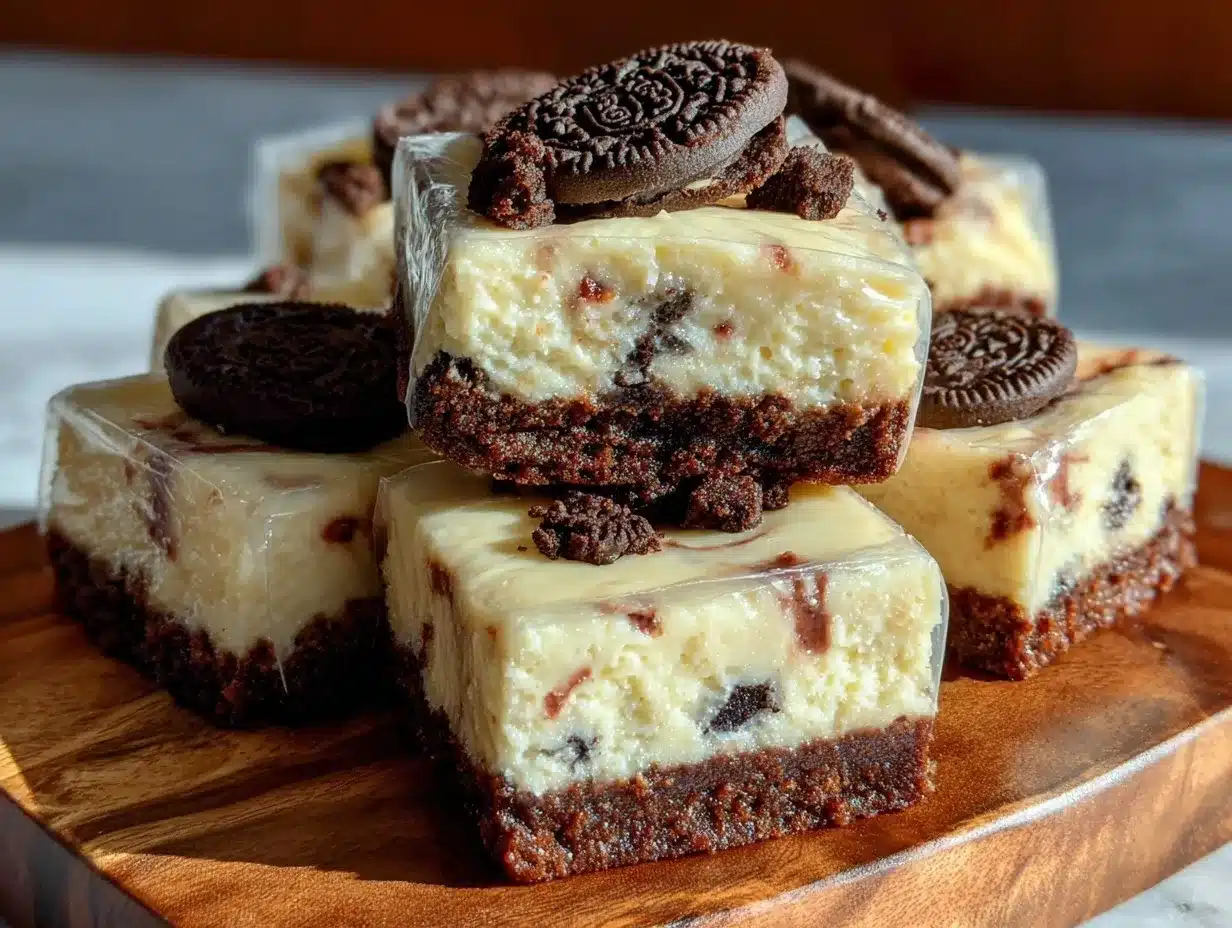
These no-bake lemon Oreo cheesecake bars hold a special place in my recipe box now. They’re creamy, tangy, with just the right amount of crunch and sweetness, and they’re so simple that even my most dessert-challenged friends ask for the recipe. Whether you want a last-minute gift, a potluck hero, or just a treat to impress yourself, keep reading. I promise these bars will become your go-to, just like they did for me.
Why You’ll Love This Recipe
Let me tell you, this recipe isn’t just another cheesecake bar. It’s a little slice of lemony heaven wrapped in a crunchy Oreo hug. After several test batches (and a few honest mistakes), I’ve nailed down a recipe that’s as easy as it is delicious. Here’s why you’re going to want to make it ASAP:
- Quick & Easy: Ready in under 30 minutes with no baking needed—perfect for when time’s short, but you want to impress.
- Simple Ingredients: You probably have everything on hand—Oreos, cream cheese, lemon juice, and a few pantry staples.
- Perfect for Gifting: These bars look fancy but require zero fancy skills. Great for last-minute presents or holiday treat swaps.
- Crowd-Pleaser: Kids and adults alike can’t get enough of the creamy texture and the zing of fresh lemon.
- Unbelievably Delicious: That smooth, tangy filling paired with the chocolatey crust is honestly a match made in dessert heaven.
What sets this apart? Instead of the usual graham cracker crust, crushed Oreos bring a chocolatey crunch that’s both nostalgic and new. The lemon flavor is bright but not overpowering, striking a perfect balance with the cream cheese. Plus, no oven means less stress and mess—which I’m all for.
Trust me, this recipe is comfort food reimagined with a zesty twist. It’s the kind of treat you’ll want to share but might also keep all to yourself. Ready to make your kitchen smell like a lemony dream? Let’s get going.
What Ingredients You Will Need
This recipe uses a handful of straightforward ingredients that come together beautifully without fuss. Most are pantry staples, with a few fresh touches for that perfect balance of flavor and texture.
- Crust:
- 28 Oreo cookies (about 1 ¾ cups crushed; I prefer Double Stuf for extra creaminess)
- 5 tablespoons unsalted butter, melted (adds richness and helps the crust stick)
- Filling:
- 16 oz (450 g) cream cheese, softened (room temperature for smooth blending)
- 1 cup powdered sugar (for just the right sweetness without graininess)
- ¾ cup heavy cream, cold (whipped to soft peaks for a fluffy texture)
- ¼ cup fresh lemon juice (about 2 lemons, freshly squeezed for brightness)
- 1 teaspoon lemon zest (adds a fragrant pop)
- 1 teaspoon vanilla extract (rounds out the flavor)
- Optional Topping:
- Mini Oreo pieces or lemon zest for garnish
Quick notes: If you need a dairy-free option, swap cream cheese for a plant-based version, and use coconut cream instead of heavy cream. For a gluten-free twist, crushed gluten-free chocolate cookies work well in the crust. I’ve tried both, and the texture stays just as creamy.
Equipment Needed
You don’t need fancy gadgets for these cheesecake bars—just a few kitchen basics that you probably already own.
- 8×8-inch (20×20 cm) square baking pan (lined with parchment paper for easy removal)
- Mixing bowls (one large for the filling, one medium for the crust)
- Electric mixer or hand mixer (essential for whipping cream and creaming the cheese smoothly)
- Food processor or a sturdy plastic bag and rolling pin (for crushing Oreos)
- Spatula (to fold in the whipped cream gently)
- Citrus zester or fine grater (for fresh lemon zest)
Pro tip: I once tried hand-whisking the cream and quickly realized the electric mixer saves so much time and effort. If you don’t have a food processor, don’t sweat it—a zip-top bag and a rolling pin do the job just fine (though it’s a bit messier!).
Preparation Method
- Prepare the crust: Crush 28 Oreo cookies finely using a food processor, or place them in a zip-top bag and crush with a rolling pin until you have about 1 ¾ cups of crumbs. Mix the crumbs with 5 tablespoons of melted unsalted butter until the mixture resembles wet sand.
- Press the crust: Line an 8×8-inch pan with parchment paper, leaving some overhang for easy removal later. Press the Oreo mixture firmly into the bottom of the pan to form an even layer. Pop it into the fridge to chill while you make the filling (about 10 minutes).
- Make the filling: In a large bowl, beat 16 oz of softened cream cheese with 1 cup powdered sugar until smooth and creamy—no lumps! Add ¼ cup freshly squeezed lemon juice, 1 teaspoon lemon zest, and 1 teaspoon vanilla extract, mixing gently until combined.
- Whip the cream: In a separate chilled bowl, whip ¾ cup cold heavy cream until soft peaks form (about 3-4 minutes with an electric mixer). Be careful not to overwhip; you want it fluffy, not stiff.
- Combine and chill: Gently fold the whipped cream into the cream cheese mixture using a spatula. Pour the filling over the chilled Oreo crust and smooth the top evenly. Refrigerate for at least 4 hours, ideally overnight, until set and firm.
Note: If you feel impatient (like I often do), a quick 2-hour chill will firm the bars enough to cut, but the texture improves with longer refrigeration. When ready to serve, use the parchment paper overhang to lift the bars out of the pan, then cut into 12 squares.
Pro tip: I learned the hard way that pressing the crust firmly and chilling it first prevents it from crumbling when you slice into the bars. Also, folding the whipped cream gently keeps the filling light and airy—no one wants dense cheesecake bars!
Cooking Tips & Techniques
Let me share a few tricks I picked up after a few trial runs with this recipe. They’ll help you nail perfect cheesecake bars every time.
- Softened cream cheese is key: If your cream cheese is too cold, you’ll end up with lumps. Leave it out for about 30 minutes or microwave for 10 seconds, but don’t let it melt.
- Whip that cream just right: Stop whipping when soft peaks form—overwhipping turns it grainy and separates the fat.
- Folding technique matters: Use a gentle folding motion to combine whipped cream and cream cheese filling. Stirring too vigorously deflates the mixture, making it dense.
- Crust pressing: Pack the Oreo crust firmly and evenly to avoid it falling apart. I use the bottom of a glass to press it down nicely.
- Chilling patience: I know waiting is hard, but giving the bars at least 4 hours to chill makes a difference in texture and flavor melding.
Once, I forgot to line the pan with parchment and spent way too long scraping bars off the bottom (lesson learned!). Trust me, this simple step saves you from kitchen frustration.
Variations & Adaptations
Feeling creative or catering to dietary needs? Here are some tasty ways to switch things up:
- Berry Lemon Bars: Fold in ½ cup of fresh blueberries or raspberries into the filling before chilling for a fruity twist.
- Gluten-Free Option: Use gluten-free chocolate sandwich cookies in place of Oreos. The crust stays just as satisfying.
- Vegan Version: Swap cream cheese for a plant-based alternative, use coconut cream instead of heavy cream, and select vegan-friendly sandwich cookies.
- Extra Zesty: Add ½ teaspoon of lemon extract alongside the juice and zest for a more intense lemon flavor.
- Chocolate Swirl: Mix in ¼ cup melted semi-sweet chocolate into the filling for a marbled effect and a richer taste.
Personally, I once tried adding a handful of crushed pistachios on top for a nutty crunch—totally worth it! Feel free to experiment based on what you love or have on hand.
Serving & Storage Suggestions
These lemon Oreo cheesecake bars are best served chilled. I like to slice them into neat squares and garnish with a sprinkle of lemon zest or mini Oreo crumbs for that gift-worthy presentation.
Pair them with a cup of hot tea or a refreshing glass of sparkling water to balance the richness. They also make a wonderful addition to brunch spreads or dessert tables.
For storage, keep the bars covered in the refrigerator for up to 4 days. You can also freeze them: wrap individual squares tightly in plastic wrap and store in an airtight container for up to 2 months. Thaw in the fridge overnight before serving.
Fun fact: the flavors actually deepen after a day or two, so if you can wait, the bars taste even better. Just don’t blame me if they disappear fast once you bring them out!
Nutritional Information & Benefits
Each creamy no-bake lemon Oreo cheesecake bar contains roughly:
- Calories: 280-320 (depending on size and toppings)
- Fat: 18g (mostly from cream cheese and butter)
- Carbohydrates: 28g
- Protein: 3g
The fresh lemon juice and zest provide a boost of vitamin C, adding a bright note of freshness. While these bars are definitely an indulgence, they offer a satisfying balance of flavors without any artificial additives.
For those keeping an eye on allergens, the recipe contains dairy, gluten (unless using gluten-free cookies), and eggs (in Oreos). Customizing with dairy-free and gluten-free swaps makes this accessible to many diets.
From a wellness perspective, I appreciate how this dessert feels homemade and wholesome compared to pre-packaged sweets. It’s the kind of treat you can feel good about sharing.
Conclusion
If you’re looking for a show-stopping dessert that’s easy, quick, and absolutely delicious, these creamy no-bake lemon Oreo cheesecake bars are a winner. They’ve earned their spot in my recipe lineup thanks to their perfect balance of tangy lemon, rich cream cheese, and crunchy chocolate crust.
Don’t be shy about tweaking the flavors or toppings to suit your taste. I’d love to hear how you make this recipe your own—maybe you’ll add a twist I haven’t tried yet!
Ready to wow your friends or treat yourself? Whip these up, share your experience, and don’t forget to drop a comment below. Let’s make dessert magic together!
FAQs About Creamy No-Bake Lemon Oreo Cheesecake Bars
Can I make these bars ahead of time?
Absolutely! These bars actually taste better after chilling overnight, making them perfect for prepping a day ahead.
What if I don’t have fresh lemons?
Fresh lemon juice and zest are best for vibrant flavor, but in a pinch, bottled lemon juice can work. Just reduce the quantity slightly to avoid bitterness.
Can I substitute regular Oreos instead of Double Stuf?
Yes, regular Oreos work just fine. Double Stuf adds extra creaminess to the crust, but it’s not a dealbreaker.
How do I prevent the crust from getting soggy?
Pressing the crust firmly and chilling it before adding the filling helps keep it crisp. Also, avoid letting the bars sit out too long at room temperature.
Can I freeze the cheesecake bars?
Yes! Wrap individual bars tightly in plastic wrap and freeze up to 2 months. Thaw in the fridge overnight before serving for best texture.
Pin This Recipe!
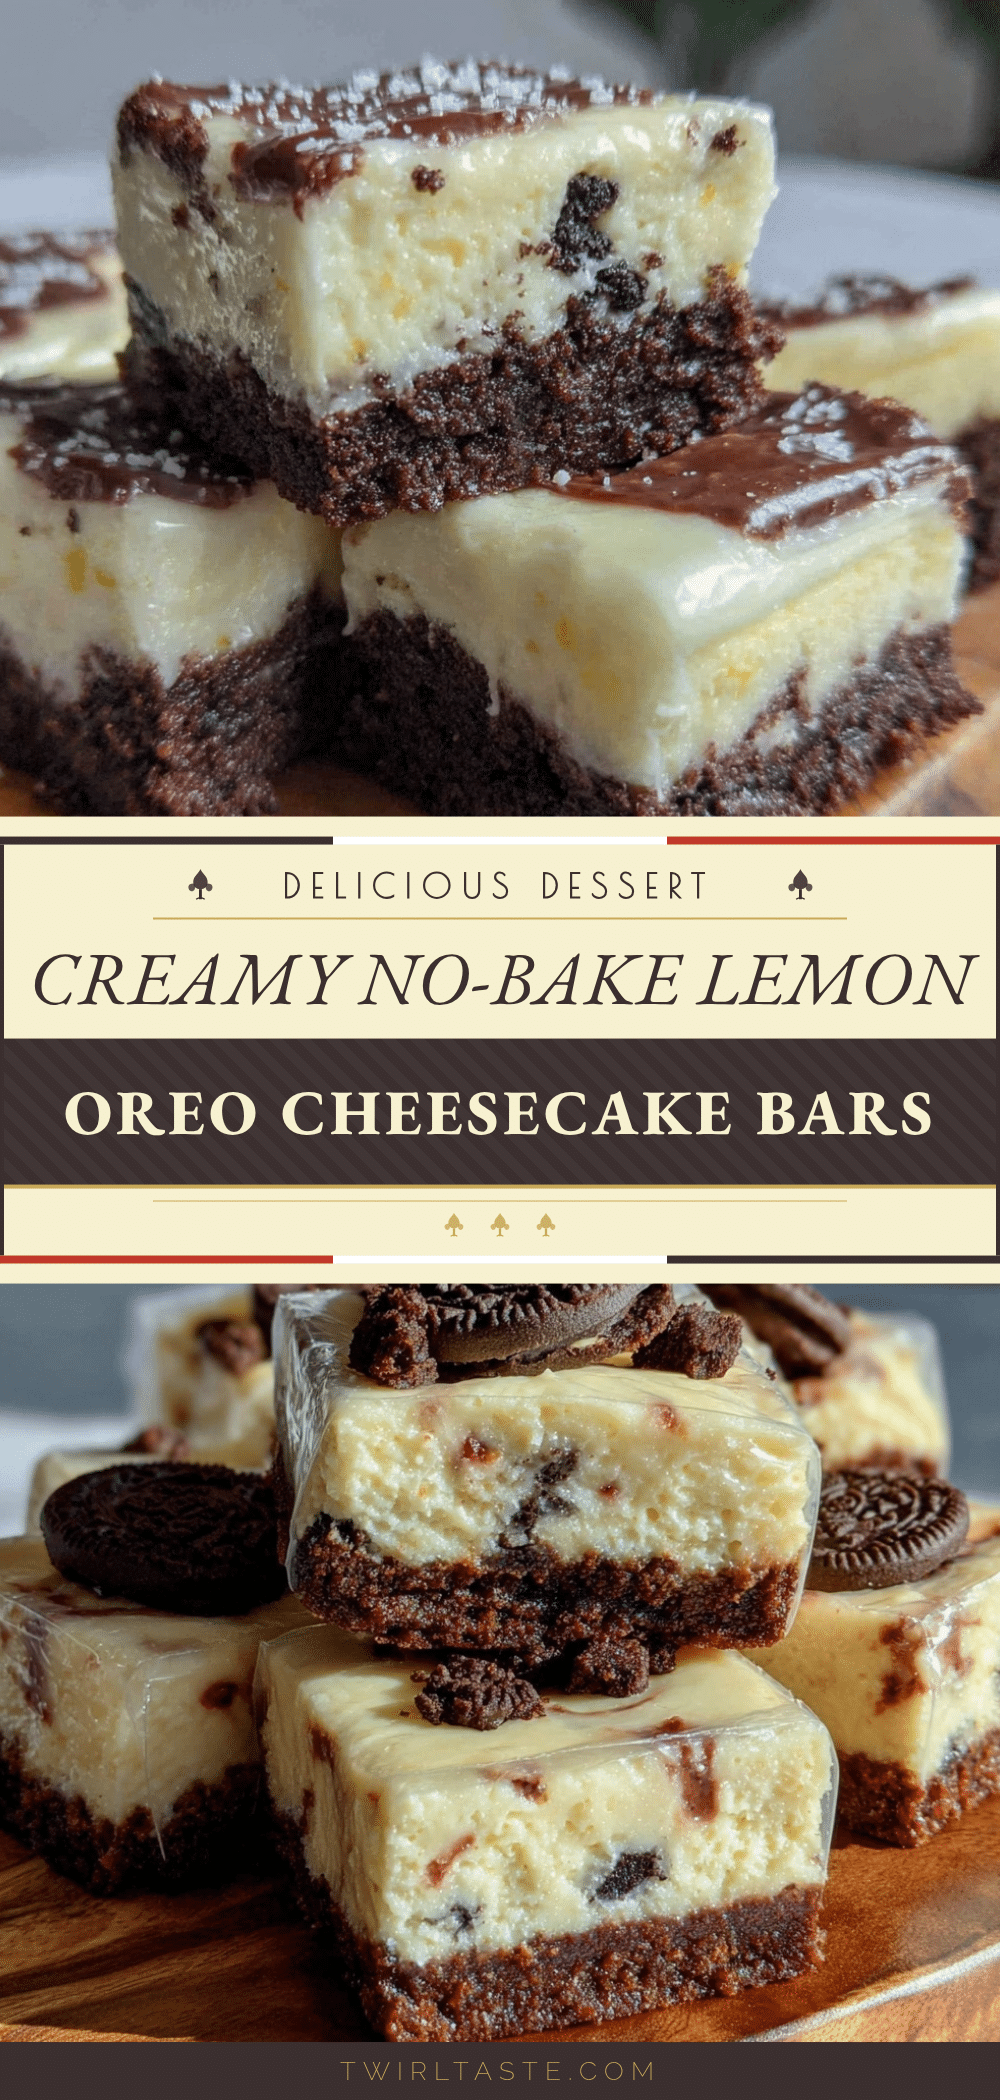
Creamy No-Bake Lemon Oreo Cheesecake Bars
These creamy no-bake lemon Oreo cheesecake bars combine a zesty lemon filling with a crunchy Oreo crust for a quick, easy, and crowd-pleasing dessert perfect for gifting or potlucks.
- Prep Time: 15 minutes
- Cook Time: 0 minutes
- Total Time: 4 hours 15 minutes
- Yield: 12 servings 1x
- Category: Dessert
- Cuisine: American
Ingredients
- 28 Oreo cookies (about 1 ¾ cups crushed; Double Stuf preferred)
- 5 tablespoons unsalted butter, melted
- 16 oz (450 g) cream cheese, softened
- 1 cup powdered sugar
- ¾ cup heavy cream, cold
- ¼ cup fresh lemon juice (about 2 lemons)
- 1 teaspoon lemon zest
- 1 teaspoon vanilla extract
- Optional: Mini Oreo pieces or lemon zest for garnish
Instructions
- Crush 28 Oreo cookies finely using a food processor or place them in a zip-top bag and crush with a rolling pin until you have about 1 ¾ cups of crumbs. Mix the crumbs with 5 tablespoons of melted unsalted butter until the mixture resembles wet sand.
- Line an 8×8-inch pan with parchment paper, leaving some overhang for easy removal later. Press the Oreo mixture firmly into the bottom of the pan to form an even layer. Refrigerate for about 10 minutes to chill.
- In a large bowl, beat 16 oz of softened cream cheese with 1 cup powdered sugar until smooth and creamy. Add ¼ cup freshly squeezed lemon juice, 1 teaspoon lemon zest, and 1 teaspoon vanilla extract, mixing gently until combined.
- In a separate chilled bowl, whip ¾ cup cold heavy cream until soft peaks form (about 3-4 minutes with an electric mixer). Be careful not to overwhip.
- Gently fold the whipped cream into the cream cheese mixture using a spatula. Pour the filling over the chilled Oreo crust and smooth the top evenly. Refrigerate for at least 4 hours, ideally overnight, until set and firm.
Notes
Use softened cream cheese to avoid lumps. Whip cream to soft peaks only to keep texture light. Press crust firmly and chill before adding filling to prevent crumbling. Refrigerate at least 4 hours for best texture; 2 hours is minimum. For dairy-free or gluten-free options, substitute ingredients as noted.
Nutrition
- Serving Size: 1 bar (1 of 12 squar
- Calories: 300
- Sugar: 20
- Sodium: 150
- Fat: 18
- Saturated Fat: 10
- Carbohydrates: 28
- Fiber: 1
- Protein: 3
Keywords: no-bake, lemon, Oreo, cheesecake bars, easy dessert, potluck, gift-worthy, creamy, quick dessert