Love this? Save it for later!
Share the inspiration with your friends
“I wasn’t planning on making ice cream that night,” I confessed to my friend over the phone. It was a Tuesday, and honestly, I was just craving something cold and sweet after a long, sweaty workout. I had zero fancy ingredients on hand—just a tub of protein powder, some Greek yogurt, and a splash of almond milk. So, I threw them together, kind of on a whim, thinking it’d be a sad, gritty mess. But you know what? It turned out to be this unbelievably creamy, satisfying treat that felt like cheating on dessert with zero guilt.
That little experiment became my go-to for those nights when you want something indulgent but good for your muscles too. Plus, it only takes three ingredients—no fuss, no blender gymnastics, and no obscure stuff from the back of the store. I mean, maybe you’ve been there, staring into the freezer wondering if ice cream is possible when you’re trying to eat smart. This creamy protein ice cream recipe is honestly a game-changer for that exact moment.
What’s wild is how this simple combo hits that rich, smooth texture you usually expect from full-sugar, heavy-cream versions but without all the extra calories and additives. I keep a cracked little bowl from a thrift shop just for mixing this up, and it always feels like a mini celebration to make it. So, if you’re anything like me, juggling cravings and clean eating, you’ll find this homemade treat really sticks with you.
Why You’ll Love This Recipe
- Quick & Easy: Ready in under 10 minutes, perfect for busy evenings or unexpected dessert cravings.
- Simple Ingredients: Only three, pantry-friendly items—no need to hunt for exotic stuff.
- Perfect for Post-Workout: Packs a protein punch to help with muscle recovery while satisfying your sweet tooth.
- Crowd-Pleaser: Even skeptical guests have asked for the recipe after tasting it.
- Unbelievably Creamy: The texture rivals traditional ice cream, thanks to the Greek yogurt and protein powder blend.
This isn’t just any protein ice cream recipe. I’ve tested versions with different protein powders and yogurts over months, tweaking ratios until I got the balance just right—creamy but not icy, sweet but not overpowering. The secret, honestly, is in blending the right kind of protein powder with full-fat Greek yogurt and a touch of almond milk, which creates this silky base. It’s the kind of treat where you close your eyes after that first bite and smile, knowing you’re treating your body well without sacrificing flavor.
Whether you want a guilt-free dessert, a quick snack, or something to cool down after exercise, this recipe delivers every time. It’s the kind of recipe I recommend to friends who think healthy desserts have to be boring. Spoiler: they don’t.
What Ingredients You Will Need
This recipe uses simple, wholesome ingredients to deliver bold flavor and satisfying texture without the fuss. You likely already have everything in your kitchen, which makes it perfect for last-minute cravings or easy meal prep.
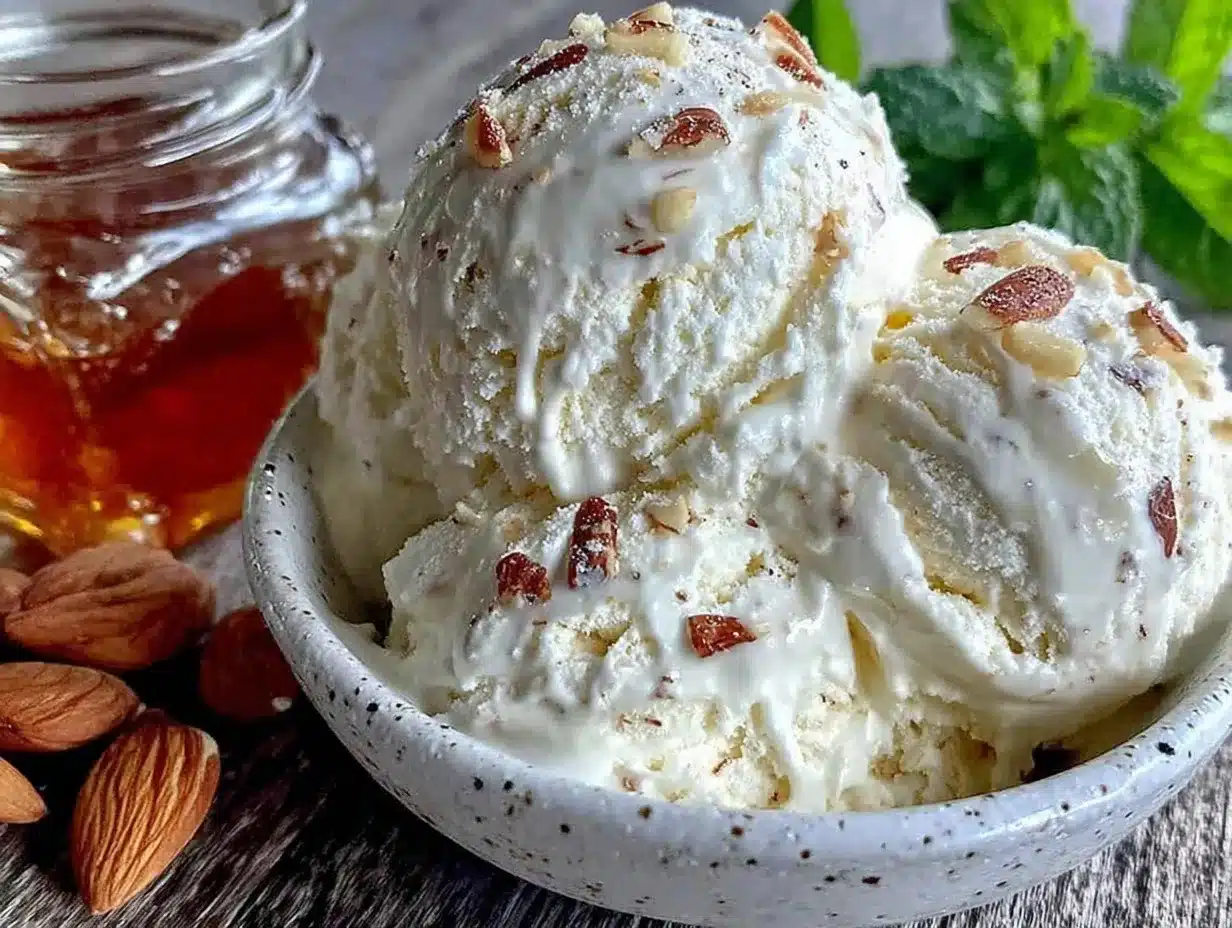
- Protein Powder (1 cup / 90g): Use a smooth, unflavored or vanilla whey protein for best texture. Brands like Optimum Nutrition or Dymatize work great here. Avoid plant-based powders with gritty textures unless you blend well.
- Greek Yogurt, full-fat (1 cup / 240g): Adds creaminess and tang. I prefer Fage or Chobani for their thick consistency. You can swap with dairy-free coconut yogurt if you want a vegan twist, but texture will differ slightly.
- Almond Milk (½ cup / 120ml): Just enough to loosen the mix for smooth blending. Unsweetened vanilla almond milk works best, but feel free to use oat or cashew milk if that’s your jam.
Optional add-ins for flavor variations:
- A pinch of cinnamon or cocoa powder for a warm or chocolatey note.
- A teaspoon of honey or maple syrup if your protein powder is unsweetened and you like it sweeter.
- A splash of vanilla extract to deepen the flavor.
Keep in mind, the quality of your protein powder and yogurt really makes a difference here. I always grab the brands I trust for texture and flavor. And if you’re making this in summer, swapping in fresh berries or a spoonful of nut butter can be a fun twist.
Equipment Needed
- Mixing Bowl: A medium-sized bowl works perfectly. I use a slightly cracked ceramic bowl I found at a local market—it just feels right for this recipe.
- Hand Whisk or Spoon: For mixing the ingredients until smooth. A whisk speeds things up, but a sturdy spoon does the trick.
- Freezer-Safe Container: To store the ice cream while it firms up. A silicone or glass container with a lid is ideal.
- Measuring Cups and Spoons: For accurate ingredient portions.
If you want to get fancy, a small ice cream maker can make this even creamier, but honestly, I never bother. The hand-mix and freeze method is quick and yields excellent results. For budget-friendly kitchens, these tools are easy to find and maintain. Just remember to clean your whisk or spoon right after use to avoid dried yogurt sticking around!
Preparation Method
- Measure your ingredients precisely. Use 1 cup (90g) of protein powder, 1 cup (240g) of full-fat Greek yogurt, and ½ cup (120ml) of almond milk. Accuracy here makes a big difference in texture.
- Combine the protein powder and Greek yogurt in your mixing bowl. Stir gently at first to avoid clouding your kitchen with powder dust (been there, done that!).
- Slowly add the almond milk. Pour in gradually while whisking continuously. You want a smooth, thick but pourable batter. If it feels too thick, add a splash more almond milk, but be careful not to make it runny.
- Add optional flavorings. A pinch of cinnamon, a teaspoon of honey, or a splash of vanilla extract can be stirred in now if you like.
- Transfer the mixture to your freezer-safe container. Smooth out the surface with a spatula to prevent ice crystals.
- Freeze for at least 3 hours, preferably overnight. If you want a softer texture, stir every 30 minutes for the first 2 hours to break up ice crystals. This step is optional but makes a noticeable difference.
- Before serving, let the ice cream sit at room temperature for 5 minutes. This softens it just enough for easy scooping without melting it fast.
If you run into issues like icy chunks or graininess, it usually means the protein powder used wasn’t smooth or the mixture was too thick. Try using a different protein powder or adding a bit more almond milk next time. I once forgot to stir during freezing and ended up with a block of protein “ice” that I had to thaw out completely—lesson learned!
Cooking Tips & Techniques
One trick I swear by is whisking the mixture thoroughly to get rid of any lumps from the protein powder. Nobody wants gritty ice cream, right? Also, patience is key—while it’s tempting to dig in right away, letting it freeze properly gives you that creamy texture instead of icy shards.
When choosing your protein powder, avoid anything with too many fillers or artificial sweeteners; they can affect freezing and taste. I learned this the hard way when my first batch tasted weird and icy. Switching to a clean, vanilla-flavored whey made all the difference.
Multitasking tip: Mix your ingredients right after dinner prep so it can freeze overnight by morning. That way, you wake up to a healthy, homemade treat waiting for you—no late-night kitchen adventures needed.
Finally, remember that the yogurt’s fat content impacts creaminess. Full-fat Greek yogurt works best. Low-fat versions tend to freeze harder and less creamy, which can be disappointing.
Variations & Adaptations
- Vegan Version: Swap Greek yogurt with coconut yogurt and use a plant-based protein powder. Keep in mind the texture will be slightly different but still delicious.
- Chocolate Protein Ice Cream: Add 2 tablespoons of unsweetened cocoa powder to the mix for a rich, chocolaty flavor. I often do this for a post-workout chocolate fix.
- Berry Swirl: Fold in fresh or frozen berries before freezing. In summer, this makes a refreshing fruity twist that complements the creamy base perfectly.
- Low-Carb Option: Use an unsweetened, low-carb protein powder and skip any sweeteners. This is my go-to when cutting sugar but still craving dessert.
Personally, I once tried adding a spoonful of peanut butter to the batter, and it turned into a luscious, nutty treat. Just be mindful of the fat content as it might alter freezing time slightly.
Serving & Storage Suggestions
This creamy protein ice cream is best served chilled but slightly softened—let it sit out for about 5 minutes before scooping. It pairs wonderfully with fresh fruit or a sprinkle of chopped nuts for added texture. For a fun twist, serve alongside a warm crispy garlic chicken salad for a balanced meal that surprises the palate.
Store leftovers in an airtight container in the freezer for up to one week. To reheat, leave it at room temperature for a few minutes or microwave in 15-second bursts until scoopable. Keep in mind that the ice cream may firm up more after freezing, but gently stirring before serving helps restore creaminess.
Flavor actually deepens after a day or two in the freezer, making it even more satisfying. Just avoid refreezing melted portions to keep the texture intact.
Nutritional Information & Benefits
Per serving (approx. ½ cup):
| Calories | 120-150 kcal |
|---|---|
| Protein | 20-25 g |
| Fat | 3-5 g |
| Carbohydrates | 5-8 g |
This recipe packs a high-protein punch thanks to the whey and Greek yogurt, which supports muscle repair and satiety. The healthy fats from full-fat yogurt and almond milk help with absorption of fat-soluble vitamins and provide creaminess without heavy saturated fats. It’s naturally low in sugar if you choose unsweetened ingredients, making it suitable for low-carb or diabetic-friendly diets.
Just a heads up: contains dairy and possibly nuts, so keep that in mind for allergen considerations. Personally, I feel this treat fits perfectly into my balanced eating plan—satisfying cravings without derailing nutrition goals.
Conclusion
This creamy protein ice cream recipe is a keeper—simple, quick, and downright delicious. It shows you don’t need a dozen ingredients or fancy machines to enjoy a homemade frozen treat that supports your health goals. I love how flexible it is to adapt for different diets or flavor preferences, which means it never gets boring in my kitchen.
Give it a try, tweak it to your liking, and see how this easy recipe can become your new favorite way to enjoy dessert or a snack. And hey, if you do make it, I’d love to hear how you customize it or what add-ins you tried! Don’t hesitate to leave a comment or share your experience.
Remember, sometimes the best recipes come from the simplest ideas—this one’s proof. Happy scooping!
FAQs
Can I use any protein powder for this recipe?
Whey protein powders with a smooth texture and mild flavor work best. Plant-based powders can be used but may affect creaminess and texture.
Is it necessary to stir the ice cream while freezing?
Stirring every 30 minutes for the first couple of hours helps keep the texture smooth and prevents ice crystals but isn’t mandatory.
Can I make this recipe without a freezer-safe container?
You’ll need some container to freeze it in, but anything freezer-safe like a glass dish or silicone mold works fine.
How long does the ice cream keep in the freezer?
Up to one week in an airtight container is best to maintain texture and flavor.
What if I don’t have almond milk?
Any plant-based milk like oat or cashew will work, or regular dairy milk if you prefer. Adjust quantity to maintain a thick but blendable consistency.
Pin This Recipe!
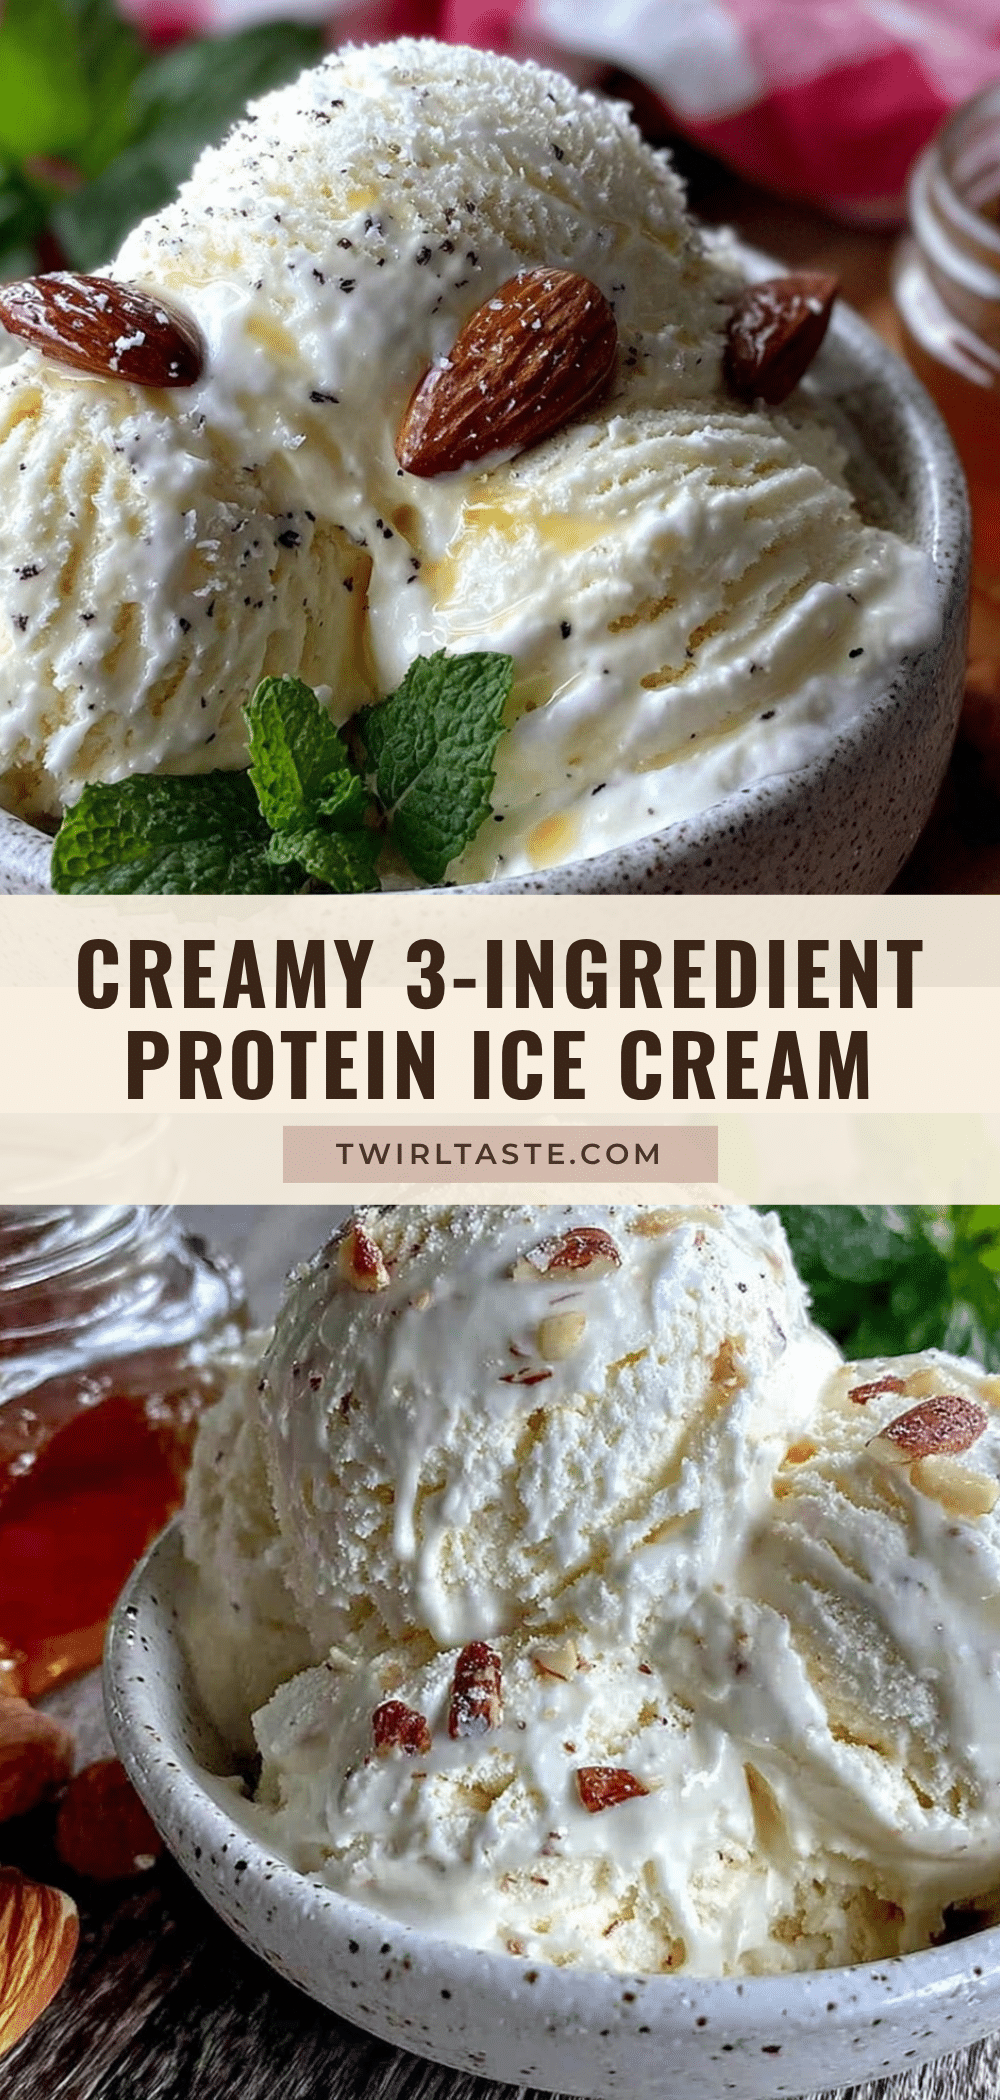
Creamy Protein Ice Cream Recipe Easy 3 Ingredient Homemade Treat

A quick and easy homemade protein ice cream made with just three simple ingredients: protein powder, full-fat Greek yogurt, and almond milk. This creamy treat is perfect for post-workout recovery or a guilt-free dessert.
- Prep Time: 5 minutes
- Cook Time: 3 hours (freezing time)
- Total Time: 3 hours 5 minutes
- Yield: 4 servings 1x
- Category: Dessert
- Cuisine: American
Ingredients
- 1 cup (90g) smooth, unflavored or vanilla whey protein powder
- 1 cup (240g) full-fat Greek yogurt
- ½ cup (120ml) unsweetened vanilla almond milk
- Optional add-ins: pinch of cinnamon or cocoa powder, 1 teaspoon honey or maple syrup, splash of vanilla extract
Instructions
- Measure your ingredients precisely: 1 cup (90g) protein powder, 1 cup (240g) full-fat Greek yogurt, and ½ cup (120ml) almond milk.
- Combine the protein powder and Greek yogurt in a mixing bowl. Stir gently to avoid powder dust.
- Slowly add the almond milk while whisking continuously until you get a smooth, thick but pourable batter. Add a splash more almond milk if too thick, but do not make it runny.
- Add optional flavorings such as cinnamon, honey, or vanilla extract if desired.
- Transfer the mixture to a freezer-safe container and smooth out the surface with a spatula to prevent ice crystals.
- Freeze for at least 3 hours, preferably overnight. For a softer texture, stir every 30 minutes for the first 2 hours to break up ice crystals (optional).
- Before serving, let the ice cream sit at room temperature for 5 minutes to soften slightly for easy scooping.
Notes
Whisk thoroughly to avoid lumps and gritty texture. Use full-fat Greek yogurt for best creaminess. Stirring during freezing helps prevent ice crystals but is optional. Use smooth whey protein powder for best results. Store leftovers in an airtight container for up to one week. Let ice cream soften for 5 minutes before serving.
Nutrition
- Serving Size: Approx. ½ cup per se
- Calories: 120150
- Fat: 35
- Carbohydrates: 58
- Protein: 2025
Keywords: protein ice cream, homemade ice cream, healthy dessert, post-workout snack, creamy protein treat, easy ice cream recipe