Love this? Save it for later!
Share the inspiration with your friends
“You won’t believe I made these granola bars without turning on the oven,” my friend Jenna said, waving a slightly crumbly bar at me across the kitchen island. It was a Wednesday afternoon, and honestly, I was skeptical. I mean, I’d tried making granola bars before, and they always ended up either too sticky or falling apart. But Jenna had this calm confidence that comes from many trials and errors, plus a tiny bit of kitchen chaos — like that time she forgot the honey and added maple syrup halfway through, making a mess but somehow nailing the flavor.
She handed me one, and that first crunchy bite surprised me. The perfect balance of sweet, nutty, and chewy textures — all without using the oven. I remember the way the oats held together, the subtle crunch of almonds, and just a hint of sea salt playing against the sweetness. Honestly, it reminded me of those snack bars you’d find at that quirky little health store downtown, but way better because it was homemade, fresh, and made with love.
Maybe you’ve been there too: craving a quick snack that’s not full of mystery ingredients or a sugar tsunami. I get it. Life’s busy, and sometimes you just want something wholesome, tasty, and fuss-free. That’s exactly why these Easy No Bake Homemade Granola Bars stuck with me — they’re fast, forgiving, and absolutely crunchy in all the right ways.
Since that day, I’ve made these bars countless times — for road trips, late-night cravings, and even last-minute gatherings. Sometimes I swap ingredients on a whim, other times I stick to the original because, well, it just works. So, let me tell you why this snack keeps coming back to my kitchen and why it might become your new go-to crunch fix.
Why You’ll Love This Recipe
After testing dozens of granola bar recipes (and yes, eating my fair share in the process), I can confidently say this no-bake version has a few things that make it stand apart:
- Quick & Easy: Ready in about 20 minutes, no oven needed. Perfect for those busy days or when the craving hits hard.
- Simple Ingredients: Nothing fancy or hard to find. I usually grab my oats and nuts from the pantry, and the rest is straightforward.
- Perfect for On-the-Go: Whether you’re packing lunchboxes, hiking, or need an afternoon pick-me-up, these bars hold up well and satisfy every time.
- Crowd-Pleaser: I’ve made these for potlucks and kids’ parties — the crunchy texture and just-right sweetness get repeated requests.
- Unbelievably Delicious: The combo of toasted oats, crunchy nuts, and a touch of honey creates a flavor that’s honestly addictive.
This isn’t just another granola bar recipe — it’s the one where you get that perfect balance of chew and crunch without the hassle of baking. Plus, the no-bake method means you can experiment with mix-ins without worrying about cooking times or oven temperature. I’ve tried swapping in dried cherries, pumpkin seeds, even a sprinkle of dark chocolate chips for a little indulgence.
You know, this recipe feels like the kind that makes you close your eyes after the first bite and smile because it’s just right. It’s simple comfort food that’s healthier and faster than anything store-bought, but still packs that satisfying crunch we all crave.
What Ingredients You Will Need
These Easy No Bake Homemade Granola Bars rely on simple, wholesome ingredients that you probably already have on hand. Each plays a role in creating that perfect crunchy, chewy texture without weighing you down.
- Old-Fashioned Rolled Oats (2 cups / 180g) – The base of the bars, providing that hearty texture. I prefer Bob’s Red Mill for consistent quality.
- Almonds, chopped (1/2 cup / 60g) – Adds crunch and a nutty flavor. Feel free to swap for walnuts or pecans.
- Sunflower Seeds (1/4 cup / 30g) – Gives a subtle savory crunch and boosts nutrition.
- Honey (1/3 cup / 120ml) – Natural sweetener and binder. You can replace with maple syrup if you prefer a vegan option.
- Natural Peanut Butter (1/2 cup / 125g) – Acts as a creamy binder and adds rich flavor. I usually go for unsweetened, no-stir peanut butter.
- Vanilla Extract (1 tsp / 5ml) – Enhances the overall taste.
- Flaxseed Meal (2 tbsp / 14g) – Optional, but great for extra fiber and helps with binding.
- Sea Salt (1/4 tsp) – Just a pinch to balance the sweetness and bring out flavors.
- Dried Cranberries or Raisins (1/3 cup / 50g) – For a chewy burst of sweetness (optional).
These ingredients come together easily, and I love how flexible the recipe is. For instance, if you’re missing almonds, I’ve swapped them for pumpkin seeds with success. Or if you want to make it nut-free, sunflower seed butter works well instead of peanut butter. The key is to keep the sticky binder and the crunchy base in balance.
Equipment Needed
- Mixing Bowl: A large bowl to combine all the ingredients comfortably.
- Spoon or Spatula: For mixing the sticky peanut butter and honey mixture with dry ingredients. I like using a silicone spatula for easy scraping.
- Measuring Cups and Spoons: Precision matters here to get that perfect texture.
- 8×8 Inch Baking Pan or Square Dish: For pressing the mixture evenly. If you don’t have one, a loaf pan or even a rimmed plate lined with parchment works fine.
- Parchment Paper: Essential for lining the pan — makes removing the bars a breeze and keeps cleanup simple.
If you don’t have parchment paper, lightly greasing the pan is an okay alternative, but I’ve found parchment gives a cleaner release. Honestly, these bars can be made with very basic tools, so no fancy gadgets are needed.
Preparation Method
- Toast the oats and nuts: In a dry skillet over medium heat, add the rolled oats, chopped almonds, and sunflower seeds. Stir frequently for about 5 minutes until lightly golden and fragrant. This step brings out deep nutty flavors but if you’re pressed for time, you can skip it — the bars will still taste great.
- Mix the wet ingredients: In your large mixing bowl, combine the natural peanut butter and honey. Microwave for 20-30 seconds or warm gently on the stove to soften, then stir until smooth. Add the vanilla extract and sea salt, mixing well.
- Add the flaxseed meal (if using): Stir it into the wet mixture. It helps bind everything and adds a nice nutritional boost.
- Combine dry and wet ingredients: Pour the toasted oat and nut mixture into the wet mixture. Add dried cranberries or raisins if using. Stir thoroughly to ensure every bit is coated and sticky.
- Press the mixture into the pan: Line your 8×8 inch pan with parchment paper, leaving some overhang on the sides for easy removal. Transfer the granola mixture and firmly press it down with the back of a spatula or your hands (clean, of course!). Aim for an even layer about 1-inch thick — not too compact, or the bars will be hard.
- Chill: Place the pan in the refrigerator for at least 2 hours or until firm. This step is key for cutting clean bars that hold together.
- Cut and serve: Use the parchment paper to lift the block out of the pan. Slice into bars or squares with a sharp knife. If the knife sticks, run it under hot water and dry before cutting.
If you find the bars are crumbly, next time try pressing a little firmer or chilling longer. I once forgot to chill overnight — the bars fell apart, but a quick dump back into the bowl and pressing again saved the batch!
Cooking Tips & Techniques
Making no bake granola bars sounds simple, but there are a few tricks that make a difference:
- Toast for flavor: Lightly toasting the oats and nuts isn’t mandatory but adds a delicious depth. It’s worth the extra five minutes and fills your kitchen with that warm, cozy smell.
- Warm the binders: Heating peanut butter and honey makes mixing easier and ensures the bars stick together well.
- Mix thoroughly: Make sure every oat and nut is coated with the sticky mixture — this helps the bars hold their shape.
- Press firmly but don’t overdo it: Pressing too hard can make bars dense and tough; too soft and they’ll crumble apart. Find a gentle but firm balance.
- Chill enough: Don’t rush the chilling step. It’s tempting, I know, but the bars will slice much cleaner and hold better if fully firm.
- Cut carefully: Use a sharp knife and clean it between cuts to prevent crumbling. Running the knife under hot water between slices works wonders.
One time, I didn’t have parchment paper and tried using a greased pan — let me tell you, the bars stuck so badly, I lost half of them trying to lift the block out! So, invest in parchment paper; it’s a game changer. Also, if you like your bars a bit sweeter, add a touch more honey, but remember that can affect the texture.
Variations & Adaptations
This recipe is a great base for customizing to your taste and dietary needs. Here are a few ideas I’ve played with:
- Nut-Free Version: Use sunflower seed butter and pumpkin seeds instead of peanut butter and almonds. The flavor is different but equally delicious.
- Chocolate Chip Delight: Add 1/3 cup mini dark chocolate chips after mixing the warm binder but before adding oats. They melt slightly during chilling for a gooey surprise.
- Seasonal Twist: Swap dried cranberries for chopped dried apricots or cherries in summer. I love how the tartness brightens the bars.
- Low-Sugar Swap: Reduce honey to 1/4 cup and add mashed ripe banana for natural sweetness and moisture.
- Extra Protein Boost: Stir in 1/4 cup of your favorite protein powder or add chia seeds for texture and nutrition.
I once tried adding toasted coconut flakes and found the bars had a lovely tropical crunch that felt like a mini vacation in every bite. Feel free to experiment — just remember to keep the wet-to-dry ratio balanced.
Serving & Storage Suggestions
These granola bars are best served chilled or at room temperature. They make an excellent snack straight from the fridge, especially on warm days when you want a cool, crunchy bite.
Pair them with a hot cup of coffee or tea for a perfect afternoon pick-me-up. I often pack a couple alongside my favorite creamy avocado spinach smoothie for a balanced, energizing breakfast on the go.
Store the bars in an airtight container:
- In the refrigerator for up to 1 week, keeping them firm and fresh.
- In the freezer for up to 2 months — just thaw at room temperature for 10 minutes before eating.
Reheating isn’t really necessary, but if you prefer softer bars, a few seconds in the microwave will do the trick. The flavors actually deepen if you let the bars rest a day or two, so making them ahead is a great idea for busy weeks.
Nutritional Information & Benefits
Each granola bar (makes about 10 bars) roughly contains:
| Calories | 180-200 kcal |
|---|---|
| Protein | 5-6 g |
| Fat | 8-10 g (mostly healthy fats) |
| Carbohydrates | 22-25 g |
| Fiber | 3-4 g |
The oats provide complex carbs and fiber, keeping you fuller longer. Almonds and peanut butter contribute heart-healthy fats and protein, while flaxseed adds omega-3s and fiber. Using natural sweeteners like honey keeps the sugar content moderate compared to many store-bought bars.
This recipe is naturally gluten-free if you use certified gluten-free oats and is perfect for a quick energy boost without artificial additives. Just watch out if you have nut allergies — swap the nuts and butters as needed.
Conclusion
If you’re looking for a crunchy snack that’s simple to make, wholesome, and tastes like a treat, these Easy No Bake Homemade Granola Bars are a winner. They come together quickly, use ingredients you can trust, and offer that satisfying texture that keeps you reaching for more.
Feel free to customize with your favorite nuts, seeds, or dried fruits — that’s part of the fun! Honestly, I love how forgiving this recipe is; it makes me feel like a snack superhero on those days when time is short but a good bite matters.
Give this recipe a try, and let me know how your version turns out (or any twists you tried). I’d love to hear your crunchy snack stories and tips!
Frequently Asked Questions
Can I use quick oats instead of rolled oats?
Quick oats tend to be finer and can make the bars a bit mushy. Rolled oats give the best texture, but if that’s what you have, go ahead — just expect a softer bar.
How long do these granola bars keep?
Stored in an airtight container in the fridge, they stay fresh for up to one week. You can freeze them for longer storage.
Can I make these bars vegan?
Yes! Just replace honey with maple syrup or agave nectar and use a vegan-friendly nut butter.
What if my bars are too sticky or crumbly?
If too sticky, chill longer before cutting. If crumbly, try pressing the mixture more firmly or add a bit more peanut butter or honey next time.
Can I add chocolate chips or other mix-ins?
Absolutely! Mini chocolate chips, dried fruits, or seeds all work well. Add them after mixing the wet ingredients for even distribution.
Pin This Recipe!
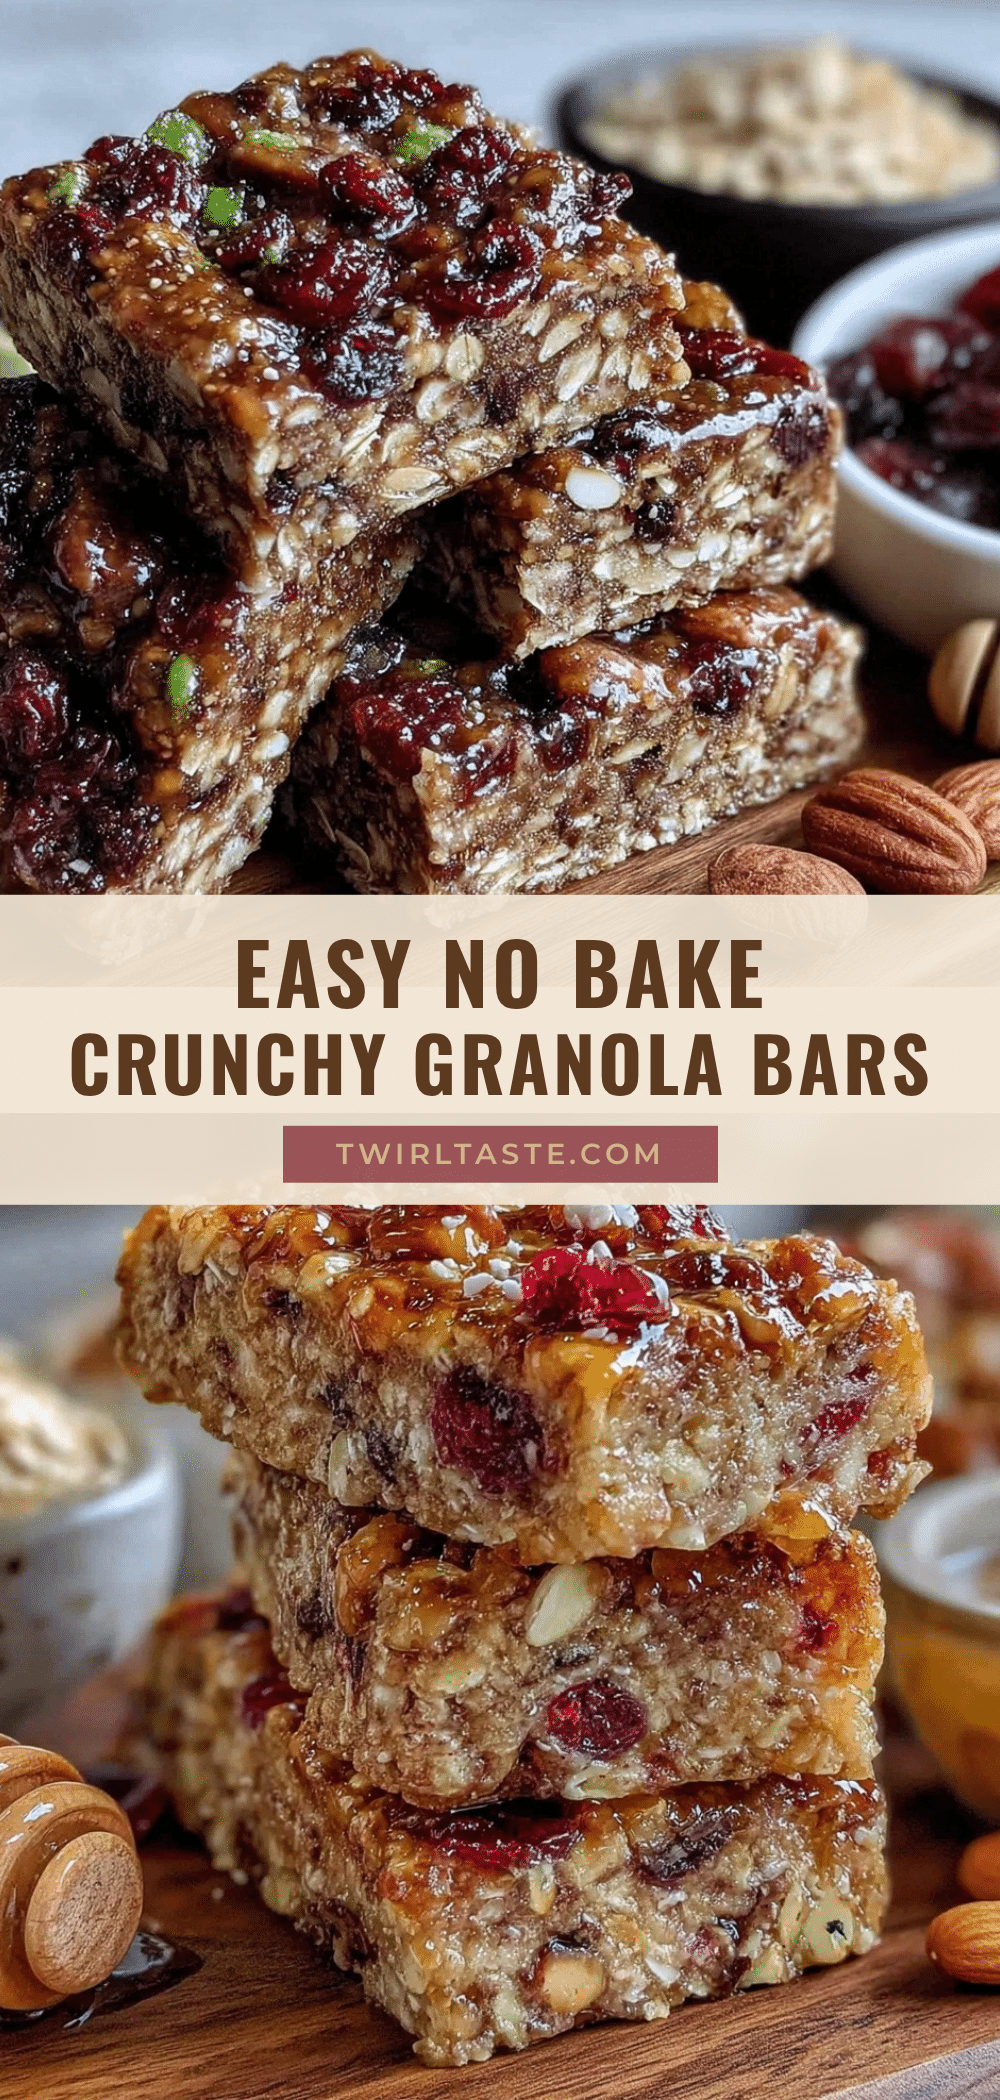
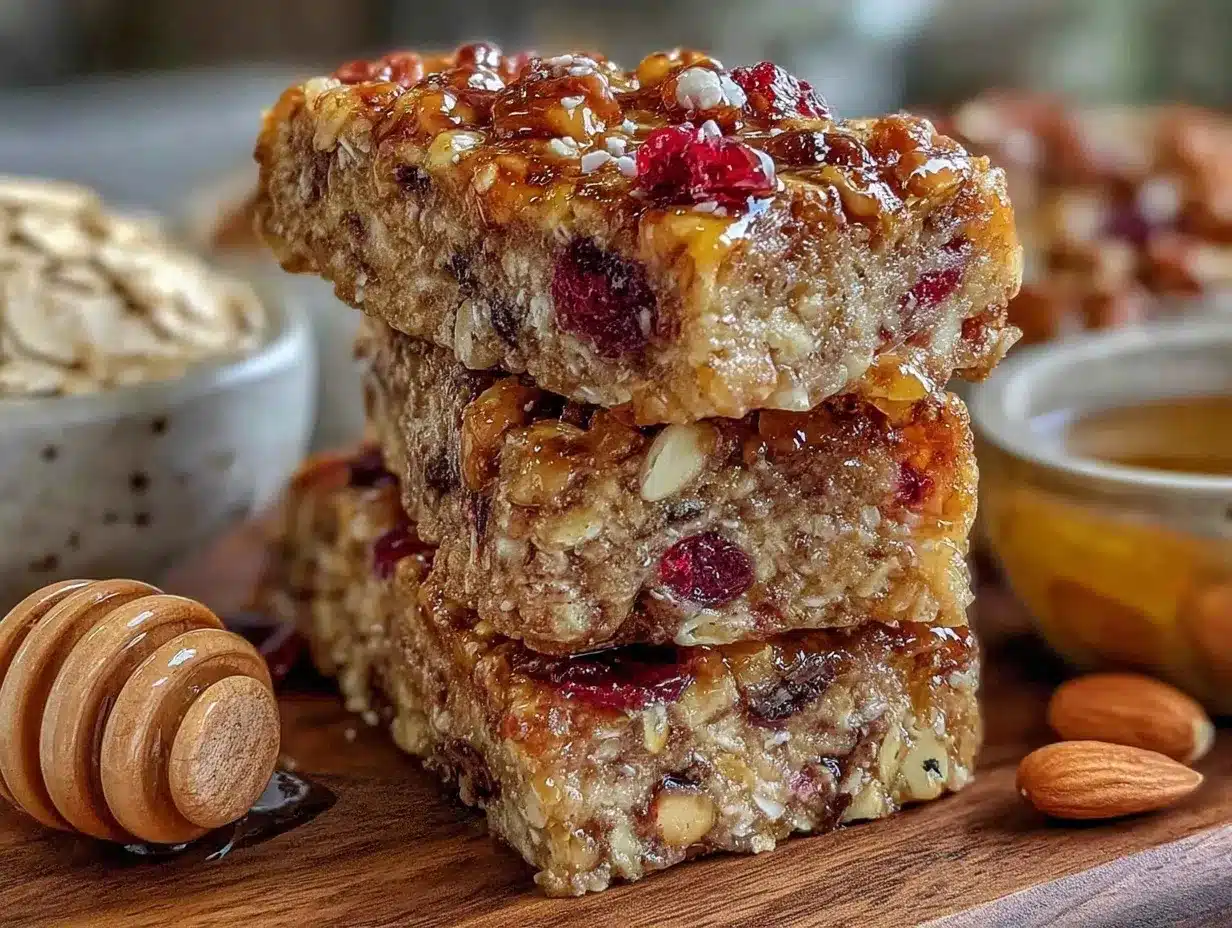
Easy No Bake Homemade Granola Bars
Crunchy, chewy, and naturally sweet granola bars made without baking, perfect for a quick, wholesome snack.
- Prep Time: 10 minutes
- Cook Time: 5 minutes
- Total Time: 2 hours 15 minutes
- Yield: 10 bars 1x
- Category: Snack
- Cuisine: American
Ingredients
- 2 cups old-fashioned rolled oats (180g)
- 1/2 cup chopped almonds (60g)
- 1/4 cup sunflower seeds (30g)
- 1/3 cup honey (120ml)
- 1/2 cup natural peanut butter (125g)
- 1 tsp vanilla extract (5ml)
- 2 tbsp flaxseed meal (14g) (optional)
- 1/4 tsp sea salt
- 1/3 cup dried cranberries or raisins (50g) (optional)
Instructions
- Toast the oats, chopped almonds, and sunflower seeds in a dry skillet over medium heat for about 5 minutes until lightly golden and fragrant. (Optional)
- In a large mixing bowl, combine natural peanut butter and honey. Warm in the microwave for 20-30 seconds or gently on the stove until softened, then stir until smooth.
- Add vanilla extract and sea salt to the peanut butter and honey mixture and mix well.
- Stir in flaxseed meal if using.
- Add the toasted oat and nut mixture to the wet ingredients. Add dried cranberries or raisins if desired. Stir thoroughly to coat everything evenly.
- Line an 8×8 inch baking pan with parchment paper, leaving overhang for easy removal. Transfer the mixture to the pan and press firmly but evenly to about 1-inch thickness.
- Chill the pan in the refrigerator for at least 2 hours or until firm.
- Lift the chilled block out using the parchment paper and cut into bars or squares with a sharp knife. Clean the knife between cuts by running it under hot water and drying.
Notes
Toasting oats and nuts is optional but adds flavor. Warm peanut butter and honey for easier mixing. Press firmly but not too hard to avoid dense bars. Chill thoroughly for best cutting results. Use parchment paper for easy removal. If bars are crumbly, press firmer or chill longer. For vegan version, replace honey with maple syrup and use vegan nut butter.
Nutrition
- Serving Size: 1 bar
- Calories: 190
- Sugar: 10
- Sodium: 70
- Fat: 9
- Saturated Fat: 1
- Carbohydrates: 24
- Fiber: 3.5
- Protein: 5.5
Keywords: no bake granola bars, homemade granola bars, healthy snack, crunchy snack, easy granola bars, peanut butter granola bars, no oven snack