Love this? Save it for later!
Share the inspiration with your friends
The last cookie was gone. I had just turned my back to grab a napkin from the counter, and by the time I turned around, the plate was bare. My nephew stood there with a smear of white icing on his chin, looking up at me with wide, triumphant eyes. He didn’t even wait for me to sit down. He just pointed at the empty spot where the spiderweb cookie used to be and said, “Can we make more? Please?”
It’s funny how quickly a batch of cookies disappears when they look like little Halloween decorations. I’ve made these crispy Halloween sugar cookies with royal icing spiderwebs for years, but this year felt different. Maybe it was the sheer volume of kids who showed up, or maybe it was just the fact that these cookies are honestly impossible to resist once you see the design. I usually bake for the joy of it, but seeing that empty plate? That’s the real reward.
I remember the first time I tried to pipe spiderwebs. It was a disaster. I had sticky webs everywhere except on the cookies, and my kitchen looked like a bug infestation had occurred. But after a few failed attempts, I figured out the rhythm. The key is keeping the icing stiff enough to hold its shape but fluid enough to flow. Now, when I pull a tray out of the oven, I know exactly what’s going to happen. The smell of vanilla and warm sugar will fill the house, and within minutes, the cookies will be picked clean.
There’s something satisfying about turning simple pantry staples into something that looks like it came from a fancy bakery. You don’t need to be a professional decorator to get this right. It’s just patience and a steady hand. And honestly, if you can hold a spoon, you can do this. The kids love helping, even if their webs look more like tangled yarn at first. But once they taste the crisp edge of the cookie with the sweet, crunchy icing, they forget about the shape. They just want another one.
That moment with my nephew reminded me why I keep coming back to this recipe. It’s not just about the sugar or the spice. It’s about making something that brings people together. Even if you’re baking for just one person, that first bite feels like a little treat. It’s quiet pride, really. Knowing you made something that people actually want to eat.
Why You’ll Love This Recipe
Let’s be real for a second. Not all sugar cookies are created equal. Some are soft and cakey, which is great if you’re into that texture. But for Halloween decorations, you need structure. You need something that can hold up under layers of icing without getting soggy or falling apart. These crispy Halloween sugar cookies with royal icing spiderwebs hit that perfect sweet spot. They have a snap to them that makes them feel special, almost like a shortbread, but with the classic vanilla flavor we all know and love.
Here is why this recipe has earned a permanent spot in my rotation:
* **Quick & Easy:** The dough comes together in about 15 minutes. You don’t need to chill it for days (though chilling helps, it’s not mandatory). This is perfect for those last-minute Halloween parties or school bake sales where you need to whip something up fast.
* **Simple Ingredients:** You probably already have everything in your fridge and pantry. Flour, butter, sugar, egg, and vanilla. No fancy flours or weird ingredients you’ve never heard of. It’s wholesome, simple comfort food.
* **Perfect for Halloween:** The spiderweb design is iconic. It’s spooky without being scary, and it looks impressive. It’s the kind of treat that fits perfectly on a Halloween charcuterie board or in a trick-or-treat bag.
* **Crowd-Pleaser:** Kids love the visual. Adults love the crunch. I’ve served these at potlucks, and they disappear faster than the savory snacks. It’s a guaranteed hit with both generations.
* **Unbelievably Delicious:** The contrast between the crisp, buttery cookie and the hard, sweet royal icing is next-level. It’s a texture combo that keeps you coming back for just one more bite.
What makes this recipe different from the rest? It’s the ratio of butter to flour. I’ve tested dozens of sugar cookie recipes, and most are too soft. This one uses a slightly higher amount of flour and a lower hydration level, which gives it that signature snap. It’s not just another version; it’s the one that actually works for decorating.
I also added a touch of cream of tartar. You might know it from making meringues, but in sugar cookies, it helps prevent spreading and adds a tiny bit of tang that cuts through the sweetness. It’s a small detail, but it makes a big difference in the final texture.
This recipe isn’t just good—it’s the kind that makes you feel like a pro baker. You don’t need to be stressed about making it look perfect. Imperfect webs still taste amazing. It’s comfort food reimagined for the spooky season. Perfect for impressing guests without stress, or turning a simple Tuesday evening into a festive occasion.
What Ingredients You Will Need
This recipe uses simple, wholesome ingredients to deliver bold flavor and satisfying texture without the fuss. The beauty of sugar cookies lies in the quality of the basics. Since there aren’t many ingredients, each one plays a crucial role in the final texture and taste. You want to use unsalted butter so you can control the saltiness, and fresh vanilla extract really makes the flavor pop.
Here is what you need to get started:
**For the Cookie Dough:**
* **Unsalted butter, softened:** 1 cup (226g). Softened means it should yield slightly to pressure but not be melted. I prefer European-style butter like Kerrygold for a richer flavor, but regular store brand works fine.
* **Granulated sugar:** 1 cup (200g). This provides the crispness. Brown sugar can be used for a chewier cookie, but for a crispy web cookie, stick to white.
* **Light brown sugar:** ½ cup (100g). Adds a hint of moisture and depth without making it too soft.
* **Large eggs, room temperature:** 2 eggs. Room temp eggs emulsify better with the butter, creating a smoother dough.
* **Vanilla extract:** 2 teaspoons. Use pure vanilla, not imitation. It’s worth the extra cost.
* **All-purpose flour:** 3 ½ cups (420g). Sifted to remove lumps. I use Gold Medal flour, which is reliable and consistent.
* **Baking powder:** 1 teaspoon. Helps the cookies rise slightly so they aren’t too dense.
* **Cream of tartar:** ½ teaspoon. This is the secret weapon for crispness and preventing spread.
* **Salt:** ½ teaspoon. Balances the sweetness.
**For the Royal Icing (Spiderwebs):**
* **Powdered sugar (confectioners’ sugar):** 3-4 cups (360-480g). Sifted to ensure a smooth icing.
* **Meringue powder:** 3 tablespoons. This pasteurizes the egg whites, making the icing safe to eat without raw eggs. It also helps it dry hard and shiny. I recommend Just Egg White Meringue Powder.
* **Warm water:** ¼ cup (60ml). Used to rehydrate the meringue powder.
* **Food coloring, black:** Gel-based food coloring works best. Liquid coloring can thin out the icing too much. I like Americolor Black.
**Substitution Tips:**
If you need a gluten-free option, you can use a 1:1 gluten-free flour blend, but the texture might be slightly more crumbly. For the royal icing, if you don’t have meringue powder, you can use pasteurized liquid egg whites, but the icing will take longer to dry and won’t be as stable.
Equipment Needed
You don’t need a fancy kitchen to make these cookies. Most of the tools are likely already in your drawer. The most important piece of equipment is a good set of measuring cups and spoons. Baking is science, so accuracy matters. I use a digital kitchen scale for the flour, which is the most accurate way to measure. If you don’t have a scale, spoon the flour into the cup and level it off. Don’t scoop directly from the bag, or you’ll pack too much flour in and end up with dry cookies.
You’ll need a large mixing bowl. A stand mixer with a paddle attachment is great for creaming the butter and sugar, but a hand mixer or even a sturdy whisk and a lot of elbow grease will work. I actually prefer mixing the dough by hand sometimes because I can feel when it’s just right.
For rolling out the dough, you’ll need a lightly floured surface. A silicone baking mat is helpful here because it prevents sticking and makes cleanup easier. You’ll also need cookie cutters. Spiderwebs don’t always need a cutter, but having a circle cutter or even a glass rim helps keep them uniform.
For the icing, you’ll need small bowls for mixing the colors and piping bags or ziplock bags. If you don’t have piping tips, you can just snip a tiny corner off a ziplock bag. A toothpick is also useful for fixing mistakes or creating the center dot of the web.
I’ve tried different piping bags over the years. Disposable plastic ones are convenient, but reusable silicone bags are better for the environment and easier to clean. Just make sure to wash them thoroughly with hot, soapy water after each use to prevent any old icing from hardening inside.
Budget-friendly tip: You don’t need expensive cookie cutters. A simple round cutter or even a drinking glass works perfectly. For the spiderweb design, you don’t need a special tip. A small round tip (like a #2 or #3) is ideal, but any small opening will do.
Preparation Method
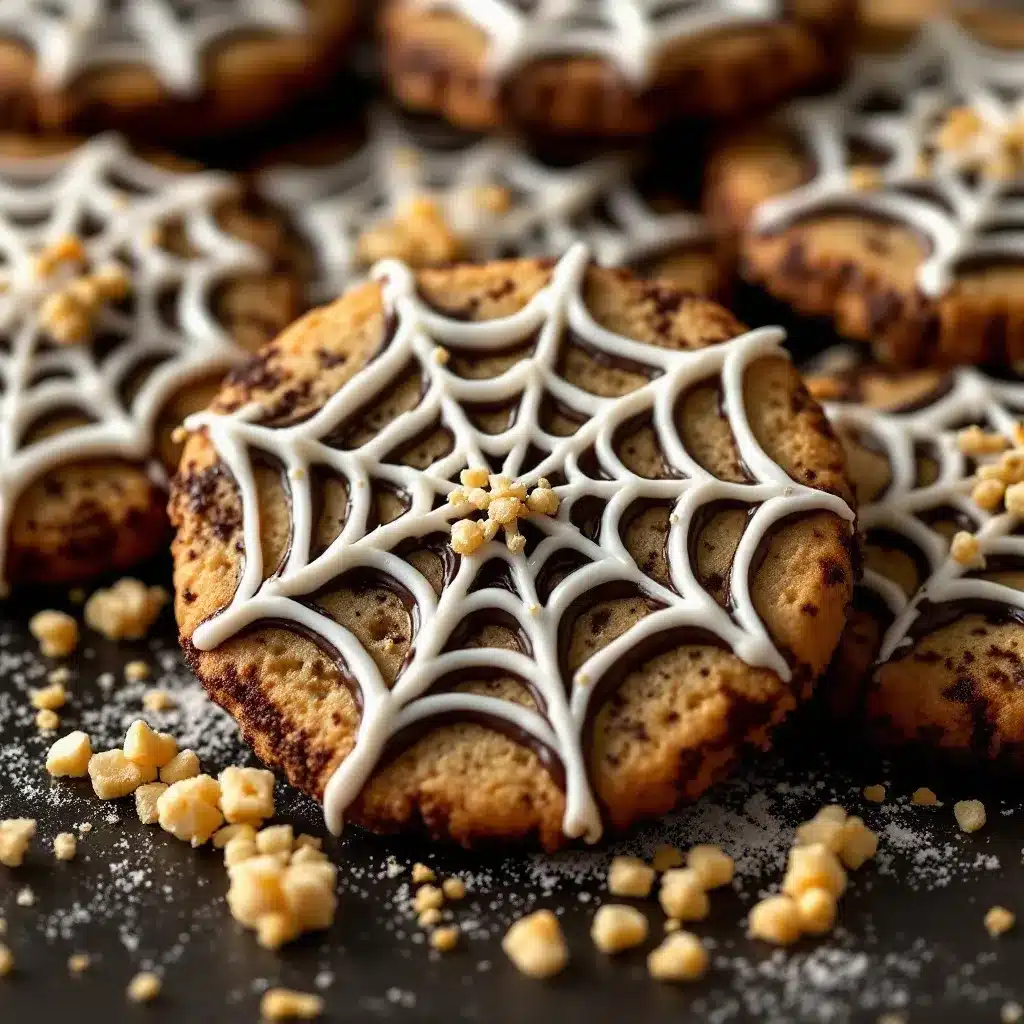
Making these cookies is straightforward, but it requires a bit of patience. Here is how to do it step by step.
**Step 1: Cream the Butter and Sugars**
Start by beating the softened butter, granulated sugar, and brown sugar together in a large bowl. If you’re using a stand mixer, use the paddle attachment on medium speed. Beat for about 3-4 minutes until the mixture is light and fluffy. This step incorporates air into the butter, which helps with the texture. If you’re mixing by hand, this will take about 5-7 minutes of vigorous stirring. You want the mixture to look pale and creamy.
**Step 2: Add Wet Ingredients**
Add the eggs one at a time, mixing well after each addition. Then add the vanilla extract and mix until combined. The mixture might look slightly curdled at this point, which is normal. Don’t worry; it will come together once you add the dry ingredients.
**Step 3: Mix Dry Ingredients**
In a separate bowl, whisk together the flour, baking powder, cream of tartar, and salt. This ensures that the leavening agents are evenly distributed.
**Step 4: Combine Dough**
Gradually add the dry ingredients to the wet ingredients. Mix on low speed or stir by hand until just combined. Be careful not to overmix. Overmixing develops gluten, which can make the cookies tough. The dough should be firm but pliable. If it’s too sticky, add a tablespoon of flour. If it’s too dry, add a teaspoon of water.
**Step 5: Chill the Dough**
Divide the dough into two balls and flatten them slightly. Wrap them in plastic wrap and refrigerate for at least 1 hour. Chilling is crucial for crispy cookies because it solidifies the fat, which prevents spreading in the oven. If you’re short on time, you can freeze them for 20 minutes, but an hour is better.
**Step 6: Preheat and Prep**
Preheat your oven to 350°F (175°C). Line two baking sheets with parchment paper. This prevents sticking and ensures even baking.
**Step 7: Roll and Cut**
Take one ball of dough out of the fridge. On a lightly floured surface, roll it out to about ¼ inch thickness. Use a cookie cutter to cut out shapes. If you don’t have a cutter, you can roll them into balls and flatten them slightly. Place them on the baking sheets, leaving about 1 inch between each cookie. They will spread a little bit.
**Step 8: Bake**
Bake for 10-12 minutes. The edges should be lightly golden, but the centers should still look pale. Do not overbake, or they will be too hard. The cookies will firm up as they cool.
**Step 9: Cool Completely**
Let the cookies cool on the baking sheet for 5 minutes, then transfer them to a wire rack to cool completely. This step is non-negotiable. You cannot ice warm cookies, or the icing will melt and slide off.
**Step 10: Make the Royal Icing**
While the cookies cool, make the icing. In a clean bowl, beat the meringue powder and warm water on high speed for 5 minutes until stiff peaks form. Gradually add the powdered sugar, one cup at a time, beating on low speed. Once combined, beat on high for another 5 minutes until the icing is thick, glossy, and smooth. It should hold its shape when you lift the beater.
**Step 11: Color and Pipe**
Divide the icing into small bowls. Add black food coloring to one portion. Mix until you get a deep, dark black. Transfer the icing to a piping bag fitted with a small round tip. If you don’t have a tip, snip a tiny corner off a ziplock bag.
**Step 12: Create the Spiderweb**
Pipe a small dot of icing in the center of each cookie. Then, starting from the center, pipe small concentric circles, leaving gaps between them. Take a toothpick and drag it from the center outward through the gaps. This creates the spiderweb effect. Wipe the toothpick clean between each cookie. Let the icing dry completely, which takes about 2-4 hours.
Cooking Tips & Techniques
I’ve made my fair share of mistakes with sugar cookies, so you don’t have to. Here are some tips to ensure success.
First, measure your flour correctly. This is the most common mistake. If you scoop the flour directly from the bag, you’ll pack it down and end up with too much flour. This leads to dry, crumbly cookies. Instead, spoon the flour into your measuring cup and level it off with a knife. If you have a kitchen scale, use that for the best results.
Second, don’t skip the chilling step. I know it’s tempting to bake the dough right away, but the cold butter is what keeps the cookies from spreading into flat discs. If the dough is too warm, the cookies will spread too much in the oven, and your spiderweb design will get distorted. If you’re in a rush, freeze the dough balls for 15-20 minutes before baking.
Third, keep your icing consistency right. For piping details like spiderwebs, the icing needs to be thick. If it’s too thin, it will run and lose its shape. If it’s too thick, it will be hard to pipe. You can adjust the consistency by adding tiny amounts of water, one teaspoon at a time, if it’s too stiff. Conversely, if it’s too runny, add more powdered sugar.
Fourth, work in a cool environment. Humidity is the enemy of royal icing. On humid days, the icing takes longer to dry and can stay sticky. If you live in a humid climate, consider using a dehumidifier in your kitchen or baking in an air-conditioned room. You can also add a bit more powdered sugar to the icing to help it dry harder.
Fifth, don’t rush the drying time. The icing needs to be completely dry before you stack the cookies or put them in a container. If you try to move them too soon, you’ll ruin the design. I usually make the cookies the day before Halloween so the icing has plenty of time to harden.
Lastly, practice makes perfect. If your first web doesn’t look perfect, don’t worry. It still tastes great. You can always cover up a mistake with a dot of icing or a small decoration. The goal is to have fun, not to create a masterpiece.
Variations & Adaptations
While the classic black and white spiderweb is iconic, there are plenty of ways to customize these cookies.
**Orange and Black:** Instead of just black icing, try using orange for the base color and black for the web. This adds a pop of color and looks very festive. You can also mix orange and black to create a marbled effect.
**Purple and Green:** For a more witchy vibe, use purple icing with green accents. This combination is less traditional but very striking. It’s great for a more whimsical Halloween theme.
**Gluten-Free Option:** As mentioned earlier, you can use a 1:1 gluten-free flour blend. Keep in mind that the texture might be slightly more delicate, so handle the cookies gently.
**Vegan Option:** To make these cookies vegan, use plant-based butter and a flax egg (1 tablespoon ground flaxseed mixed with 3 tablespoons water per egg). For the royal icing, you can use aquafaba (the liquid from a can of chickpeas) instead of meringue powder. Whip the aquafaba until stiff peaks form, then add the powdered sugar. The result is similar to traditional royal icing.
**Flavor Variations:** Add a teaspoon of pumpkin pie spice to the dough for a seasonal twist. Or, mix in some orange zest for a citrusy flavor that pairs well with the vanilla.
**Personal Variation:** I sometimes add a pinch of cinnamon to the dough. It’s a subtle flavor that complements the vanilla beautifully. It’s a nod to fall flavors without overpowering the cookie.
Serving & Storage Suggestions
These cookies are best served at room temperature. The icing should be hard and crunchy, providing a nice contrast to the crisp cookie. They are perfect for Halloween parties, trick-or-treat bags, or as a dessert after a spooky movie night.
For storage, keep the cookies in an airtight container at room temperature. Layer them between sheets of parchment paper to prevent the icing from sticking together. They will stay fresh for up to 1 week. If you need to store them longer, you can freeze them. Place them in a single layer in the freezer, then transfer them to a freezer-safe container. They will keep for up to 3 months. Thaw them at room temperature before serving.
Do not refrigerate the cookies, as the moisture from the fridge can make the icing sticky. If you live in a very humid area, you might need to store them in the freezer to prevent softening.
When serving, consider pairing these cookies with a hot beverage like coffee or tea. The contrast between the warm drink and the sweet, crisp cookie is delightful. They also go well with a glass of cold milk, which is a classic combination for sugar cookies.
Nutritional Information & Benefits
These cookies are a treat, so they are high in sugar and calories. Each cookie contains approximately 150-200 calories, depending on the size. They are also high in carbohydrates. However, they are naturally gluten-free if you use gluten-free flour, and they can be made vegan with the substitutions mentioned above.
The main ingredients are flour, sugar, and butter, which provide energy. The eggs add protein, although the amount is small. The royal icing adds more sugar, so these cookies should be enjoyed in moderation.
From a wellness perspective, these cookies are a fun way to celebrate the season. They don’t offer significant health benefits, but they can be part of a balanced diet when enjoyed as an occasional treat. If you’re watching your sugar intake, consider making smaller cookies or sharing them with friends.
Conclusion
Making crispy Halloween sugar cookies with royal icing spiderwebs is a fun and rewarding activity. It’s a recipe that brings joy to both the baker and the eater. The crisp texture and sweet icing make it a standout treat for any Halloween celebration.
I hope you try this recipe and enjoy making it as much as I do. Don’t be afraid to experiment with colors and designs. Make it your own. If you have any questions or tips, please leave a comment below. I love hearing from you.
Share your creations on social media and tag me. I’d love to see your spiderweb designs. Happy baking, and happy Halloween!
FAQs
Can I use egg whites instead of meringue powder?
Yes, you can use pasteurized liquid egg whites. However, the icing will take longer to dry and won’t be as stable. Meringue powder is safer and easier to work with for beginners.
Why did my cookies spread too much?
This usually happens if the butter was too soft or if the dough wasn’t chilled enough. Make sure your butter is softened but not melted, and chill the dough for at least an hour before baking.
How do I fix a broken spiderweb?
If the web breaks while you’re piping, don’t worry. You can add a small dot of icing to cover the break or start a new web nearby. Imperfections add character.
Can I freeze the dough?
Yes, you can freeze the dough balls for up to 3 months. Thaw them in the refrigerator overnight before rolling and baking.
What if my icing is too thin?
Add more powdered sugar, one tablespoon at a time, until the icing reaches the desired consistency. It should be thick enough to hold its shape when piped.
Pin This Recipe!
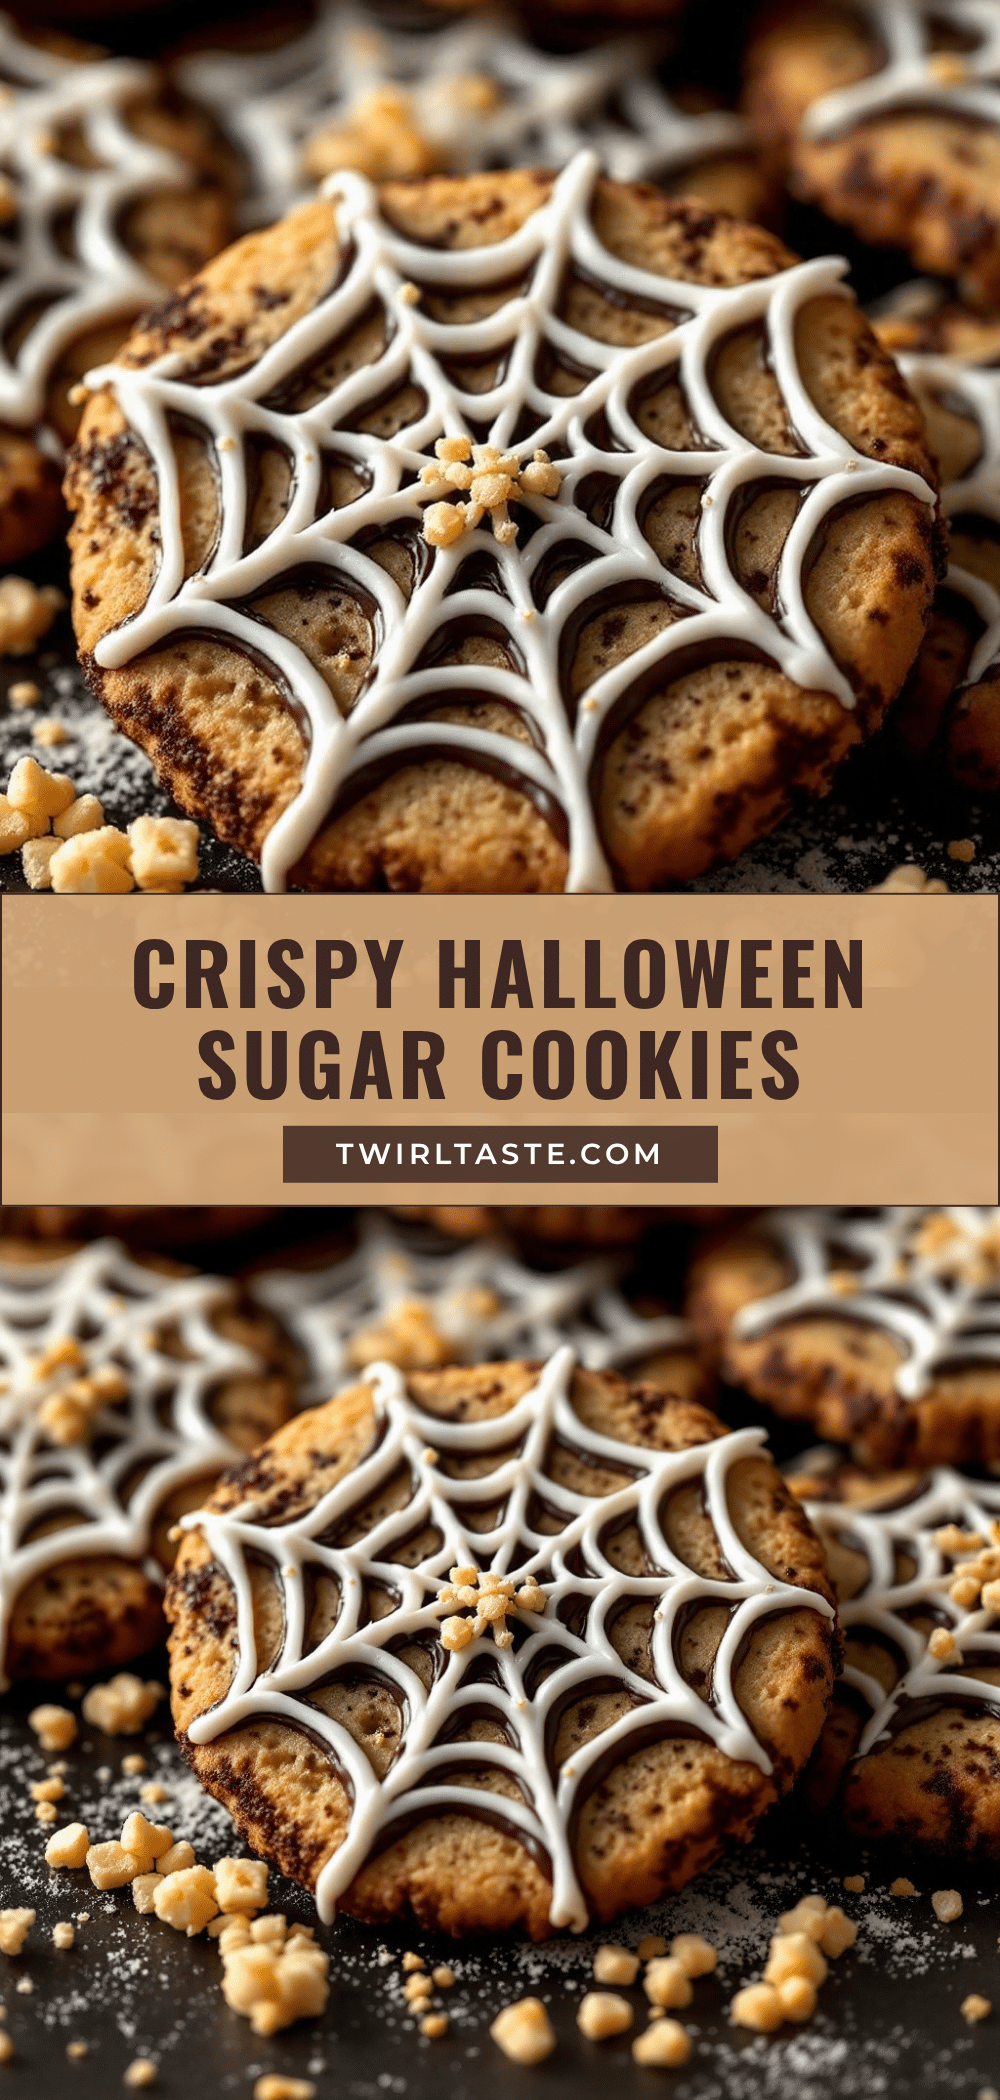
Crispy Halloween Sugar Cookies: Easy Spiderweb Recipe
These crispy Halloween sugar cookies feature a buttery, snap-textured dough and are decorated with intricate royal icing spiderwebs. Perfect for parties, bake sales, or spooky season treats.
- Prep Time: 15 minutes
- Cook Time: 10-12 minutes
- Total Time: 45 minutes
- Yield: Approximately 24 cookies 1x
- Category: Dessert
- Cuisine: American
Ingredients
- 1 cup (226g) unsalted butter, softened
- 1 cup (200g) granulated sugar
- ½ cup (100g) light brown sugar
- 2 large eggs, room temperature
- 2 teaspoons pure vanilla extract
- 3 ½ cups (420g) all-purpose flour, sifted
- 1 teaspoon baking powder
- ½ teaspoon cream of tartar
- ½ teaspoon salt
- 3–4 cups (360-480g) powdered sugar (confectioners’ sugar), sifted
- 3 tablespoons meringue powder
- ¼ cup (60ml) warm water
- Black gel-based food coloring
Instructions
- Cream the softened butter, granulated sugar, and brown sugar together in a large bowl until light and fluffy (3-4 minutes with mixer, 5-7 minutes by hand).
- Add eggs one at a time, mixing well after each addition, then mix in vanilla extract.
- In a separate bowl, whisk together flour, baking powder, cream of tartar, and salt.
- Gradually add dry ingredients to wet ingredients and mix until just combined. Do not overmix.
- Divide dough into two balls, flatten slightly, wrap in plastic, and refrigerate for at least 1 hour.
- Preheat oven to 350°F (175°C) and line baking sheets with parchment paper.
- Roll dough to ¼ inch thickness on a floured surface and cut into shapes.
- Bake for 10-12 minutes until edges are lightly golden but centers look pale.
- Cool cookies on the baking sheet for 5 minutes, then transfer to a wire rack to cool completely.
- Beat meringue powder and warm water on high speed for 5 minutes until stiff peaks form.
- Gradually add powdered sugar and beat on low, then high for 5 minutes until thick and glossy.
- Divide icing and mix in black food coloring.
- Pipe a dot in the center of each cookie, then pipe concentric circles with gaps.
- Drag a toothpick from the center outward through the gaps to create the spiderweb effect.
- Let icing dry completely for 2-4 hours before handling or storing.
Notes
Ensure butter is softened but not melted to prevent spreading. Chill dough for at least 1 hour for crisp texture. Royal icing must be completely dry before stacking. Store in an airtight container at room temperature; do not refrigerate.
Nutrition
- Serving Size: 1 cookie
- Calories: 175
- Sugar: 16
- Sodium: 120
- Fat: 8
- Saturated Fat: 5
- Carbohydrates: 24
- Fiber: 0.5
- Protein: 2
Keywords: Halloween cookies, sugar cookies, spiderweb cookies, royal icing, crispy cookies, holiday baking, easy dessert


