Love this? Save it for later!
Share the inspiration with your friends
The power went out on a Tuesday evening, leaving us in pitch darkness with a fully stocked freezer and absolutely no way to make ice cream. My kids were crying, the house was freezing, and the local ice cream shop was closed. Honestly, I panicked. I didn’t have ice cream machines or rock salt or any of that fancy gear. I just had a can of condensed milk, a carton of heavy cream, and a jar of caramel sauce sitting on the counter.
I remember staring at those three items like they were clues in a mystery novel. Could we really make dessert without electricity? It felt impossible. But hunger is a powerful motivator, and desperation breeds creativity. I grabbed a mixing bowl and a whisk, which is basically the only tool you need for this chewy brown butter chocolate chip cookies recipe too, by the way. I whipped the cream until it formed stiff peaks, folded in the sweet milk, and swirled in that salty caramel.
It wasn’t perfect. It wasn’t smooth like store-bought stuff. But as the mixture sat in the freezer, turning into something cold and creamy, I realized we didn’t need a machine. We just needed patience. When we finally dug in with spoons, the kids stopped crying. The texture was dense and rich, not icy at all. That night, I learned that the best recipes often come from having nothing to lose. This no-churn salted caramel ice cream became our emergency survival food, and now it’s our favorite summer treat.
Why You’ll Love This Recipe
Let’s be real for a second. Making ice cream at home usually sounds like a lot of work. You need to churn it, freeze it, wait for it to harden, and hope it doesn’t turn into a block of ice. This no-churn salted caramel ice cream changes the game entirely. It skips the churning part, which means you save time, energy, and your sanity. I’ve tested this recipe more times than I can count, and it never fails to deliver that creamy, scoopable texture you crave.
Here is why this recipe stays in my rotation:
* **Quick & Easy**: You can have the base ready in under 15 minutes. There is no cooking required, just mixing and freezing. It’s perfect for those last-minute cravings when you don’t want to leave the house.
* **Simple Ingredients**: You likely have everything in your kitchen right now. Heavy cream, sweetened condensed milk, and caramel sauce. No fancy grocery trips needed for obscure ingredients.
* **Perfect for Summer Entertaining**: Whether it’s a backyard barbecue or a quiet night in, this dessert fits the bill. It’s elegant enough to serve guests but simple enough to make on a whim.
* **Crowd-Pleaser**: Kids love the sweetness, and adults appreciate the salt balance. It’s a crowd-pleaser that gets rave reviews from everyone, even the pickiest eaters.
* **Unbelievably Delicious**: The texture is next-level comfort food. The fat from the cream and the sugar from the condensed milk work together to prevent ice crystals, giving you a smooth, luxurious bite every time.
What makes this different from other no-churn recipes is the caramel swirl. Most recipes just add vanilla. By folding in thick, salty caramel, you get pockets of intense flavor that contrast beautifully with the sweet cream. It’s not just another version of ice cream; it’s your best version. It’s the kind that makes you close your eyes after the first bite. It’s comfort food reimagined—faster, easier, but with the same soul-soothing satisfaction.
What Ingredients You Will Need
This recipe uses simple, wholesome ingredients to deliver bold flavor and satisfying texture without the fuss. The magic here lies in the ratio of fat to sugar, which creates that smooth mouthfeel without an ice cream maker. You don’t need exotic spices or hard-to-find items. Just good quality basics.
Here is what you’ll need to make this soft and chewy pumpkin snickerdoodle cookies… wait, wrong recipe! Let’s stick to the ice cream. Here is the list for the no-churn salted caramel ice cream:
* **Heavy Cream**: 2 cups (480 ml), cold. This is the base. It needs to be very cold to whip properly. Look for heavy whipping cream with at least 35% fat content. Lower fat creams won’t whip up stiff enough.
* **Sweetened Condensed Milk**: 1 can (14 oz or 397g). This adds sweetness and creaminess. Do not use evaporated milk; they are not the same. The sugar in condensed milk prevents the ice cream from freezing into a hard block.
* **Vanilla Extract**: 1 teaspoon. Pure vanilla adds depth. I recommend using a high-quality brand like Nielsen-Massey for the best flavor.
* **Salt**: ½ teaspoon. Essential for balancing the sweetness. Use fine sea salt so it dissolves easily into the mixture.
* **Salted Caramel Sauce**: ½ cup. You can make your own or buy a jar. Look for a thick, pourable sauce. Brands like Smucker’s or Trader Joe’s work well. If you want extra saltiness, add a pinch of flaky sea salt on top after swirling.
* **Optional Mix-ins**: ½ cup crushed cookies or chocolate chips. I sometimes add crushed peppermint patties or chocolate chunks for extra texture.
If you are dairy-free, you can swap the heavy cream for coconut cream (the thick part from a can of full-fat coconut milk) and use a dairy-free condensed milk alternative. It changes the flavor slightly but still works. For the caramel, just ensure it’s free of dairy if you are avoiding it.
Equipment Needed
You don’t need a lot of fancy gear to make this. In fact, the beauty of this recipe is its simplicity. Here is what you’ll need:
* **Large Mixing Bowl**: A stainless steel or glass bowl works best. Make sure it’s large enough to hold the whipped cream without splashing.
* **Hand Mixer or Stand Mixer**: A hand mixer is fine, but a stand mixer with a whisk attachment is easier if you have one. You need to whip the cream to stiff peaks, which takes a few minutes.
* **Rubber Spatula**: Essential for folding the ingredients together gently. You want to keep the air in the cream, so use a gentle folding motion.
* **Loaf Pan or Freezer-Safe Container**: A standard 9×5 inch loaf pan works perfectly. It fits in most freezers and makes it easy to scoop. You can also use a plastic container with a lid.
* **Whisk**: If you don’t have a mixer, you can whisk by hand, but it will take more elbow grease.
I’ve tried making this in a plastic Tupperware container, and it works, but the loaf pan gives it a nice shape for slicing. If you use a glass loaf pan, make sure it’s freezer-safe so it doesn’t crack. Budget-friendly tip: You probably already have all of this in your kitchen. No need to buy anything special.
Preparation Method
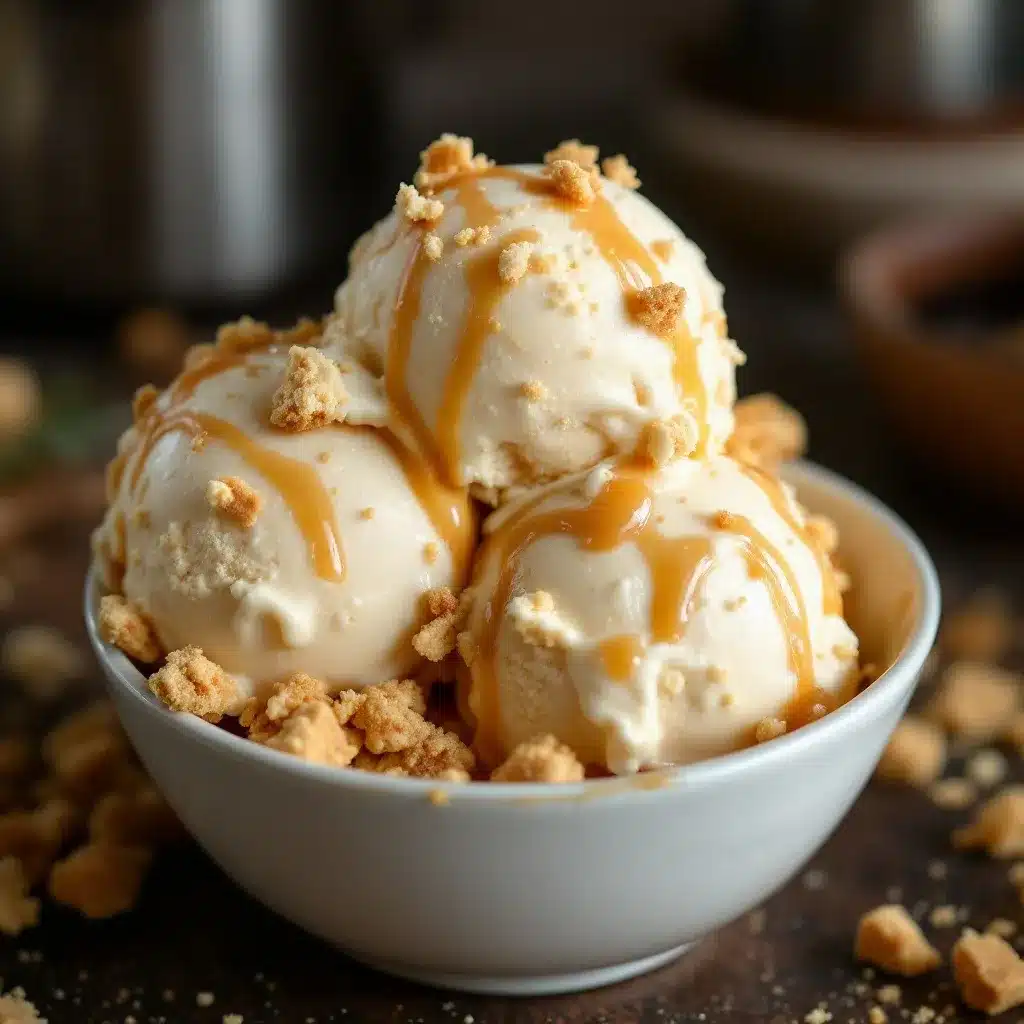
Making this ice cream is straightforward, but technique matters. Follow these steps carefully for the best results.
1. **Prepare the Pan**: Line your loaf pan with parchment paper, leaving an overhang on the sides. This makes it easy to remove the ice cream later if you want to slice it. Alternatively, just grease the pan lightly with non-stick spray.
2. **Whip the Cream**: Pour the cold heavy cream into the large mixing bowl. Using your hand mixer or stand mixer, whip on medium-high speed for 2-3 minutes until stiff peaks form. This means when you lift the beaters, the cream stands up straight and doesn’t droop. Be careful not to over-whip, or it might turn into butter.
3. **Mix the Base**: In a separate medium bowl, combine the sweetened condensed milk, vanilla extract, and salt. Whisk them together until smooth. This step ensures the salt and vanilla are evenly distributed.
4. **Fold the Cream**: Gently pour the whipped cream into the condensed milk mixture. Using your rubber spatula, fold the cream into the milk. Use a gentle cutting motion, scraping the bottom and folding over the top. Do this until just combined. You want to keep as much air as possible in the mixture. This takes about 1-2 minutes.
5. **Add the Caramel**: Pour half of the caramel sauce into the bowl. Fold it in gently, creating swirls. Don’t mix it completely; you want visible ribbons of caramel throughout the ice cream.
6. **Transfer to Pan**: Pour the mixture into the prepared loaf pan. Use the spatula to smooth the top. Take the remaining caramel sauce and drizzle it over the top. Use a knife to swirl it in for a marbled effect.
7. **Freeze**: Cover the pan tightly with plastic wrap or a lid. Place it in the freezer for at least 6 hours, but overnight is best. The ice cream needs time to set completely.
8. **Serve**: When ready to serve, let the ice cream sit at room temperature for 5-10 minutes to soften slightly. Scoop and enjoy.
Cooking Tips & Techniques
There are a few tricks to getting that perfect texture. First, make sure your cream is very cold. If your kitchen is warm, put the bowl in the fridge for 10 minutes before whipping. Cold cream whips faster and holds its shape better.
Second, don’t skip the salt. The salt in the caramel and the pinch of salt in the base are crucial. They cut through the sweetness and make the flavor pop. Without salt, it will just taste like sweet milk.
Third, when folding the ingredients, be gentle. If you mix too vigorously, you’ll deflate the whipped cream, and the ice cream will be dense and icy instead of light and creamy. Take your time.
I once rushed this step and ended up with ice cream that tasted like frozen milkshake. Lesson learned. Patience is key. Also, if you want extra caramel flavor, add a tablespoon of caramel sauce to the base before folding in the cream. It intensifies the taste.
Variations & Adaptations
You can customize this recipe to suit your tastes. Here are a few ideas:
* **Chocolate Lovers**: Fold in ½ cup of chocolate chips or cocoa powder into the base. It turns it into a salted caramel chocolate ice cream.
* **Coffee Flavor**: Add 1 tablespoon of instant espresso powder to the condensed milk mixture. It pairs beautifully with caramel.
* **Fruit Swirl**: Use strawberry or raspberry puree instead of caramel for a fruity twist. It’s refreshing and less heavy.
* **Nutty Version**: Add chopped toasted pecans or walnuts for crunch. It adds a nice texture contrast.
* **Vegan Option**: Use coconut cream and dairy-free condensed milk. The flavor is slightly different but still delicious.
I tried adding crushed pretzels to the base once, and it was amazing. The salty crunch with the sweet caramel is addictive. Feel free to experiment.
Serving & Storage Suggestions
Serve this ice cream cold, straight from the freezer. It pairs well with warm brownies or apple pie. For a fancy touch, top it with a drizzle of extra caramel sauce and a sprinkle of flaky sea salt.
To store, keep it in an airtight container in the freezer. It will stay good for up to 2 weeks. If it gets too hard, let it sit out for 5 minutes before scooping. The flavors develop and meld together after a day or two, so it often tastes better the next day.
Nutritional Information & Benefits
This ice cream is rich in fat and sugar, so enjoy in moderation. A typical serving (½ cup) contains approximately 350 calories, 20g of fat, and 40g of sugar. It is not a health food, but it is a treat. The heavy cream provides satiety, and the caramel adds joy. It’s gluten-free if you don’t add cookie mix-ins.
Conclusion
This no-churn salted caramel ice cream is a lifesaver. It’s easy, delicious, and requires no special equipment. I hope you try it and love it as much as I do. Customize it with your favorite mix-ins and make it your own. Leave a comment below if you try it, and share your variations!
FAQs
Can I use skim milk instead of heavy cream?
No, you need heavy cream to whip and create the airy texture. Skim milk won’t whip and will result in icy ice cream.
How long does it take to freeze?
It takes at least 6 hours, but overnight is best for a firm texture.
Can I make this without a mixer?
Yes, but you will need to whisk the cream by hand for 5-10 minutes until stiff peaks form. It takes more effort.
Is this recipe gluten-free?
Yes, the base ingredients are gluten-free. Just ensure your caramel sauce is gluten-free and don’t add cookie mix-ins.
Can I use homemade caramel sauce?
Absolutely. Homemade caramel tastes even better. Let it cool slightly before folding it in.
Pin This Recipe!
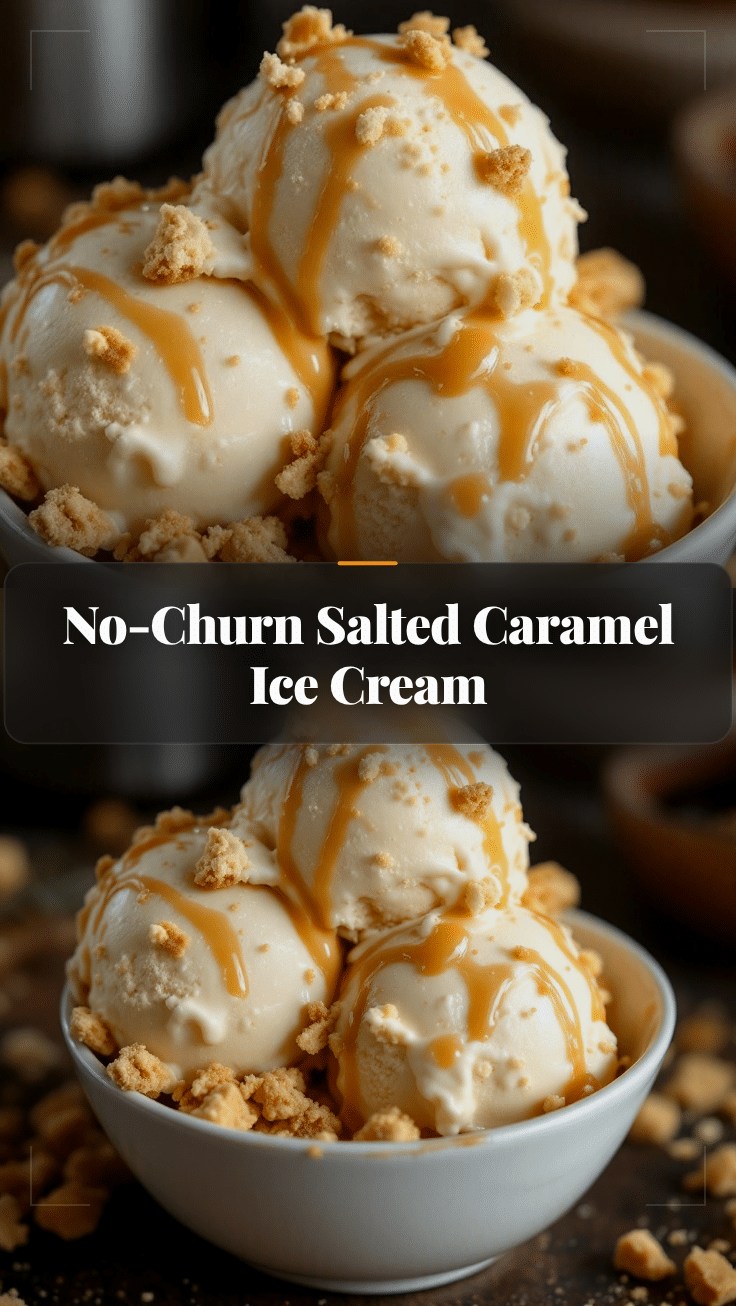
No-Churn Salted Caramel Ice Cream: 3-Ingredient Easy Dessert

A simple, no-churn salted caramel ice cream made with just heavy cream, sweetened condensed milk, and caramel sauce. This easy dessert requires no special equipment and delivers a creamy, rich texture perfect for summer.
- Prep Time: 15 minutes
- Cook Time: 0 minutes
- Total Time: 6 hours 15 minutes
- Yield: 8 servings 1x
- Category: Dessert
- Cuisine: American
Ingredients
- 2 cups (480 ml) heavy whipping cream, cold
- 1 can (14 oz or 397g) sweetened condensed milk
- 1 teaspoon vanilla extract
- ½ teaspoon fine sea salt
- ½ cup salted caramel sauce
- Optional: ½ cup crushed cookies or chocolate chips
Instructions
- Line a 9×5 inch loaf pan with parchment paper or grease lightly with non-stick spray.
- Pour cold heavy cream into a large mixing bowl and whip on medium-high speed for 2-3 minutes until stiff peaks form.
- In a separate medium bowl, whisk together sweetened condensed milk, vanilla extract, and salt until smooth.
- Gently fold the whipped cream into the condensed milk mixture using a rubber spatula until just combined, taking care not to deflate the cream.
- Pour half of the caramel sauce into the bowl and fold it in gently to create swirls.
- Transfer the mixture to the prepared loaf pan and smooth the top.
- Drizzle the remaining caramel sauce over the top and swirl with a knife for a marbled effect.
- Cover tightly with plastic wrap or a lid and freeze for at least 6 hours, preferably overnight.
- Before serving, let the ice cream sit at room temperature for 5-10 minutes to soften slightly, then scoop and enjoy.
Notes
Ensure the heavy cream is very cold for best whipping results. Do not over-whip the cream or it may turn into butter. Be gentle when folding to maintain airiness. For a vegan version, substitute heavy cream with coconut cream and condensed milk with a dairy-free alternative. Ensure caramel sauce is gluten-free if serving to those with gluten sensitivities.
Nutrition
- Serving Size: 1/2 cup
- Calories: 350
- Sugar: 40
- Sodium: 150
- Fat: 20
- Saturated Fat: 12
- Carbohydrates: 40
- Protein: 4
Keywords: no-churn ice cream, salted caramel ice cream, easy dessert, summer treats, ice cream without machine, 3 ingredient dessert


