Love this? Save it for later!
Share the inspiration with your friends
The first Saturday in November, and the kitchen is already dark by 4:30. That’s the thing about this time of year—the light just gives up early, like it knows it’s not the main character anymore. I’d spent the afternoon staring at a pile of sugar pumpkins on the counter, the ones I bought with grand plans for pies that never materialized, and honestly, I was tired of thinking about it. So I did what I always do when I don’t know what to make: I made cookies.
But not just any cookies. I wanted something that tasted like the season without screaming about it. Something soft, with that slight chew that makes you close your eyes for a second. And I wanted cinnamon—lots of it. That’s how these soft & chewy pumpkin snickerdoodle cookies happened. They weren’t planned. They were just what the kitchen needed that quiet, dusky afternoon.
The thing about pumpkin cookies is they can go wrong so fast. Too cakey, too dense, too wet. I’ve had my share of disappointments, believe me. But these? They came out exactly right on the first try, which almost never happens. The edges are slightly crisp, the centers stay tender for days, and that cinnamon-sugar coating gives them just enough crunch to keep things interesting. It’s the kind of cookie that doesn’t need a fancy occasion—it just needs a chilly afternoon and someone who wants to eat three in a row without feeling guilty about it.
Why You’ll Love This Recipe
I’ve tested a lot of pumpkin cookie recipes over the years, and most of them fall into one of two camps: dry and disappointing, or so wet they barely hold together. These soft & chewy pumpkin snickerdoodle cookies hit that sweet spot right in the middle. Here’s why they work:
- Perfect texture every time – The combination of pumpkin puree and the right amount of butter gives you a cookie that’s soft without being gummy, chewy without being tough. I’ve made these at least a dozen times now, and they come out consistent every single batch.
- No weird ingredients – You don’t need cream of tartar or specialty flours. Everything is probably already in your pantry, minus the pumpkin. And honestly, if you’ve got a can of pumpkin hanging out from last week’s baking spree, you’re already set.
- That classic snickerdoodle tang – The cinnamon-sugar coating isn’t just for looks. It creates that signature crackly top and gives each bite a little burst of warmth that pairs perfectly with the pumpkin.
- They stay soft for days – Most pumpkin cookies get sad by day two. These hold up beautifully, thanks to the moisture from the pumpkin and a little trick I learned about resting the dough.
- Kid-approved and adult-approved – I brought a batch to my neighbor’s house and her kids ate six before I could even say hello. My husband, who claims he doesn’t like pumpkin desserts, ate four. So there’s that.
These aren’t just another pumpkin cookie. They’re the ones you’ll actually want to make again, not because you have leftover pumpkin to use up, but because they’re genuinely that good. The kind of cookie that makes you look forward to fall baking season.
What Ingredients You Will Need
This recipe keeps things simple. No fancy extracts, no obscure spices. Just good, basic ingredients that work together to create something special. Here’s what you’ll need:
For the Cookie Dough
- 2 ½ cups (312g) all-purpose flour – Spoon and level it. Don’t scoop straight from the bag or you’ll end up with dry cookies. I use Gold Medal most of the time, but any standard brand works fine.
- 1 teaspoon baking soda – Make sure it’s fresh. Old baking soda won’t give you the lift you need.
- ½ teaspoon baking powder – This helps with the chewiness. Don’t skip it.
- 1 teaspoon ground cinnamon – For the dough itself. Use good-quality cinnamon here—it makes a difference.
- ½ teaspoon ground nutmeg – Freshly grated if you have it, but pre-ground works perfectly fine.
- ¼ teaspoon ground cloves – Just a hint. Too much and it’ll overpower everything.
- ½ teaspoon salt – Balances the sweetness and brings out the pumpkin flavor.
- ½ cup (113g) unsalted butter, softened – Let it sit out for about 30 minutes. You want it soft but not melted.
- ¾ cup (150g) granulated sugar – Regular white sugar. It gives the cookies structure.
- ½ cup (100g) packed light brown sugar – This adds moisture and that subtle molasses flavor that pairs so well with pumpkin.
- 1 large egg, room temperature – Cold egg will seize up the butter. Leave it out with the butter.
- 1 teaspoon vanilla extract – Pure vanilla, not imitation. Trust me on this.
- ¾ cup (170g) pumpkin puree – Not pumpkin pie filling. Just plain pumpkin puree. Libby’s is my go-to, but store brands work too. Pat the pumpkin with a paper towel to remove excess moisture—this is crucial.
For the Cinnamon-Sugar Coating
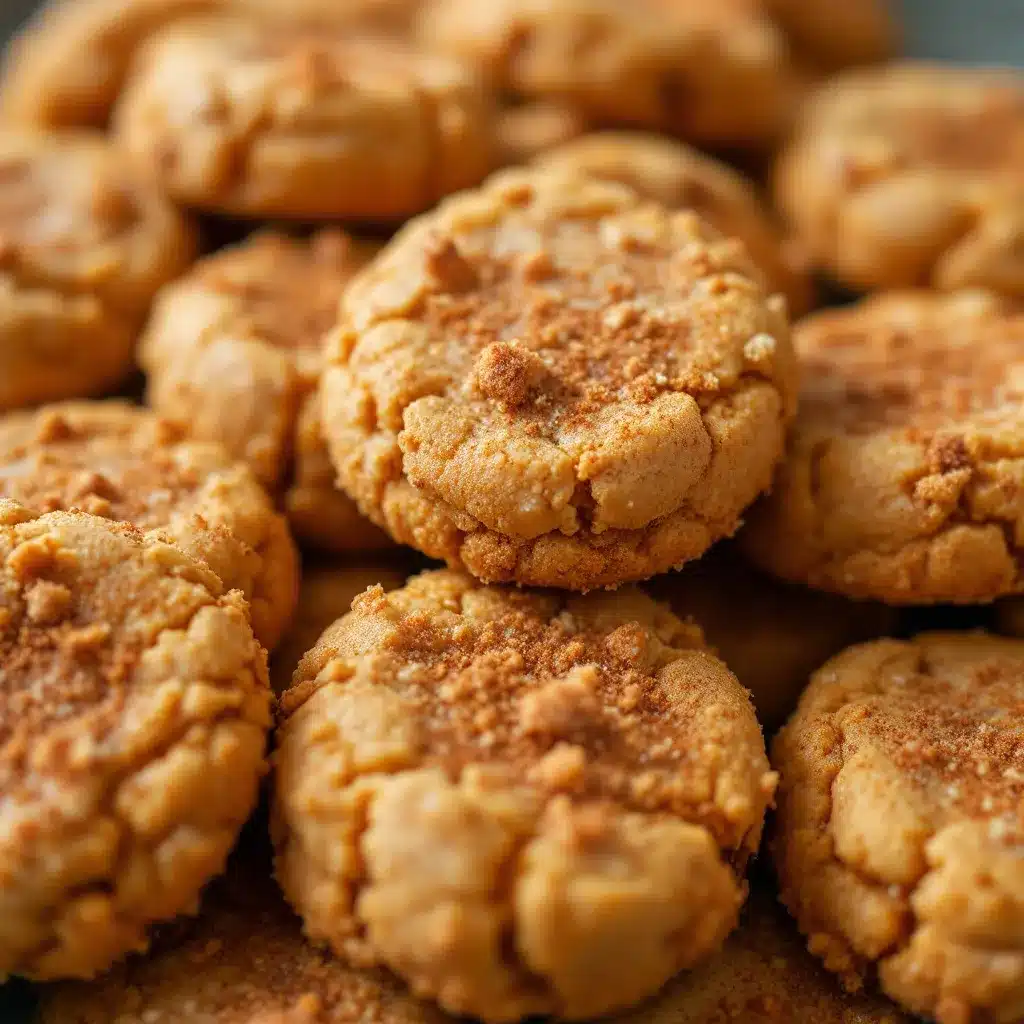
- ¼ cup (50g) granulated sugar
- 1 ½ tablespoons ground cinnamon – Yes, this seems like a lot. That’s the point.
A note on the pumpkin: I’ve made these with both canned and fresh pumpkin puree. Canned is more consistent and gives better results, honestly. If you use fresh, make sure you roast and strain it well—fresh pumpkin tends to be more watery and can throw off the texture. Also, don’t use the big 29-ounce can unless you’re doubling the recipe. You’ll have leftover puree, which is the perfect excuse to make a batch of easy one bowl chocolate chip pumpkin bread.
Equipment Needed
You don’t need a lot of fancy tools for these cookies. Here’s what you’ll actually use:
- Large mixing bowl – For the dry ingredients. I use a glass bowl because it doesn’t hold onto smells.
- Medium mixing bowl – For the wet ingredients. Any bowl works.
- Electric hand mixer or stand mixer – You can do this by hand, but a mixer makes creaming the butter and sugars much easier. I’ve used both a KitchenAid and a cheap hand mixer—both work fine.
- Rubber spatula – For scraping down the sides and folding in the flour. Get a good one that won’t melt.
- Baking sheets – Two standard half-sheet pans. Line them with parchment paper, not wax paper.
- Parchment paper – Non-negotiable. It prevents sticking and helps the cookies bake evenly.
- Cookie scoop or tablespoon – A 1.5-tablespoon scoop gives you perfectly uniform cookies. If you don’t have one, just use a regular spoon and try to keep them the same size.
- Cooling rack – Lets air circulate so the bottoms don’t get soggy. Worth the investment.
- Small bowl – For the cinnamon-sugar mixture.
If you’re on a budget, skip the fancy scoop and just use two spoons. The cookies will still taste the same, I promise.
Preparation Method
This is where the magic happens. Follow these steps carefully, and you’ll end up with perfect soft & chewy pumpkin snickerdoodle cookies every time.
Step 1: Prep Your Ingredients
Take the butter and egg out of the fridge about 30 minutes before you start. Pat the pumpkin puree with a paper towel to remove excess moisture—this is the single most important step for getting the right texture. Too much water in the pumpkin and your cookies will spread into flat, sad discs. Line your baking sheets with parchment paper.
Step 2: Mix the Dry Ingredients
In a large bowl, whisk together the flour, baking soda, baking powder, cinnamon, nutmeg, cloves, and salt. Whisk for about 20 seconds to make sure everything is evenly distributed. Set this aside.
Step 3: Cream the Butter and Sugars
In a separate bowl, beat the softened butter, granulated sugar, and brown sugar together on medium speed for about 2-3 minutes. You want it light and fluffy, not just combined. Scrape down the sides of the bowl with your spatula halfway through. Don’t rush this step—proper creaming adds air that helps the cookies rise.
Step 4: Add the Wet Ingredients
Beat in the egg and vanilla extract until just combined. Then add the pumpkin puree and mix on low speed until incorporated. The mixture will look a little curdled or separated at this point. That’s totally normal. Don’t panic.
Step 5: Combine Wet and Dry
Gradually add the dry ingredients to the wet mixture, mixing on low speed. Stop as soon as the flour disappears—overmixing will make the cookies tough. Use your spatula to give it a few final folds from the bottom, making sure there are no hidden pockets of flour.
Step 6: Chill the Dough
Cover the bowl with plastic wrap and refrigerate for at least 30 minutes. This is non-negotiable. Chilled dough spreads less and gives you thicker, chewier cookies. I’ve made the mistake of skipping this step before, and the cookies turned into flat, greasy pancakes. Learn from my failure.
Step 7: Make the Cinnamon-Sugar Coating
While the dough chills, mix the ¼ cup sugar and 1 ½ tablespoons cinnamon in a small bowl. Set it aside.
Step 8: Shape and Coat
Preheat your oven to 350°F (175°C). Use your cookie scoop or a spoon to portion out about 1.5 tablespoons of dough per cookie. Roll each portion into a smooth ball between your palms. Drop each ball into the cinnamon-sugar mixture and roll it around until fully coated. Place them on the prepared baking sheets, spacing them about 2 inches apart. They will spread a little, but not too much.
Step 9: Bake
Bake for 10-12 minutes. The cookies should look puffed and slightly cracked on top, with the edges just barely set. The centers will look soft and slightly underdone—that’s exactly what you want. Overbaking is the fastest way to ruin these cookies.
Step 10: Cool
Let the cookies rest on the baking sheet for 5 minutes. This allows them to finish setting up without overbaking. Then transfer them to a cooling rack to cool completely. If you eat one while it’s still warm, I won’t judge. I do it every time.
Cooking Tips & Techniques
I’ve learned a few things the hard way so you don’t have to. Here are the tips that make these soft & chewy pumpkin snickerdoodle cookies actually work:
Pat the pumpkin dry. I cannot stress this enough. Pumpkin puree holds a lot of water, and excess moisture is the enemy of chewy cookies. Use a paper towel and gently press it into the puree. You’ll be surprised how much liquid comes out. This one step separates good cookies from great ones.
Don’t skip the chill time. I know, I know. You want cookies now. But chilled dough gives you thicker cookies with better texture. If you’re in a hurry, pop the dough in the freezer for 15 minutes instead of the fridge for 30. It works in a pinch.
Use a cookie scoop for even sizing. Uniform cookies bake evenly. If some are bigger than others, the small ones will burn while the big ones are still raw. A simple scoop costs five bucks and makes a world of difference.
Watch the bake time like a hawk. Ovens vary wildly. My oven runs hot, so I check at 9 minutes. Yours might need the full 12. Start checking at the lower end of the range and go from there. The cookies are done when the edges are set and the tops look dry but the centers still look soft.
Let them rest on the pan. Those 5 minutes on the hot baking sheet are crucial. The cookies continue to bake gently from the residual heat, setting the centers without drying them out. If you move them too soon, they’ll fall apart.
One time I forgot to chill the dough and baked them anyway. The result was a pan of flat, greasy cookies that spread into each other and looked like one giant cookie pancake. They still tasted okay, but they were nothing like the soft, thick cookies I wanted. So yeah, don’t be like me. Chill the dough.
Variations & Adaptations
These cookies are pretty perfect as-is, but I’m always experimenting. Here are a few variations I’ve tried and loved:
Gluten-Free Version: Substitute the all-purpose flour with a 1:1 gluten-free baking flour blend. I’ve used Bob’s Red Mill and King Arthur with good results. Add an extra tablespoon of flour to compensate for the lack of gluten structure. The texture will be slightly more tender, but still delicious.
Vegan Option: Use a flax egg (1 tablespoon ground flaxseed mixed with 3 tablespoons water, let sit for 5 minutes) instead of the regular egg, and swap the butter for vegan butter. Earth Balance works well. The cookies will be a bit softer, so chill the dough for an extra 15 minutes.
Add-In Variation: Fold in ½ cup of white chocolate chips or chopped pecans after mixing the dough. The white chocolate pairs beautifully with the pumpkin and cinnamon. I did this for a holiday party and they disappeared in minutes.
Spice It Up: Add ¼ teaspoon of ground ginger or cardamom to the dough for a more complex flavor profile. Ginger gives it a little warmth, while cardamom adds an almost floral note that’s really interesting.
Pumpkin Cream Cheese Version: Make a cream cheese filling by mixing 4 ounces of softened cream cheese with 2 tablespoons of powdered sugar. Freeze small dollops of the mixture, then wrap each one in a portion of cookie dough before coating with cinnamon-sugar. Bake as directed. These are extra decadent and perfect for when you want something special.
If you’re looking for another way to use up that leftover pumpkin, my perfect pumpkin roll with cream cheese filling is a showstopper for holiday gatherings.
Serving & Storage Suggestions
These cookies are best served slightly warm, when the centers are still soft and the cinnamon-sugar coating is at its crunchiest. I like to pair them with a hot cup of coffee or a glass of cold milk. They’re also fantastic crumbled over vanilla ice cream for an impromptu dessert sundae.
For a cozy fall presentation, arrange them on a wooden board with apple slices, a few cinnamon sticks, and maybe a small bowl of extra cinnamon-sugar for dipping. It makes a beautiful centerpiece for a casual gathering.
Storage: Keep the cookies in an airtight container at room temperature for up to 5 days. Place a slice of bread in the container to help maintain moisture—the bread will get hard while the cookies stay soft. Replace the bread slice every couple of days if the cookies last that long.
Freezing: These freeze beautifully. You can freeze the baked cookies in a single layer on a baking sheet, then transfer them to a freezer bag for up to 3 months. Thaw at room temperature for about 30 minutes before serving. You can also freeze the unbaked dough balls—just roll them, coat them in cinnamon-sugar, and freeze on a baking sheet. Once frozen solid, transfer to a freezer bag. Bake directly from frozen, adding 2-3 minutes to the bake time.
Reheating: Pop a cookie in the microwave for 10-15 seconds to bring back that fresh-from-the-oven softness. Or warm them in a 300°F oven for 5 minutes if you’re reheating a whole batch.
The flavors actually develop over time. Day two cookies are often better than day one—the spices meld together and the texture evens out. If you can resist eating them all on the first day, you’re in for a treat.
Nutritional Information & Benefits
These are cookies, so let’s not pretend they’re health food. But they do have some redeeming qualities:
Estimated per cookie (based on 24 cookies):
- Calories: 145
- Fat: 5g
- Carbohydrates: 23g
- Fiber: 1g
- Sugar: 14g
- Protein: 2g
- Vitamin A: 35% of daily value (from the pumpkin)
Health highlights: Pumpkin is packed with vitamin A, which supports eye health and immune function. It’s also a good source of fiber and antioxidants. The cinnamon in the coating has anti-inflammatory properties and may help regulate blood sugar. So while these aren’t exactly a salad, they’re not empty calories either.
Dietary considerations: These cookies contain gluten, dairy (butter), and eggs. For gluten-free or vegan options, see the variations section above. They are nut-free as written, making them safe for school lunchboxes (though always check your specific ingredients for cross-contamination warnings).
I like to think of these as a “have your pumpkin and eat it too” kind of treat. They satisfy that fall baking itch without being overly indulgent. One or two with a cup of tea feels like a reasonable afternoon pick-me-up, not a sugar bomb.
Conclusion
These soft & chewy pumpkin snickerdoodle cookies are exactly what fall baking should be: simple, comforting, and genuinely delicious. No complicated techniques, no obscure ingredients, no stress. Just a warm kitchen, a bowl of dough, and the smell of cinnamon filling every corner of your house.
What I love most about this recipe is how forgiving it is. You can tweak the spices, swap in different add-ins, or double the batch for a crowd, and they still come out perfect. They’re the kind of cookies you make on a lazy Sunday afternoon and then find yourself craving on a random Tuesday morning.
I’d love to hear how yours turn out. Leave a comment below and let me know if you tried any variations—I’m always looking for new ideas to test in my kitchen. And if you’re in the mood for more pumpkin baking, don’t miss my perfect pumpkin cream cheese muffins or that cozy pumpkin sourdough bread that’s been getting rave reviews.
Happy baking, friends. May your cookies be soft, your cinnamon be plentiful, and your kitchen smell like autumn.
Frequently Asked Questions
Why did my cookies turn out flat?
Flat cookies usually mean the butter was too soft or the dough wasn’t chilled long enough. Make sure your butter is softened but not melted, and don’t skip the 30-minute chill time. Also, check that your baking soda is fresh—old baking soda won’t provide enough lift.
Can I use pumpkin pie filling instead of pumpkin puree?
No. Pumpkin pie filling has added sugar and spices that will throw off the recipe completely. Stick with 100% pure pumpkin puree. If you accidentally buy pie filling, save it for making a quick no-bake dessert instead.
How do I know when the cookies are done baking?
The edges should be set and lightly golden, while the centers still look soft and slightly underdone. They’ll continue to set as they cool on the baking sheet. If the centers look fully set in the oven, they’re overbaked.
Can I make the dough ahead of time?
Absolutely. The dough can be refrigerated for up to 3 days in an airtight container. You can also freeze the shaped, coated dough balls for up to 3 months. Bake from frozen, adding 2-3 minutes to the bake time.
Why is my dough too sticky to handle?
Pumpkin puree varies in moisture content. If your dough feels too sticky, refrigerate it for an additional 15-20 minutes. If it’s still too sticky after that, add a tablespoon of flour at a time until it becomes manageable. Next time, pat the pumpkin drier with paper towels before adding it to the dough.
Pin This Recipe!
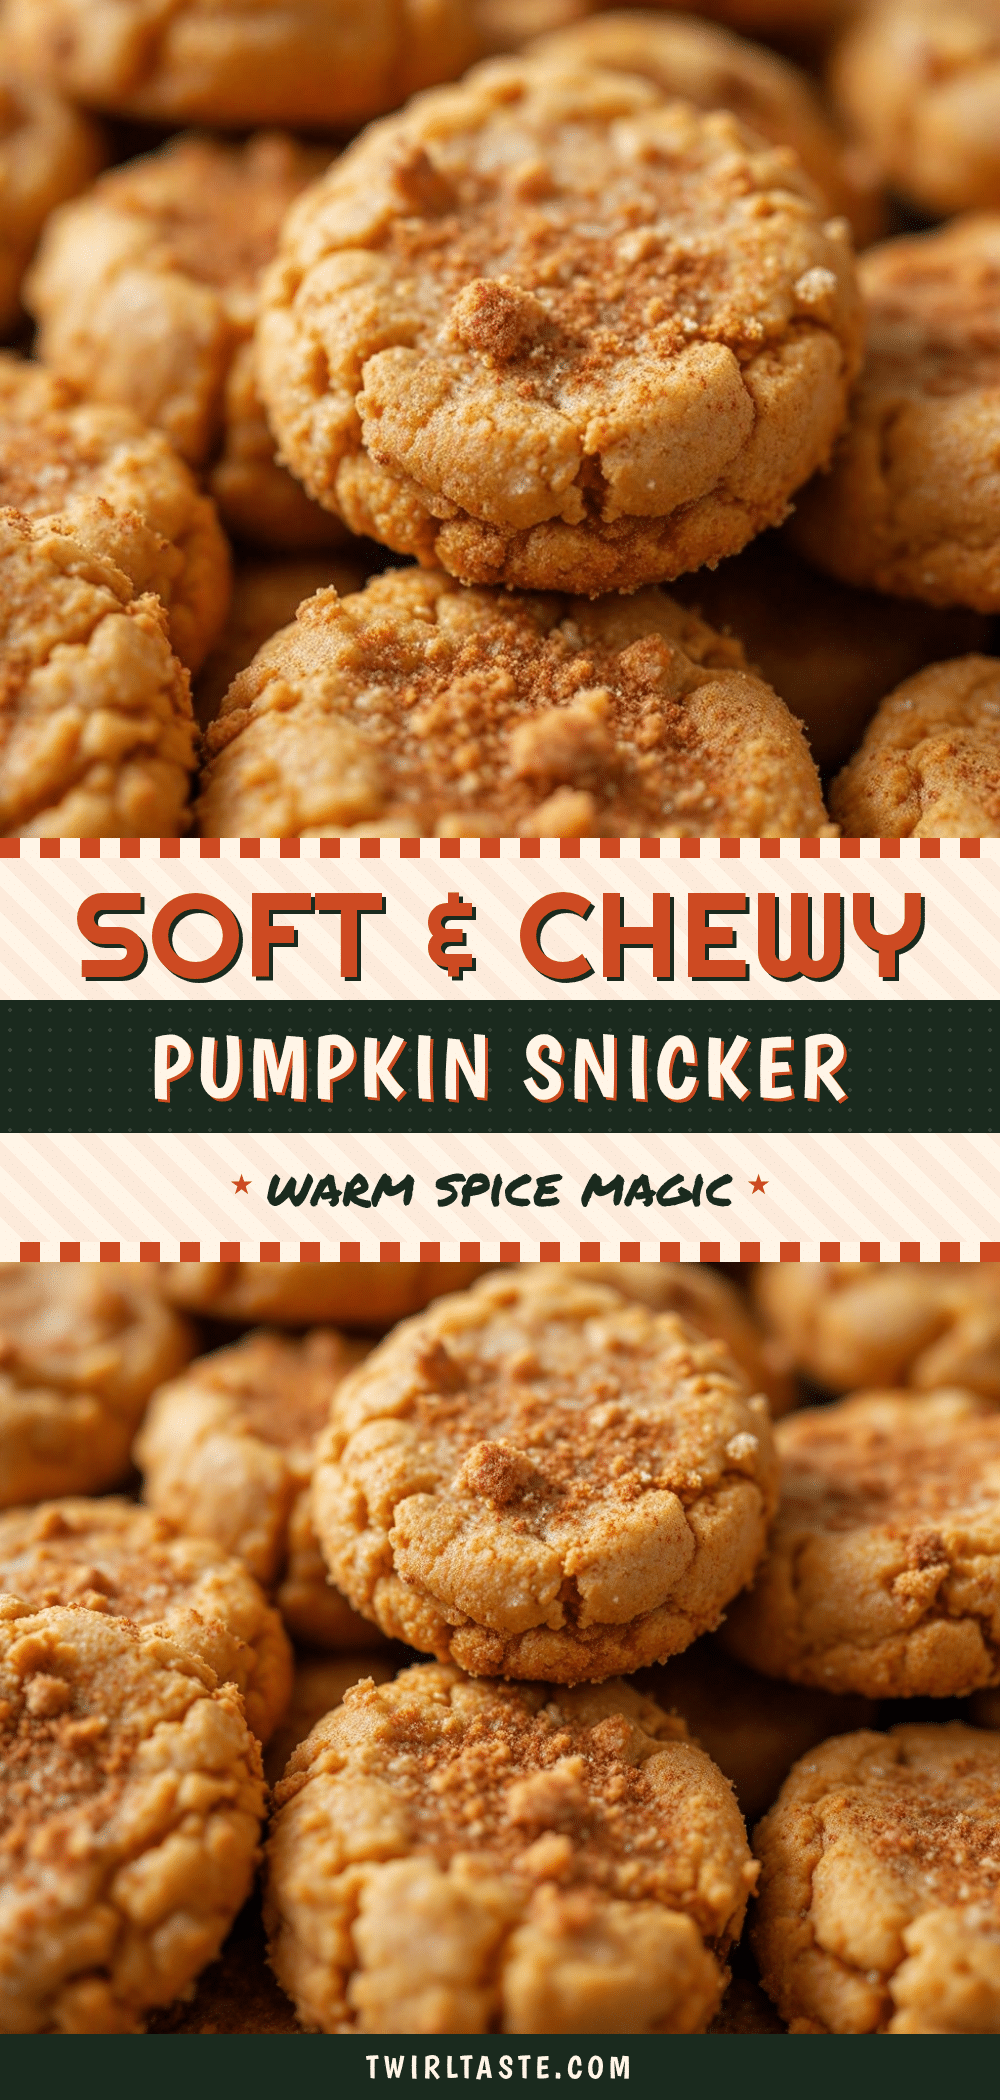
Soft & Chewy Pumpkin Snickerdoodle Cookies – Easy Fall Recipe
Soft, chewy pumpkin snickerdoodle cookies with a cinnamon-sugar coating. Perfect for fall baking, these cookies have a tender center and slightly crisp edges, made with simple pantry ingredients.
- Prep Time: 15 minutes
- Cook Time: 12 minutes
- Total Time: 57 minutes (includes 30 minutes chilling)
- Yield: 24 cookies 1x
- Category: Dessert
- Cuisine: American
Ingredients
- 2 ½ cups (312g) all-purpose flour
- 1 teaspoon baking soda
- ½ teaspoon baking powder
- 1 teaspoon ground cinnamon
- ½ teaspoon ground nutmeg
- ¼ teaspoon ground cloves
- ½ teaspoon salt
- ½ cup (113g) unsalted butter, softened
- ¾ cup (150g) granulated sugar
- ½ cup (100g) packed light brown sugar
- 1 large egg, room temperature
- 1 teaspoon vanilla extract
- ¾ cup (170g) pumpkin puree (not pumpkin pie filling)
- ¼ cup (50g) granulated sugar (for coating)
- 1 ½ tablespoons ground cinnamon (for coating)
Instructions
- Take the butter and egg out of the fridge about 30 minutes before starting. Pat the pumpkin puree with a paper towel to remove excess moisture. Line baking sheets with parchment paper.
- In a large bowl, whisk together the flour, baking soda, baking powder, cinnamon, nutmeg, cloves, and salt for about 20 seconds. Set aside.
- In a separate bowl, beat the softened butter, granulated sugar, and brown sugar together on medium speed for 2-3 minutes until light and fluffy. Scrape down the sides halfway through.
- Beat in the egg and vanilla extract until just combined. Add the pumpkin puree and mix on low speed until incorporated. The mixture may look curdled; this is normal.
- Gradually add the dry ingredients to the wet mixture, mixing on low speed until just combined. Do not overmix. Use a spatula to fold from the bottom to ensure no flour pockets remain.
- Cover the bowl with plastic wrap and refrigerate for at least 30 minutes.
- While the dough chills, mix the ¼ cup sugar and 1 ½ tablespoons cinnamon in a small bowl for the coating.
- Preheat oven to 350°F (175°C). Using a cookie scoop or spoon, portion out about 1.5 tablespoons of dough per cookie. Roll into smooth balls, then coat each ball in the cinnamon-sugar mixture. Place on prepared baking sheets, spacing 2 inches apart.
- Bake for 10-12 minutes. Cookies should look puffed and slightly cracked on top, with edges just set and centers still soft.
- Let cookies rest on the baking sheet for 5 minutes, then transfer to a cooling rack to cool completely.
Notes
Pat the pumpkin puree dry with a paper towel to remove excess moisture—this is crucial for texture. Do not skip chilling the dough for at least 30 minutes to prevent flat cookies. For best results, use canned pumpkin puree (not pumpkin pie filling). Cookies stay soft for up to 5 days in an airtight container at room temperature; place a slice of bread in the container to maintain moisture. Freeze baked cookies for up to 3 months or unbaked dough balls for up to 3 months (bake from frozen, adding 2-3 minutes).
Nutrition
- Serving Size: 1 cookie
- Calories: 145
- Sugar: 14
- Sodium: 120
- Fat: 5
- Saturated Fat: 3
- Carbohydrates: 23
- Fiber: 1
- Protein: 2
Keywords: pumpkin snickerdoodle cookies, soft chewy pumpkin cookies, fall cookie recipe, easy pumpkin cookies, cinnamon sugar cookies


