Love this? Save it for later!
Share the inspiration with your friends
By the third time I made these cozy friendsgiving mini turkey pot pies, I had memorized the exact sound the crust makes when it hits the hot air. It’s a specific, crackling sigh that tells you everything you need to know about butter distribution. Honestly, I started making them because I had leftover turkey that was staring at me from the fridge like a judgmental roommate. I didn’t want another sandwich. I didn’t want soup. I wanted something that felt like a hug but fit in a muffin tin.
The first batch was a disaster. The filling was too runny, and the pastry sank into the gravy like a sinking ship. I ate it with a spoon and felt like a failure. The second batch was better, but the crust was tough enough to stop a bullet. I knew I needed to adjust the roux ratio and maybe chill the dough longer. That’s when it clicked. The balance was right. The flakiness was perfect. The flavor was just… there. Comforting and deep.
I ended up making them every Friday for a month straight. My friends thought I was hosting a weekly dinner party, but really, I was just testing variations. Did I add more thyme? Did I swap the chicken stock for vegetable broth? Did I use puff pastry instead of pie crust? Each time, I found a new detail that kept pulling me back to the oven. It wasn’t just about the food. It was about the ritual. The measuring. The rolling. The waiting.
There’s something about mini pies that strips away the pretense of a full-sized dinner. You don’t need a fancy platter. You don’t need to carve anything. You just grab one, blow on the hot center, and take a bite. It’s messy in the best way. The gravy leaks out onto your fingers. The crust crumbles. You don’t care. You’re too busy tasting the herbs and the tender turkey.
I don’t know why it stuck with me. Maybe it was the way the kitchen smelled like roasted vegetables and warm dough. Maybe it was the fact that these pies are small enough to share, but big enough to satisfy. Whatever it was, I keep coming back to this recipe. Not because it’s complicated, but because it’s honest. It tastes like home. It tastes like friends. It tastes like I finally got it right.
Why You’ll Love This Recipe
Let’s face it, cooking for a group can be a nightmare. But these mini turkey pot pies change the game entirely. I’ve tested dozens of variations over the years, from using store-bought crusts to making my own from scratch, and this version hits that sweet spot of effort versus reward. It’s not just another casserole; it’s a structured, individual meal that feels special without the stress of a whole Thanksgiving dinner.
Here is why this recipe has earned its spot in your rotation:
- Quick & Easy: While the filling simmers, you can prep the crusts. The whole process comes together in under an hour if you use good shortcuts, making it perfect for busy weeknights or last-minute cravings when you need something hearty.
- Simple Ingredients: You likely already have most of this in your pantry. No fancy grocery trips needed. Just basic vegetables, leftover turkey, and standard pantry staples. It’s wholesome food without the fuss.
- Perfect for Friendsgiving: These are great for brunch, potlucks, or cozy dinners. They look festive on a platter and are easy to serve buffet-style. Everyone gets their own personal pie, which eliminates the awkwardness of sharing a large dish.
- Crowd-Pleaser: Always gets rave reviews from kids and adults alike. The individual format makes it fun for children, while the savory flavor profile satisfies adult palates. It’s versatile enough for any gathering.
- Unbelievably Delicious: The texture and flavor combo is next-level comfort food. The creamy, herb-infused gravy contrasts perfectly with the flaky, buttery crust. It’s the kind of bite that makes you close your eyes and just nod in approval.
What makes this recipe different from the rest is the attention to the gravy consistency. Most people over-thicken or under-thicken their pot pie filling. I’ve found that a specific ratio of roux to liquid creates that velvety coating that clings to the turkey and veggies without being gloopy. It’s not just another version—it’s your best version. It’s comfort food reimagined—healthier, faster, but with the same soul-soothing satisfaction. Perfect for impressing guests without stress, or turning a simple meal into something memorable.
What Ingredients You Will Need
This recipe uses simple, wholesome ingredients to deliver bold flavor and satisfying texture without the fuss. The magic here lies in the balance between the savory filling and the crisp pastry. You don’t need exotic spices or hard-to-find items. Just good quality basics.
- For the Filling:
- Unsalted Butter: 3 tablespoons. I recommend using high-quality European butter for better flavor and color.
- Yellow Onion: 1 medium, finely diced. Adds a sweet base note.
- Carrots: 2 medium, peeled and diced into small cubes. Sweetness and texture.
- Celery: 2 stalks, diced. Essential for that classic pot pie aroma.
- Garlic: 3 cloves, minced. Don’t skip this; it adds depth.
- All-Purpose Flour: 3 tablespoons. The thickening agent for the gravy.
- Chicken Stock: 1 ½ cups. Use low-sodium so you can control the salt level. I prefer Swanson or Kettle & Fire for a cleaner taste.
- Heavy Cream: ½ cup. Adds richness and a silky mouthfeel.
- Thawed Frozen Peas: 1 cup. A pop of green and sweetness.
- Leftover Turkey: 2 cups, chopped into bite-sized pieces. Or use rotisserie chicken for a quicker option.
- Dried Thyme: 1 teaspoon. Earthy and classic.
- Bay Leaf: 1. Remove before baking.
- Salt and Black Pepper: To taste. Crucial for balancing the flavors.
- For the Crust:
- Pie Crusts: 2 packages (or 1 double crust). Store-bought is fine, but homemade is better. If using store-bought, look for brands like Pepperidge Farm for reliable flakiness.
- Egg Wash: 1 egg beaten with 1 tablespoon water. For a golden, shiny finish.
- Sesame Seeds: Optional, for sprinkling on top.
If you are dairy-free, you can swap the heavy cream for full-fat coconut cream, though the flavor will be slightly different. For a gluten-free option, use a high-quality gluten-free pie crust dough. In summer, you could swap the frozen peas for fresh edamame or green beans.
Equipment Needed
You don’t need a fancy kitchen to make these. A few basic tools will get the job done.
- 12-Cup Muffin Tin: Standard size. If you want slightly larger pies, use a 6-cup jumbo muffin tin.
- Large Saucepan or Dutch Oven: For simmering the filling. A heavy-bottomed pan prevents scorching.
- Wooden Spoon or Silicone Spatula: For stirring the roux and mixing the filling.
- Rolling Pin: If making crust from scratch. A marble rolling pin stays cool, which helps keep the butter cold.
- Pastry Brush: For applying the egg wash. A silicone brush is easier to clean.
- Pastry Cutter or Fork: For cutting butter into flour if making dough.
If you don’t have a rolling pin, you can use a clean wine bottle. For budget-friendly options, standard stainless steel pans work just as well as copper or cast iron. Just ensure your muffin tin is heavy-duty so it doesn’t warp in the heat.
Preparation Method
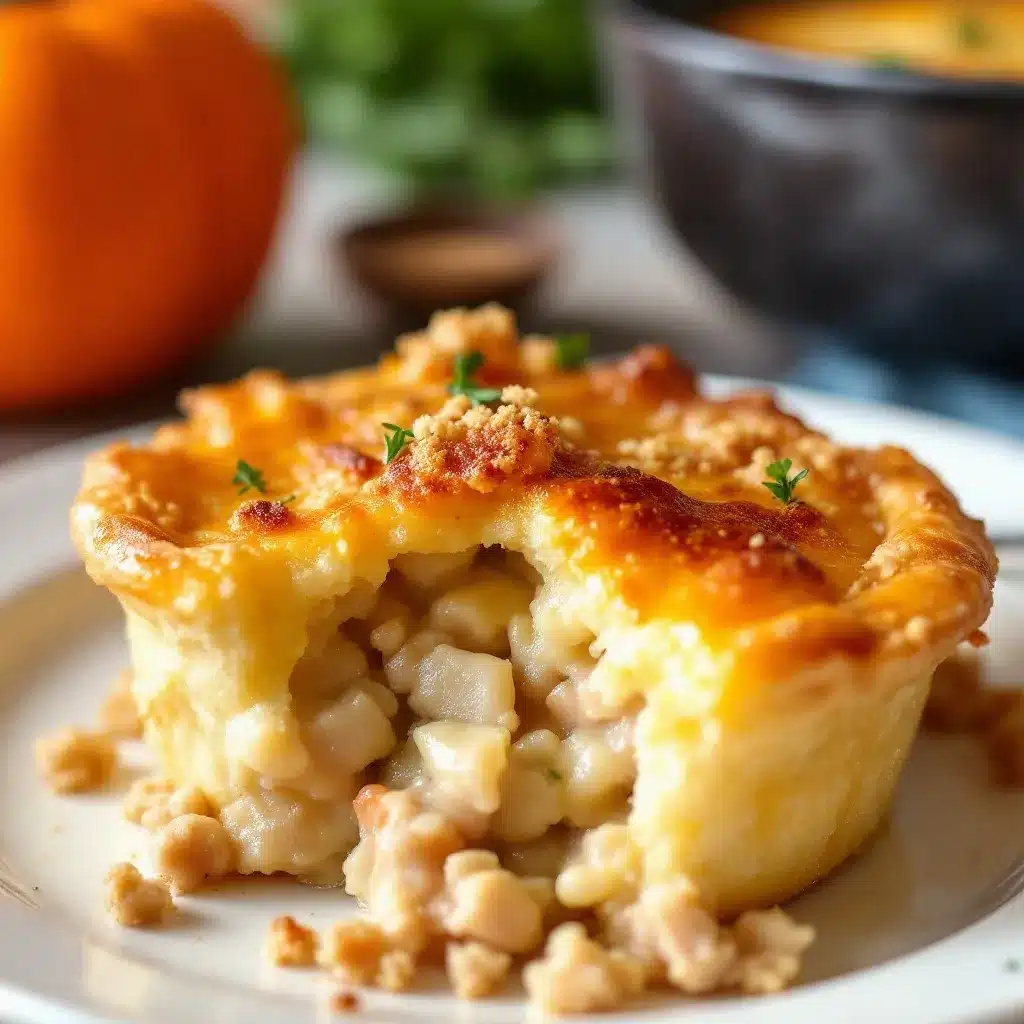
Let’s get cooking. This process is straightforward, but attention to detail matters.
- Preheat the Oven: Heat your oven to 400°F (200°C). Place a rack in the center position. This ensures even baking.
- Prepare the Crusts: If using store-bought dough, let it sit at room temperature for 15 minutes to make it pliable. Roll out the dough on a floured surface. Cut circles that are slightly larger than the diameter of your muffin tin cups. Press the circles into the cups, trimming excess with a knife. Prick the bottoms with a fork to prevent bubbling. Time: 10 minutes.
- Sauté the Vegetables: In a large saucepan, melt the butter over medium heat. Add the diced onion, carrots, and celery. Cook for about 5-7 minutes until softened and translucent. Do not brown them. Add the garlic and cook for 1 more minute until fragrant. Time: 8 minutes.
- Make the Roux: Sprinkle the flour over the vegetables. Stir constantly for 2 minutes to cook out the raw flour taste. This is crucial for a smooth gravy. Time: 2 minutes.
- Add Liquids: Slowly pour in the chicken stock while whisking continuously to avoid lumps. Add the heavy cream and the bay leaf. Stir well. Time: 3 minutes.
- Simmer the Filling: Bring the mixture to a gentle simmer. Let it cook for 5-7 minutes until thickened. It should coat the back of a spoon. Remove the bay leaf. Stir in the peas, thyme, salt, and pepper. Finally, fold in the chopped turkey. Remove from heat. Time: 8 minutes.
- Fill the Crusts: Spoon the warm filling into the prepared muffin cups. Fill them about ¾ full. Do not overfill, or the crust will burst. Time: 5 minutes.
- Add the Top Crusts: Cut more circles from the dough. Place one on top of each filled cup. Pinch the edges firmly to seal. Cut a small slit in the center of each pie to allow steam to escape. Time: 10 minutes.
- Egg Wash and Bake: Brush the tops with the egg wash. Sprinkle with sesame seeds if desired. Bake for 20-25 minutes until the crusts are golden brown and puffed. Time: 25 minutes.
- Cool and Serve: Let the pies cool in the pan for 5 minutes before removing. The filling will be very hot. Time: 5 minutes.
Cooking Tips & Techniques
I’ve made my fair share of mistakes here. The biggest one? Rushing the roux. If you don’t cook the flour for long enough, your gravy will taste raw and powdery. Take the extra two minutes. It makes a world of difference.
Another common mistake is overfilling the pies. The filling expands as it heats. If you pack it too tight, the crust will lift off or burst. Leave a little room at the top. Also, make sure your filling is warm but not boiling hot when you add the top crust. If it’s too hot, the crust can get soggy before it bakes.
Timing is everything. You want the crust to brown before the filling burns. If the tops are browning too quickly, cover them loosely with foil for the last 5 minutes of baking.
Multitask here. While the filling simmers, get your dough ready. This keeps the workflow smooth. Don’t let the dough sit out too long if it’s warm in your kitchen, as the butter will melt. Keep it cool.
Consistency is key. Taste the filling before baking. Adjust salt and pepper now. You can’t adjust it later. The herbs should be noticeable but not overwhelming. Thyme is classic, but you can also use sage or rosemary for a different profile.
Variations & Adaptations
Feel free to make this recipe your own. Here are a few ideas:
- Dairy-Free: Use olive oil instead of butter. Swap heavy cream for full-fat coconut milk. Use a dairy-free pie crust.
- Vegetarian: Swap the turkey for chopped mushrooms, cauliflower, or chickpeas. Use vegetable broth instead of chicken stock.
- Gluten-Free: Use gluten-free flour for the roux and a gluten-free pie crust. Check labels for hidden gluten in stocks.
- Spicy: Add a pinch of cayenne pepper or red pepper flakes to the filling. Or serve with a spicy chili oil drizzle.
- Seasonal: In autumn, add diced sweet potatoes or butternut squash to the filling. It adds a nice sweetness and texture.
I once tried making these with leftover beef stew meat. It worked surprisingly well, though the cooking time for the meat needed to be longer. Always adjust based on the ingredients you’re using.
Serving & Storage Suggestions
Serve these warm, right out of the oven. They look great on a rustic wooden board or a simple white platter. Garnish with fresh parsley or thyme sprigs for a pop of color.
They pair well with a crisp green salad or the easy cozy maple butternut squash soup with crispy sage if you want a double-down on fall flavors. A glass of red wine or apple cider also complements the savory notes.
Store leftovers in an airtight container in the refrigerator for up to 3 days. Reheat in the oven at 350°F for 10-15 minutes to keep the crust crisp. Microwaving will make the crust soggy, so avoid it if possible.
You can also freeze the unbaked pies. Wrap them tightly in plastic wrap and foil. Bake from frozen, adding 10-15 minutes to the baking time. The flavors actually meld nicely after a day or two, so they taste great even if you make them ahead.
Nutritional Information & Benefits
Each mini pot pie contains approximately 350-400 calories, depending on the crust size and filling ratio. The dish provides a good balance of protein from the turkey, fiber from the vegetables, and healthy fats from the butter and cream.
Key ingredients like carrots and celery provide vitamins A and K. Turkey is a lean protein source that supports muscle repair and energy levels. Thyme has antioxidant properties.
For those watching their sodium, use low-sodium stock and control the salt added during cooking. This recipe can be made gluten-free or dairy-free with the substitutions mentioned above. It’s a hearty meal that satisfies without feeling overly heavy, making it a good option for a balanced dinner.
Conclusion
These cozy friendsgiving mini turkey pot pies are worth trying. They are easy, delicious, and perfect for sharing. I love them because they take the stress out of hosting. You get individual portions, minimal cleanup, and maximum flavor.
Customize them to fit your taste. Add more veggies. Swap the meat. Use leftover holiday turkey. Make it your own.
I hope you enjoy making them as much as I do. They’ve become a staple in my kitchen, and I think they will become one in yours too. If you try this recipe, let me know how it went in the comments below. Share your variations and tips. And if you loved this, check out my creamy slow cooker white chicken chili with pumpkin for another comforting option.
Happy baking!
Frequently Asked Questions
Can I use canned pie crusts?
Yes, absolutely. Store-bought pie crusts save time and work perfectly fine. Just let them come to room temperature before rolling to prevent cracking.
How do I prevent a soggy bottom crust?
Preheat your oven thoroughly. You can also blind-bake the bottom crusts for 5 minutes before adding the filling. This sets the dough and creates a barrier against the moisture.
Can I freeze these pies?
Yes, you can freeze them baked or unbaked. For best results, freeze unbaked. Wrap tightly and bake from frozen, adding extra time. Baked pies can be frozen but may lose some crust crispiness upon reheating.
What can I use instead of turkey?
Rotisserie chicken, cooked beef, or even mushrooms for a vegetarian version work well. Just ensure the protein is cooked and chopped into small pieces.
How do I make the crust flakier?
Keep your ingredients cold. Use cold butter and cold water. Handle the dough as little as possible. Fold the dough a few times to create layers. This is the secret to flakiness.
Pin This Recipe!
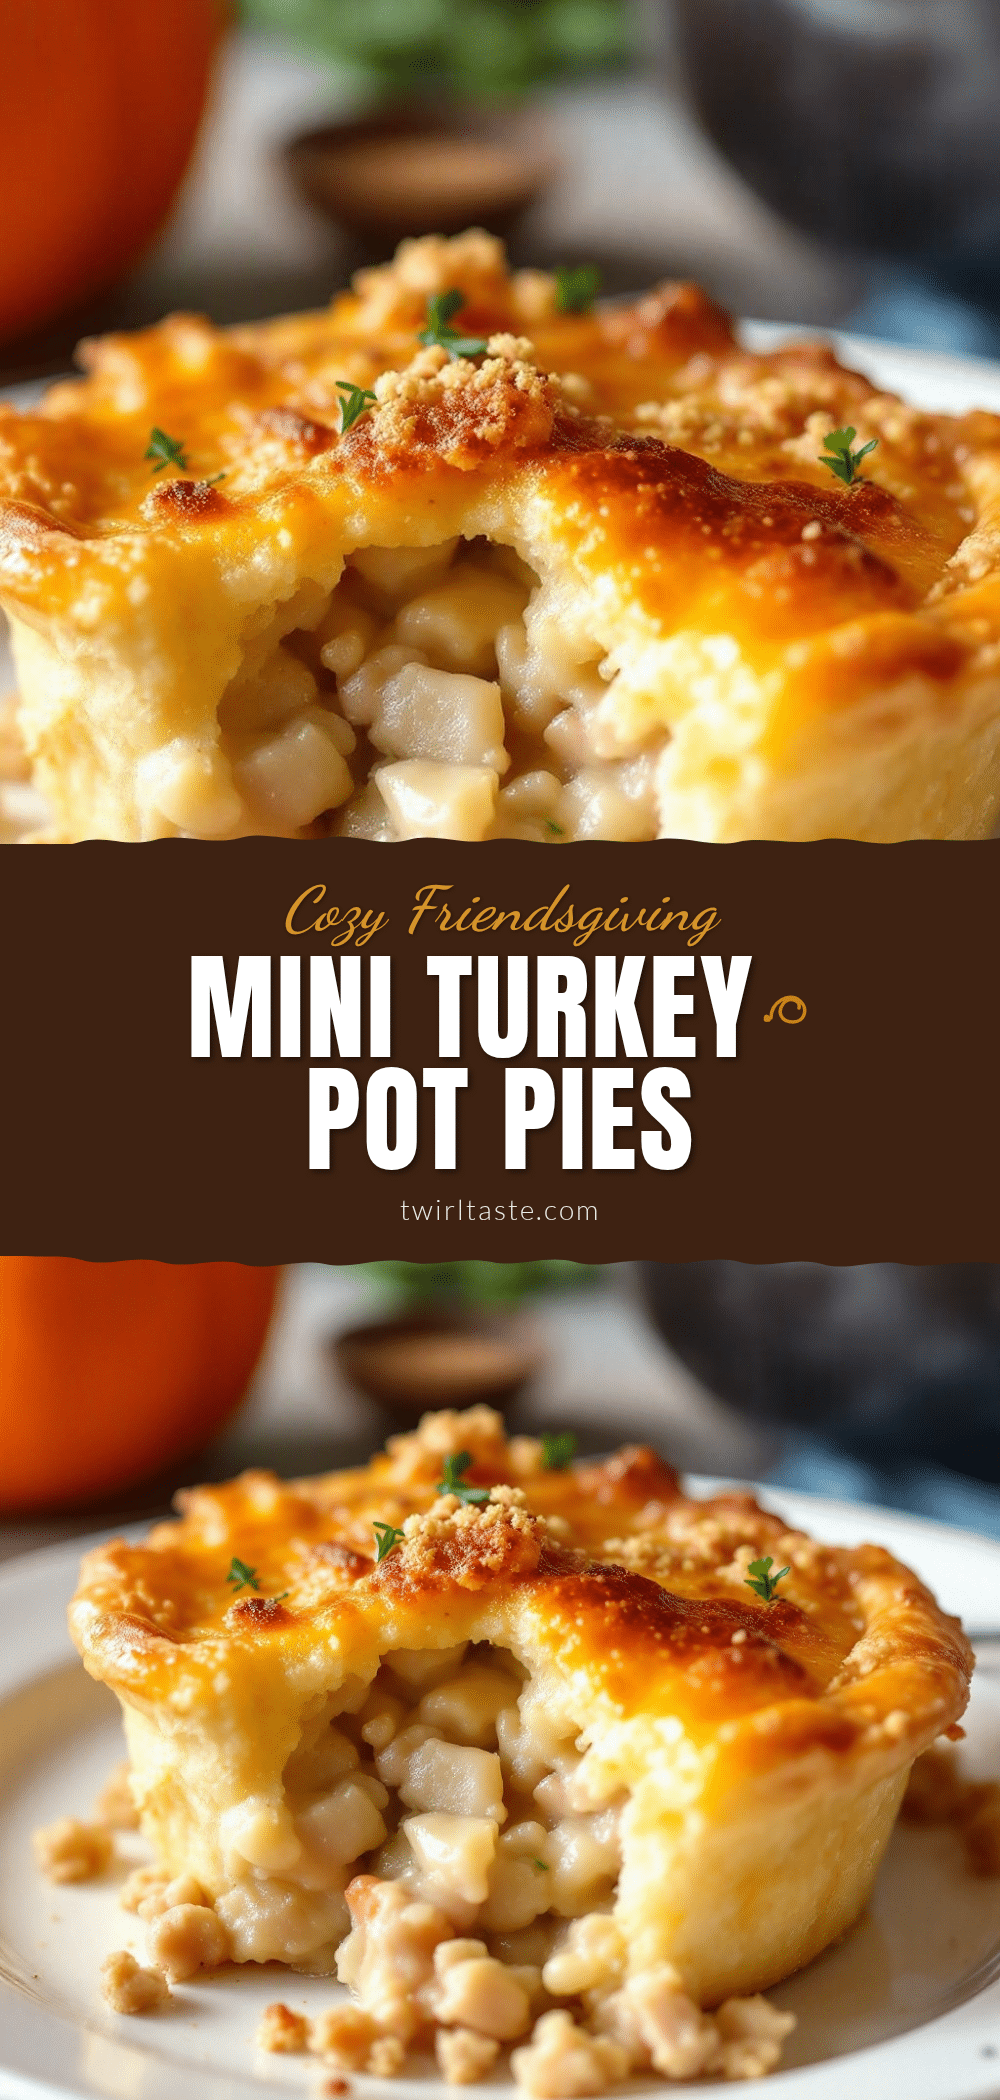
Cozy Friendsgiving Mini Turkey Pot Pies: 6 Easy Individual Pies

Individual mini turkey pot pies featuring a creamy, herb-infused gravy and flaky buttery crust. Perfect for Friendsgiving, weeknights, or sharing with friends.
- Prep Time: 35 minutes
- Cook Time: 25 minutes
- Total Time: 60 minutes
- Yield: 6 servings 1x
- Category: Main Course
- Cuisine: American
Ingredients
- 3 tablespoons unsalted butter
- 1 medium yellow onion, finely diced
- 2 medium carrots, peeled and diced
- 2 stalks celery, diced
- 3 cloves garlic, minced
- 3 tablespoons all-purpose flour
- 1 ½ cups chicken stock (low-sodium)
- ½ cup heavy cream
- 1 cup thawed frozen peas
- 2 cups leftover turkey, chopped
- 1 teaspoon dried thyme
- 1 bay leaf
- Salt and black pepper to taste
- 2 packages pie crusts (or 1 double crust)
- 1 egg beaten with 1 tablespoon water (for egg wash)
- Sesame seeds (optional)
Instructions
- Preheat oven to 400°F (200°C) and place a rack in the center position.
- Prepare the crusts by rolling out dough and cutting circles slightly larger than muffin tin cups. Press into cups, trim excess, and prick bottoms with a fork.
- In a large saucepan, melt butter over medium heat. Sauté onion, carrots, and celery for 5-7 minutes until softened. Add garlic and cook for 1 minute.
- Sprinkle flour over vegetables and stir constantly for 2 minutes to create a roux.
- Slowly whisk in chicken stock and heavy cream. Add bay leaf and stir well.
- Simmer the mixture for 5-7 minutes until thickened. Remove bay leaf, then stir in peas, thyme, salt, pepper, and chopped turkey. Remove from heat.
- Spoon the warm filling into prepared muffin cups, filling them about ¾ full.
- Place top crust circles on each pie, pinch edges to seal, and cut a small slit in the center for steam.
- Brush tops with egg wash and sprinkle with sesame seeds if desired.
- Bake for 20-25 minutes until crusts are golden brown and puffed.
- Let cool in the pan for 5 minutes before serving.
Notes
Ensure the roux is cooked for at least 2 minutes to remove raw flour taste. Do not overfill the pies to prevent bursting. If tops brown too quickly, cover loosely with foil. For a gluten-free option, use gluten-free crust and flour. For dairy-free, use coconut cream and olive oil.
Nutrition
- Serving Size: 1 mini pie
- Calories: 375
- Sugar: 4
- Sodium: 600
- Fat: 22
- Saturated Fat: 10
- Carbohydrates: 28
- Fiber: 3
- Protein: 12
Keywords: friendsgiving, turkey pot pie, mini pot pies, comfort food, leftover turkey recipes, easy dinner, individual pies


