Love this? Save it for later!
Share the inspiration with your friends
That first whiff of butter browning in the pan — the kind that hits you before you even turn on the mixer — still takes me straight to my grandmother’s kitchen on a rainy Tuesday afternoon. She wasn’t one for fancy recipes or complicated techniques. But she understood something about butter that most people don’t. She let it go a little too far, let it get nutty and dark and almost reckless, and then she’d wink at me like she’d just gotten away with something. That smell, it’s a promise of something deeply, almost unfairly good.
I spent years trying to replicate that cookie. The one she made that had edges that crinkled and centers that stayed soft for days. I tried every trick in the book — chilling the dough overnight, using bread flour, even adding a touch of cornstarch. But I was missing the secret, which was right there in the pan the whole time. Brown butter isn’t just a flavor; it’s a whole mood shift. It turns a simple chocolate chip cookie into something that tastes like it took all day, even when it only took a few extra minutes.
This recipe for chewy brown butter chocolate chip cookies is the one that finally got me there. It’s the one where the edges are perfectly crisp, the center is tender and chewy, and every bite has that deep, toasty, nutty flavor that makes you close your eyes. It’s not complicated, I promise. It just asks for a little patience with a pan of butter. And honestly, that’s the best kind of cooking — the kind where the hardest part smells amazing.
So, let’s make some cookies that taste like a memory you didn’t know you had.
Why You’ll Love This Recipe
I have tested this exact recipe more times than I care to admit. I have made them with cold butter, melted butter, and butter that was just “room temperature” (a concept I still find suspicious). I have baked them on silicone mats, parchment paper, and bare pans (don’t do that). Through all those trials, I landed on a method that is foolproof for anyone who wants a consistently chewy, deeply flavorful cookie without a laundry list of fancy ingredients.
- Deep, Nutty Flavor Without Effort: Browning the butter is the single easiest way to add a layer of complexity to a cookie. It takes about 5 minutes and tastes like you spent an hour toasting nuts.
- Perfectly Chewy Texture: The combination of melted brown butter and a specific ratio of brown to white sugar creates that irresistible, soft-baked chew. No dry, cakey cookies here.
- Simple Pantry Ingredients: You likely have everything you need right now. Butter, sugar, eggs, flour, vanilla, and chocolate chips. No trips to a specialty store.
- Make-Ahead Friendly: This dough actually gets better after a night in the fridge. You can prep it days ahead and bake fresh cookies whenever the craving hits.
- Completely Customizable: Feel like adding some flaky sea salt? Go for it. Want to swap in dark chocolate chunks? Do it. This is your canvas.
What makes this recipe different from the rest is the specific technique of browning the butter and then cooling it to the perfect temperature before creaming it with the sugars. It’s a small step that makes a massive difference. This isn’t just another chocolate chip cookie recipe — it’s the one you’ll come back to, the one you’ll text your friends about, the one that makes you look like a professional baker without any of the professional stress.
It is comfort food reimagined — richer, faster, and with the same soul-soothing satisfaction that a really good cookie should have.
What Ingredients You Will Need
This recipe uses simple, wholesome ingredients to deliver bold flavor and satisfying texture without the fuss. Most of these are pantry staples, but a few specific choices will make all the difference. Let’s walk through each one.
- 1 cup (226g) unsalted butter: This is the star. We are going to brown it, so use unsalted to control the salt level. I prefer using a high-quality European-style butter like Kerrygold for an even richer, creamier taste, but any good unsalted butter will work.
- 1 cup (200g) packed light brown sugar: Brown sugar is what gives these cookies their signature chewiness and deep molasses flavor. Pack it firmly into the measuring cup for accuracy.
- 1/2 cup (100g) granulated sugar: This adds a bit of crispness to the edges and helps with spreading. The balance of brown to white sugar is key here.
- 2 large eggs, room temperature: Room temperature eggs emulsify into the butter-sugar mixture much better than cold ones, creating a smoother, more uniform dough. I just set mine on the counter for 30 minutes before starting.
- 2 teaspoons vanilla extract: Use pure vanilla extract, not imitation. It complements the nutty brown butter beautifully.
- 2 1/4 cups (280g) all-purpose flour: Standard all-purpose flour works perfectly. I recommend a brand like King Arthur Flour for its consistent protein content, which leads to reliable results.
- 1 teaspoon baking soda: This is our leavening agent. It helps the cookies spread and become chewy. Make sure it’s fresh — old baking soda won’t give you the same lift.
- 1 teaspoon salt: Salt balances the sweetness and enhances the brown butter flavor. I use fine sea salt for the dough and a sprinkle of flaky sea salt on top after baking.
- 2 cups (340g) semi-sweet chocolate chips or chunks: Use good quality chocolate. I personally love using a mix of semi-sweet chips and roughly chopped dark chocolate bars for those melty puddles. Guittard or Ghirardelli are my go-to brands.
- Flaky sea salt (optional, but highly recommended): A pinch of Maldon sea salt on top of each cookie right out of the oven is a game-changer. It cuts through the sweetness and makes the chocolate sing.
Equipment Needed
You don’t need a professional bakery setup for these cookies. A few basic tools will get the job done perfectly.
- Light-colored saucepan or skillet: A light-colored pan is crucial for browning butter. It lets you see the color change clearly so you don’t burn it. A stainless steel saucepan works best. I’ve ruined a batch using a dark non-stick pan because I couldn’t see the milk solids turning brown.
- Large mixing bowl: For combining your wet and dry ingredients.
- Medium mixing bowl: For whisking your dry ingredients together.
- Whisk: For mixing the dry ingredients and for whisking the brown butter and sugars.
- Rubber spatula: For folding in the chocolate chips and scraping down the sides of the bowl.
- Cookie scoop: A 1.5-tablespoon scoop is my favorite for uniform cookies that bake evenly. A 2-tablespoon scoop will give you bigger, bakery-style cookies.
- Baking sheets: I recommend light-colored, rimmed baking sheets. Dark sheets can cause the bottoms of your cookies to brown too quickly.
- Parchment paper or silicone baking mat: This prevents sticking and helps with even browning. I prefer parchment paper for the crispiest edges.
- Wire cooling rack: Essential for letting your cookies cool properly without getting soggy on the bottom.
Preparation Method
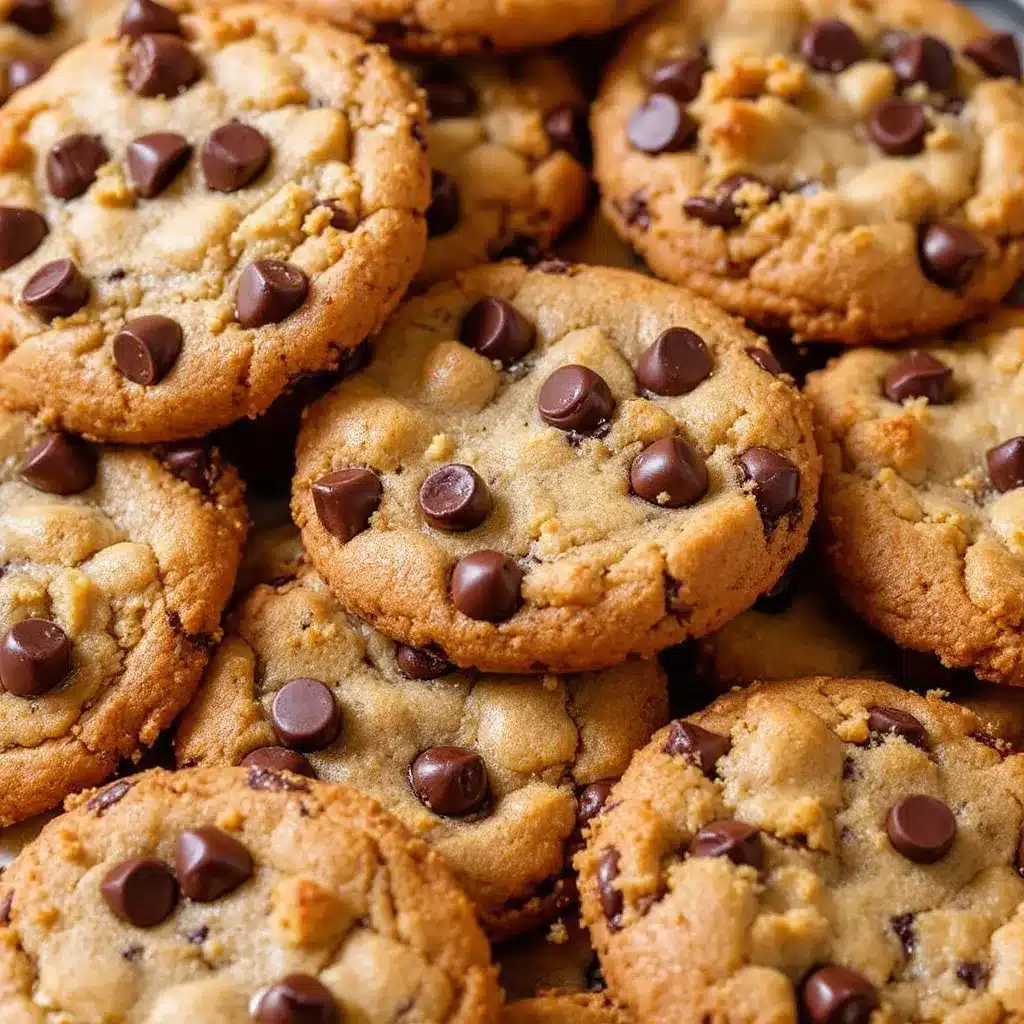
Let’s get baking. Follow these steps carefully, and you’ll have a batch of the best cookies of your life.
- Brown the butter: Place the 1 cup of unsalted butter in your light-colored saucepan over medium heat. Let it melt completely, stirring occasionally with a whisk or rubber spatula. As it melts, it will start to foam and sizzle. Keep stirring. After about 4-5 minutes, the foaming will subside, and you’ll see small golden-brown specks forming at the bottom of the pan. This is the milk solids toasting. The butter will smell intensely nutty and fragrant. Once it turns a deep amber color (think the color of a hazelnut), immediately remove it from the heat and pour it into a large heat-safe mixing bowl. Do not walk away — it can go from perfect to burnt in seconds.
- Cool the brown butter: Let the brown butter cool for about 10-15 minutes. You want it to be warm, not hot. If you add the sugars to hot butter, it will melt the sugar and your cookies will spread into flat, greasy puddles. I usually let it sit until I can comfortably touch the side of the bowl without flinching. This step is non-negotiable.
- Combine wet ingredients: Once the butter is cooled, add the 1 cup of packed light brown sugar and 1/2 cup of granulated sugar to the bowl. Whisk vigorously for about 1-2 minutes until the mixture looks like a thick, grainy paste. It should be smooth and slightly lighter in color. Add the 2 room-temperature eggs and 2 teaspoons of vanilla extract. Whisk again until everything is fully combined and glossy. The mixture might look a little separated at first, but keep whisking — it will come together.
- Whisk dry ingredients: In your medium bowl, whisk together the 2 1/4 cups of all-purpose flour, 1 teaspoon of baking soda, and 1 teaspoon of salt. This ensures the leavening agent and salt are evenly distributed.
- Combine wet and dry: Pour the dry ingredients into the bowl with the wet ingredients. Use your rubber spatula to fold everything together gently. Mix just until you see the last streaks of flour disappear. Over-mixing at this stage will develop the gluten and make your cookies tough. We want tender, chewy cookies.
- Fold in chocolate: Add the 2 cups of chocolate chips or chunks. Fold them in gently with your spatula until they are evenly distributed. The dough will be thick, glossy, and incredibly fragrant.
- Chill the dough (essential step): Cover the bowl with plastic wrap and refrigerate for at least 30 minutes, but 1-2 hours is even better. Chilling the dough solidifies the fat, which prevents the cookies from spreading too much in the oven. It also allows the flavors to meld and deepen. I often make the dough the night before and bake them the next day — the flavor is noticeably better.
- Preheat and prep: When you’re ready to bake, preheat your oven to 375°F (190°C). Line your baking sheets with parchment paper.
- Scoop and shape: Use your cookie scoop to portion out balls of dough. Aim for about 1.5 tablespoons each. Place them on the prepared baking sheets, leaving about 2 inches of space between each cookie to allow for spreading. I usually fit 8-9 cookies per standard baking sheet.
- Bake: Bake for 10-12 minutes. The edges should be golden brown and set, but the centers will still look slightly soft and puffy. That’s exactly what you want. They will continue to set on the baking sheet. For softer, chewier cookies, bake on the shorter side. For slightly crispier edges, go for 12 minutes.
- Cool and finish: Let the cookies cool on the baking sheet for 5 minutes. This is when you sprinkle them with that flaky sea salt if you’re using it. Then, transfer them to a wire rack to cool completely. Or, you know, eat one warm. I won’t tell.
Cooking Tips & Techniques
I’ve made a lot of mistakes with cookies. I once forgot the sugar entirely (don’t ask). Here are the lessons I learned so you don’t have to.
- Don’t rush the browning: Use medium heat, not high. High heat will burn the butter before the milk solids have a chance to toast. Patience is your friend. Swirl the pan occasionally to ensure even browning.
- The dough should be thick: After you add the flour, the dough should be stiff and slightly greasy to the touch. If it looks runny or overly sticky, you might have used too much butter or not enough flour. Next time, spoon and level your flour instead of scooping it directly from the bag.
- Chilling is not optional: I know, you want cookies now. But skipping the chill is the number one reason for flat, greasy cookies. The cold butter solidifies, which means the cookies spread slowly and keep their thickness. I’ve made them without chilling, and they were sad, thin discs. Just trust me on this.
- Use a cookie scoop for even baking: Uniform size means uniform baking. A scoop also gives you those nice, craggy edges that look so appealing.
- Rotate your baking sheets halfway through: If you’re baking two sheets at once, swap them from top to bottom and front to back halfway through the baking time. This ensures even browning, as most ovens have hot spots.
- Let them cool on the sheet: This is the most important step for texture. The residual heat from the baking sheet finishes cooking the centers while the edges crisp up. If you move them too soon, the centers will sink and become doughy (not in a good way).
Variations & Adaptations
Once you master the base recipe, the possibilities are endless. Here are a few of my favorite twists.
- Sea Salt & Toffee: This is my absolute favorite variation. Add 1/2 cup of chopped toffee bits (like Heath bar) along with the chocolate chips. After baking, sprinkle with flaky sea salt. The combination of salty, sweet, buttery, and crunchy is unreal. If you love this idea, you absolutely need to check out my flavorful brown butter toffee chocolate chip cookies — it’s a dedicated recipe for that exact flavor bomb.
- Gluten-Free Option: Substitute the all-purpose flour with a 1-to-1 gluten-free baking flour blend that contains xanthan gum (like Bob’s Red Mill). The texture will be slightly more delicate, but they will still be chewy and delicious. Don’t over-mix the dough.
- Dark Chocolate & Cherry: Swap the semi-sweet chips for dark chocolate chunks (70% cacao or higher) and fold in 1/2 cup of dried tart cherries. The tart cherry against the rich, dark chocolate and nutty brown butter is a match made in heaven.
- Nutty Crunch: Add 1/2 cup of toasted, chopped pecans or walnuts to the dough. Toast them in a dry skillet for 3-4 minutes before adding to release their oils and deepen their flavor. It adds a wonderful textural contrast.
- Double Chocolate: Reduce the flour by 2 tablespoons and add 1/4 cup of unsweetened cocoa powder. Use white chocolate chips or milk chocolate chips for a completely different, decadent cookie.
Serving & Storage Suggestions
These cookies are best enjoyed warm, straight from the oven, with a tall glass of cold milk. But they are also fantastic the next day (if they last that long).
- Serving temperature: Serve at room temperature or slightly warm. To reheat, pop a cookie in the microwave for 10-15 seconds. It will be like it just came out of the oven.
- Storage: Store baked cookies in an airtight container at room temperature for up to 5 days. To keep them soft, add a slice of plain bread to the container. The cookies will absorb the moisture from the bread and stay perfectly chewy. Replace the bread slice every couple of days.
- Freezing baked cookies: You can freeze baked cookies for up to 3 months. Place them in a single layer on a baking sheet to flash-freeze, then transfer them to a freezer-safe bag or container. Thaw at room temperature or reheat directly from frozen in a 300°F oven for 5-7 minutes.
- Freezing cookie dough: This is my favorite meal prep hack. Scoop the dough into balls and place them on a parchment-lined baking sheet. Freeze until solid, then transfer the frozen dough balls to a freezer bag. You can bake them directly from frozen — just add 2-3 minutes to the baking time. Fresh cookies in 15 minutes, anytime you want.
- Flavor development: The flavor of these cookies actually improves after a day or two. The brown butter flavor mellows and melds with the chocolate. They are fantastic on day one, but somehow even better on day two.
Nutritional Information & Benefits
Let’s be real — these are cookies. They are a treat, and they are meant to be enjoyed. But here’s a rough estimate of what you’re working with per cookie (based on a batch of 24 cookies).
- Calories: Approximately 220-250 calories per cookie.
- Fat: 12-14g (mostly from butter and chocolate).
- Carbohydrates: 28-32g.
- Sugar: 18-20g.
- Protein: 3-4g.
While not a health food, these cookies do offer a small silver lining. The brown butter is a source of healthy saturated fats, and the dark chocolate (if you use it) is rich in antioxidants and flavonoids. The eggs provide a little protein. My personal wellness perspective is simple: food is about joy and connection. A couple of these cookies as an occasional treat are a beautiful thing. Pair them with a good walk and a balanced diet, and you are doing just fine. For a healthier, energy-boosting alternative, you might love my healthy high-protein dark chocolate almond butter protein balls — they scratch a similar itch but with a different nutritional profile.
Dietary Considerations: This recipe contains gluten, dairy, and eggs. For a gluten-free option, see the variations section. For a dairy-free option, you can try using a high-quality vegan butter, but the browning process will be different and the flavor won’t be as rich.
Conclusion
These chewy brown butter chocolate chip cookies are more than just a recipe. They are a lesson in how a single, simple technique can transform a classic into something truly special. The nutty, caramelized flavor of the brown butter is the kind of detail that makes people think you spent hours in the kitchen, when really, you just paid attention for a few extra minutes.
I love this recipe because it’s forgiving, adaptable, and consistently delivers the kind of cookie that makes everyone happy. It’s the one I bring to parties, the one I make on rainy Sundays, and the one I turn to when I just need a little bit of comfort. I encourage you to make it your own. Add the sea salt. Throw in some toffee. Use dark chocolate. Or just follow it exactly as written — you really can’t go wrong.
I would love to hear how they turn out for you! Drop a comment below and let me know what variations you tried, or tag me in your photos. Happy baking, friend.
Frequently Asked Questions
Can I use salted butter instead of unsalted?
Yes, you can. Just reduce the added salt in the dough to 1/2 teaspoon to avoid overly salty cookies. The browning process works the same way.
Why did my cookies turn out flat?
Flat cookies are usually the result of one of two things: the butter was too hot when you added the sugar, or you skipped the chilling step. Make sure the brown butter is cool to the touch before you proceed, and always chill the dough for at least 30 minutes.
Can I make the dough ahead of time?
Absolutely. You can refrigerate the dough for up to 72 hours. The flavor actually improves over time. You can also freeze the dough balls for up to 3 months for fresh cookies anytime.
How do I know when the butter is properly browned?
Look for a deep amber color and small brown specks at the bottom of the pan. It should smell intensely nutty, like toasted hazelnuts. It will also stop foaming as much. When you see that, pull it off the heat immediately.
Can I use a different type of chocolate?
Yes, absolutely. Milk chocolate, dark chocolate, white chocolate, or a combination all work beautifully. Just keep the total amount at about 2 cups. For a richer flavor, try using a mix of chips and chopped chocolate bars.
Pin This Recipe!
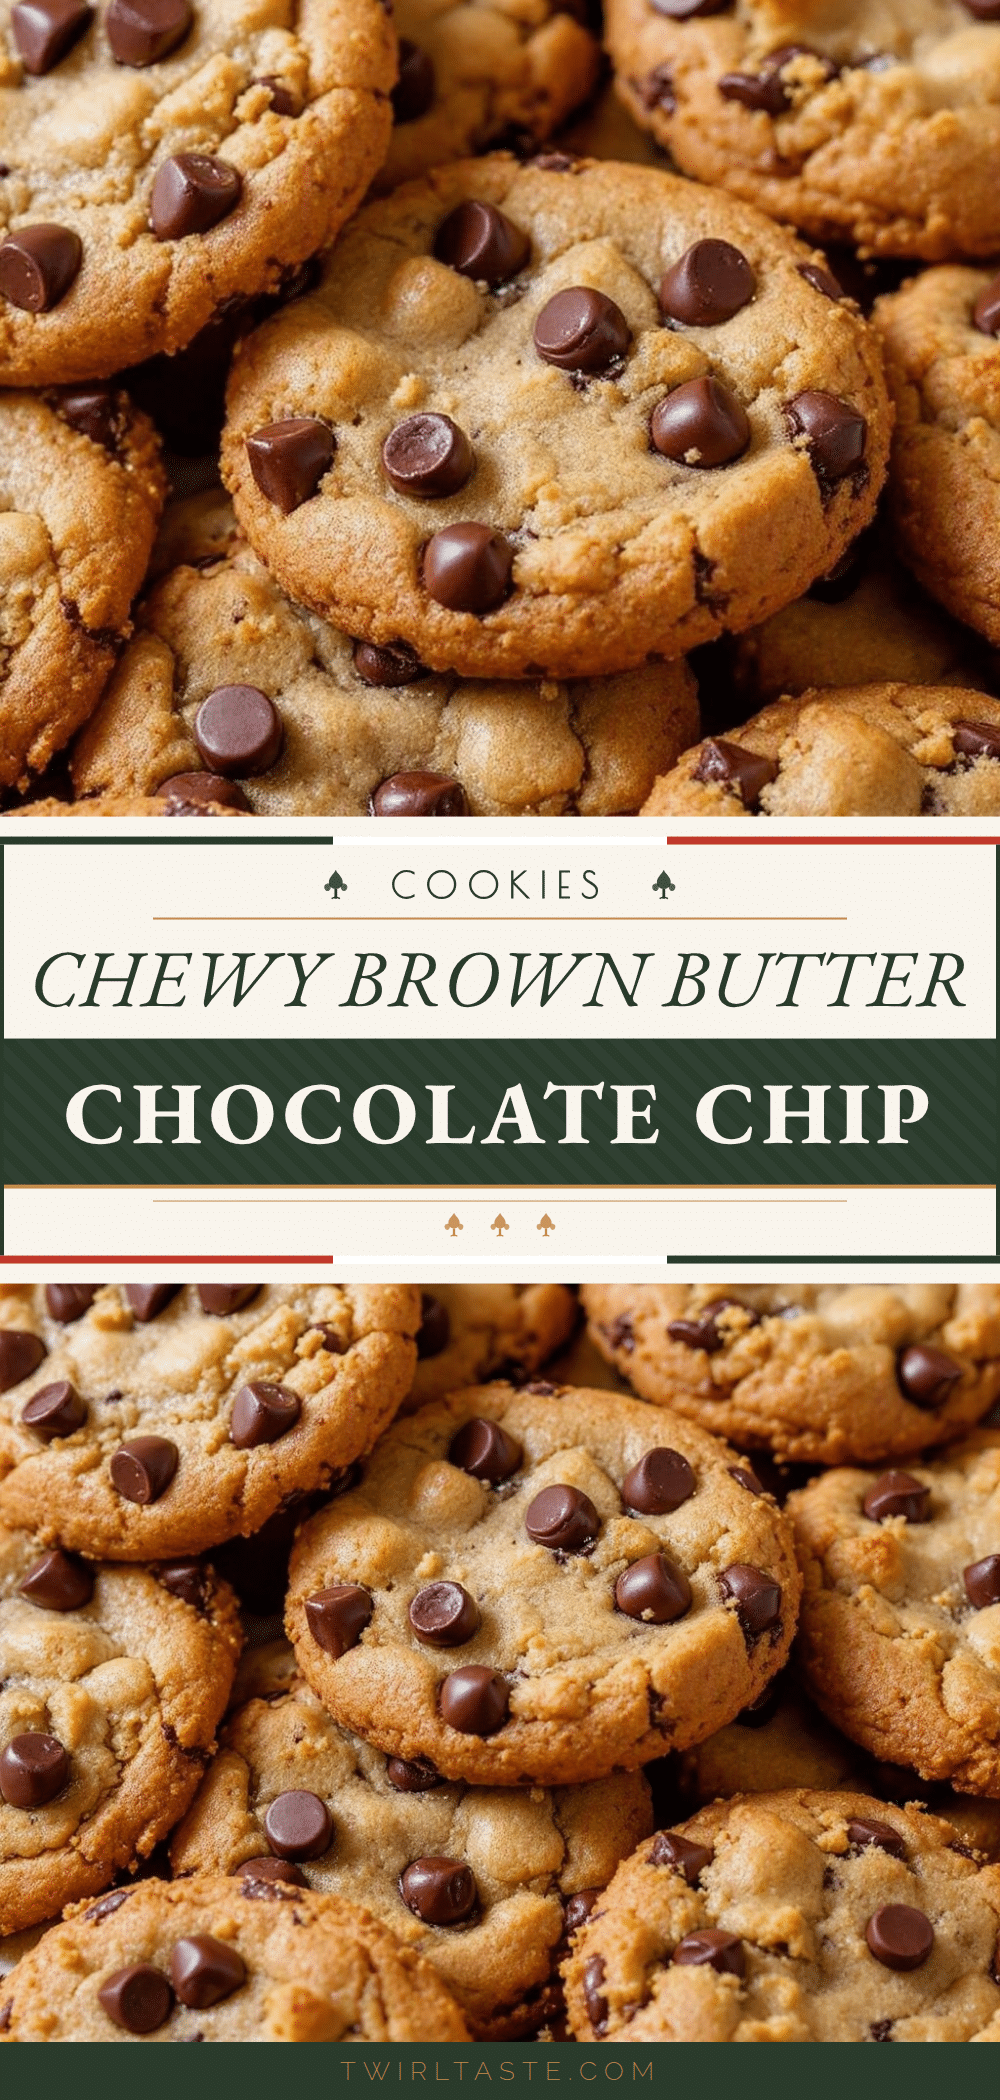
Chewy Brown Butter Chocolate Chip Cookies – Best Easy Recipe

These chewy brown butter chocolate chip cookies have perfectly crisp edges, tender centers, and a deep, nutty flavor from browned butter. An easy, foolproof recipe that turns simple ingredients into the best cookies you’ll ever make.
- Prep Time: 15 minutes
- Cook Time: 12 minutes
- Total Time: 1 hour 27 minutes (including chilling)
- Yield: 24 cookies 1x
- Category: Dessert
- Cuisine: American
Ingredients
- 1 cup (226g) unsalted butter
- 1 cup (200g) packed light brown sugar
- 1/2 cup (100g) granulated sugar
- 2 large eggs, room temperature
- 2 teaspoons vanilla extract
- 2 1/4 cups (280g) all-purpose flour
- 1 teaspoon baking soda
- 1 teaspoon salt
- 2 cups (340g) semi-sweet chocolate chips or chunks
- Flaky sea salt (optional, for topping)
Instructions
- Brown the butter: Place 1 cup unsalted butter in a light-colored saucepan over medium heat. Melt completely, stirring occasionally. After 4-5 minutes, the butter will foam, then subside, and small golden-brown specks will form at the bottom. When it turns a deep amber color and smells nutty, immediately remove from heat and pour into a large heat-safe mixing bowl.
- Cool the brown butter: Let the brown butter cool for 10-15 minutes until warm but not hot (you can comfortably touch the bowl).
- Combine wet ingredients: Add 1 cup packed light brown sugar and 1/2 cup granulated sugar to the cooled butter. Whisk vigorously for 1-2 minutes until it forms a thick, grainy paste. Add 2 room-temperature eggs and 2 teaspoons vanilla extract. Whisk until fully combined and glossy.
- Whisk dry ingredients: In a medium bowl, whisk together 2 1/4 cups all-purpose flour, 1 teaspoon baking soda, and 1 teaspoon salt.
- Combine wet and dry: Pour dry ingredients into wet ingredients. Fold gently with a rubber spatula until just combined (no streaks of flour remain). Do not over-mix.
- Fold in chocolate: Add 2 cups chocolate chips or chunks. Fold gently until evenly distributed. Dough will be thick, glossy, and fragrant.
- Chill the dough: Cover bowl with plastic wrap and refrigerate for at least 30 minutes (1-2 hours is better, or overnight for best flavor).
- Preheat and prep: Preheat oven to 375°F (190°C). Line baking sheets with parchment paper.
- Scoop and shape: Use a 1.5-tablespoon cookie scoop to portion dough. Place on prepared baking sheets, 2 inches apart (8-9 cookies per sheet).
- Bake: Bake for 10-12 minutes. Edges should be golden brown and set; centers will look slightly soft and puffy.
- Cool and finish: Let cookies cool on baking sheet for 5 minutes. Sprinkle with flaky sea salt if desired. Transfer to a wire rack to cool completely.
Notes
Chilling the dough is essential for preventing flat cookies. Use a light-colored pan to monitor butter browning. For best flavor, chill dough overnight. Cookies can be frozen baked or as dough balls for up to 3 months.
Nutrition
- Serving Size: 1 cookie
- Calories: 235
- Sugar: 19
- Sodium: 150
- Fat: 13
- Saturated Fat: 8
- Carbohydrates: 30
- Fiber: 1
- Protein: 3
Keywords: brown butter chocolate chip cookies, chewy cookies, easy cookie recipe, homemade cookies, chocolate chip cookies


