Love this? Save it for later!
Share the inspiration with your friends
Fifth time in two weeks I made this bread, and this time I forgot the vanilla. I stood there, spoon hovering, staring at the vanilla extract on the counter like it had personally betrayed me. The batter was already in the pan—a thick, glossy, chocolate-speckled swirl of autumn promise—and I had to decide: scrape it out and start over, or just bake it and see what happened.
I baked it. And honestly? It was still the best loaf yet. That’s the kind of recipe this is. It’s forgiving. It’s patient. It doesn’t punish you for being distracted or for having a toddler tugging at your apron or for realizing halfway through that you’re out of cinnamon. The chocolate chips do the heavy lifting, the pumpkin keeps everything impossibly moist, and the one-bowl cleanup means you’re not staring at a sink full of dishes while you wait for it to cool. It’s the fall baking project that actually fits into your life, not the other way around.
This Easy One-Bowl Chocolate Chip Pumpkin Bread has become my unofficial autumn anchor. It’s the thing I make when the air gets that first crisp bite, when I need the house to smell like something good, when I want to feel productive without actually having to try that hard. And after five batches in two weeks (the vanilla-less one included), I can tell you with absolute certainty: this is the one.
Why You’ll Love This Recipe
Let me be real with you for a second. I’ve tested a lot of pumpkin bread recipes. Some were too dry. Some were too dense. Some tasted more like spice cake than pumpkin, and some were so greasy they left a slick on your tongue. This one hits the sweet spot—literally and figuratively.
- One Bowl, No Mixer: You don’t need a stand mixer, a hand mixer, or any special equipment. Just a bowl, a whisk, and a spatula. The kind of baking you can do in your pajamas.
- Perfectly Moist Every Time: Pumpkin puree is nature’s moisture-lock. Combined with oil (not butter), this bread stays tender for days. I’ve had slices on day four that were still soft and delicious.
- Chocolate in Every Bite: We’re not skimping here. A full cup of chocolate chips means every slice has pockets of melted chocolate. It’s the contrast between the warm, spiced pumpkin and the rich, semi-sweet chocolate that makes this addictive.
- No Fancy Ingredients: Canned pumpkin, all-purpose flour, sugar, oil, eggs, chocolate chips. If you bake even semi-regularly, you probably have everything already.
- Freezer-Friendly: This bread freezes like a dream. I always make two loaves—one for now, one for later. Future you will be so grateful.
This isn’t just another pumpkin bread recipe. It’s the one I’ve tweaked and tested until the texture was exactly right—tender but sturdy enough to slice, moist but not heavy, sweet but not cloying. The chocolate chips aren’t an afterthought; they’re the whole point. Every bite should have a little melted chocolate. That’s the rule I made up, and I’m sticking to it.
What Ingredients You Will Need
This recipe uses simple, everyday ingredients that come together to create something genuinely special. No specialty flours, no obscure extracts, no trips to three different stores. Just good, honest baking staples that work together like they were meant to.
For the Bread
- 1 ¾ cups (220g) all-purpose flour — Spoon and level for accuracy. Too much flour makes the bread dense, and nobody wants that.
- 1 teaspoon baking soda — This is our leavener. Make sure it’s fresh; stale baking soda won’t give you that nice domed top.
- ½ teaspoon baking powder — A little extra lift alongside the soda.
- ½ teaspoon salt — Don’t skip it. Salt balances the sweetness and makes the chocolate taste more chocolatey.
- 2 teaspoons pumpkin pie spice — I use store-bought for convenience, but you can make your own with cinnamon, nutmeg, ginger, and cloves. If you only have cinnamon, use 2 teaspoons of that alone—it’ll still be delicious.
- 1 cup (200g) granulated sugar — White sugar keeps the crumb light. Don’t substitute all brown sugar here; it’ll make the bread too dense and wet.
- ½ cup (100g) packed light brown sugar — Adds moisture and a hint of molasses warmth. This is non-negotiable for the best texture.
- 1 cup (245g) pumpkin puree — Not pumpkin pie filling. Make sure you grab the 100% pure pumpkin. Libby’s is my go-to; it’s consistently thick and not watery.
- ½ cup (120ml) vegetable oil — Canola or any neutral oil works. Oil keeps the bread moist longer than butter. If you want to use melted butter, you can, but the texture will be slightly denser and it won’t stay as soft on day two.
- 2 large eggs — Room temperature if you remember, straight from the fridge if you don’t. I’ve done both and it’s fine either way.
- 2 teaspoons vanilla extract — Yes, even in pumpkin bread. Vanilla rounds out the spices and makes everything taste more baked, if that makes sense.
- 1 cup (175g) semi-sweet chocolate chips — I prefer Ghirardelli or Guittard. Avoid mini chips; they melt too quickly and disappear into the batter. You want distinct pockets of chocolate.
For the Topping (Optional but Highly Recommended)
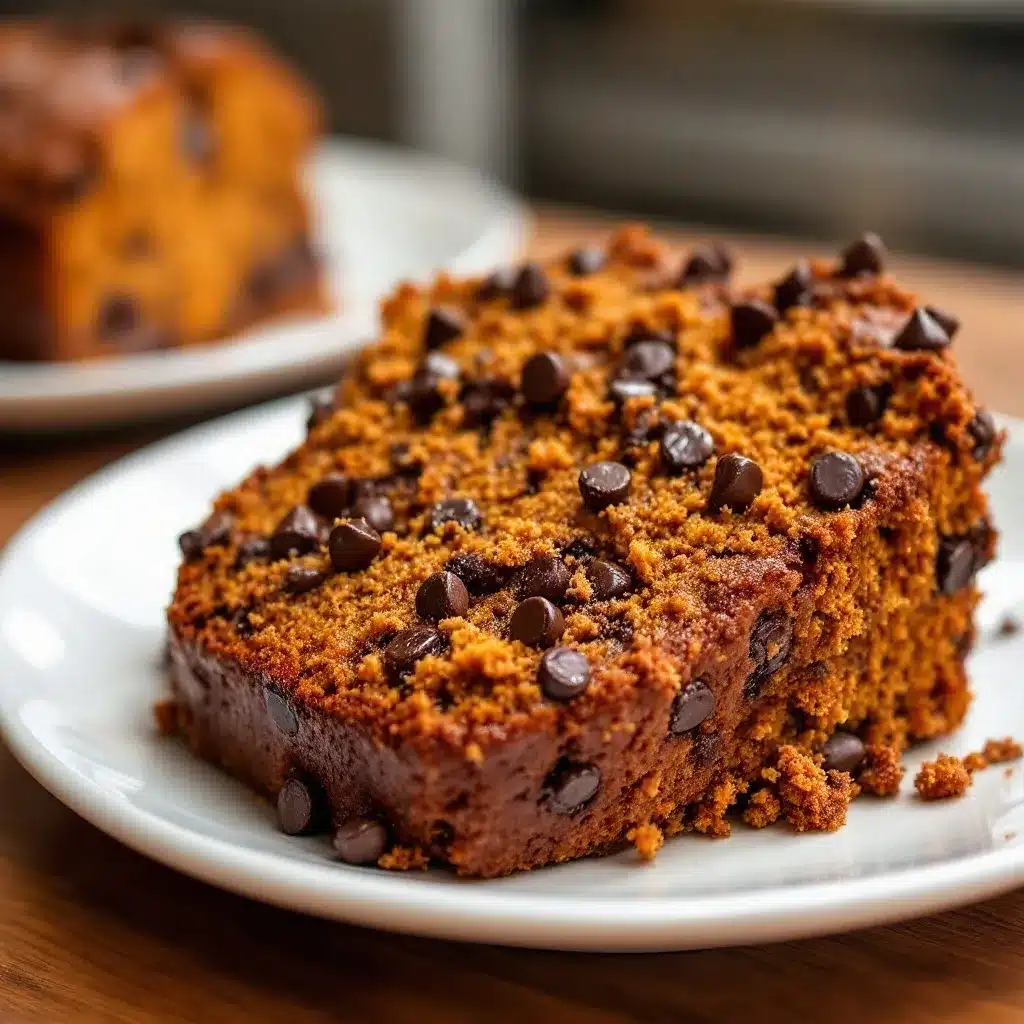
- 2 tablespoons chocolate chips — Reserved to sprinkle on top before baking. It makes the loaf look bakery-level pretty and gives you a little chocolate crunch on the crust.
- Flaky sea salt — A pinch on top right when it comes out of the oven. Trust me on this one. It’s the difference between good and unforgettable.
Equipment Needed
The beauty of a one-bowl recipe is that you don’t need much. Here’s what you’ll need to pull this off:
- 9×5-inch loaf pan — Standard size. If you use an 8×4 pan, the bread will take longer to bake and might dome too much. If you use a 10-inch pan, it’ll be shallow and dry out faster.
- Large mixing bowl — Big enough to whisk everything without splashing. I use a stainless steel bowl because it’s lightweight and easy to clean.
- Whisk — For combining the wet and dry ingredients. A fork works in a pinch, but a whisk is better.
- Rubber spatula — For folding in the chocolate chips and scraping every last bit of batter into the pan.
- Parchment paper — Not strictly necessary if you grease the pan well, but it makes lifting the bread out so much easier. I cut two strips that overhang the long sides like handles.
- Cooling rack — Lets air circulate so the bottom doesn’t get soggy. If you don’t have one, just prop the loaf pan up on two chopsticks or let it cool in the pan for 10 minutes before turning it out.
- Measuring cups and spoons — For accuracy. I know some of you are eyeballers, and I respect that, but for baking, a little precision goes a long way.
I’ve made this bread with a glass loaf pan, a metal one, and even a ceramic dish that was technically too big. They all worked, but the metal pan gave the best golden-brown crust. If you have a dark nonstick pan, keep an eye on it—it might bake a few minutes faster.
Preparation Method
Alright, let’s get to it. This is the part where the magic happens. I’ll walk you through every step, including the little things I’ve learned from making this bread five times in two weeks.
- Preheat your oven to 350°F (175°C). Position the rack in the center. While it’s heating, line your 9×5-inch loaf pan with parchment paper, leaving an overhang on the two long sides. Lightly grease the exposed ends with a little cooking spray or butter. This is your insurance policy against stuck bread.
- In your large mixing bowl, whisk together the dry ingredients. Add the flour, baking soda, baking powder, salt, and pumpkin pie spice. Whisk until everything is evenly distributed—about 15 seconds. This ensures your leaveners and spices are spread throughout the batter, so you don’t get a pocket of baking soda in one slice.
- Add the sugars and whisk again. Yes, right into the same bowl. Pour in the granulated sugar and brown sugar, and whisk them into the flour mixture. Break up any clumps of brown sugar with your fingers. This step coats the sugar with flour, which helps create a tender crumb.
- Make a well in the center and add the wet ingredients. Pour in the pumpkin puree, vegetable oil, eggs, and vanilla extract. Don’t stir yet—just let them sit in that well like a little pond.
- Whisk the wet ingredients together first, right in the center. Use your whisk to gently break the eggs and combine the pumpkin, oil, and eggs into a smooth mixture. Then, slowly start incorporating the flour from the sides. Whisk in broad circles until just combined. A few streaks of flour are okay. Over-mixing at this stage will make the bread tough.
- Fold in the chocolate chips. Add the full cup of chocolate chips to the batter. Use your rubber spatula to fold them in gently—about 8 to 10 folds. You want them evenly distributed, not smashed into the batter. The batter will be thick and slightly glossy. That’s exactly right.
- Pour the batter into the prepared loaf pan. Use your spatula to scrape every last bit out of the bowl. Spread the batter evenly, smoothing the top. Give the pan a gentle tap on the counter to release any air bubbles. Sprinkle the reserved 2 tablespoons of chocolate chips on top, pressing them in just slightly so they stick.
- Bake for 55 to 65 minutes. Place the pan in the center of the oven. Bake until a toothpick inserted into the center comes out clean or with just a few moist crumbs attached. If you hit a chocolate chip (and you probably will), try a different spot. The top should be deep golden brown and cracked in a few places—that’s the good stuff.
- Cool in the pan for 15 minutes. Set the pan on a cooling rack. This rest period lets the bread firm up so it doesn’t fall apart when you remove it. After 15 minutes, use the parchment handles to lift the bread out and transfer it directly to the cooling rack. If you didn’t use parchment, run a knife around the edges and turn it out carefully.
- Sprinkle with flaky sea salt while still warm. This is optional, but it’s the best optional thing you’ll do all day. The salt cuts the sweetness and makes the chocolate sing. Let the bread cool completely before slicing—about 1 to 2 hours. I know it’s hard to wait, but warm bread slices messily and tends to crumble. Patience pays off here.
Cooking Tips & Techniques
I’ve made every mistake in the book so you don’t have to. Here’s what I’ve learned:
Don’t over-mix the batter. This is the number one mistake people make with quick breads. Mix until you don’t see dry flour anymore, then stop. Over-mixing develops gluten, and too much gluten makes the bread tough and rubbery. You want it tender, not chewy.
Check for doneness with temperature. If you have an instant-read thermometer, the internal temperature should be around 200°F to 205°F (93°C to 96°C) when it’s done. This is more reliable than the toothpick test, especially if you keep hitting chocolate chips like I do.
Cover with foil if it’s browning too fast. Every oven runs differently. If the top is getting dark but the center is still jiggly after 45 minutes, tent a piece of aluminum foil loosely over the top and continue baking. This prevents the crust from burning while the inside finishes cooking.
Let it cool completely. I know, I know. But slicing warm bread is a recipe for crumbly, gummy slices. The bread continues to set as it cools. If you absolutely can’t wait (and I’ve been there), at least give it 30 minutes. You’ll get cleaner slices and better texture.
Use room temperature eggs if you can. Cold eggs can seize the batter and make it lumpy. If you forgot to take them out ahead of time, place them in a bowl of warm water for 5 minutes. It’s a small step that makes a real difference in how smoothly everything comes together.
Variations & Adaptations
This bread is a fantastic base recipe. Here are some ways I’ve changed it up depending on my mood or what I have on hand:
Gluten-Free Version: Substitute the all-purpose flour with a 1:1 gluten-free baking flour blend. I’ve used Bob’s Red Mill and King Arthur Measure for Measure with great results. The texture will be slightly more crumbly, but it’s still delicious. No other adjustments needed.
Dairy-Free Adaptation: This recipe is already dairy-free as written since we’re using oil instead of butter. Just make sure your chocolate chips are dairy-free. Enjoy Life and Hu Kitchen both make excellent options.
Nutty Pumpkin Bread: Reduce the chocolate chips to ½ cup and add ½ cup of toasted chopped pecans or walnuts. Fold them in with the chocolate chips. The crunch adds a lovely contrast to the soft crumb. I did this for Thanksgiving brunch and it was a hit.
Spiced-Up Version: Add ¼ teaspoon of ground ginger and a pinch of cardamom to the spice mix. It gives the bread a more complex, almost chai-like warmth. I also like adding a teaspoon of orange zest for brightness.
Mini Loaves or Muffins: This batter makes 12 standard muffins or 4 mini loaves. Bake muffins at 350°F for 18 to 22 minutes, and mini loaves for 30 to 35 minutes. Check with a toothpick. The muffins are perfect for lunchboxes or grabbing on the way out the door.
Streusel Topping: If you want to get fancy, mix ¼ cup flour, ¼ cup brown sugar, 2 tablespoons cold butter, and a pinch of cinnamon until crumbly. Sprinkle it over the batter before baking. It adds a buttery, crunchy crust that’s absolutely irresistible. This is my go-to when I’m serving company.
Serving & Storage Suggestions
This bread is good at every temperature, but it’s at its absolute best when it’s been cooled completely and sliced thick—about ¾-inch slices. The texture firms up just enough to hold together while staying incredibly moist.
For serving: Toast a slice lightly in a buttered skillet or pop it in the toaster for 30 seconds. The edges get slightly crispy while the inside stays soft. Add a pat of salted butter on top and watch it melt into the warm bread. It’s simple, but it’s perfection. A dollop of pumpkin spice overnight oats on the side makes for a cozy fall breakfast spread.
Pairings: This bread loves a hot cup of coffee or chai tea. For a dessert twist, serve it warm with a scoop of vanilla ice cream and a drizzle of caramel sauce. It also makes an excellent hostess gift wrapped in parchment and tied with twine. I’ve brought it to Friendsgiving and it disappeared before the turkey was carved.
Storage: Keep the bread wrapped tightly in plastic wrap or in an airtight container at room temperature. It stays moist for up to 4 days. Do not refrigerate it; the cold air dries it out and makes the texture gummy. If you live in a humid climate, store it with the lid slightly cracked to prevent condensation.
Freezing: This bread freezes beautifully. Wrap the completely cooled loaf (or individual slices) tightly in plastic wrap, then a layer of aluminum foil. Freeze for up to 3 months. To thaw, leave it at room temperature for a few hours or pop a frozen slice in the toaster for a quick treat. I always keep a loaf in the freezer for unexpected guests or lazy Sunday mornings.
Flavor development: Honestly, this bread tastes even better on day two. The spices mellow and meld together, and the chocolate chips seem to distribute their flavor more evenly. If you can resist eating it all on day one, you’re in for a treat.
Nutritional Information & Benefits
Let’s be honest—this is a treat, not a health food. But it does have some redeeming qualities worth mentioning.
Estimated per slice (based on 10 slices):
- Calories: 345
- Fat: 16g
- Carbohydrates: 48g
- Fiber: 2g
- Sugar: 33g
- Protein: 5g
Health highlights: Pumpkin is packed with vitamin A (in the form of beta-carotene), which supports eye health and immune function. It’s also a good source of fiber, which helps with digestion and keeps you feeling full. The chocolate chips provide a small dose of antioxidants—specifically flavonoids, which are good for heart health. And yes, I’m counting that as a win.
Dietary considerations: This recipe is nut-free (as written) and can easily be made dairy-free or gluten-free with the substitutions mentioned above. It contains eggs and wheat, so it’s not suitable for vegan or celiac diets without modifications.
My take: I believe in balance. This bread is meant to be enjoyed, not analyzed. One slice with your morning coffee or as an afternoon pick-me-up is a perfectly reasonable way to celebrate the season. Life’s too short to skip dessert.
Conclusion
This Easy One-Bowl Chocolate Chip Pumpkin Bread has earned a permanent spot in my fall baking rotation. It’s the recipe I turn to when I want something that feels special without requiring a lot of effort. It’s the bread that fills my kitchen with the smell of cinnamon and pumpkin and makes everyone wander in asking, “What’s baking?”
I love that it’s forgiving enough to handle a missing ingredient or a distracted baker. I love that it’s simple enough for a beginner but satisfying enough for someone who’s been baking for years. And I really love that it gives me an excuse to eat chocolate for breakfast. (Don’t judge. You know you want to.)
Try it this weekend. Make it your own. Add extra chocolate chips, skip the salt, throw in some nuts—whatever feels right. And when you do, come back and tell me how it turned out. I’d love to hear about your version. Drop a comment below or tag me in your photos. Happy baking, friends!
Frequently Asked Questions
Can I use fresh pumpkin instead of canned?
Yes, but you need to make sure it’s properly drained. Fresh pumpkin puree tends to be more watery than canned. After roasting and pureeing the pumpkin, let it sit in a fine-mesh strainer lined with cheesecloth for about 30 minutes to remove excess liquid. Otherwise, your bread might turn out too wet and dense.
Why did my pumpkin bread sink in the middle?
This usually happens for one of three reasons: the oven wasn’t hot enough, the batter was over-mixed, or the bread was underbaked. Make sure your oven is fully preheated to 350°F before you put the bread in. Also, resist the urge to open the oven door during the first 40 minutes of baking—the cold air can cause the center to collapse.
Can I reduce the sugar in this recipe?
You can reduce the granulated sugar to ¾ cup without major issues, but I wouldn’t go lower than that. Sugar does more than sweeten—it also adds moisture and helps with browning. If you cut it too much, the bread will be dry and pale. If you’re looking for a lower-sugar option, try my wholesome pumpkin protein muffins instead.
How do I know when the bread is done without a toothpick?
Look for these signs: the top should be deep golden brown and cracked, the edges should pull away slightly from the pan, and the bread should feel firm to the touch in the center. If you press gently on the top, it should spring back. An instant-read thermometer inserted into the center should read 200°F to 205°F.
Can I make this into a layer cake?
Technically yes, but the texture is much denser than a traditional cake. It would work better as a snack cake baked in a 9×9-inch square pan. Bake at 350°F for 30 to 35 minutes. You could top it with a simple cream cheese glaze, but honestly, it’s best in loaf form. For a different take on pumpkin dessert, try my pumpkin chai latte cupcakes for something more traditional.
Pin This Recipe!
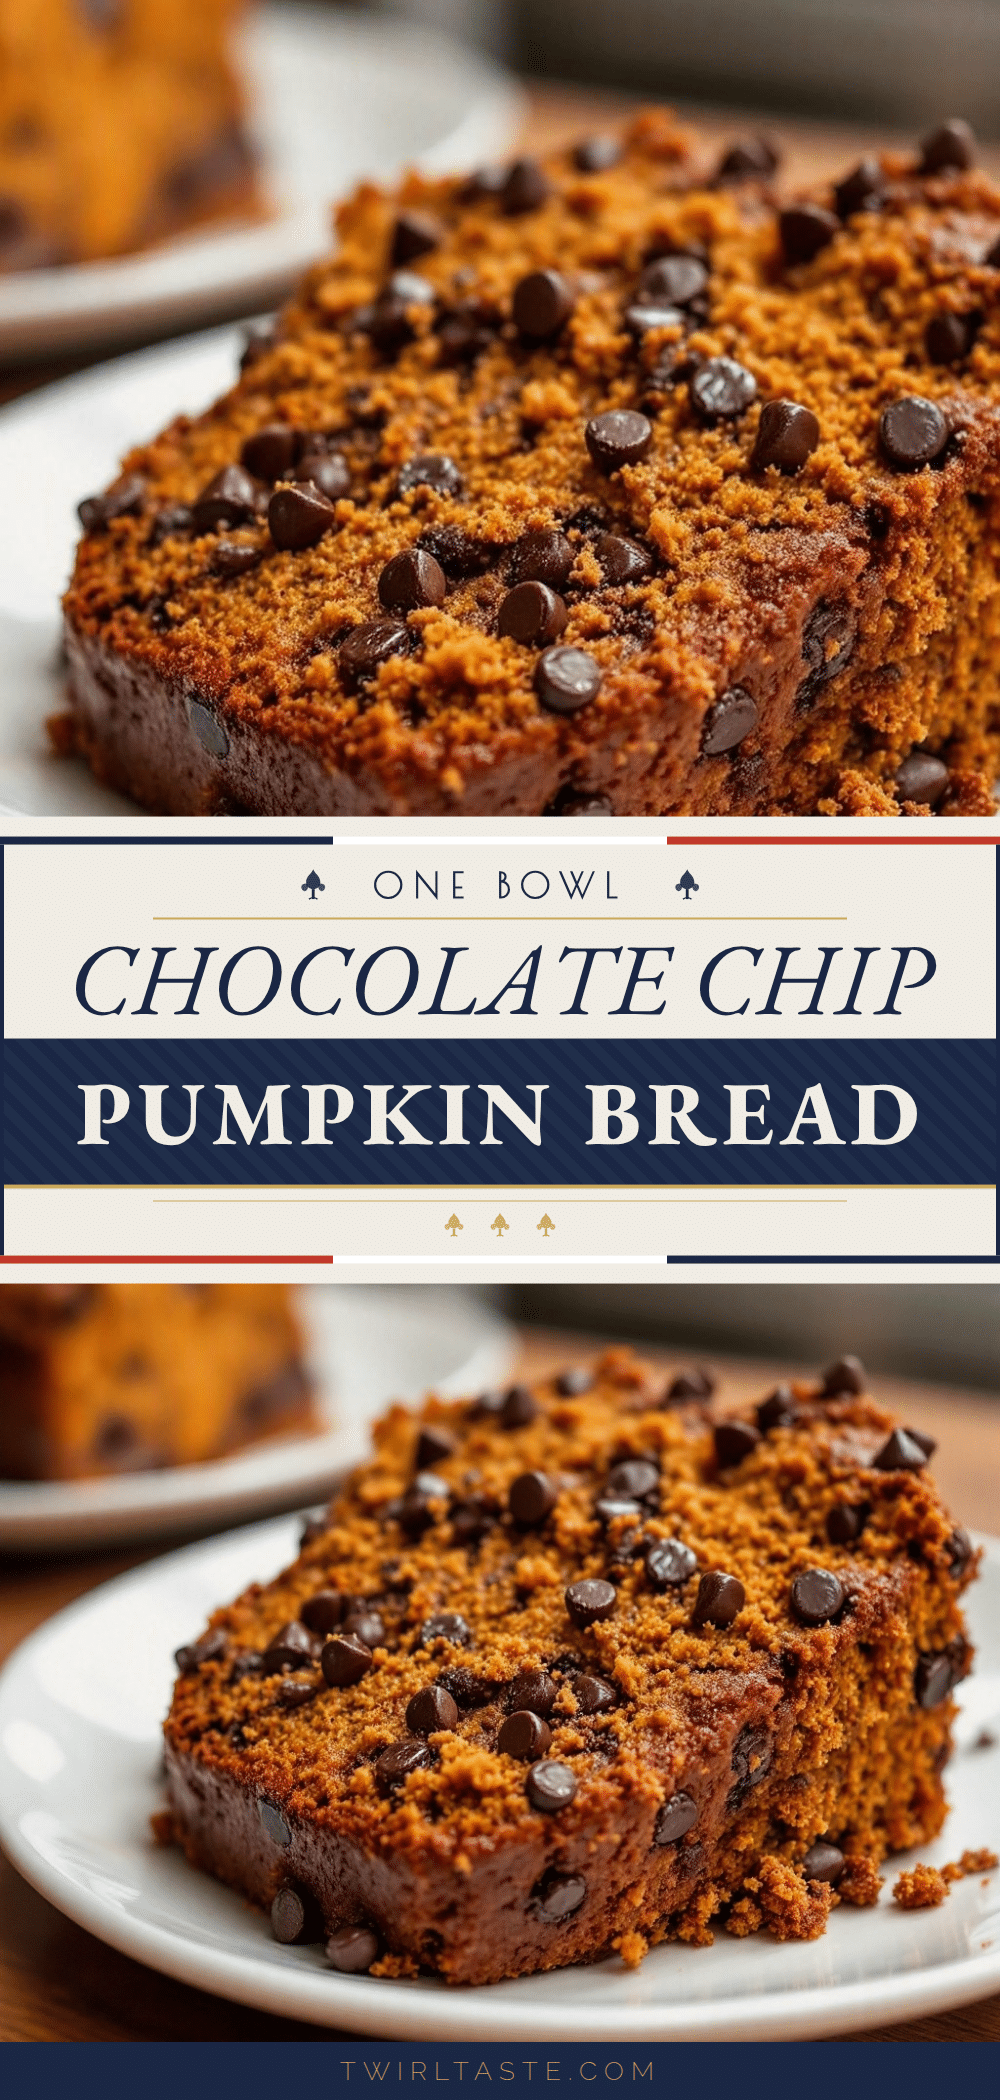
Easy One-Bowl Chocolate Chip Pumpkin Bread
This forgiving, one-bowl pumpkin bread is packed with chocolate chips and stays impossibly moist for days. It’s the fall baking project that actually fits into your life, not the other way around.
- Prep Time: 15 minutes
- Cook Time: 55 minutes
- Total Time: 1 hour 10 minutes
- Yield: 10 servings 1x
- Category: Dessert
- Cuisine: American
Ingredients
- 1 ¾ cups (220g) all-purpose flour
- 1 teaspoon baking soda
- ½ teaspoon baking powder
- ½ teaspoon salt
- 2 teaspoons pumpkin pie spice
- 1 cup (200g) granulated sugar
- ½ cup (100g) packed light brown sugar
- 1 cup (245g) pumpkin puree
- ½ cup (120ml) vegetable oil
- 2 large eggs
- 2 teaspoons vanilla extract
- 1 cup (175g) semi-sweet chocolate chips
- 2 tablespoons chocolate chips (for topping)
- Flaky sea salt (for topping)
Instructions
- Preheat your oven to 350°F (175°C). Line a 9×5-inch loaf pan with parchment paper, leaving an overhang on the two long sides. Lightly grease the exposed ends.
- In a large mixing bowl, whisk together the flour, baking soda, baking powder, salt, and pumpkin pie spice until evenly distributed.
- Add the granulated sugar and brown sugar, whisking into the flour mixture. Break up any clumps of brown sugar.
- Make a well in the center and add the pumpkin puree, vegetable oil, eggs, and vanilla extract. Whisk the wet ingredients together in the center, then slowly incorporate the flour from the sides until just combined. A few streaks of flour are okay.
- Fold in the 1 cup of chocolate chips using a rubber spatula, about 8 to 10 folds.
- Pour the batter into the prepared loaf pan, spreading evenly. Sprinkle the reserved 2 tablespoons of chocolate chips on top, pressing them in slightly.
- Bake for 55 to 65 minutes, until a toothpick inserted into the center comes out clean or with a few moist crumbs. If the top browns too quickly, tent with foil after 45 minutes.
- Cool in the pan for 15 minutes, then use the parchment handles to lift the bread out and transfer to a cooling rack. Sprinkle with flaky sea salt while still warm.
- Let cool completely before slicing, about 1 to 2 hours.
Notes
Don’t over-mix the batter to avoid a tough bread. For best results, use room temperature eggs. The bread tastes even better on day two. Freezes well for up to 3 months.
Nutrition
- Serving Size: 1 slice
- Calories: 345
- Sugar: 33
- Fat: 16
- Carbohydrates: 48
- Fiber: 2
- Protein: 5
Keywords: pumpkin bread, chocolate chip, one bowl, fall baking, easy recipe, moist pumpkin bread


