Love this? Save it for later!
Share the inspiration with your friends
My husband looked up from his plate, fork halfway to his mouth, and said, “Wait, these are squash?” He had just polished off half a sheet pan of these Crispy Parmesan Butternut Squash Fries without a single complaint—and trust me, that man can spot a vegetable from across the room. I didn’t say anything at first. I just nodded and took another bite of my own, because honestly, I was still processing how good they turned out.
I had been testing baked fries for weeks. Sweet potato, zucchini, even carrot. But butternut squash? That one surprised me. The natural sweetness caramelizes in the oven, the Parmesan gets all brown and crispy around the edges, and the inside stays tender without turning mushy. It’s one of those recipes where you start with a “let me just see if this works” attitude and end up eating them straight off the pan while they’re still too hot.
These aren’t just another healthy fry alternative. They’re the kind of side dish that steals the show from whatever you served them with. And the best part? You don’t need a deep fryer, a ton of oil, or any fancy equipment. Just a knife, a baking sheet, and maybe a little patience while you wait for them to get golden. This recipe stuck because it solved a real problem for me—how to get that crispy, salty, cheesy fry fix without the grease or the guilt.
So if you’ve ever been let down by soggy baked fries, I get it. These are different. Let me show you how.
Why You’ll Love This Recipe
I’ve tested this recipe more times than I care to admit. Burnt batches, undercooked sticks, seasoning that fell flat. But this version? It’s the one I keep coming back to. Here’s why you’ll feel the same way:
- Baked, not fried – You get that crispy, golden exterior without the mess or extra oil of deep frying. Your oven does all the work.
- Only simple ingredients – Butternut squash, Parmesan, a few pantry spices, and olive oil. No weird additives or specialty items.
- Perfect for fall dinners or game day – They’re cozy enough for a weeknight side and impressive enough for a crowd. I’ve brought them to potlucks and watched them disappear.
- Actually crispy – The trick is in the coating and the oven temperature. These hold up better than any baked fry I’ve made before.
- Kid-approved – My nephew called them “cheese sticks” and ate them with ketchup. I didn’t correct him.
What makes these different from other squash fry recipes? Two things. First, I toss the squash in a mixture of grated Parmesan and breadcrumbs before baking—this creates a crust that actually stays crunchy. Second, I use a high oven temperature and flip them halfway through. No steam, no sogginess, just perfectly browned edges every time.
Honestly, this recipe is the kind that makes you close your eyes after the first bite. It’s comfort food that happens to be good for you—faster than you’d expect, but with the same soul-soothing satisfaction. Perfect for impressing guests without breaking a sweat, or just turning a simple Tuesday dinner into something memorable.
What Ingredients You Will Need
This recipe uses straightforward ingredients that work together to create big flavor. Most of these are pantry staples, and the few fresh items are easy to find year-round.
- Butternut squash, peeled and cut into fry-shaped sticks – Look for a squash that feels heavy for its size with firm, unblemished skin. A medium squash (about 2 pounds) yields about 4 cups of fries. I prefer using the long neck section because it’s easier to cut into even sticks, but the bulbous end works too—just remove the seeds first.
- Grated Parmesan cheese – Use the real stuff, not the green can. Freshly grated Parmesan melts better and creates a crispier crust. I like BelGioioso or Parmigiano-Reggiano for the best flavor. If you’re dairy-free, try a high-quality nutritional yeast or vegan Parmesan alternative.
- Panko breadcrumbs – These are lighter and flakier than regular breadcrumbs, which means a crunchier coating. Regular breadcrumbs work in a pinch, but panko is worth seeking out. Gluten-free panko is a great substitute if needed.
- Olive oil – Extra virgin olive oil adds flavor, but avocado oil works well too for a higher smoke point. You just need enough to coat the squash lightly—about 2 tablespoons.
- Garlic powder – Adds savory depth without burning like fresh garlic would at high heat. Don’t skip this one.
- Paprika – Smoked paprika gives a subtle warmth, but sweet paprika works fine. I’ve used both and loved each version.
- Salt and black pepper – Simple seasonings that let the squash and cheese shine. Use fine sea salt for even distribution.
- Fresh parsley, chopped (optional, for garnish) – Adds a pop of color and freshness. Totally optional, but pretty.
One note about the squash: If you’re short on time, many grocery stores sell pre-cut butternut squash cubes. They’ll work in a pinch, but they’re often cut too small for fry shapes and can cook unevenly. I recommend cutting your own from a whole squash for the best texture. It takes an extra 10 minutes, but the results are worth it.
Equipment Needed
You don’t need much for this recipe, which is part of its charm.
- Sharp chef’s knife and vegetable peeler – Butternut squash has tough skin, so a good peeler makes the job easier. A Y-shaped peeler works best for getting into the curves.
- Cutting board – A sturdy, non-slip board is important for safe cutting.
- Large mixing bowl – For tossing the squash with oil and seasonings.
- Baking sheet – A rimmed sheet pan works best. Line it with parchment paper or a silicone baking mat for easy cleanup.
- Parchment paper or silicone baking mat – Prevents sticking and helps the fries crisp up evenly.
- Spatula or tongs – For flipping the fries halfway through baking.
- Cooling rack (optional) – Placing the baked fries on a rack for a minute helps them stay crispy instead of steaming on the pan.
If you don’t have parchment paper, you can lightly grease the baking sheet with oil spray. Just keep an eye on the fries toward the end—they might stick a little more. I’ve made these on a dark non-stick pan and a light aluminum one, and both worked fine. Dark pans tend to brown things faster, so check a few minutes early if that’s what you’re using.
Preparation Method
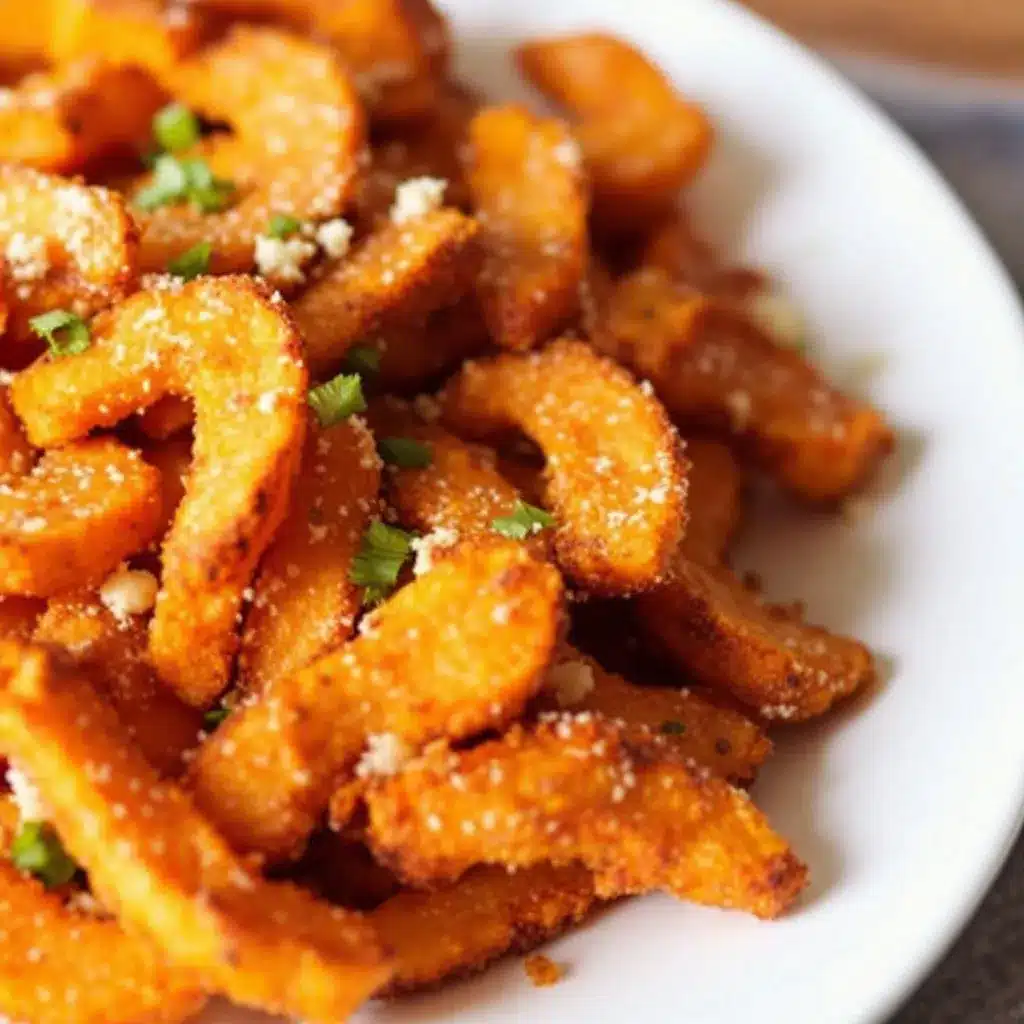
Let’s get to the fun part. Follow these steps, and you’ll have crispy, cheesy fries that rival anything from a fryer.
- Preheat your oven to 425°F (220°C). This high heat is crucial for getting that golden crust. While the oven heats up, line a large baking sheet with parchment paper or a silicone mat.
- Prepare the butternut squash. Using a sharp vegetable peeler, remove the tough outer skin completely. Cut off the stem end and the bottom. Slice the squash in half where the narrow neck meets the wider bulb. Save the bulbous end for another use (it’s great for soup or roasting). Stand the neck upright on your cutting board and slice it into ½-inch thick planks. Then cut each plank into ½-inch wide sticks. Try to keep them uniform in size so they cook evenly. You should have about 4 cups of fries.
- Soak the fries in cold water for 15 minutes (optional but recommended). This step helps remove excess starch and makes the fries extra crispy. After soaking, pat them completely dry with a clean kitchen towel or paper towels. Any moisture will prevent browning.
- Mix the coating. In a small bowl, combine ½ cup grated Parmesan cheese, ¼ cup panko breadcrumbs, 1 teaspoon garlic powder, 1 teaspoon paprika, ½ teaspoon salt, and ¼ teaspoon black pepper. Stir to combine.
- Season the squash. Place the dried squash sticks in a large mixing bowl. Drizzle with 2 tablespoons olive oil and toss to coat evenly. Sprinkle the Parmesan mixture over the squash and toss again until every stick is coated. Don’t worry if some cheese falls off—just press it onto the fries with your hands.
- Arrange on the baking sheet. Spread the coated fries in a single layer on the prepared baking sheet. Make sure they’re not touching each other, or they’ll steam instead of crisp. If you have too many, use a second sheet pan.
- Bake for 20 minutes. Place the sheet pan on the middle rack of the oven. After 20 minutes, remove the pan and use a spatula or tongs to flip each fry carefully. They should be golden on the bottom.
- Bake for another 10-15 minutes. Return the pan to the oven and bake until the fries are deeply golden and crispy on the outside, with some darker spots on the edges. Total baking time is usually 30-35 minutes, but keep an eye on them during the last 5 minutes.
- Cool slightly before serving. Transfer the fries to a cooling rack or a plate lined with paper towels. Let them sit for 2-3 minutes—this helps them firm up. Sprinkle with fresh parsley if you like, and serve warm.
Sensory cues to watch for: The kitchen should smell nutty and toasty around the 15-minute mark. When you flip them, the bottoms should be golden brown with visible crispy edges. The Parmesan will look darker in spots—that’s good, not burnt. A perfectly done fry will have a firm exterior that gives slightly when pressed.
If you’re making these alongside a main dish, try pairing them with this easy one-pan maple dijon roasted chicken thighs for a complete fall dinner that comes together on two sheet pans.
Cooking Tips & Techniques
I learned a few things the hard way so you don’t have to. Here’s what I wish someone had told me before my first batch.
Don’t overcrowd the pan. This is the number one mistake people make with baked fries. If the sticks are touching, they trap steam and turn soft. Give them room to breathe. Use two baking sheets if needed, and rotate them halfway through baking.
Pat the squash dry. I know it’s tempting to skip this step, but moisture is the enemy of crispiness. After soaking (if you do that step), really press the squash with towels to get them as dry as possible. Even a little leftover water can make the coating slide off.
Flip carefully. The Parmesan coating can be delicate, especially after the first 20 minutes. Use a thin spatula and slide it under each fry gently. If some coating sticks to the pan, don’t stress—just scrape it off and press it back onto the fry.
Watch the last 5 minutes closely. Ovens vary, and these fries go from perfectly golden to overdone quickly. Check them at the 30-minute mark. You want deep golden edges with a few darker caramelized spots, not blackened bits.
Serve immediately. These fries are best fresh out of the oven. They lose some crispiness as they cool, so plan to serve them right away. If you need to hold them, keep them on a cooling rack in a warm oven (200°F) for up to 15 minutes.
One of my biggest failures? I once used pre-shredded Parmesan from a bag. It didn’t melt right, and the coating just fell off in clumps. Freshly grated cheese makes a real difference here. Also, I’ve learned that cutting the fries too thin makes them burn before they crisp, and cutting them too thick leaves them raw inside. Stick to ½-inch thickness for the best results.
For a complete meal, serve these alongside creamy marry me chicken with sun-dried tomato sauce over orzo—the rich, savory sauce balances the sweet squash perfectly.
Variations & Adaptations
This recipe is flexible, so feel free to make it your own. Here are a few ways I’ve changed it up.
Spicy version: Add ½ teaspoon cayenne pepper or red pepper flakes to the coating mix. The heat pairs beautifully with the sweet squash. I’ve also drizzled them with sriracha mayo after baking for an extra kick.
Herb-infused: Swap the paprika for dried rosemary or thyme. Add 1 teaspoon of dried Italian seasoning for a more savory profile. Fresh herbs like rosemary or sage can be minced and added to the oil before tossing.
Cheese variations: Try Pecorino Romano for a saltier, sharper flavor. Asiago works well too. For a dairy-free option, use nutritional yeast mixed with a little cornstarch—it’s not exactly the same, but it gets surprisingly close.
Air fryer method: If you have an air fryer, these turn out amazing. Preheat to 400°F (200°C), arrange the fries in a single layer in the basket, and cook for 12-15 minutes, shaking halfway through. No flipping required. They come out even crispier than the oven version.
Seasonal twist: In summer, swap butternut squash for zucchini or yellow squash. Just be aware that zucchini has more moisture, so you’ll need to salt and drain it first. In winter, try sweet potatoes or parsnips for a similar vibe.
I once made a batch with smoked paprika and a pinch of cinnamon—unexpected, but the warmth of the cinnamon played nicely with the squash’s sweetness. Don’t be afraid to experiment.
Serving & Storage Suggestions
These fries are best served warm, straight from the oven. But here’s how to make the most of them.
Serving temperature: Serve them within 5-10 minutes of baking for maximum crispiness. They’re delicious at room temperature too, but the texture changes slightly.
Dipping sauces: I love them with a simple garlic aioli, ranch dressing, or marinara sauce. For a lighter option, try Greek yogurt mixed with lemon juice and dill. My personal favorite is a chipotle mayo—just mix mayo with smoked paprika and a little lime juice.
Pairing suggestions: These fries go great with burgers, grilled chicken, or roasted fish. They’re also fantastic as a snack with drinks. For a fall-themed dinner, serve them alongside fresh roasted butternut squash and kale salad with maple pepita dressing for a double squash meal that’s anything but boring.
Storage: Leftover fries can be stored in an airtight container in the refrigerator for up to 3 days. They will lose their crispiness, though. To reheat, spread them on a baking sheet and pop them in a 375°F (190°C) oven for 5-7 minutes. The microwave will make them soggy, so avoid it if you can.
Freezing: You can freeze the uncooked, coated fries on a baking sheet until solid, then transfer them to a freezer bag. Bake from frozen at 425°F (220°C) for 30-35 minutes, adding 5 minutes to the total time. No need to thaw first.
Flavors actually mellow a bit overnight, but they’re still tasty. I’ve been known to eat cold leftovers straight from the fridge—don’t judge.
Nutritional Information & Benefits
These fries are a healthier take on traditional fries, and they come with some solid nutritional perks.
Estimated nutritional values per serving (about 1 cup of fries):
- Calories: 180-200
- Protein: 7g
- Fat: 10g
- Carbohydrates: 18g
- Fiber: 3g
- Sugar: 4g
- Sodium: 350mg
Health benefits: Butternut squash is packed with vitamin A (over 100% of your daily needs per cup), vitamin C, potassium, and fiber. It supports eye health, immune function, and digestion. The Parmesan adds calcium and protein, while the olive oil provides healthy monounsaturated fats.
Dietary considerations: This recipe is naturally vegetarian and can be made gluten-free by using gluten-free panko breadcrumbs. For a lower-sodium version, reduce the salt and use a low-sodium Parmesan. The recipe is not vegan due to the cheese, but you can substitute with nutritional yeast for a dairy-free option.
Potential allergens: Contains dairy (Parmesan) and gluten (panko). Check your breadcrumb labels if you have sensitivities.
Honestly, I don’t stress about the exact numbers too much. What matters is that these fries satisfy that craving for something crispy and savory while sneaking in a vegetable. That’s a win in my book.
Conclusion
These Crispy Parmesan Butternut Squash Fries have become a staple in my kitchen for good reason. They’re simple enough for a random weeknight, but impressive enough to serve at a dinner party. The combination of sweet squash, salty Parmesan, and crispy edges is hard to beat.
I hope you give them a try and make them your own. Maybe add extra garlic, switch up the herbs, or dip them in your favorite sauce. The beauty of this recipe is that it’s forgiving and adaptable. And if you end up eating half the batch while standing at the counter? No judgment here.
I’d love to hear how yours turn out. Drop a comment below and let me know what variations you tried, or tag me in your photos if you share them online. Your feedback helps me create better recipes, and honestly, it just makes my day to see these fries in action.
Until next time, happy cooking—and don’t forget to save some for the person you’re cooking for. Or don’t. I won’t tell.
Frequently Asked Questions
Can I make these ahead of time?
You can prep the squash sticks and coat them up to a day in advance. Store them in a single layer on a parchment-lined baking sheet in the refrigerator, covered with plastic wrap. Bake them fresh when you’re ready to serve for the best texture.
Why are my fries soggy?
Soggy fries usually come from overcrowding the pan or not drying the squash well enough. Make sure your fries are in a single layer with space between them, and pat the squash completely dry after washing. Baking at a high temperature (425°F) also helps evaporate moisture quickly.
Can I use frozen butternut squash?
I don’t recommend it. Frozen squash has a much higher water content and will release steam as it bakes, making it nearly impossible to get crispy fries. Stick with fresh squash for this recipe.
How do I cut butternut squash safely?
Use a sharp chef’s knife and a stable cutting board. Cut a thin slice off one side of the squash to create a flat surface before slicing. Always curl your fingers under when holding the squash to protect them. If the squash feels too hard, microwave it whole for 2-3 minutes to soften the skin slightly.
What dipping sauce goes best with these fries?
Garlic aioli, chipotle mayo, and ranch dressing are all excellent choices. For something lighter, try Greek yogurt mixed with lemon juice and fresh dill. My personal favorite is a simple spicy ketchup—just mix ketchup with a dash of sriracha and smoked paprika.
Pin This Recipe!
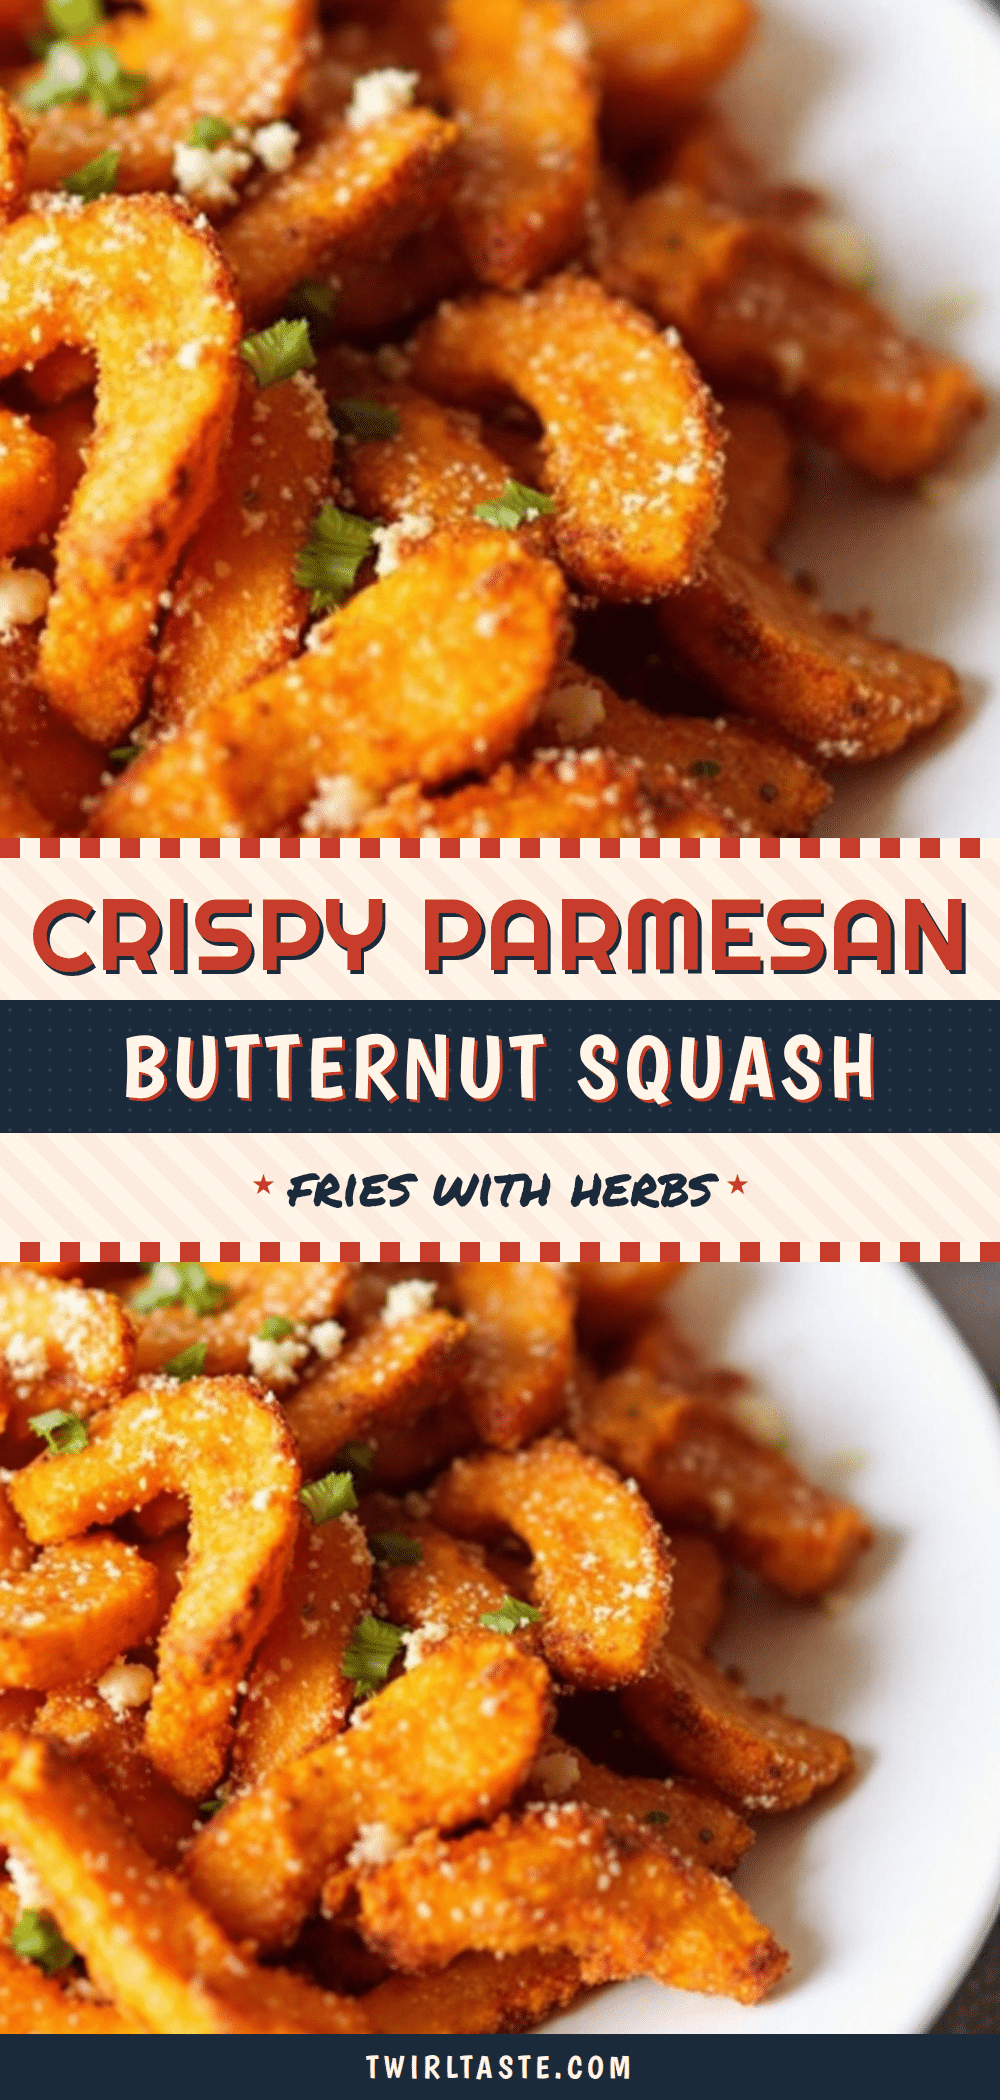
Crispy Parmesan Butternut Squash Fries: Easy Baked Recipe
These crispy baked butternut squash fries are coated in Parmesan and panko for a crunchy, golden exterior with a tender inside. A healthy, kid-approved side dish that’s perfect for fall dinners or game day.
- Prep Time: 20 minutes
- Cook Time: 30 minutes
- Total Time: 50 minutes
- Yield: 4 servings 1x
- Category: Side Dish
- Cuisine: American
Ingredients
- 1 medium butternut squash (about 2 pounds), peeled and cut into ½-inch thick sticks (about 4 cups)
- ½ cup grated Parmesan cheese (freshly grated, such as BelGioioso or Parmigiano-Reggiano)
- ¼ cup panko breadcrumbs
- 2 tablespoons olive oil (extra virgin or avocado oil)
- 1 teaspoon garlic powder
- 1 teaspoon paprika (smoked or sweet)
- ½ teaspoon fine sea salt
- ¼ teaspoon black pepper
- Fresh parsley, chopped (optional, for garnish)
Instructions
- Preheat your oven to 425°F (220°C). Line a large baking sheet with parchment paper or a silicone mat.
- Prepare the butternut squash: Using a sharp vegetable peeler, remove the tough outer skin completely. Cut off the stem end and the bottom. Slice the squash in half where the narrow neck meets the wider bulb. Save the bulbous end for another use. Stand the neck upright on your cutting board and slice it into ½-inch thick planks, then cut each plank into ½-inch wide sticks. Try to keep them uniform in size. You should have about 4 cups of fries.
- Soak the fries in cold water for 15 minutes (optional but recommended). After soaking, pat them completely dry with a clean kitchen towel or paper towels.
- In a small bowl, combine ½ cup grated Parmesan cheese, ¼ cup panko breadcrumbs, 1 teaspoon garlic powder, 1 teaspoon paprika, ½ teaspoon salt, and ¼ teaspoon black pepper. Stir to combine.
- Place the dried squash sticks in a large mixing bowl. Drizzle with 2 tablespoons olive oil and toss to coat evenly. Sprinkle the Parmesan mixture over the squash and toss again until every stick is coated. Press any fallen coating onto the fries with your hands.
- Arrange the coated fries in a single layer on the prepared baking sheet, making sure they are not touching each other. Use a second sheet pan if needed.
- Bake for 20 minutes. Remove the pan and use a spatula or tongs to flip each fry carefully.
- Return the pan to the oven and bake for another 10-15 minutes, until the fries are deeply golden and crispy on the outside, with some darker spots on the edges. Total baking time is usually 30-35 minutes.
- Transfer the fries to a cooling rack or a plate lined with paper towels. Let them sit for 2-3 minutes. Sprinkle with fresh parsley if desired, and serve warm.
Notes
For best results, use freshly grated Parmesan and pat the squash completely dry before coating. Do not overcrowd the pan; use two baking sheets if needed. Serve immediately for maximum crispiness. To reheat leftovers, spread on a baking sheet and bake at 375°F for 5-7 minutes. For an air fryer version, cook at 400°F for 12-15 minutes, shaking halfway through.
Nutrition
- Serving Size: 1 cup
- Calories: 190
- Sugar: 4
- Sodium: 350
- Fat: 10
- Saturated Fat: 3
- Carbohydrates: 18
- Fiber: 3
- Protein: 7
Keywords: butternut squash fries, baked fries, Parmesan fries, healthy fries, crispy fries, fall side dish, vegetarian


