Love this? Save it for later!
Share the inspiration with your friends
I did not trust bananas in pumpkin bread. It felt wrong, honestly. Like two fall flavors that should never share the same loaf pan. Pumpkin is earthy and spiced. Banana is sweet and tropical. They seemed like they belonged on opposite sides of my kitchen counter. But I had a sad, spotty banana sitting next to a half-used can of pumpkin puree, and I was too stubborn to let either go to waste. So I threw them in a bowl together, fully expecting disaster.
What came out of the oven was something else entirely. The banana didn’t fight the pumpkin — it softened it. Made it almost creamy in a way I hadn’t expected. And without any refined sugar, I figured it would taste like cardboard. It did not. The sweetness from the banana and a little maple syrup did all the heavy lifting. My kids ate two slices before I could even take a photo. That’s when I knew this healthy pumpkin banana bread was worth keeping around.
I’ve made it a dozen times since that first experiment. Each time, I tweaked something small. A little more cinnamon. Less maple syrup. A handful of walnuts. It got better every single time. Now it’s the bread I reach for when I want something that feels like a treat but doesn’t leave me crashing an hour later. It’s honest food. And honestly, I think you’re going to love it.
Why You’ll Love This Recipe
This isn’t just another pumpkin bread recipe. It’s the one you’ll actually make on a Tuesday morning when you’re out of eggs and patience. Here’s what makes it stand out:
- No Refined Sugar: Sweetened entirely with banana and maple syrup. Your body will thank you, and your taste buds won’t notice a thing.
- Incredibly Moist: The combination of pumpkin and banana creates a texture that’s almost pudding-like. No dry crumb here.
- One Bowl Wonder: Mix everything in a single bowl. Less dishes, more time sipping your coffee.
- Freezer-Friendly: Bake it on Sunday, slice it, and freeze for quick breakfasts all week.
- Kid-Approved: My kids call it “cake bread.” I’m not correcting them.
- Naturally Gluten-Free Option: Swap the flour for a 1:1 gluten-free blend, and you’re golden.
What makes this recipe different is how balanced it feels. It’s not trying to be a health food that tastes like punishment. It’s genuinely delicious. The pumpkin gives it that cozy fall vibe, while the banana adds a natural sweetness that lets you skip the sugar entirely. If you’ve been burned by dry, flavorless “healthy” baked goods before, I get it. This one’s different. I promise.
What Ingredients You Will Need
This recipe relies on simple, whole-food ingredients that work together to create something greater than the sum of their parts. Most of these are probably in your kitchen right now.
- Ripe Bananas (2 medium, mashed): The riper, the better. Those spotty ones sitting on your counter are perfect. They provide natural sweetness and moisture.
- Pumpkin Puree (1 cup): Not pumpkin pie filling. Make sure you grab 100% pure pumpkin. I like Libby’s for consistent results.
- Maple Syrup (⅓ cup): Grade A or B both work. Grade B has a stronger flavor if you want more maple presence.
- Coconut Oil (¼ cup, melted): Or avocado oil. Butter works too if you’re not dairy-free.
- Eggs (2 large): Room temperature for best mixing. Flax eggs work well for a vegan version.
- Vanilla Extract (1 teaspoon): Pure vanilla, not imitation. It makes a difference.
- Whole Wheat Flour (1 ¾ cups): White whole wheat is my go-to. All-purpose works too. For gluten-free, use a 1:1 baking blend.
- Baking Soda (1 teaspoon): Fresh baking soda is key. Check the date.
- Baking Powder (½ teaspoon): For a little extra lift.
- Salt (½ teaspoon): Balances the sweetness.
- Cinnamon (1 ½ teaspoons): The backbone of fall baking.
- Pumpkin Pie Spice (1 teaspoon): Or make your own with nutmeg, ginger, and cloves.
- Optional Mix-Ins: ½ cup chopped walnuts or dark chocolate chips. Both are excellent.
I’ve made this with both white whole wheat and all-purpose flour, and honestly, the whole wheat version has more character. It adds a subtle nuttiness that plays well with the pumpkin. If you’re new to baking with whole wheat, this is a forgiving recipe to start with.
Equipment Needed
You don’t need fancy tools for this one. Here’s what you’ll need:
- 9×5-inch Loaf Pan: Standard size works perfectly. Glass, metal, or ceramic all work.
- Large Mixing Bowl: One bowl is all you need.
- Whisk: For combining wet and dry ingredients.
- Measuring Cups and Spoons: Accurate measurements matter in baking.
- Fork or Potato Masher: For mashing bananas. A fork works fine.
- Parchment Paper: Lining the pan makes cleanup a breeze. I hate scrubbing loaf pans.
- Cooling Rack: Prevents the bottom from getting soggy. Worth the investment.
If you don’t have a cooling rack, no worries. Just slide the loaf onto a cutting board after 10 minutes in the pan. That’s what I did for years.
Preparation Method
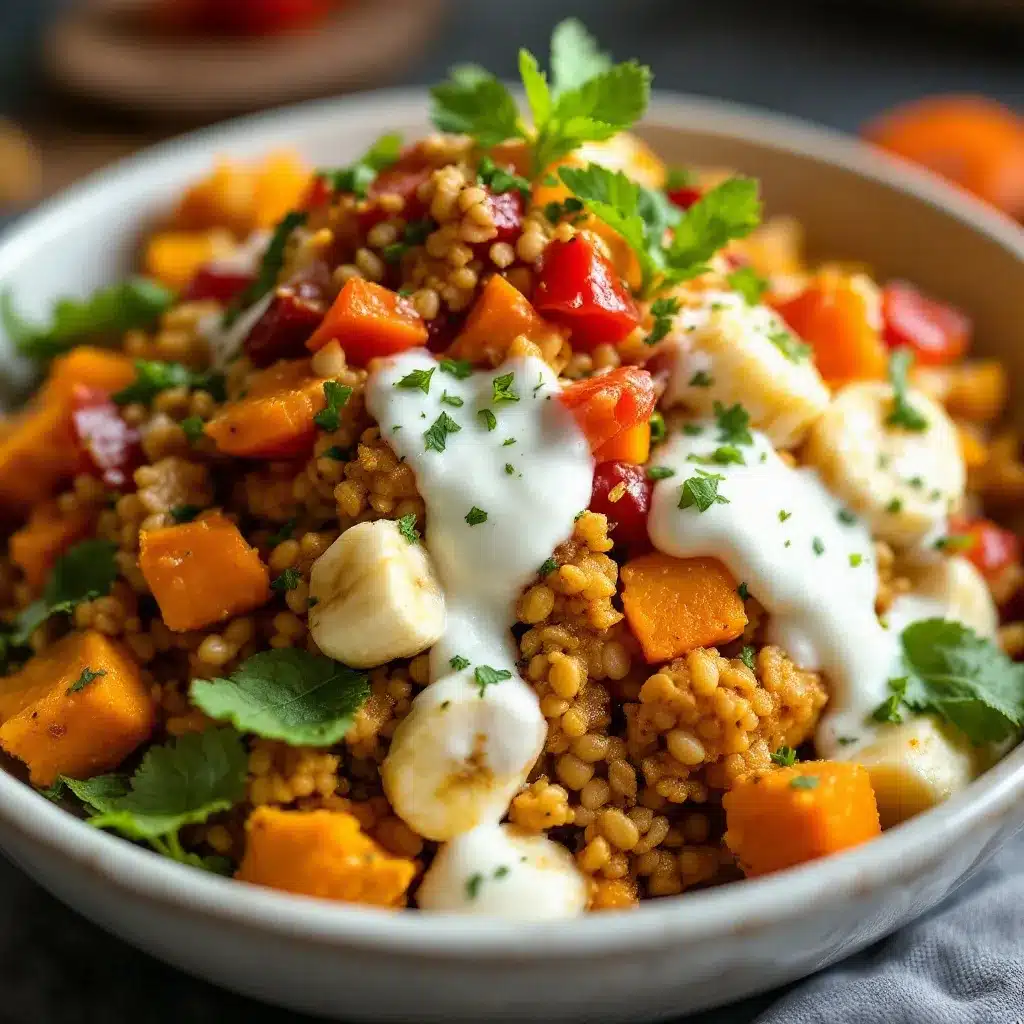
- Preheat and Prep: Preheat your oven to 350°F (175°C). Line your loaf pan with parchment paper, leaving some overhang on the long sides. This creates handles for easy removal later.
- Mash the Bananas: In your large mixing bowl, mash the bananas with a fork until mostly smooth. A few small lumps are fine — they add texture. You should have about 1 cup of mashed banana.
- Mix the Wet Ingredients: Add the pumpkin puree, maple syrup, melted coconut oil, eggs, and vanilla extract to the bananas. Whisk until everything is well combined. The mixture should look smooth and slightly glossy. If your coconut oil solidifies on contact with cold ingredients, don’t panic. Just keep whisking, or briefly warm the bowl in your hands.
- Combine the Dry Ingredients: In a separate small bowl, whisk together the whole wheat flour, baking soda, baking powder, salt, cinnamon, and pumpkin pie spice. This ensures even distribution of leavening agents and spices.
- Fold It Together: Add the dry ingredients to the wet mixture. Use a spatula to fold gently until just combined. Overmixing is the enemy here. A few streaks of flour are okay. If you’re adding walnuts or chocolate chips, fold them in now.
- Bake: Pour the batter into your prepared loaf pan and spread it evenly. Bake for 50-60 minutes, or until a toothpick inserted in the center comes out clean or with a few moist crumbs. The top should be golden brown and spring back when lightly pressed.
- Cool: Let the bread cool in the pan for 10 minutes. Then lift it out using the parchment paper and transfer to a cooling rack. Wait at least 30 minutes before slicing. I know it’s hard, but hot bread crumbles.
Your kitchen will smell like a fall candle factory during baking. The edges will caramelize slightly from the banana and maple syrup, creating a beautiful golden crust. Don’t be alarmed if the center dips a little — that’s normal for moist, whole-grain breads.
Cooking Tips & Techniques
I’ve made this bread more times than I can count, and I’ve learned a few things the hard way. Here’s what I wish I knew from the start:
- Don’t Overmix: This is the number one mistake. Overmixing develops gluten and makes the bread tough. Fold until the flour disappears, then stop.
- Check Your Oven Temperature: Ovens lie. I learned this after burning three loaves. An inexpensive oven thermometer changed my baking life. If your bread is browning too fast on top but still raw inside, tent it with foil halfway through.
- Room Temperature Ingredients Matter: Cold eggs and coconut oil can seize up and create lumps. Let everything sit out for 20 minutes before you start.
- Use Parchment Paper: Greasing the pan works, but parchment paper guarantees easy removal. No stuck corners, no ripped crust.
- Test for Doneness Properly: Stick the toothpick in the center. If it comes out with wet batter, it needs more time. If it comes out with a few moist crumbs, it’s perfect. If it comes out completely dry, it’s slightly overbaked but still good.
- Let It Rest: This bread actually tastes better the next day. The flavors meld and the texture evens out. If you can wait, wrap it tightly and slice it tomorrow.
I once forgot the baking soda entirely. The bread came out flat and dense, like a pumpkin pancake. It still tasted good, but it was a reminder that baking is science. Double-check your ingredients before you start.
Variations & Adaptations
This recipe is a chameleon. Here are a few ways to make it your own:
- Vegan Version: Replace the eggs with two flax eggs (2 tablespoons ground flaxseed + 6 tablespoons water, let sit for 5 minutes). Use maple syrup as written. The texture will be slightly denser but still delicious.
- Gluten-Free: Swap the whole wheat flour for a 1:1 gluten-free baking blend. I’ve used Bob’s Red Mill and King Arthur with great results. Add an extra tablespoon of liquid if the batter seems too thick.
- Chocolate Chip Pumpkin Banana Bread: Fold in ½ cup dark chocolate chips. The bitterness of dark chocolate balances the sweetness beautifully. This version disappears fastest in my house.
- Spiced Up: Add ¼ teaspoon each of ground ginger, nutmeg, and cloves. Sometimes I add a pinch of cardamom for a more complex flavor profile.
- Nutty Crunch: Top the batter with a handful of chopped pecans or walnuts before baking. They toast on top and add a lovely crunch.
- Mini Loaves or Muffins: Divide the batter into mini loaf pans or a muffin tin. Bake muffins for 18-22 minutes and mini loaves for 25-30 minutes. Perfect for gifting or portion control.
My personal favorite variation is the chocolate chip one with a sprinkle of flaky sea salt on top. The salt cuts through the sweetness and makes the chocolate pop. Try it once, and you’ll never go back.
Serving & Storage Suggestions
This bread is versatile enough for breakfast, snack, or dessert. Here’s how I serve and store it:
- Serving Temperature: Room temperature is ideal. Toast a slice lightly if you want a warm, buttery experience. Spread a little butter, coconut oil, or almond butter on top for extra richness.
- Pairings: A slice with a hot cup of coffee is a match made in heaven. For a cozy fall breakfast, serve alongside a homemade Pumpkin Spice Latte. It also pairs beautifully with a Pumpkin Chai Latte for an afternoon pick-me-up.
- Refrigerator Storage: Wrap the bread tightly in plastic wrap or store in an airtight container. It will keep for up to 5 days. The moisture actually improves after day two.
- Freezer Storage: Slice the bread, wrap each slice individually in plastic wrap, and place them in a freezer bag. They’ll keep for up to 3 months. Grab a slice straight from the freezer and pop it in the toaster for an instant breakfast.
- Reheating: Toast frozen slices directly from the freezer. For a whole loaf, thaw overnight in the refrigerator and bring to room temperature before serving.
The flavors develop beautifully over time. Day one is good. Day three is amazing. The banana and pumpkin meld together, and the spices settle into something warm and comforting. If you can resist eating it all on day one, you’re stronger than me.
Nutritional Information & Benefits
Here’s an approximate breakdown per slice (based on 10 slices, without mix-ins):
- Calories: 190
- Fat: 7g
- Carbohydrates: 31g
- Fiber: 4g
- Sugar: 12g (all natural from banana and maple syrup)
- Protein: 5g
This bread is packed with nutrients. Pumpkin is rich in vitamin A and fiber, which supports eye health and digestion. Bananas provide potassium and natural energy. Whole wheat flour adds B vitamins and more fiber, keeping you full longer. The coconut oil offers healthy fats that support brain function.
It’s naturally dairy-free and can be made gluten-free and vegan with simple swaps. The only potential allergen is gluten if you use wheat flour. Otherwise, it’s a wholesome treat that actually nourishes you. I feel good about giving this to my kids for breakfast. That’s rare for a bread that tastes this indulgent.
Conclusion
This healthy pumpkin banana bread is proof that you don’t need refined sugar to make something truly satisfying. It’s moist, flavorful, and forgiving enough for beginner bakers. The combination of pumpkin and banana might have seemed strange to me at first, but now I can’t imagine fall baking without it.
I love that this recipe uses real, whole ingredients that I feel good about eating. It’s the kind of bread that makes a busy morning feel a little more special. Whether you’re packing it in lunchboxes, serving it at a brunch, or just treating yourself to a quiet slice with tea, it delivers every time.
If you’re looking for another easy fall bake, try my One-Bowl Chocolate Chip Pumpkin Bread for a slightly sweeter take. And don’t forget to check out the Pumpkin Banana Bread with Walnuts if you want a crunchy twist.
I’d love to hear how yours turns out. Leave a comment below or tag me in your photos. Happy baking, friends!
Frequently Asked Questions
Can I use frozen bananas for this recipe?
Absolutely. Thaw them completely, then drain off any excess liquid before mashing. Frozen bananas are actually sweeter than fresh ones, which is a bonus here.
Why did my bread sink in the middle?
This usually happens from overmixing or underbaking. Make sure your oven temperature is accurate and test with a toothpick before removing. A slight dip is normal for whole-grain breads.
Can I reduce the maple syrup further?
You can cut it to ¼ cup, but the bread will be less sweet and slightly drier. The banana provides most of the sweetness, so it’s still good. Just don’t go below ¼ cup.
How do I make this bread nut-free?
Simply skip the walnuts or pecans. The recipe works perfectly without them. If you want crunch, try adding pumpkin seeds or sunflower seeds instead.
Can I use all-purpose flour instead of whole wheat?
Yes, absolutely. Use the same amount. The texture will be slightly lighter and fluffier. I prefer whole wheat for the extra fiber and nutty flavor, but all-purpose works great.
Pin This Recipe!
Healthy Pumpkin Banana Bread: Easy No-Sugar Recipe

This healthy pumpkin banana bread is moist, flavorful, and sweetened entirely with banana and maple syrup. It’s a one-bowl wonder that’s perfect for fall baking and kid-approved.
- Prep Time: 15 minutes
- Cook Time: 55 minutes
- Total Time: 1 hour 40 minutes
- Yield: 10 servings 1x
- Category: Bread
- Cuisine: American
Ingredients
- 2 medium ripe bananas, mashed (about 1 cup)
- 1 cup pumpkin puree (100% pure, not pie filling)
- ⅓ cup maple syrup
- ¼ cup coconut oil, melted (or avocado oil)
- 2 large eggs (room temperature; flax eggs for vegan)
- 1 teaspoon vanilla extract (pure)
- 1 ¾ cups whole wheat flour (or all-purpose; use 1:1 gluten-free blend for GF)
- 1 teaspoon baking soda
- ½ teaspoon baking powder
- ½ teaspoon salt
- 1 ½ teaspoons cinnamon
- 1 teaspoon pumpkin pie spice
- ½ cup chopped walnuts or dark chocolate chips (optional)
Instructions
- Preheat oven to 350°F (175°C). Line a 9×5-inch loaf pan with parchment paper, leaving overhang on the long sides.
- In a large mixing bowl, mash the bananas with a fork until mostly smooth (a few lumps are fine).
- Add pumpkin puree, maple syrup, melted coconut oil, eggs, and vanilla extract to the bananas. Whisk until well combined and smooth.
- In a separate small bowl, whisk together whole wheat flour, baking soda, baking powder, salt, cinnamon, and pumpkin pie spice.
- Add dry ingredients to wet mixture. Fold gently with a spatula until just combined (do not overmix). Fold in walnuts or chocolate chips if using.
- Pour batter into prepared loaf pan and spread evenly. Bake for 50-60 minutes, until a toothpick inserted in the center comes out clean or with a few moist crumbs.
- Cool in pan for 10 minutes, then lift out using parchment paper and transfer to a cooling rack. Cool at least 30 minutes before slicing.
Notes
Don’t overmix the batter to avoid tough bread. Room temperature ingredients help prevent lumps. The bread tastes even better the next day. For vegan version, use flax eggs. For gluten-free, use a 1:1 gluten-free baking blend. If browning too fast, tent with foil halfway through baking.
Nutrition
- Serving Size: 1 slice
- Calories: 190
- Sugar: 12
- Sodium: 220
- Fat: 7
- Saturated Fat: 4
- Carbohydrates: 31
- Fiber: 4
- Protein: 5
Keywords: pumpkin banana bread, healthy pumpkin bread, no sugar banana bread, fall baking, whole wheat pumpkin bread, gluten-free pumpkin bread, vegan pumpkin bread


