Love this? Save it for later!
Share the inspiration with your friends
The doorbell rang at 7:15 PM, and I froze. I had just finished scrubbing the kitchen counters, and my brain was already in “shut down” mode. It was my in-laws, who lived thirty minutes away, showing up unannounced because they “just happened to be in the neighborhood.” Honestly, I panicked. I had no idea what to make, and the fridge was looking pretty bare after a week of meal prep.
There was only one thing that saved me. A family-sized box of Oreos and a carton of heavy cream. That’s it. No fancy cheeses, no fresh fruit, no special spices. Just the basics. I looked at the clock, then at the cookies, and realized I could turn this into something actually edible for guests. I didn’t have time to bake. Baking takes an hour, and my in-laws love to sit and chat for two.
I started crushing the cookies with a rolling pin while my husband pretended to be surprised by the visit. The sound of the cookies breaking was surprisingly satisfying. I whipped the cream, folded in the crumbs, and layered it into little glass cups I found in the back of the cupboard. It was chaotic, messy, and completely unplanned.
But here’s the thing about unplanned meals: they often become the best memories. My mother-in-law took one bite of the Easy No-Bake Oreo Dirt Pudding Cups and closed her eyes. She didn’t ask how long it took. She didn’t ask for a recipe card. She just asked for seconds. It wasn’t elegant. It wasn’t complicated. It was just perfect comfort food made from whatever was left. That’s why I keep this recipe on hand. It’s my secret weapon for when life gets messy.
Why You’ll Love This No-Bake Dessert
Let’s be honest, not every dessert needs to be a five-day project. This recipe is your best version of a quick treat because it skips the oven entirely. You don’t have to worry about preheating, timing baking racks, or cleaning a bunch of dishes. It’s about efficiency without sacrificing flavor.
Here is why this pudding cup wins every time:
- Quick & Easy: You can make this in about 15 minutes. That’s it. It’s perfect for those busy weeknights when you want something sweet but don’t have the energy to cook.
- Simple Ingredients: You likely already have everything in your pantry. Oreos, cream cheese, heavy cream, and a little sugar. No fancy grocery trips needed.
- Perfect for Kids: If you have picky eaters, this is a winner. It tastes like a treat but feels like a “grown-up” dessert because of the pudding texture.
- Crowd-Pleaser: It’s always a hit at potlucks or game days. People love the visual of the “dirt” look, and it’s easy to eat with a spoon.
- Unbelievably Delicious: The texture is next-level. It’s airy but rich, with the crunch of cookie bits throughout. It’s comfort food reimagined—faster, but with the same soul-soothing satisfaction.
What makes this different from other Oreo desserts? Most recipes use instant pudding mix, which can taste a bit artificial. This version uses real heavy cream and cream cheese, giving it a custard-like richness that feels much more premium. It’s not just another version—it’s the one that actually tastes like a bakery dessert.
What Ingredients You Will Need
This recipe uses simple, wholesome ingredients to deliver bold flavor and satisfying texture without the fuss. The beauty here is that you don’t need specialty stores. Everything is standard grocery store fare. I like to use full-fat ingredients because this is a treat, and you want that rich mouthfeel.
Here is what you need to gather:
- Oreo Cookies: You will need about 20 to 25 cookies. I recommend using standard Oreos, not the thin ones, because the crumbs hold up better. (Adds crunch)
- Cream Cheese: One 8-ounce block, softened. Use a brand like Philadelphia for the smoothest texture. It needs to be room temperature so it blends easily.
- Heavy Whipping Cream: One cup, cold. This is what gives the pudding its airy, mousse-like quality. Don’t substitute with milk, or it won’t whip.
- Granulated Sugar: Three tablespoons. You can adjust this slightly if your Oreos are particularly sweet, but this amount balances the tartness of the cream cheese.
- Vanilla Extract: One teaspoon. Pure vanilla makes a huge difference in flavor depth.
- Whipped Topping (Optional): For the top garnish, you can use Cool Whip or make your own. It helps with the presentation.
If you need a substitution, you can use full-fat sour cream instead of half the cream cheese for a tangier profile, but the texture will be slightly denser. For a dairy-free option, swap the cream cheese for a vegan alternative and use coconut cream instead of heavy cream. However, the coconut flavor will come through, so keep that in mind.
Equipment Needed
You don’t need a lot of fancy gadgets for this. A few basic tools will get you through this in record time.
- Food Processor or Ziplock Bag: To crush the cookies. A food processor is faster, but a rolling pin and a heavy bag work too. Just be gentle so you don’t create dust.
- Mixing Bowls: Two medium bowls. One for the cream cheese mixture and one for the whipped cream.
- Electric Hand Mixer or Stand Mixer: Essential for whipping the cream to stiff peaks. Doing this by hand is possible but takes a lot of arm strength.
- Spatula: A rubber spatula is best for folding the ingredients together without deflating the air in the cream.
- Serving Cups: Small glass cups, mason jars, or even ramekins. Clear glass is best so you can see the layers.
If you don’t have a hand mixer, a balloon whisk works, but you’ll need to whip the cream for at least 10 minutes. It’s a workout, but it’s doable. Also, make sure your bowls are clean and dry. Any grease will stop the cream from whipping properly.
Preparation Method
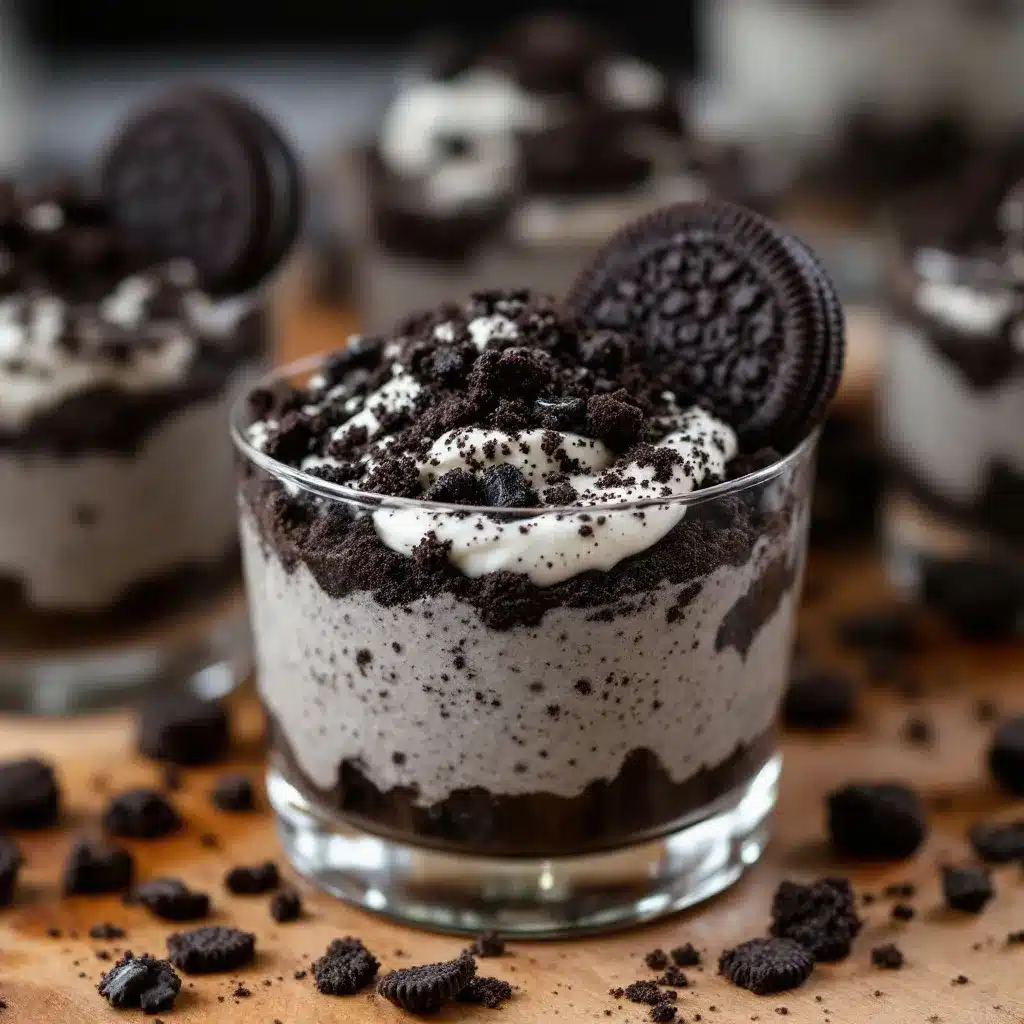
Making this dessert is straightforward, but technique matters. Follow these steps closely for the best texture.
Step 1: Prepare the Cookie Crumbs (5 minutes)
Remove the cream filling from the Oreos if you want a pure chocolate crumb, or leave it in for a sweeter, fudgier taste. I usually leave it in. Place the cookies in a food processor and pulse until they are fine crumbs. If you don’t have a processor, put them in a ziplock bag and crush them with a rolling pin. You want small pieces, not huge chunks. Set aside about one cup of crumbs for the topping, and use the rest for the pudding base.
Step 2: Whip the Heavy Cream (3 minutes)
Pour the cold heavy cream into a large, chilled mixing bowl. Add half of the sugar (1.5 tablespoons) and the vanilla extract. Using your electric mixer on medium-high speed, whip the cream until stiff peaks form. This means when you lift the beaters, the cream stands up straight without drooping. Be careful not to over-whip, or it will turn into butter. Place this bowl in the fridge while you make the next part.
Step 3: Make the Cream Cheese Base (4 minutes)
In a separate bowl, beat the softened cream cheese and the remaining sugar until smooth and creamy. Scrape down the sides of the bowl to ensure there are no lumps. This step is crucial for a smooth pudding. If the cream cheese is cold, it will stay lumpy even after folding.
Step 4: Fold the Ingredients Together (3 minutes)
Gently fold the whipped cream into the cream cheese mixture. Use a spatula and cut through the middle, then scoop from the bottom. Turn the bowl and repeat. Do this until just combined. You want to keep as much air in the mixture as possible. Over-mixing will make the pudding dense.
Step 5: Add the Cookie Crumbs (2 minutes)
Fold half of the cookie crumbs into the pudding mixture. This gives you the “dirt” texture inside. Then, assemble the cups. Spoon some pudding into the bottom of your serving glasses. Top with a sprinkle of the remaining crumbs. Repeat until the cups are full. Finish with a dollop of whipped topping and a final dusting of crumbs. Chill for at least 30 minutes before serving to let the flavors meld.
Cooking Tips & Techniques
I’ve made this recipe a dozen times, and I’ve learned a few things the hard way. Here is how to avoid common mistakes.
Keep Everything Cold
The temperature of your cream is critical. If your kitchen is warm, put your mixing bowl in the freezer for 10 minutes before whipping. Cold cream whips faster and holds its shape better. If the cream gets warm, it won’t stiffen.
Don’t Skip the Softening
Hard cream cheese is the enemy of smooth pudding. If you forget to take it out of the fridge, microwave it for 10-second bursts until it’s soft but not melted. Melted cream cheese will separate from the whipped cream, creating a greasy mess.
Folding is Key
When combining the cream cheese and whipped cream, use a gentle hand. You are trying to preserve the air bubbles you worked so hard to create. Think of it like folding a blanket, not stirring a pot. If you stir vigorously, you’ll lose the light, airy texture that makes this dessert special.
Timing the Crush
If you crush the cookies too finely, they turn into a paste when mixed with the cream. If you leave them too chunky, they won’t distribute evenly. Aim for a texture similar to wet sand. This ensures every bite has cookie flavor without being overwhelming.
Variations & Adaptations
While the classic Oreo version is my favorite, you can tweak this recipe to suit different tastes or dietary needs.
Strawberry Oreo Dirt
Swap the regular Oreos for strawberry-flavored ones. You can also fold in some fresh, diced strawberries between the layers for a fruity twist. It looks beautiful with the red and white contrast.
Chocolate Chip Cookie Dough
Use chocolate chip cookies instead of Oreos. Add a few chocolate chips to the cream cheese mixture before folding in the whipped cream. It’s like eating a cookie dough dessert in a cup.
Gluten-Free Option
Use a brand of gluten-free chocolate sandwich cookies. Make sure they are sturdy enough to hold up when crushed. Some GF cookies are more crumbly, so you may need to add a tiny bit more binding agent, like a teaspoon of melted butter, to the crumbs.
Vegan Version
Use vegan cream cheese and coconut cream (the thick part from a chilled can of full-fat coconut milk). Whip the coconut cream with powdered sugar instead of granulated, as it dissolves better in cold fat. It has a slight coconut taste, but it’s delicious.
Serving & Storage Suggestions
These cups are best served cold. The cold temperature helps the cream cheese set slightly, making the texture firmer and more spoonable.
Storage
You can store these in the refrigerator for up to 3 days. Keep them covered with plastic wrap or in an airtight container. The cookies will continue to soften over time, so the texture will become more like a pudding than a crumble. If you want to maintain the crunch, add the topping crumbs right before serving.
Freezing
You can freeze these cups for up to one month. Thaw them in the refrigerator overnight. The texture may change slightly upon thawing, becoming a bit softer, but the flavor remains great.
Pairing
Serve with a hot coffee or a glass of cold milk. The bitterness of the coffee balances the sweetness of the dessert. It’s a classic combination that never fails.
Nutritional Information & Benefits
This dessert is rich in calories and sugar, so it’s best enjoyed in moderation. Each cup contains approximately 350-400 calories, depending on the size of the portion and the amount of whipped topping used.
The heavy cream provides fat, which helps with satiety, meaning you might feel full faster than with a light, airy cake. The cream cheese adds protein and calcium, though it’s minimal in this context. If you are watching your sugar intake, you can reduce the added sugar by using unsweetened whipped topping and relying on the sweetness of the cookies.
It’s not a health food, but it’s a treat that brings joy. And sometimes, that’s what matters most.
Conclusion
This Easy No-Bake Oreo Dirt Pudding Cups recipe is a lifesaver for busy nights and unexpected guests. It’s simple, delicious, and requires very little effort. I love it because it turns pantry staples into a show-stopping dessert.
I encourage you to try it and make it your own. Add your favorite cookie crumbs or top it with fresh fruit. Let me know how it turns out in the comments below. Did you leave the cream filling in the Oreos? Did you use whipped topping or make your own? Share your adaptations with me.
Thanks for reading. I hope this recipe brings a little sweetness to your day.
FAQs
Can I make this ahead of time?
Yes, you can make this up to 24 hours in advance. In fact, letting it chill overnight often improves the flavor as the cookies soften into the pudding. Just wait to add the final topping crumbs until you are ready to serve.
What if I don’t have heavy cream?
You can use whipped topping (like Cool Whip) instead, but the texture will be lighter and less rich. You will need about 8 ounces of thawed whipped topping to replace one cup of whipped heavy cream. The flavor will be sweeter, so you may want to reduce the added sugar in the recipe.
How do I crush Oreos without a food processor?
Place the cookies in a heavy-duty ziplock bag. Remove as much air as possible and seal it. Use a rolling pin, a meat mallet, or a heavy pan to crush the cookies. Roll over them until they are fine crumbs. It takes a little elbow grease, but it works perfectly.
Can I use low-fat cream cheese?
It’s not recommended. Low-fat cream cheese has more water and less fat, which can make the pudding runny and prevent it from setting properly. Full-fat cream cheese provides the necessary structure and richness for this recipe.
Are these cups individual servings?
Yes, this recipe makes about 6 to 8 small cups, depending on how large your serving glasses are. It’s perfect for portion control and easy serving at parties. You can also make one large trifle dish if you prefer.
Pin This Recipe!
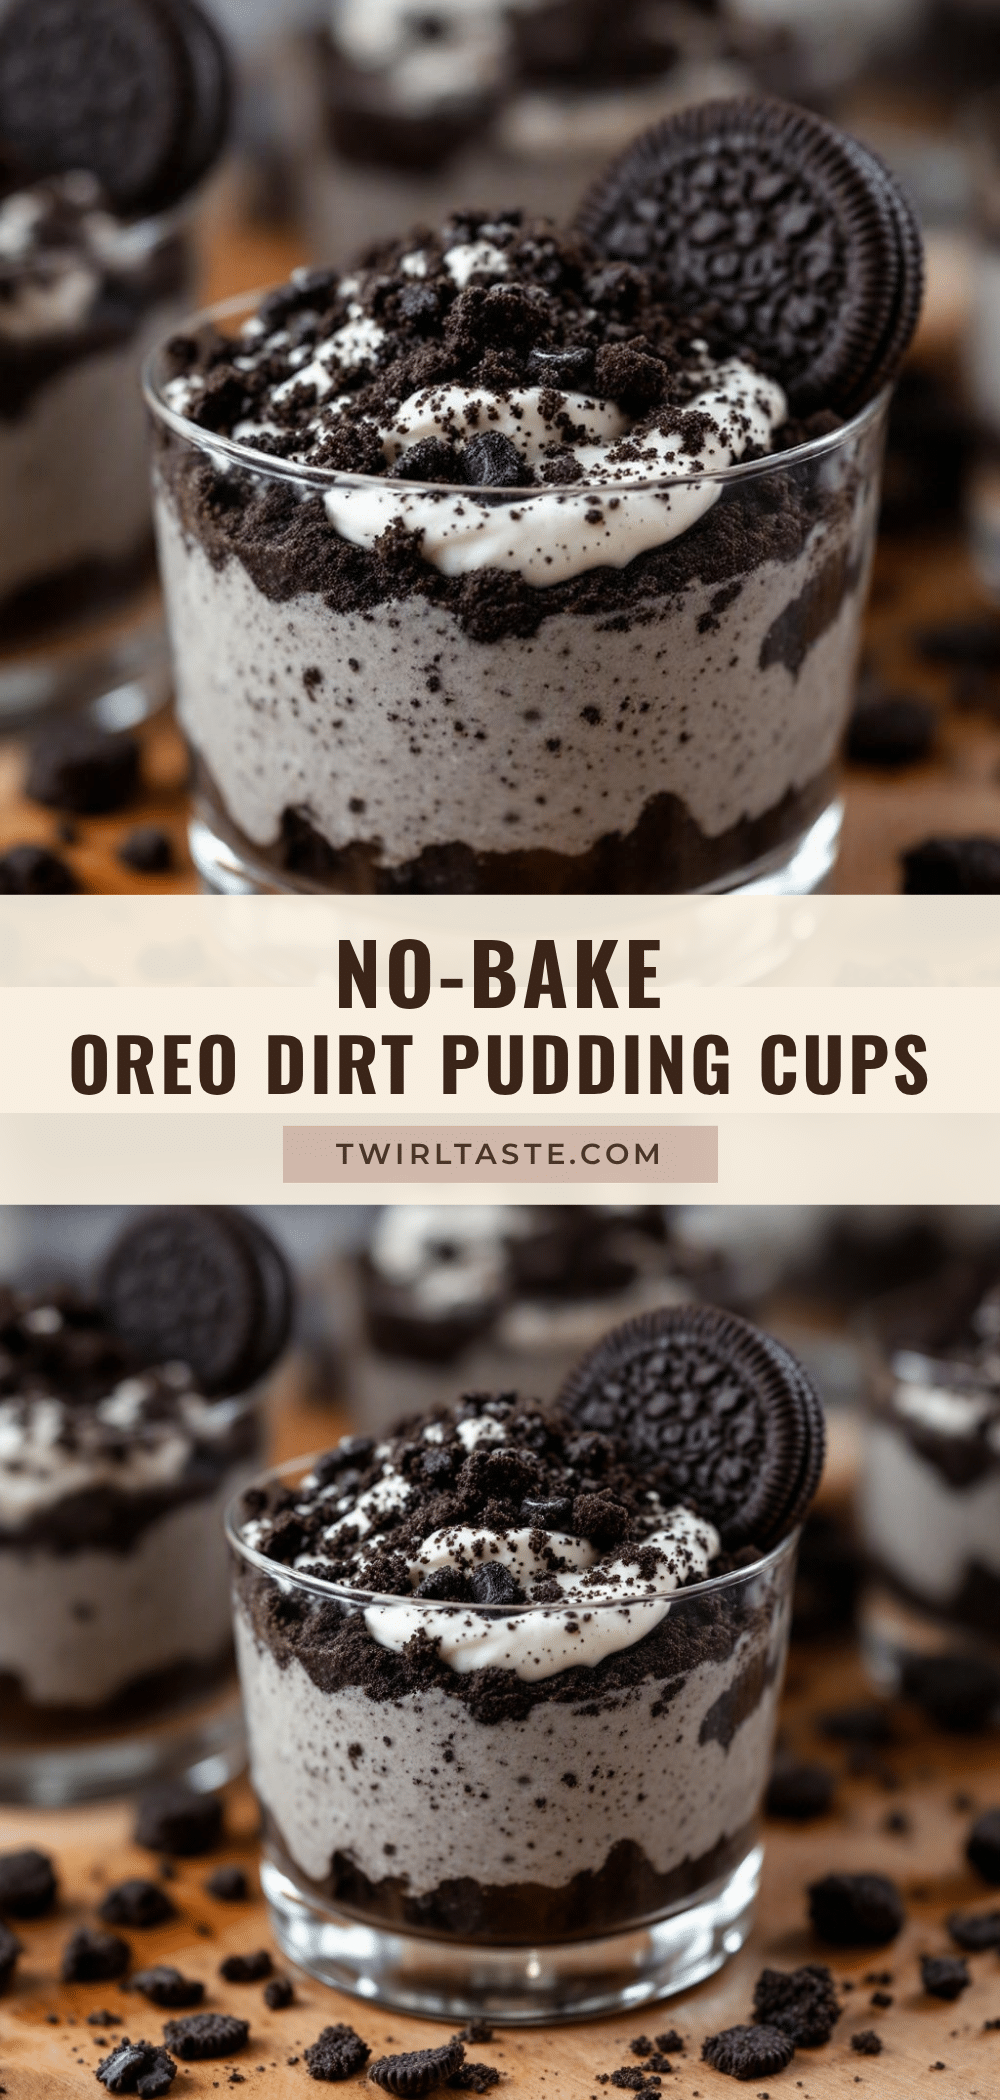
Easy Oreo Dirt Pudding Cups: No-Bake Dessert

A quick, no-bake dessert made with Oreos, cream cheese, and heavy cream. This rich, mousse-like pudding is perfect for unexpected guests or busy weeknights.
- Prep Time: 15 minutes
- Cook Time: 0 minutes
- Total Time: 45 minutes
- Yield: 6-8 servings 1x
- Category: Dessert
- Cuisine: American
Ingredients
- 20–25 Oreo Cookies
- 8 oz cream cheese, softened
- 1 cup heavy whipping cream, cold
- 3 tablespoons granulated sugar
- 1 teaspoon vanilla extract
- Whipped topping (optional, for garnish)
Instructions
- Remove cream filling from Oreos if desired, then pulse cookies in a food processor or crush in a bag until fine crumbs form. Reserve 1 cup for topping.
- In a chilled bowl, whip cold heavy cream with 1.5 tablespoons sugar and vanilla until stiff peaks form. Refrigerate.
- In a separate bowl, beat softened cream cheese with remaining 1.5 tablespoons sugar until smooth.
- Gently fold the whipped cream into the cream cheese mixture until just combined.
- Fold half of the cookie crumbs into the pudding mixture.
- Layer pudding and remaining crumbs into serving cups. Top with whipped topping and remaining crumbs.
- Chill for at least 30 minutes before serving.
Notes
Keep all ingredients cold for best whipping results. Ensure cream cheese is fully softened to avoid lumps. Do not over-mix when folding to maintain airy texture. Can be stored in the fridge for up to 3 days or frozen for 1 month.
Nutrition
- Serving Size: 1 cup
- Calories: 375
- Sugar: 24
- Sodium: 250
- Fat: 28
- Saturated Fat: 16
- Carbohydrates: 32
- Fiber: 1
- Protein: 4
Keywords: Oreo dessert, no-bake pudding, easy dessert, crowd-pleaser, quick treat, cream cheese pudding


