Love this? Save it for later!
Share the inspiration with your friends
For a while, I just accepted that chicken and rice wasn’t going to taste like a proper comfort meal without a mountain of dishes.
It was always one of those compromises. You either spent twenty minutes washing pots and pans, or you settled for dry, bland chicken that tasted like it came out of a box. I had been looking for a dinner that actually felt like a treat but didn’t require a culinary degree to pull together.
Most one-pan recipes I tried fell flat. The rice was either mushy or crunchy, and the chicken was tough. It was frustrating, honestly. I wanted something where the flavors melded together, where the garlic butter sauce coated everything evenly, and where the cleanup was practically nonexistent.
I remember standing in my kitchen last Tuesday, staring at a sink full of dirty pans from the previous night. I just wanted dinner. I didn’t want to think about it. I didn’t want to chop a dozen different vegetables or marinate chicken for hours. I just wanted hot food that smelled amazing.
That’s when I decided to try a different approach. Instead of searing the chicken separately and then cooking the rice in stock, I figured why not let them cook together from the start? It seemed simple, maybe too simple.
But here’s the thing about simplicity. It’s often the hardest to get right because there’s nowhere to hide mistakes. If the garlic burns, you taste it. If the rice absorbs too much liquid, you’re stuck.
I started experimenting with the ratios. A little extra butter, obviously. Some fresh garlic instead of the jarred stuff. And a splash of white wine for depth, even if you don’t drink it yourself.
The first time I made this, I was skeptical. Would the chicken actually cook through? Would the rice absorb the garlic butter without turning into glue?
When I pulled the pan out of the oven, the smell hit me first. It was rich, savory, and just plain inviting. The rice was fluffy, not sticky, and the chicken thighs were tender enough to cut with a fork.
I took a bite and closed my eyes. It wasn’t fancy. It wasn’t gourmet. But it was exactly what I had been missing. It was warm, comforting, and completely guilt-free in terms of effort.
Since then, this has become my go-to when I’m tired but still want to eat well. It’s reliable. It’s forgiving. And it always delivers that specific kind of satisfaction that comes from a meal that just works.
You know, it’s funny how the best recipes often come from a place of just wanting to make life a little easier. This one stuck because it solved a real problem: the desire for good food without the hassle.
Why You’ll Love This Recipe
There are plenty of chicken and rice recipes out there, but this one stands out because it balances convenience with genuine flavor. It isn’t just about throwing ingredients in a pan and hoping for the best. It’s about understanding how the ingredients interact to create something greater than the sum of its parts.
- Quick & Easy: This comes together in under 45 minutes, perfect for busy weeknights or when you’re running on empty. You spend very little time prepping and more time actually eating.
- Simple Ingredients: No fancy grocery trips needed. You likely already have chicken thighs, rice, butter, and garlic in your kitchen. It relies on pantry staples that you trust.
- Perfect for Weeknights: Great for those nights when you’re tired after work and just need a warm meal on the table without the stress of complex techniques.
- Crowd-Pleaser: Always gets rave reviews from kids and adults alike. The mild garlic butter flavor is universally liked, and the texture is comforting.
- Unbelievably Delicious: The texture and flavor combo is next-level comfort food. The rice soaks up the savory juices from the chicken, creating a natural sauce without any heavy cream.
What makes this recipe different from the rest is the one-pan method. Usually, people sear the chicken first, which adds a step and more dishes. By cooking everything together, the rice absorbs the chicken fat and garlic flavor, resulting in a deeper taste profile. It’s a small tweak that makes a huge difference.
It’s comfort food reimagined—healthier, faster, but with the same soul-soothing satisfaction. It’s perfect for impressing guests without stress, or turning a simple meal into something memorable. It feels like a hug in a bowl.
What Ingredients You Will Need
This recipe uses simple, wholesome ingredients to deliver bold flavor and satisfying texture without the fuss. The key is quality over quantity. Since there are so few components, each one matters.
- Chicken Thighs: Boneless, skinless chicken thighs are ideal here. They stay juicy during the long bake time. Breast meat can dry out, but thighs have enough fat to remain tender. I recommend buying fresh thighs rather than frozen if possible, as the texture is superior.
- Rice: Long-grain white rice works best. Jasmine or basmati are great choices because they stay fluffy. Avoid short-grain or sticky rice unless you specifically want a sushi-like texture. Measure carefully, as rice absorbs liquid differently based on age.
- Butter: Unsalted butter is preferred so you can control the saltiness. Use a high-quality European-style butter if you can find it; it has a richer flavor. The butter creates the emulsion that coats the rice.
- Garlic: Fresh garlic is non-negotiable here. Jarred garlic has a metallic aftertaste that clashes with the butter. Use at least four cloves, minced finely. If you’re sensitive to raw garlic, don’t worry, it mellows out significantly during baking.
- Chicken Broth: Use a low-sodium chicken broth. This allows you to season the dish to your own taste. If you use high-sodium broth, reduce the added salt in the recipe.
- White Wine: A dry white wine like Sauvignon Blanc or Pinot Grigio adds acidity and depth. It deglazes the pan and lifts the flavors. If you don’t drink wine, you can substitute with extra broth and a splash of lemon juice.
- Seasonings: Salt, black pepper, and dried thyme. Thyme pairs beautifully with garlic and chicken. You can also add a pinch of paprika for a subtle color boost.
- Green Onions: For garnish. They add a fresh, crisp contrast to the rich, hot rice. Scallions work just as well.
Equipment Needed
You really only need a few tools for this recipe, which is part of the appeal. A large, oven-safe skillet is the star of the show. Cast iron is my favorite because it retains heat beautifully and gives the chicken a nice sear if you choose to brown it first. However, a heavy-gauge stainless steel or ceramic-coated skillet works just as well.
Avoid using non-stick pans that are thin or scratched, as they may not distribute heat evenly. If your skillet is not oven-safe, you can transfer the ingredients to a baking dish, but that defeats the purpose of one-pan cooking. Make sure your skillet handle is also oven-safe or removable.
You’ll need a measuring cup for the rice and broth, and a small knife for prepping the garlic. A wooden spoon or silicone spatula is useful for stirring. Keep it simple. You don’t need fancy gadgets for this.
Preparation Method
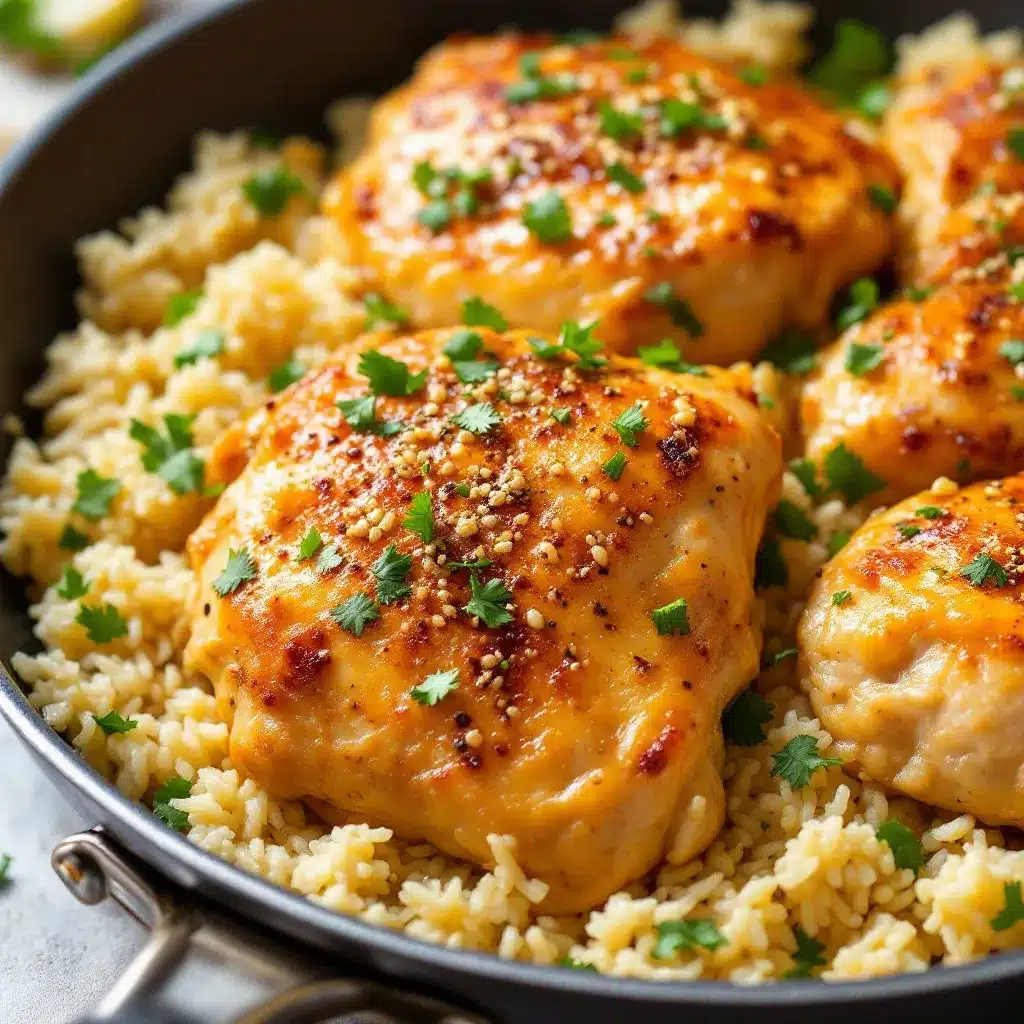
- Preheat the Oven: Start by preheating your oven to 400°F (200°C). This temperature is high enough to cook the chicken thoroughly without drying it out, while allowing the rice to absorb the liquid properly.
- Prepare the Chicken: Pat the chicken thighs dry with paper towels. This is crucial for browning. Season them generously with salt, pepper, and dried thyme. Set them aside on a plate.
- Melt the Butter: Place your oven-safe skillet over medium heat. Add the butter and let it melt until it foams slightly. Don’t let it burn. If it starts to brown too much, turn the heat down.
- Sear the Chicken: Once the butter is foaming, place the chicken thighs in the skillet. Sear them for about 2-3 minutes per side until they are golden brown. You don’t need to cook them all the way through yet. This step adds flavor and texture. Remove the chicken from the pan and set aside.
- Sauté the Garlic: In the same pan, add the minced garlic. Stir it constantly for about 30 seconds until it becomes fragrant. Be careful not to burn it, as burnt garlic tastes bitter.
- Add the Rice: Pour in the uncooked rice. Stir it around in the garlic butter for about 1 minute. This coats the grains in fat, which helps them stay separate and adds a nutty flavor.
- Combine Liquids: Pour in the chicken broth and white wine. Scrape up any browned bits from the bottom of the pan. These bits are full of flavor. Bring the mixture to a gentle simmer.
- Nestle the Chicken: Place the seared chicken thighs back into the pan, nestling them into the rice mixture. Spoon some of the liquid over the chicken.
- Bake: Transfer the skillet to the preheated oven. Bake for 25-30 minutes. Do not open the oven door too often, as this lets heat escape. The rice is done when it is tender and the liquid is absorbed. The chicken should reach an internal temperature of 165°F (74°C).
- Rest and Garnish: Remove the pan from the oven. Let it sit for 5 minutes. This allows the rice to finish steaming and become fluffy. Garnish with chopped green onions before serving.
Cooking Tips & Techniques
One common mistake people make is using too much liquid. Rice absorbs liquid differently depending on the brand and how long it has been stored. If you use older rice, it may need a bit more broth. Conversely, fresh rice might cook faster. Keep an eye on it during the last 5 minutes of baking.
Another tip is to not skip the searing step. While you could just bake the raw chicken, searing creates the Maillard reaction, which adds a depth of flavor that boiling or baking alone cannot achieve. It’s worth the extra two minutes.
If you find the rice is still crunchy after 30 minutes, you can cover the pan with foil and bake for another 5-10 minutes. The trapped steam will help finish cooking the grains.
Also, make sure your rice is rinsed if the package recommends it, but for this recipe, rinsing can remove some of the starch that helps thicken the sauce. I usually leave it unwashed for a creamier result, but it’s a matter of preference.
Finally, taste the sauce before serving. If it needs more salt or acidity, adjust it now. The flavors will mellow as the dish rests, so it should taste slightly bold right out of the oven.
Variations & Adaptations
This recipe is quite versatile. You can easily adapt it to suit your dietary needs or taste preferences. Here are a few ideas:
- Vegetable Boost: Add chopped bell peppers, spinach, or mushrooms to the pan before baking. Vegetables like mushrooms release water, so you might want to reduce the broth slightly.
- Spicy Twist: Add a pinch of red pepper flakes or a dash of hot sauce to the butter mixture if you like some heat. This pairs well with the richness of the butter.
- Herb Swap: If you don’t have thyme, rosemary or parsley works well. Fresh herbs added at the end can brighten the dish.
- Gluten-Free: This recipe is naturally gluten-free, provided your broth and wine are certified gluten-free. Just double-check your ingredients.
- Dairy-Free: Swap the butter for olive oil or a dairy-free butter alternative. The flavor will be slightly different, but still delicious.
I once tried adding sun-dried tomatoes to this recipe, and it was surprisingly good. The tartness cut through the richness nicely. It’s a variation I keep in mind for when I have them on hand.
Serving & Storage Suggestions
Serve this dish hot, straight from the skillet. It looks rustic and inviting on the table. A side of steamed broccoli or a simple green salad balances the richness of the garlic butter.
Leftovers store well in an airtight container in the refrigerator for up to 3 days. The rice may firm up as it cools, which is normal. To reheat, add a splash of water or broth to the container and microwave it, or warm it in a skillet with a little butter. This helps restore the moisture and creaminess.
You can also freeze this dish, though the texture of the rice may change slightly upon thawing. If freezing, let it cool completely first. It’s best consumed within 2 months for optimal quality.
The flavors actually develop over time, so the leftovers might taste even better on the second day. It’s a great meal prep option for busy days.
Nutritional Information & Benefits
This dish provides a good balance of protein from the chicken and carbohydrates from the rice. Chicken thighs are a great source of B vitamins and iron. The garlic adds antioxidants and may support immune health.
While the butter adds calories, it also helps absorb fat-soluble vitamins from the vegetables if you add any. It’s a hearty meal that keeps you full. For a lighter version, you can use less butter or swap half the rice for cauliflower rice, though the texture will change.
As someone who values balanced meals, I appreciate that this dish doesn’t leave me feeling sluggish. It’s satisfying without being overly heavy, especially if you pair it with a light side salad.
Conclusion
This Easy One-Pan Garlic Butter Chicken Thighs with Rice is a recipe that deserves a spot in your regular rotation. It’s simple, flavorful, and incredibly convenient. You get a complete meal with minimal effort and almost no cleanup.
I encourage you to try it as written first, but don’t be afraid to customize it. Add your favorite vegetables or swap the herbs to match what you have on hand. Cooking should be fun and flexible.
I love this recipe because it reminds me that good food doesn’t have to be complicated. It’s about using good ingredients and simple techniques to create something delicious. It’s a meal that feels special but requires no special occasion.
If you make this, I’d love to hear how it turns out for you. Leave a comment below with your thoughts or any variations you tried. Sharing recipes is one of the best parts of being a food blogger, and I love connecting with readers who enjoy cooking as much as I do.
Happy cooking, and enjoy every bite!
FAQs
Can I use brown rice instead of white rice?
Yes, but you will need to adjust the cooking time and liquid. Brown rice takes longer to cook and absorbs more water. You may need to increase the broth by about 1/4 cup and bake for 10-15 minutes longer. Check the package instructions for specific timing.
Can I use chicken breasts instead of thighs?
You can, but chicken breasts are leaner and can dry out easily. If you use breasts, reduce the baking time by 5-10 minutes. Keep a close eye on them to ensure they don’t overcook. Thighs are recommended for their juiciness.
Is this recipe spicy?
No, it is not spicy by default. It is savory and garlicky. If you want to add heat, you can include red pepper flakes or a dash of hot sauce during the sauté step.
Can I make this in a slow cooker?
Yes, you can. Sear the chicken first for flavor, then add all ingredients to the slow cooker. Cook on low for 4-6 hours or high for 2-3 hours. The rice may be softer than oven-baked, but it will still be delicious.
What kind of wine should I use?
Use a dry white wine that you would drink, such as Sauvignon Blanc, Pinot Grigio, or Chardonnay. Avoid cooking wines, as they often contain added salt and preservatives that can affect the taste.
Pin This Recipe!
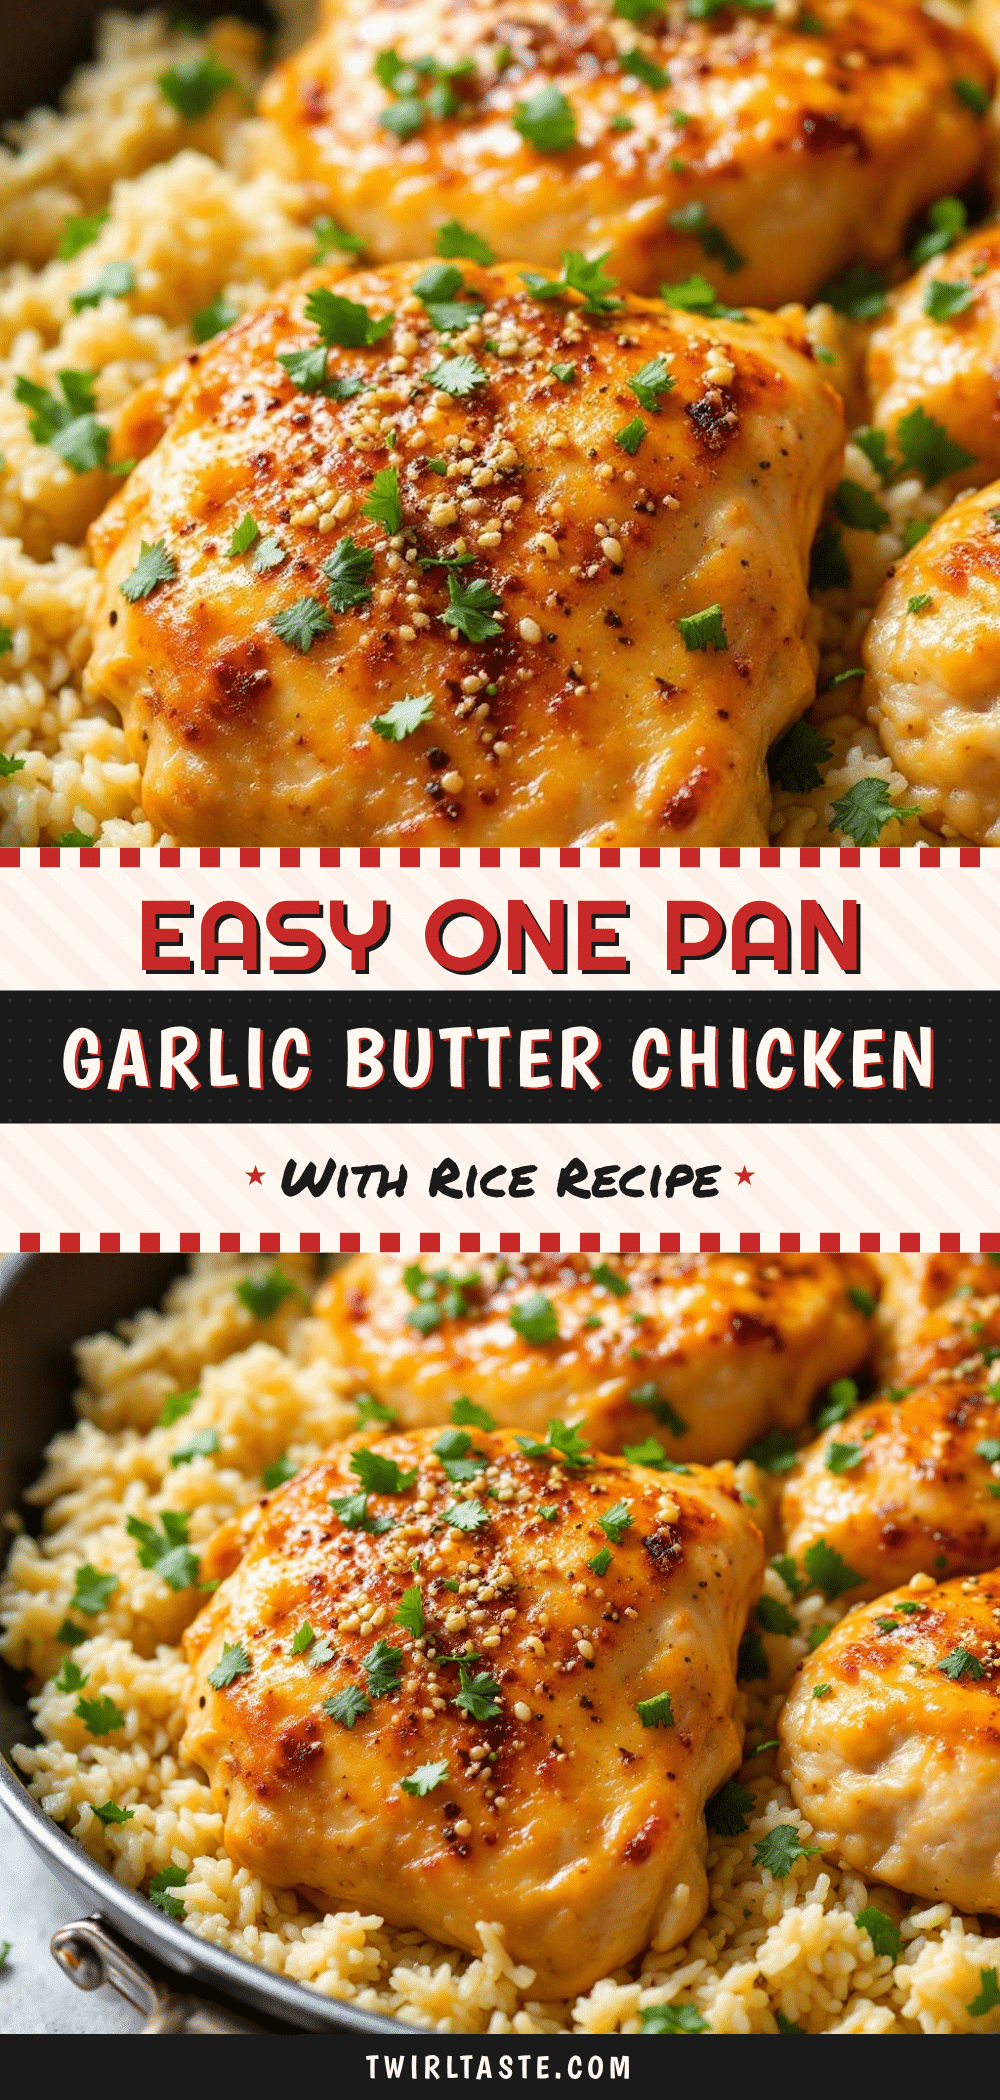
Easy One-Pan Garlic Butter Chicken Thighs with Rice

A comforting, one-pan meal featuring juicy chicken thighs and fluffy rice cooked in a rich garlic butter sauce. This easy weeknight dinner requires minimal cleanup and delivers maximum flavor.
- Prep Time: 10 minutes
- Cook Time: 35 minutes
- Total Time: 45 minutes
- Yield: 4 servings
- Category: Main Course
- Cuisine: American
Ingredients
- Boneless, skinless chicken thighs
- Long-grain white rice (Jasmine or Basmati)
- Unsalted butter
- Fresh garlic, minced
- Low-sodium chicken broth
- Dry white wine (e.g., Sauvignon Blanc or Pinot Grigio)
- Salt
- Black pepper
- Dried thyme
- Green onions, chopped (for garnish)
Instructions
- Preheat oven to 400°F (200°C).
- Pat chicken thighs dry and season generously with salt, pepper, and dried thyme.
- Melt butter in a large oven-safe skillet over medium heat until foaming.
- Sear chicken thighs for 2-3 minutes per side until golden brown, then remove and set aside.
- Add minced garlic to the same pan and sauté for 30 seconds until fragrant.
- Add uncooked rice to the pan and stir for 1 minute to coat in the garlic butter.
- Pour in chicken broth and white wine, scraping up any browned bits from the bottom.
- Nestle the seared chicken thighs back into the rice mixture and spoon some liquid over the chicken.
- Transfer skillet to the oven and bake for 25-30 minutes until rice is tender and chicken reaches 165°F (74°C).
- Remove from oven and let rest for 5 minutes before garnishing with green onions and serving.
Notes
Ensure the skillet is oven-safe. If using older rice, it may require slightly more broth. Do not skip the searing step for better flavor. Leftovers can be stored in the refrigerator for up to 3 days or frozen for up to 2 months.
Nutrition
- Serving Size: 1 chicken thigh and
- Calories: 550
- Sugar: 1
- Sodium: 600
- Fat: 28
- Saturated Fat: 12
- Carbohydrates: 45
- Fiber: 1
- Protein: 35
Keywords: one-pan dinner, garlic butter chicken, chicken and rice, easy weeknight meals, comfort food, gluten-free option


