Love this? Save it for later!
Share the inspiration with your friends
For a while, I just accepted that fall baking wasn’t going to taste like a crisp October afternoon in the orchard. You know how it is. You buy those little bottles of apple cider from the farmer’s market, pour a cup, and let the rest sit in the fridge until it turns into something sticky and forgotten. I had been looking for a way to capture that specific, sharp-tart flavor in a cookie that actually held up without turning into a dense brick. Most recipes just use apple pie filling, which is too sweet and lacks that real punch.
I spent years trying to reduce the liquid down to a syrup. It worked, but it took hours of watching a pot bubble on the stove, and the result was often too caramelized, tasting more like candy than cider. I wanted something with depth, something that tasted nutty and warm without needing a dozen spices to mask the lack of real apple flavor. Let’s face it, I didn’t want to spend my whole Saturday afternoon stirring sugar.
The breakthrough came when I stopped trying to boil the cider down to a glaze and started using it as the primary liquid in the dough itself. Combined with browned butter, which adds that toasted, savory note, it changed everything. The cookies baked up with a tender crumb and a distinct, authentic apple taste that lingers. It’s not a complex recipe, but it feels like a secret I finally figured out. Now, whenever the air gets cool, this is the first thing I pull out of the oven. It’s quiet comfort in a cookie form, perfect for pairing with a hot tea or just standing by the window watching the leaves fall.
Why You’ll Love This Recipe
These brown butter apple cider cookies are the kind of bake that feels like a warm hug on a chilly day. Honestly, there is something magical about the way the reduced cider concentrates the apple flavor without adding extra moisture that makes cookies soggy. I tested this recipe over three different weekends with varying batches of cider, and the results were consistently amazing. It’s not just another spice cookie; it has a distinct, fruity tang that balances perfectly with the rich, nutty brown butter.
Here is why this recipe stands out from the crowd:
* **Quick & Easy**: While reducing the cider takes time, the actual cookie mixing and baking comes together quickly. It’s perfect for busy weeknights when you want something special but don’t have hours to spare.
* **Simple Ingredients**: You likely already have most of these items in your pantry. The star ingredient, apple cider, is easy to find in the fall, and the rest is standard baking staples.
* **Perfect for Gifting**: These cookies travel well and make a wonderful, homemade gift for neighbors or friends. They look rustic and inviting, which always gets compliments.
* **Crowd-Pleaser**: Even people who usually skip dessert will ask for seconds. The flavor is sophisticated but comforting, appealing to both kids and adults alike.
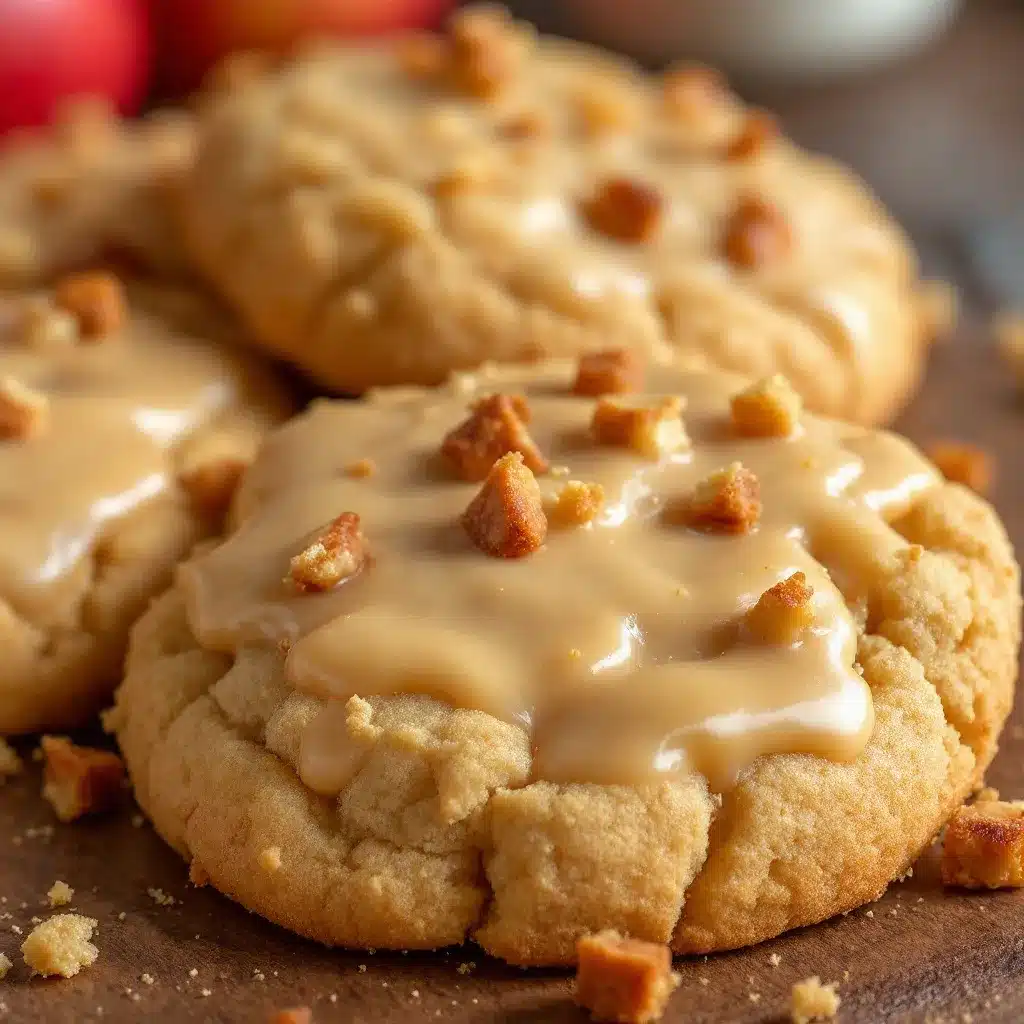
* **Unbelievably Delicious**: The texture is soft and chewy in the center with slightly crisp edges. The brown butter adds a depth of flavor that regular melted butter just can’t match.
What makes this recipe different is the technique of reducing the cider. By boiling it down, you remove the water content, leaving behind pure apple essence. This means you get intense flavor without making the dough wet. It’s a small step that makes a huge difference in the final taste and texture.
I also love that this recipe pairs beautifully with other autumnal flavors. If you enjoy this, you might also like my soft and chewy pumpkin snickerdoodle cookies. Both recipes capture the essence of fall baking but offer different flavor profiles. This one is fruit-forward, while the pumpkin version is spice-forward. Having both in your rotation ensures you have something for every mood.
This recipe isn’t just good—it’s the kind that makes you close your eyes after the first bite. It’s comfort food reimagined—healthier in spirit if you skip the extra sugar, but with the same soul-soothing satisfaction. Perfect for impressing guests without stress, or turning a simple afternoon snack into something memorable.
What Ingredients You Will Need
This recipe uses simple, wholesome ingredients to deliver bold flavor and satisfying texture without the fuss. The key to success here is quality. Since there are so few ingredients, each one plays a major role in the final taste. I recommend using real apple cider, not apple juice from a box. Apple juice is often pasteurized and filtered to the point where it has lost most of its apple character. Real cider, especially fresh-pressed, has the tartness and complexity needed for this recipe.
Here is what you will need to get started:
* **Unsalted Butter**: 1 cup (2 sticks), unsalted. Using unsalted allows you to control the saltiness. I prefer high-quality European-style butter for its higher fat content, which helps create a richer flavor.
* **Apple Cider**: 2 cups. Look for cloudy, unfiltered cider. Clear juice won’t work here. You need the pulp and sediment for the best flavor.
* **All-Purpose Flour**: 2 1/2 cups. This provides the structure. If you want a slightly more tender cookie, you can swap 1/2 cup for cake flour, but all-purpose works perfectly.
* **Baking Soda**: 1 teaspoon. This helps the cookies spread and brown. Make sure it is fresh for best results.
* **Baking Powder**: 1/2 teaspoon. This adds a little lift to keep them from being too dense.
* **Salt**: 1 teaspoon. Sea salt is nice, but table salt works fine. It balances the sweetness.
* **Cinnamon**: 1 1/2 teaspoons. Ground cinnamon is essential. Don’t use sticks; you want the powder to infuse evenly.
* **Nutmeg**: 1/2 teaspoon. Freshly grated nutmeg is best, but pre-ground is acceptable. It adds a warm, earthy note.
* **Brown Sugar**: 1 cup, packed. Light or dark brown sugar both work. Dark brown has a deeper molasses flavor, which pairs well with the cider.
* **Granulated Sugar**: 1/2 cup. This helps with the crisp edges.
* **Eggs**: 2 large eggs, room temperature. Room temperature eggs emulsify better into the butter mixture.
* **Vanilla Extract**: 1 teaspoon. Pure vanilla is worth the extra cost. It rounds out the apple flavor.
* **Optional Add-ins**: 1/2 cup chopped walnuts or pecans. These add crunch and complement the apple nicely.
I recommend Kerrygold butter for its creamy texture and rich taste. When selecting apple cider, try to buy it from a local farm stand if possible. The freshness makes a huge difference. In summer, this recipe doesn’t work as well because apple cider isn’t as prominent, but in fall, it’s perfect. If you can’t find real cider, you can make a concentrate by boiling apple juice for much longer, but the flavor won’t be quite the same.
Equipment Needed
You don’t need much fancy gear to make these cookies. A few basic tools will get you through the process smoothly.
* **Medium Saucepan**: You need a saucepan with a heavy bottom to reduce the apple cider. A heavy bottom prevents scorching, which is crucial because sugar burns easily. A 2-quart size is ideal.
* **Large Mixing Bowl**: Use a bowl large enough to hold all the dry ingredients and the butter mixture. Glass or ceramic bowls are nice because they don’t retain heat as much as metal.
* **Whisk**: A standard wire whisk is perfect for combining the dry ingredients. It breaks up any lumps in the brown sugar or flour.
* **Electric Mixer**: Handheld or stand mixer works. I prefer a stand mixer for this because creaming the butter and sugars takes a few minutes, and it saves your arm.
* **Silicone Spatula**: Essential for scraping down the sides of the bowl and folding in the flour. A spatula ensures you get all the butter and sugar mixed in evenly.
* **Baking Sheets**: Standard half-sheet pans. Make sure they are light-colored to prevent the bottoms from burning. Dark pans absorb more heat.
* **Parchment Paper**: Line your baking sheets with parchment. This prevents sticking and makes cleanup a breeze. It also helps the cookies bake evenly.
* **Cooling Rack**: A wire rack allows air to circulate under the cookies, preventing them from getting soggy from steam.
If you don’t have a heavy-bottomed saucepan, just keep a close eye on the cider and stir frequently. For baking sheets, if yours are warped, rotate them halfway through baking. Budget-friendly option: use aluminum foil if you run out of parchment, but parchment is much better for even browning.
Preparation Method
Follow these steps carefully to ensure your cookies turn out perfectly every time.
1. **Reduce the Apple Cider (20-25 minutes)**: Pour 2 cups of apple cider into your saucepan. Bring it to a boil over medium-high heat. Once boiling, reduce the heat to medium-low and let it simmer. You want it to reduce by half, so you end up with 1 cup of concentrated cider. Stir occasionally to prevent sticking. It’s done when it coats the back of a spoon. Let it cool completely. This step is crucial for flavor concentration.
2. **Brown the Butter (5-7 minutes)**: In the same saucepan (once cooled down a bit, or use a new one), melt 1 cup of butter over medium heat. Swirl the pan constantly. The butter will foam up and then settle. Look for brown specks at the bottom and smell for a nutty, toasted aroma. This usually happens just before the butter starts to smoke. Be careful not to burn it. If it smells like burnt popcorn, you went too far. Remove from heat and let it cool slightly.
3. **Mix Wet Ingredients**: In your mixing bowl, combine the cooled brown butter, reduced cider, brown sugar, and granulated sugar. Use your electric mixer on medium speed to cream these together for about 2-3 minutes. Add the eggs one at a time, mixing well after each. Stir in the vanilla extract. The mixture should look smooth and slightly thickened.
4. **Combine Dry Ingredients**: In a separate bowl, whisk together the flour, baking soda, baking powder, salt, cinnamon, and nutmeg. Make sure there are no clumps of baking soda or flour.
5. **Mix Dough**: Gradually add the dry ingredients to the wet mixture. Mix on low speed until just combined. Do not overmix, or the cookies will be tough. If you are adding nuts or chocolate chips, fold them in now with a spatula. The dough should be thick and sticky.
6. **Chill the Dough (Optional but Recommended)**: Cover the bowl and refrigerate for at least 30 minutes. This helps the flavors meld and prevents the cookies from spreading too much. If you are in a hurry, you can skip this, but chilled dough yields better texture.
7. **Preheat Oven**: Preheat your oven to 350°F (175°C). Line two baking sheets with parchment paper.
8. **Scoop and Bake**: Scoop about 2 tablespoons of dough per cookie, placing them 2 inches apart on the baking sheets. Bake for 10-12 minutes. The edges should be golden brown, but the centers should still look slightly soft. They will firm up as they cool.
9. **Cool**: Let the cookies cool on the baking sheet for 5 minutes, then transfer to a wire rack to cool completely. This prevents them from breaking apart.
Cooking Tips & Techniques
Browning butter is the secret weapon here, but it can be tricky. The butter goes from perfect to burnt very quickly. Keep a close eye on it. When you see the foam subside and brown specks appear, pull it off the heat immediately. The residual heat will continue to cook it slightly.
Reducing the cider requires patience. If you rush this step, your cookies will be too wet. Use a timer. The volume should reduce by exactly half. If you have less than 1 cup left, you added too much cider to start with or boiled it too fast. If you have more, boil a bit longer.
Another tip is to weigh your flour if you have a kitchen scale. Cup measurements can vary wildly depending on how tightly you pack the flour. Weighing ensures consistent results every time.
Don’t skip the chilling step if your kitchen is warm. Warm dough spreads too fast in the oven, leading to flat, greasy cookies. Chilling solidifies the fat, which helps the cookies hold their shape.
If you want extra chewiness, underbake them slightly. Take them out when they look just barely set in the middle. They will finish cooking on the hot baking sheet. For crispier cookies, bake them for an extra minute or two.
Variations & Adaptations
You can customize these cookies to suit your tastes or dietary needs.
* **Gluten-Free Option**: Swap the all-purpose flour for a 1:1 gluten-free flour blend. Add 1/4 teaspoon of xanthan gum if your blend doesn’t include it. The texture will be slightly more tender.
* **Dairy-Free**: Use a high-quality dairy-free butter stick instead of regular butter. The flavor will be slightly different, but still delicious. Ensure your apple cider is vegan (most are, but check labels).
* **Chai Spice Twist**: Add 1/2 teaspoon of cardamom, ginger, and cloves along with the cinnamon. This gives the cookies a spicier, more aromatic profile.
* **White Chocolate Chip**: Fold in 1/2 cup of white chocolate chips for a sweeter treat. The vanilla notes in the chocolate pair well with the apple.
* **Cider Glaze**: For a fancy finish, mix 1 cup of powdered sugar with 1-2 teaspoons of apple cider. Drizzle over the cooled cookies. This adds a nice shine and extra sweetness.
I tried adding a pinch of ginger to mine once, and it was a hit. It added a little zing that cut through the richness of the brown butter. It’s a small change that makes the cookies feel more complex.
Serving & Storage Suggestions
Serve these cookies warm for the best experience. The aroma of brown butter and apple is intoxicating when fresh out of the oven. They pair wonderfully with a cup of hot tea, mulled cider, or even a glass of cold milk.
For storage, keep the cookies in an airtight container at room temperature for up to 5 days. Place a slice of bread in the container to keep them soft. If you want to freeze them, bake them first, let them cool completely, and then store them in a freezer-safe bag for up to 3 months. Thaw at room temperature before serving.
You can also freeze the dough. Scoop the dough into balls, freeze them on a baking sheet, then transfer to a bag. Bake straight from frozen, adding 1-2 minutes to the baking time. This is great for having fresh cookies ready on demand.
The flavors deepen after a day or two. The apple and cinnamon meld together, making the cookies taste even better on the second day. It’s worth waiting if you can!
Nutritional Information & Benefits
Each cookie contains approximately 150 calories. These cookies are a source of carbohydrates from the flour and sugar, and fat from the butter. Apple cider provides a small amount of vitamins, though most are lost during boiling. However, the cinnamon and nutmeg offer antioxidant properties.
For those watching sugar intake, you can reduce the granulated sugar by 25% without affecting the texture too much. The brown sugar adds moisture, so don’t reduce it too much. These cookies are not gluten-free unless you use a gluten-free flour blend. They contain dairy and eggs.
Personally, I view these as a treat to be enjoyed mindfully. They are better for you than many store-bought cookies because you control the ingredients. Using real cider means no artificial flavors. It’s a way to enjoy seasonal produce in a dessert format.
Conclusion
These cozy brown butter apple cider cookies are a testament to the beauty of simple, seasonal ingredients. They capture the essence of fall in a way that is both comforting and sophisticated. I hope you try this recipe and enjoy the process as much as I did. Feel free to experiment with the spices or add-ins to make them your own.
If you make these, I’d love to hear how they turn out. Leave a comment below with your thoughts or share a photo. Tag me on social media if you post them—I always love seeing your creations. Happy baking, and enjoy the warmth of the season!
FAQs
Can I use apple juice instead of apple cider?
No, apple juice is too sweet and lacks the tartness and complexity of real cider. The filtration process removes the essential flavors needed for this recipe. Stick to cloudy, unfiltered cider for best results.
How do I know when the cider is reduced enough?
You want to reduce 2 cups of cider down to 1 cup. It’s done when it is syrupy and coats the back of a spoon. If you boil it too little, the cookies will be wet. If you boil it too much, they will be dry.
Can I freeze the cookie dough?
Yes, absolutely. Scoop the dough into balls, freeze them on a baking sheet, then transfer to a bag. You can bake them straight from frozen, adding 1-2 minutes to the baking time.
Why did my cookies spread too much?
This usually happens if the butter was too warm when mixed with the sugar, or if the dough wasn’t chilled. Make sure to chill the dough for at least 30 minutes before baking. Also, ensure your baking sheets aren’t too hot when you put the dough on them.
Can I add nuts to this recipe?
Yes, 1/2 cup of chopped walnuts or pecans works beautifully. They add a nice crunch and complement the apple flavor. Fold them in after the flour is mixed in.
Pin This Recipe!
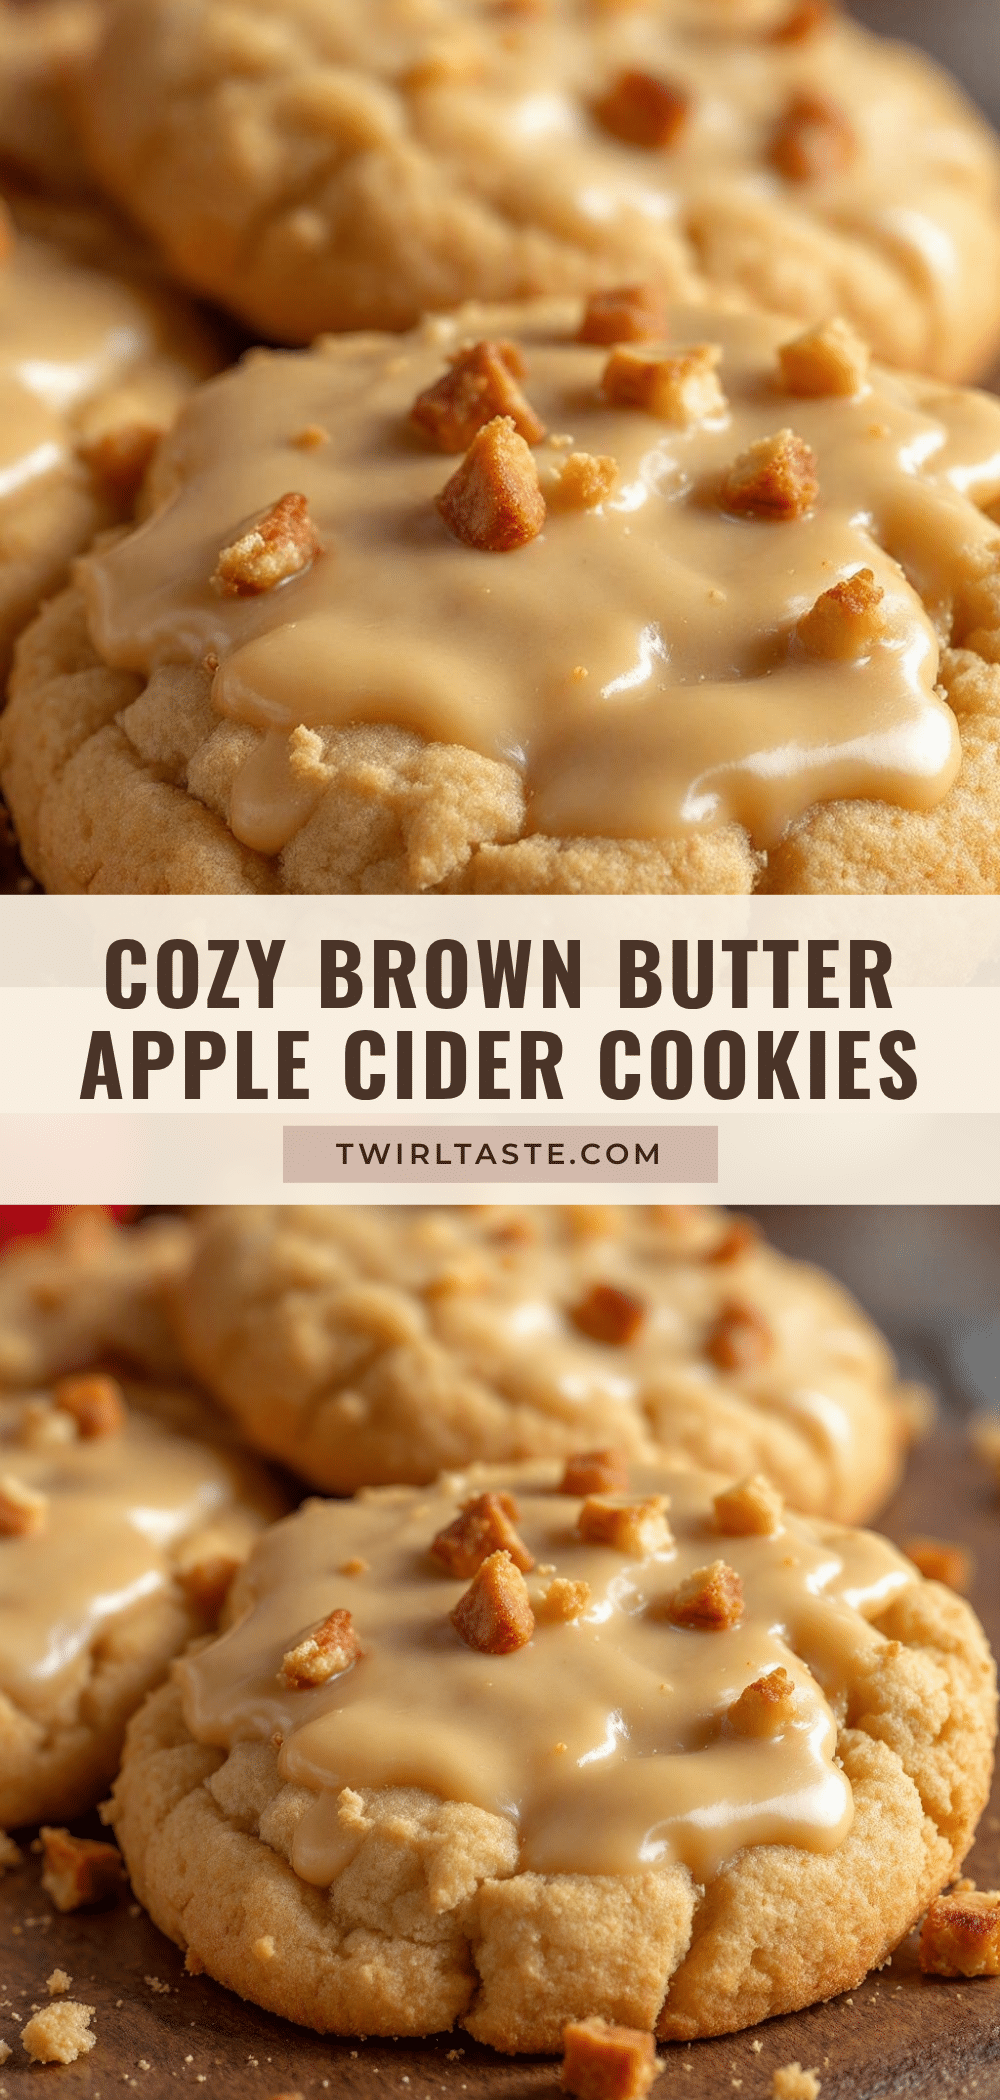
Cozy Brown Butter Apple Cider Cookies
Soft and chewy cookies featuring the concentrated, tart flavor of reduced apple cider and the nutty depth of browned butter. These seasonal treats are easy to make and perfect for fall.
- Prep Time: 30 minutes
- Cook Time: 35 minutes
- Total Time: 65 minutes
- Yield: Approximately 24 cookies 1x
- Category: Dessert
- Cuisine: American
Ingredients
- 2 cups apple cider (cloudy, unfiltered)
- 1 cup (2 sticks) unsalted butter
- 1 cup packed brown sugar
- 1/2 cup granulated sugar
- 2 large eggs, room temperature
- 1 teaspoon vanilla extract
- 2 1/2 cups all-purpose flour
- 1 teaspoon baking soda
- 1/2 teaspoon baking powder
- 1 teaspoon salt
- 1 1/2 teaspoons ground cinnamon
- 1/2 teaspoon nutmeg
- 1/2 cup chopped walnuts or pecans (optional)
Instructions
- Pour 2 cups of apple cider into a medium saucepan. Bring to a boil over medium-high heat, then reduce heat to medium-low and simmer until reduced by half (1 cup). Let cool completely.
- In the same saucepan or a clean one, melt 1 cup of butter over medium heat. Swirl constantly until the butter foams, settles, and develops brown specks with a nutty aroma. Remove from heat and let cool slightly.
- In a large mixing bowl, combine the cooled brown butter, reduced cider, brown sugar, and granulated sugar. Cream together using an electric mixer on medium speed for 2-3 minutes until smooth.
- Add eggs one at a time, mixing well after each addition. Stir in the vanilla extract.
- In a separate bowl, whisk together the flour, baking soda, baking powder, salt, cinnamon, and nutmeg.
- Gradually add the dry ingredients to the wet mixture, mixing on low speed until just combined. Do not overmix. Fold in optional nuts if using.
- Cover the dough and refrigerate for at least 30 minutes (optional but recommended).
- Preheat oven to 350°F (175°C). Line baking sheets with parchment paper.
- Scoop about 2 tablespoons of dough per cookie onto the baking sheets, spacing them 2 inches apart.
- Bake for 10-12 minutes until edges are golden brown but centers remain slightly soft.
- Let cookies cool on the baking sheet for 5 minutes, then transfer to a wire rack to cool completely.
Notes
Use real, cloudy apple cider rather than filtered apple juice for authentic flavor. Brown the butter carefully to avoid burning. Chilling the dough helps prevent excessive spreading. Cookies can be frozen unbaked or baked for up to 3 months.
Nutrition
- Serving Size: 1 cookie
- Calories: 150
- Sugar: 14
- Sodium: 180
- Fat: 7
- Saturated Fat: 4
- Carbohydrates: 22
- Fiber: 0.5
- Protein: 2
Keywords: apple cider cookies, brown butter cookies, fall baking, soft chewy cookies, seasonal recipes, autumn desserts


