Love this? Save it for later!
Share the inspiration with your friends
I figured making Halloween treats required a degree in pastry engineering or at least a steady hand that didn’t shake. It took about twenty minutes for that assumption to fall apart completely. I was standing in my kitchen, staring at a box of brownie mix and a bag of marshmallows, wondering how on earth I was going to make something that looked like it came from a Tim Burton movie without looking like a toddler’s art project. The kids were already pacing the hallway, demanding something “spooky but not gross,” which is a dangerous combination to negotiate with under the age of ten.
So I grabbed the marshmallows and a pair of kitchen shears. What happened next wasn’t magic, but it was close. Those little white puffs transformed into gelatinous, wobbly eyeballs that actually looked disturbingly real when you got the size right. The kids gasped. Not in horror, but in delight. It turns out the key isn’t precision; it’s just letting the kids help you cut the pupils. Honestly, the messier the better when you’re dealing with chocolate.
These creepy cute Halloween brownies with eyeball toppers have been a staple in our house for years. They aren’t fancy. They don’t require tempering chocolate or piping bags that are impossible to clean. They just require a tin of brownies and some imagination. That’s why they stuck. They’re forgiving, they’re fun, and they taste exactly like what you want them to taste: sweet, fudgy, and just a little bit scary.
Why You’ll Love This Recipe
There is a specific kind of joy in making a dessert that looks terrifying but tastes like comfort food. I’ve tested this recipe with various brownie bases and topping techniques, and this combination strikes the perfect balance between spooky aesthetics and reliable flavor. It’s not just about the visual gag; it’s about the texture contrast between the dense, fudgy brownie and the chewy, soft marshmallow.
- Quick & Easy: You can have these assembled in under 45 minutes if you use a high-quality boxed mix or a simple scratch recipe. It’s perfect for those last-minute trick-or-treating prep sessions or busy weeknight cravings.
- Simple Ingredients: No fancy grocery trips needed. You likely already have brownie mix, butter, eggs, and marshmallows in your pantry. The only specialty item is the black icing, which can be swapped for dark chocolate chips or even licorice.
- Perfect for Halloween Parties: Whether it’s a school party, a neighborhood gathering, or a cozy dinner at home, these are always a hit. They are small enough to be a treat but substantial enough to satisfy a sugar rush.
- Crowd-Pleaser: Always gets rave reviews from kids and adults alike. The “gross” factor is a huge draw for children, while adults appreciate the humor and the lack of pretension.
- Unbelievably Delicious: The texture and flavor combo is next-level comfort food. The marshmallow adds a chewy element that complements the fudgy brownie base perfectly.
What makes this recipe different from the rest is the simplicity of the eyeball topper. Many recipes call for complex fondant work or multiple layers of candy melts. This method uses standard marshmallows and a simple icing trick to create a surprisingly realistic effect. It’s not just another version of a Halloween treat—it’s your best version because it’s stress-free.
This recipe isn’t just good—it is the kind that makes you close your eyes after the first bite and remember your own childhood Halloween. It’s comfort food reimagined with a spooky twist, healthier in spirit if not in calories, but with the same soul-soothing satisfaction. Perfect for impressing guests without stress, or turning a simple meal into something memorable.
What Ingredients You Will Need
This recipe uses simple, wholesome ingredients to deliver bold flavor and satisfying texture without the fuss. The beauty of this treat lies in its accessibility. You don’t need a specialty store to find these components; they are pantry staples that you probably already have on hand. This makes it an ideal recipe for spontaneous Halloween baking or last-minute party prep.
Here is what you will need to assemble your creepy treats:
-
Brownie Base:
- 1 box (approx. 18.25 oz / 517g) chocolate brownie mix (I recommend Ghirardelli or King Arthur for a richer chocolate flavor, but any brand works).
- 3 large eggs, room temperature.
- 1/2 cup (115g) unsalted butter, melted.
- 1/3 cup (80ml) water or milk (check box instructions).
-
Eyeball Toppers:
- 1 large bag (10 oz / 283g) large marshmallows. Look for firm, large-curd marshmallows for best structural integrity.
- 1 tube black decorating icing (or dark chocolate chips melted with a teaspoon of coconut oil for a dairy-free option).
- 1 tube white decorating icing (or white chocolate chips melted similarly).
-
Optional Garnish:
- Red food coloring gel (to add bloodshot veins if you want them extra creepy).
- Sprinkles (black or orange) for a festive touch.
A quick note on substitutions: If you want to make these gluten-free, simply swap the brownie mix for a high-quality gluten-free version. For a dairy-free option, use a vegan brownie mix and vegan marshmallows (regular marshmallows contain gelatin, so check labels). The icing can be substituted with melted chocolate if you prefer a less sugary finish, though the white and black icing provides the most authentic “cartoon eyeball” look.
Equipment Needed
You don’t need a lot of fancy tools to pull this off, which is part of the appeal. A standard 9×13 inch baking pan is essential. I prefer a glass pan because it helps me see the bottom browning, but a metal pan works fine too. Just remember that metal pans can cause the edges to cook faster, so keep an eye on them.
You’ll need an electric mixer or a whisk for mixing the brownie batter. If you’re using a boxed mix, a simple whisk is usually sufficient to avoid overmixing, which can make brownies cakey instead of fudgy. A spatula is crucial for spreading the batter evenly into the pan.
For the eyeballs, kitchen shears are your best friend. I’ve tried using knives, but they tend to stick to the marshmallow and tear the shape. Scissors cut cleanly and quickly. You’ll also need small bowls for your icing. If you’re using tubes of icing, you might need to snip the tips open with those same shears. A microwave-safe bowl is helpful if you choose to melt chocolate chips for the icing alternative.
Budget-friendly tip: You don’t need expensive silicone mats. Parchment paper works perfectly and makes cleanup a breeze. Just grease the parchment lightly to ensure the brownies don’t stick.
Preparation Method
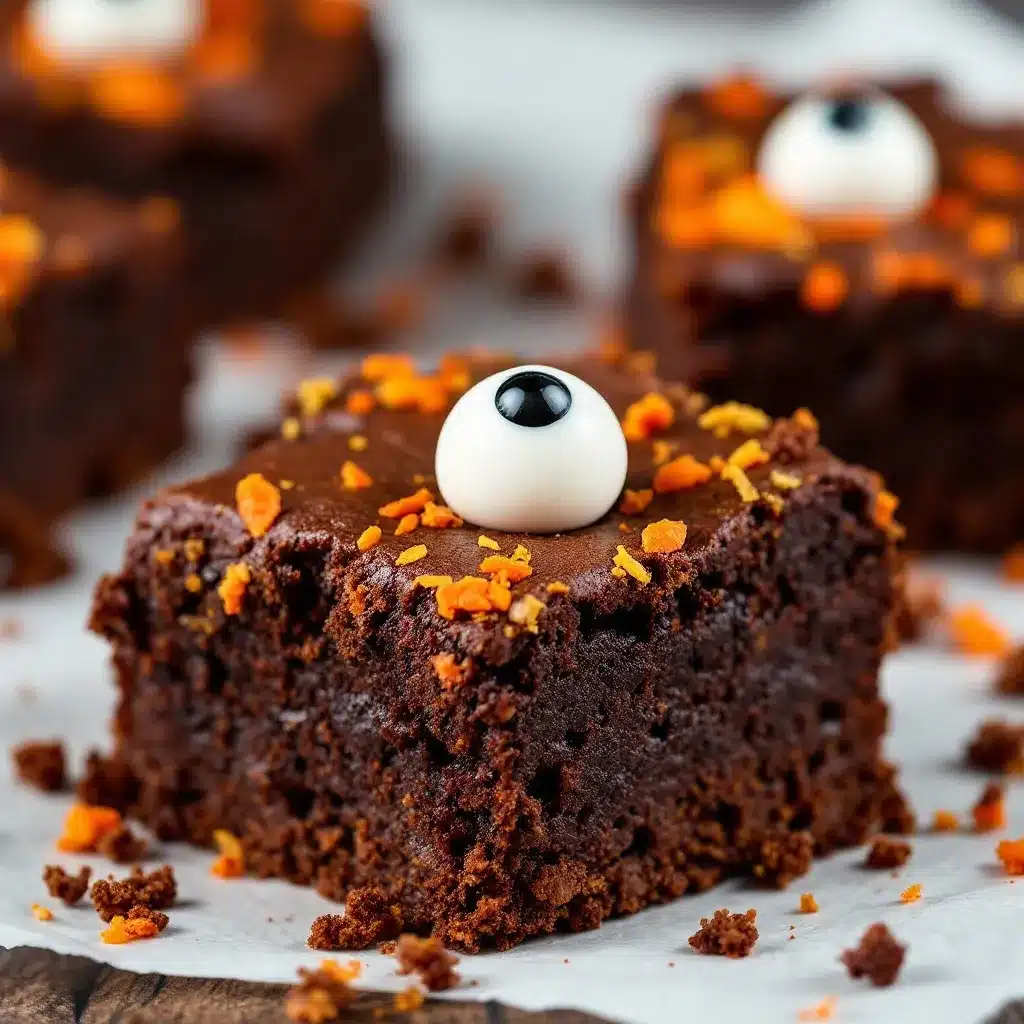
- Prep the Pan (5 minutes): Preheat your oven to 350°F (175°C). Grease your 9×13 inch baking pan with butter or non-stick spray. Line it with parchment paper, leaving a slight overhang on the sides for easy removal later. This step is crucial for getting clean squares later without a fight.
- Mix the Batter (10 minutes): In a large mixing bowl, combine the brownie mix, eggs, melted butter, and water/milk. Mix by hand or with a mixer on low speed until just combined. Do not overmix! Overmixing introduces air, which leads to cakey brownies. You want them dense and fudgy. The batter should look thick and glossy.
- Bake the Brownies (25-30 minutes): Pour the batter into the prepared pan and spread it evenly. Bake for 25 to 30 minutes. Check them at the 25-minute mark. You want a toothpick inserted into the center to come out with a few moist crumbs attached, not completely clean. If it’s clean, they are overbaked. If it’s wet batter, give them 2 more minutes.
- Cool Completely (30-60 minutes): This is the hardest part, but also the most important. Let the brownies cool completely in the pan on a wire rack. If you try to add the marshmallows while the brownies are warm, the marshmallows will melt into a puddle, and your eyeballs will lose their shape. Patience pays off here.
- Cut the Brownies (5 minutes): Once cool, lift the brownies out of the pan using the parchment overhang. Cut them into 24 squares (6×4 grid). Uniform squares make for a more professional presentation, but irregular shapes are fine if you’re in a hurry.
- Prepare the Eyeball Toppers (10 minutes): Take your large marshmallows and, using kitchen shears, cut each one in half horizontally. This creates a flat surface to stick to the brownie. Then, cut each half in half again to create quarters. You should have plenty of pieces. If you want larger eyeballs, keep them as halves.
- Assemble the Eyes (15 minutes): Place a marshmallow piece on top of each brownie square. Using the white icing, draw a small circle in the center of the marshmallow. This is the sclera (the white part of the eye). Let it set for a minute. Then, using the black icing, draw a pupil in the center of the white circle. For an extra creepy touch, add a tiny red dot or line for bloodshot veins.
- Set and Serve (10 minutes): Allow the icing to dry for at least 10 minutes before moving or wrapping the brownies. This prevents the eyes from smudging. Arrange them on a platter and serve.
Cooking Tips & Techniques
One common mistake I see people make is using too much heat when melting chocolate for the icing alternative. If you melt chocolate in the microwave, do it in 15-second intervals, stirring in between. Chocolate burns easily and becomes grainy if you overheat it. Low and slow is the way to go.
Another tip is to keep your marshmallows in a cool place until you are ready to cut them. If they are too soft, they will squash when you try to cut them. I usually keep my bag of marshmallows in the pantry until the brownies are fully cooled. This timing ensures everything is at the right temperature for assembly.
When drawing the pupils, don’t be afraid to go a little off-center. A perfectly centered pupil looks like a cartoon. A slightly off-center pupil looks like a real, human eye, which is creepier. I learned this the hard way after making a batch that looked too much like a clown’s eyes. The kids preferred the “realistic” ones.
If you are making these ahead of time, store them in an airtight container at room temperature. The marshmallows might get slightly sticky if the humidity is high, but they will hold up well for up to 3 days. Avoid refrigerating them, as the cold can make the brownies firm and the marshmallows hard.
Variations & Adaptations
While the classic chocolate brownie is the standard, there are plenty of ways to twist this recipe. One of my favorite variations is using peanut butter brownie mix. The saltiness of the peanut butter pairs beautifully with the sweet marshmallow, creating a flavor profile similar to a Reese’s cup.
For a seasonal twist, try using pumpkin spice brownie mix in the fall. It adds a warm, spiced note that complements the Halloween theme perfectly. You can also add a swirl of cream cheese or caramel into the brownie batter before baking for added complexity.
If you want to make these healthier, you can use a whole-grain brownie mix or even a homemade oat-based brownie recipe. The marshmallow topping will still provide the necessary sweetness and visual appeal. For a nut-free option, ensure your brownie mix and icing are certified nut-free, as cross-contamination is common in chocolate manufacturing.
I once tried making these with vanilla brownie mix, and while the result was cute, the flavor was a bit bland. Stick to chocolate for the best impact. However, if you want a fruitier option, you can add a layer of raspberry jam between the brownie and the marshmallow for a “blood” effect.
Serving & Storage Suggestions
These brownies are best served at room temperature. The texture of the marshmallow is ideal when it’s soft and chewy, not cold and hard. For presentation, arrange them on a black platter or a white cake stand with a spiderweb design. The contrast makes the white marshmallows pop.
Pair them with a glass of cold milk or a spooky mocktail, like a “witch’s brew” made from grape juice and soda water. They are also great alongside a warm cup of coffee or hot chocolate for a cozy evening treat.
For storage, keep them in an airtight container at room temperature for up to 3 days. If you need to make them further in advance, you can freeze the plain brownies (without the marshmallows) for up to 2 months. Thaw them at room temperature before adding the toppers. Do not freeze the assembled brownies, as the marshmallows will become icy and lose their texture.
Over time, the flavors meld together. The moisture from the marshmallow slightly softens the top layer of the brownie, creating a delicious, cake-like layer. This is why they often taste better on the second day than the first.
Nutritional Information & Benefits
While these are definitely a treat, they are balanced by the simplicity of their ingredients. Each brownie contains approximately 150-200 calories, depending on the size of the marshmallow and the richness of the brownie mix. They are a source of quick energy from the sugars in the marshmallows and brownies.
Chocolate, especially dark chocolate, contains antioxidants that can be beneficial in moderation. Eggs provide protein, which helps balance the sugar spike. However, these are high in sugar and saturated fat, so they should be enjoyed in moderation.
For those with dietary restrictions, note that traditional marshmallows contain gelatin, which is not vegetarian or vegan. Look for plant-based marshmallows if needed. The brownie mix may contain gluten, so check labels for gluten-free options.
Personally, I view these as a fun, occasional treat rather than a daily snack. They bring joy and creativity to the kitchen, which is a wellness benefit in itself. Making food with kids fosters a positive relationship with cooking and eating.
Conclusion
Creepy cute Halloween brownies with eyeball toppers are more than just a dessert; they are an experience. They bring laughter, creativity, and a little bit of scare into your home. I love this recipe because it’s simple enough for beginners but fun enough for experienced bakers. It’s the kind of recipe that stays in your rotation year after year.
I encourage you to customize these to fit your style. Try different icings, add sprinkles, or experiment with brownie flavors. The possibilities are endless. Share your creations with friends and family, and don’t forget to ask for their feedback. Did they scream? Did they eat them? That’s the real test.
Happy baking, and may your Halloween be spooky and sweet!
FAQs
Can I make these brownies gluten-free?
Yes, simply use a gluten-free brownie mix. Ensure your marshmallows and icing are also certified gluten-free, as some brands may contain wheat starch or be processed in facilities with gluten.
How do I prevent the marshmallows from sticking to my scissors?
Dip your scissors in water or lightly grease them with cooking spray before cutting each marshmallow. This creates a barrier that prevents the sticky sugar from adhering to the metal.
Can I use mini marshmallows instead of large ones?
You can, but you will need to use two mini marshmallows to create one eyeball. This works well for bite-sized brownies, but large marshmallows provide a more dramatic, “cartoonish” eye effect.
How long do the icing eyes stay fresh?
The icing will stay fresh for up to 3 days at room temperature. However, if the humidity is high, the icing may become sticky or tacky. Store them in an airtight container to maintain freshness.
What is the best way to cut the brownies into squares?
Use a sharp knife and wipe it clean between cuts. For cleaner cuts, dip the knife in hot water and dry it before each slice. This helps the knife glide through the fudgy brownies without squishing them.
Pin This Recipe!
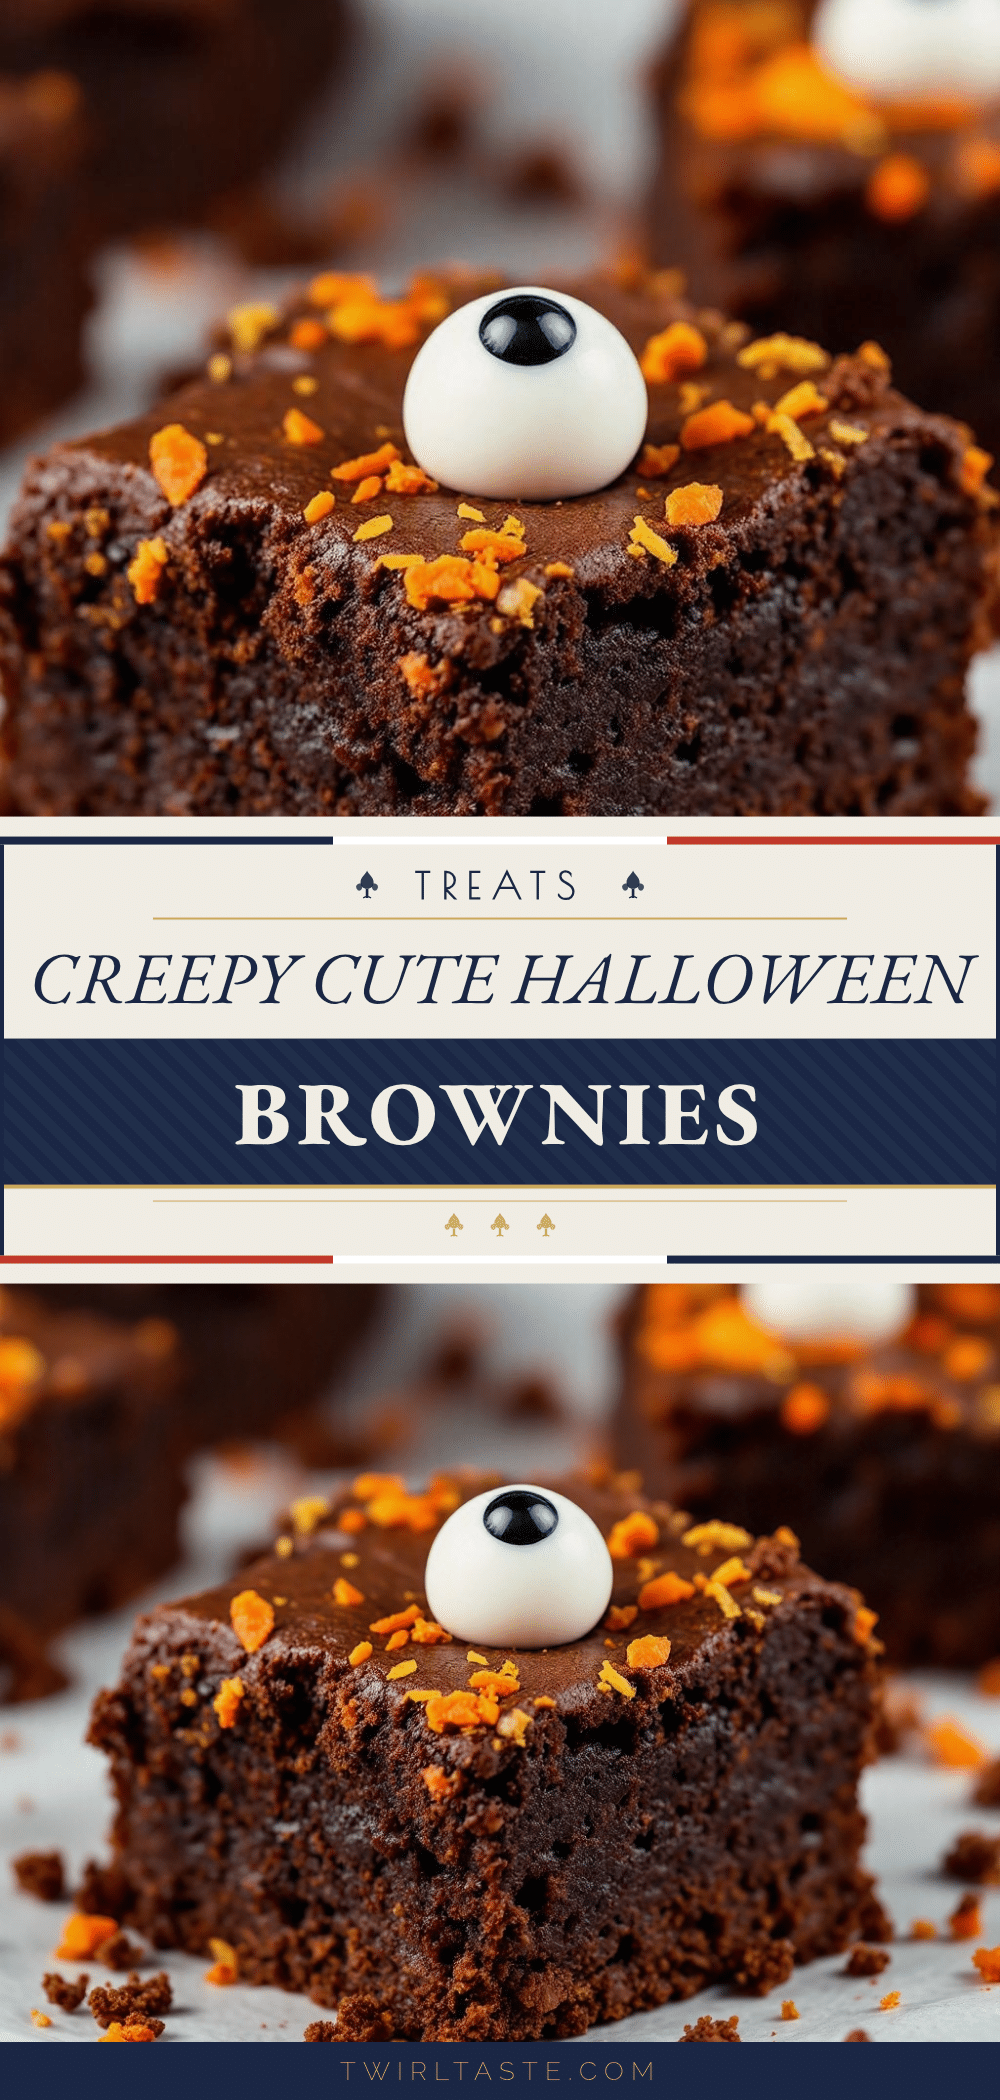
Creepy Cute Halloween Brownies with Eyeball Toppers
These spooky yet delicious Halloween brownies feature a fudgy chocolate base topped with marshmallow eyeballs made using simple kitchen shears and icing. They are quick to assemble, kid-friendly, and perfect for parties.
- Prep Time: 20 minutes
- Cook Time: 30 minutes
- Total Time: 45 minutes
- Yield: 24 servings 1x
- Category: Dessert
- Cuisine: American
Ingredients
- 1 box (approx. 18.25 oz / 517g) chocolate brownie mix
- 3 large eggs, room temperature
- 1/2 cup (115g) unsalted butter, melted
- 1/3 cup (80ml) water or milk
- 1 large bag (10 oz / 283g) large marshmallows
- 1 tube black decorating icing
- 1 tube white decorating icing
- Red food coloring gel (optional, for bloodshot veins)
- Sprinkles (black or orange, optional)
Instructions
- Preheat oven to 350°F (175°C). Grease a 9×13 inch baking pan and line with parchment paper.
- In a large bowl, combine brownie mix, eggs, melted butter, and water/milk. Mix until just combined; do not overmix.
- Pour batter into the prepared pan and spread evenly.
- Bake for 25-30 minutes, or until a toothpick inserted in the center comes out with moist crumbs.
- Let brownies cool completely in the pan on a wire rack.
- Once cool, lift brownies out and cut into 24 squares.
- Using kitchen shears, cut marshmallows in half horizontally, then cut each half in half again to create quarters.
- Place a marshmallow piece on each brownie square.
- Draw a white circle on the marshmallow with white icing, let set, then draw a black pupil in the center.
- Allow icing to dry for at least 10 minutes before serving.
Notes
Ensure brownies are completely cool before adding marshmallows to prevent melting. For gluten-free options, use a GF brownie mix and verify marshmallows/icing are GF. For dairy-free, use vegan brownie mix and marshmallows. Store in an airtight container at room temperature for up to 3 days.
Nutrition
- Serving Size: 1 brownie square wit
- Calories: 175
- Sugar: 18
- Sodium: 120
- Fat: 8
- Saturated Fat: 4
- Carbohydrates: 24
- Fiber: 1
- Protein: 2
Keywords: Halloween, brownies, marshmallow, eyeballs, spooky treats, easy dessert, kid-friendly, party food


