Love this? Save it for later!
Share the inspiration with your friends
I was standing in my kitchen, wearing one sock, while my coffee maker gurgled its last breath. The house was still dark, but the dog was already tapping his paw against the floor, demanding breakfast. The cat was judging me from the top of the fridge. Honestly, it was a classic Tuesday morning disaster. I had promised myself I would meal prep, but instead, I had spent the previous night watching a documentary about deep-sea squids.
I opened the fridge, hoping for something magical. There was nothing but a sad, slightly bruised banana and a jar of peanut butter that had separated into oil and solids. Classic. I didn’t have time to cook anything real. I couldn’t wait for oats to boil. I just needed calories. Fast.
So I grabbed a mason jar, threw in the oats, smashed that banana with a fork, and dumped in a generous scoop of peanut butter. I poured in some milk, stirred it with a fork that was still a bit sticky from the toaster, and shook it like I was mixing a cocktail. I threw it in the fridge and ran out the door.
When I came home, I opened the jar. It wasn’t just oats anymore. It was creamy. Thick. The kind of texture that makes you stop and close your eyes for a second. It tasted like dessert, but it felt like fuel. That night, I realized I didn’t need a complicated recipe. I just needed this. It saved my mornings. It saved my sanity. And now, it saves yours.
Why You’ll Love This Recipe
Let’s be real for a second. Most overnight oats recipes feel like a chore. You spend ten minutes prepping, only to end up with a soggy, bland mess that tastes like cardboard by Wednesday. But this creamy overnight peanut butter banana oats recipe is different. It’s not just another version; it’s the one that actually works every single time.
Here is why this recipe has become my absolute go-to:
- Quick & Easy: You don’t need to cook anything. Seriously. If you can stir, you can make this. It comes together in under five minutes, which is perfect for those busy weeknights or last-minute craving attacks.
- Simple Ingredients: No fancy grocery trips needed. You likely already have everything in your kitchen right now. Peanut butter, oats, banana, milk. That’s it. No obscure superfoods you can’t pronounce.
- Perfect for Meal Prep: Make three jars on Sunday, and you have breakfast sorted for the entire week. It keeps well in the fridge for up to five days, which is a miracle for my schedule.
- Crowd-Pleaser: My kids, who usually turn their noses up at anything “healthy,” ask for this specifically. It’s sweet, it’s creamy, and it feels like a treat rather than a diet meal.
- Unbelievably Delicious: The texture and flavor combo is next-level comfort food. The peanut butter melts into the milk overnight, creating a sauce that coats every single oat. It’s rich, satisfying, and keeps you full until lunch.
What makes this recipe stand out from the rest is the ratio. Too many people add too much liquid, and you end up with soup. Too little, and it’s dry. I’ve tested this enough times to know the sweet spot. It’s also the kind of recipe that makes you close your eyes after the first bite. It’s comfort food reimagined—healthier, faster, but with the same soul-soothing satisfaction.
If you love this vibe, you might also want to check out my creamy peanut butter banana overnight oats for a slightly different twist on the same theme. Or, if you need a savory balance later in the day, try my cozy creamy tomato soup with grilled cheese croutons.
What Ingredients You Will Need
This recipe uses simple, wholesome ingredients to deliver bold flavor and satisfying texture without the fuss. The beauty here is that you don’t need high-end specialty items. In fact, using basic pantry staples is part of the charm. Here is exactly what you need to get started.
- Old-Fashioned Rolled Oats (1 cup / 90g): Do not use instant oats. Instant oats get mushy and lose their structure. Old-fashioned oats hold their chewiness and absorb the liquid perfectly. I prefer the store-brand generic oats because they are cheap and work just as well as the expensive organic stuff.
- Peanut Butter (2 tablespoons / 32g): This is the star of the show. Use natural creamy peanut butter for the smoothest texture. If you use crunchy, it’s fine, but it changes the mouthfeel. I recommend Jif or Skippy for consistency, but if you prefer natural, just stir the oil in well before adding it. Avoid peanut butter with added sugar if you want to keep it healthier, though a little sweetness is nice.
- Ripe Banana (1 medium / approx. 120g): The riper, the better. Brown spots are your friend here. A ripe banana adds natural sweetness and helps thicken the oats. Mash it well before adding it so there are no big chunks.
- Milk of Choice (1 cup / 240ml): Dairy milk works great, but I personally love using unsweetened almond milk or oat milk. Oat milk adds an extra creaminess that pairs beautifully with the peanut butter. If you are lactose intolerant, this recipe is easily adaptable.
- Honey or Maple Syrup (1 teaspoon / 5ml): Optional, but I recommend it. Since your banana is already sweet, you might not need much. Taste the mixture before refrigerating to decide.
- Cinnamon (1/2 teaspoon):** Adds a warm, cozy flavor that balances the savory notes of the peanut butter.
- Salt (a pinch):** This is crucial. A tiny pinch of salt makes the peanut butter flavor pop. Don’t skip it.
If you want to switch things up, you can swap the peanut butter for almond butter or sunflower seed butter for a nut-free option. In summer, you might add a few fresh berries, but for this specific recipe, I like to keep it classic.
Equipment Needed
You don’t need much to make this. In fact, having too many gadgets can make simple recipes feel complicated. Here is what you actually need:
- 4-8 oz Mason Jars or Airtight Containers: This is the most important tool. Glass jars are best because they don’t retain smells and are easy to clean. I use standard mason jars because they stack nicely in the fridge. Plastic containers work too, but glass feels more premium.
- Fork: You need a fork to mash the banana and stir the mixture. A spoon works, but a fork mashes the banana better.
- Measuring Spoons: You don’t need to be perfect, but having a set helps you get the ratios right, especially with the peanut butter.
- Blender (Optional): If you want an ultra-smooth texture, you can blend the milk, peanut butter, and banana before adding the oats. This takes an extra minute but results in a pudding-like consistency.
I’ve tried using plastic Tupperware, but I find the oats absorb the plastic smell over time. Glass is worth the extra weight. Also, make sure your lids seal tightly. There is nothing worse than opening your jar and finding a peanut butter leak all over your yogurt.
Preparation Method
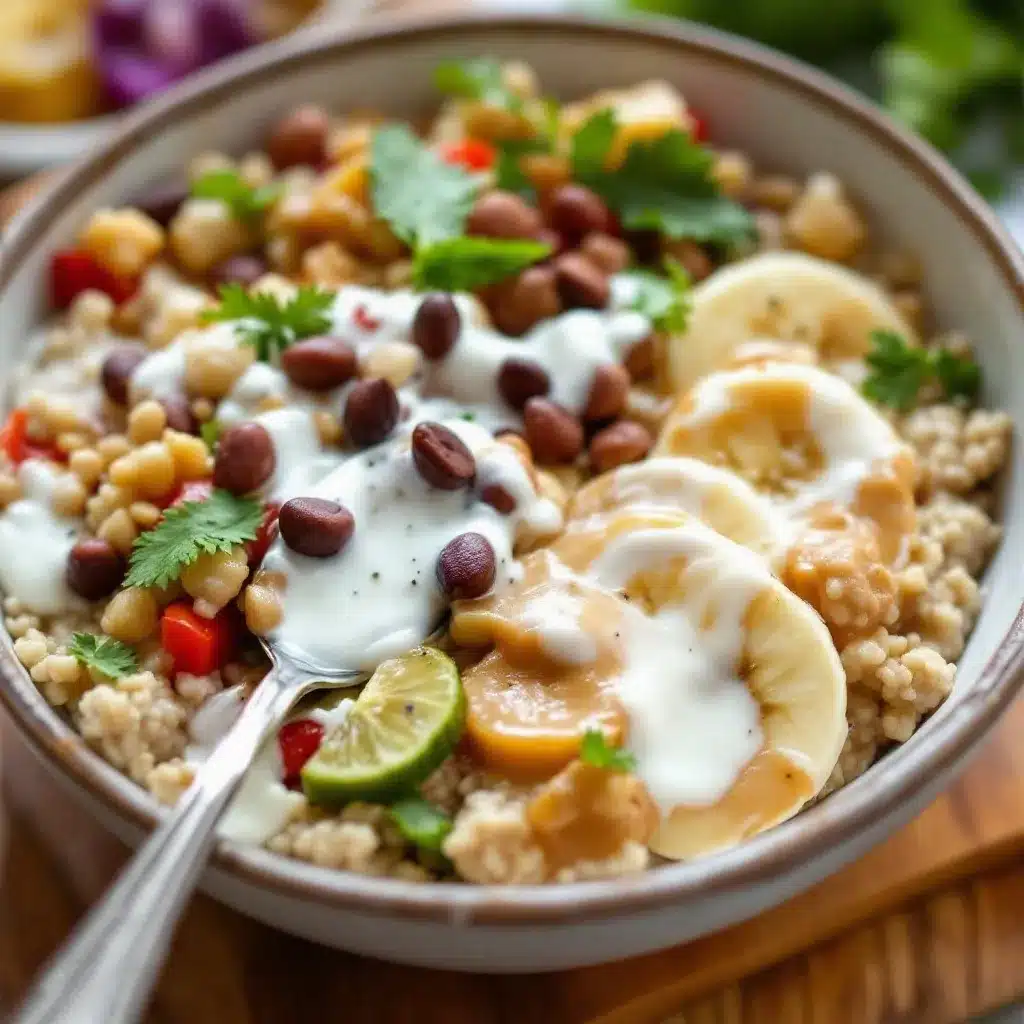
Making these oats is incredibly straightforward. The key is to get the ratios right so you don’t end up with soup or dry cereal. Follow these steps for the best results.
- Mash the Banana: Peel your banana and place it in the bottom of your mason jar. Use your fork to mash it thoroughly until it is almost a puree. You want no large lumps left. This helps it mix with the milk later. (Time: 1 minute)
- Add the Peanut Butter: Scoop in two tablespoons of peanut butter. If your peanut butter is stiff, you can microwave it for 10 seconds to soften it. This makes it easier to stir. Add your pinch of salt and cinnamon now. (Time: 30 seconds)
- Pour the Milk: Pour in your milk of choice. If you are using cold milk, it helps dissolve the peanut butter slightly. If you have a blender, you can mix the milk, peanut butter, banana, and spices together first, then pour over the oats. This ensures everything is evenly distributed. (Time: 30 seconds)
- Add the Oats: Pour in your rolled oats. They will float to the top initially. Don’t worry about that. (Time: 15 seconds)
- Stir Thoroughly: This is the most important step. Stir the mixture vigorously with your fork or a spoon. You want to make sure the oats are fully submerged in the liquid. If there are dry oats on top, they won’t soften properly. Make sure the peanut butter is fully incorporated into the milk. (Time: 1 minute)
- Seal and Refrigerate: Put the lid on tight. Place the jar in the fridge. Let it sit for at least 4 hours, but overnight is best. The oats need time to absorb the liquid and soften. (Time: 8+ hours)
- Check Consistency: In the morning, check the texture. If it’s too thick, add a splash more milk and stir. If it’s too thin, add a few more oats and let it sit for another 30 minutes. (Time: 1 minute)
The total active time is about 5 minutes. The rest is just waiting. It’s the easiest part of the day.
Cooking Tips & Techniques
I have made this recipe so many times that I’ve learned a few tricks to avoid common pitfalls. Here is what I’ve found works best.
- Don’t Skip the Stir: I know it’s tempting to just dump everything in and walk away. But if you don’t stir well, you get clumps of dry oats at the bottom. Take the extra 30 seconds to stir it up.
- Use Cold Milk: Cold milk helps keep the banana from browning too quickly. If you use room temp milk, the banana might turn gray overnight. Not a safety issue, just an aesthetic one.
- Layering Technique: If you are worried about separation, try layering. Milk first, then oats, then peanut butter mixture on top. The peanut butter will melt down into the oats as it sits. It’s a nice visual trick.
- Timing is Key: If you make these on Sunday night, they are best by Wednesday. After that, the oats can start to get a bit too soft. If you want them to last all week, add a splash of lemon juice to the milk to prevent oxidation.
- Texture Preference: Some people like their oats chewy, some like them soft. If you like chewy, reduce the milk by 2 tablespoons. If you like them soft and porridge-like, add 2 more tablespoons of milk.
I once made these with hot milk because I was impatient. Let me tell you, you end up with cooked oatmeal in a jar. It’s not bad, but it’s not the same experience. Stick to cold milk.
Variations & Adaptations
This recipe is a blank canvas. Once you master the base, you can tweak it to fit your mood or dietary needs. Here are a few variations I love:
- Chocolate Peanut Butter: Add a tablespoon of cocoa powder when you add the peanut butter. It turns it into a Reese’s Cup vibe. You might want to add a little extra honey too.
- Protein Boost: Stir in a scoop of vanilla protein powder. Note that protein powder absorbs a lot of liquid, so you will need to add an extra 1/4 cup of milk. Stir well to avoid clumps.
- Trail Mix Style: Top your oats with granola, chia seeds, or chopped nuts right before eating. This adds crunch, which contrasts nicely with the creamy oats.
- Coconut Twist: Swap the dairy milk for coconut milk. Add a little shredded coconut on top. It’s tropical and delicious.
- Apple Cinnamon: Swap the banana for diced apples and add a dash of nutmeg. It’s like apple pie in a jar.
I often swap the peanut butter for almond butter when I’m feeling fancy. It’s slightly more expensive, but the flavor is richer. For a nut-free version, sunflower seed butter works surprisingly well. It has a similar texture and nutty flavor.
Serving & Storage Suggestions
How you serve these oats can change the whole experience. I usually eat them straight from the jar, but you can be fancy if you want.
- Toppings: Add a drizzle of honey, a sprinkle of cinnamon, or a few banana slices on top. It makes it look Instagram-worthy. I also love adding a spoonful of Greek yogurt for extra protein and tang.
- Temperature: Eat them cold straight from the fridge. They are refreshing and satisfying. If you prefer warm oats, you can microwave the jar (remove the lid first!) for 60-90 seconds. The texture changes slightly, becoming more like warm porridge.
- Storage: These keep in the refrigerator for up to 5 days. Store them in airtight containers to prevent them from absorbing other fridge smells. They also freeze well for up to 3 months, though the texture may change slightly upon thawing.
- Pairing: I like to serve these with a side of fresh fruit or a hard-boiled egg if I need more protein. They pair well with black coffee or a green smoothie.
The flavors actually develop over time. The peanut butter melds with the oats, creating a deeper, richer taste on day two than on day one. So don’t be afraid to make a big batch.
Nutritional Information & Benefits
This recipe is not just tasty; it’s nutritious. Here is a general breakdown of what you’re getting:
- Calories: Approximately 350-400 calories per jar, depending on the milk and peanut butter used.
- Protein: About 10-12 grams of protein from the peanut butter and oats. This helps keep you full and supports muscle repair.
- Fiber: Rolled oats are high in fiber, which aids digestion and keeps blood sugar levels stable. The banana adds more fiber and potassium.
- Fats: Healthy fats from the peanut butter provide sustained energy. These are not trans fats; they are the good stuff your brain needs.
For those watching their sugar, using unsweetened milk and minimal added sweetener keeps this low-glycemic. It’s a great option for diabetics or anyone trying to avoid sugar crashes. The combination of carbs, fat, and protein makes it a balanced meal.
Conclusion
This creamy overnight peanut butter banana oats recipe is more than just breakfast. It’s a lifesaver for busy mornings. It’s cheap, easy, and incredibly delicious. I hope you try it and find it as useful as I do.
Feel free to customize it with your favorite toppings or swaps. I’d love to hear how you make it your own. Leave a comment below with your favorite variation. Share this recipe with a friend who needs a better breakfast routine. And remember, life is too short for boring oatmeal.
Enjoy every creamy, peanut buttery bite.
Frequently Asked Questions
Can I use steel-cut oats for this recipe?
No, steel-cut oats are too hard and won’t soften enough in the fridge. They need to be cooked. Stick to old-fashioned rolled oats for the best texture.
How long do these oats last in the fridge?
They last for up to 5 days in an airtight container. However, they are best eaten within the first 3 days for optimal texture.
Can I make this ahead for work?
Absolutely. Make 3-4 jars on Sunday night, and you have breakfast ready for the workweek. Just grab and go in the morning.
Is this recipe gluten-free?
Yes, as long as you use certified gluten-free oats. Regular oats are often processed in facilities that handle wheat, so check the label if you have celiac disease.
Can I add protein powder?
Yes, but add it after you’ve mixed the wet ingredients. Stir well to prevent clumps, and add a little extra milk as protein powder absorbs liquid.
Pin This Recipe!
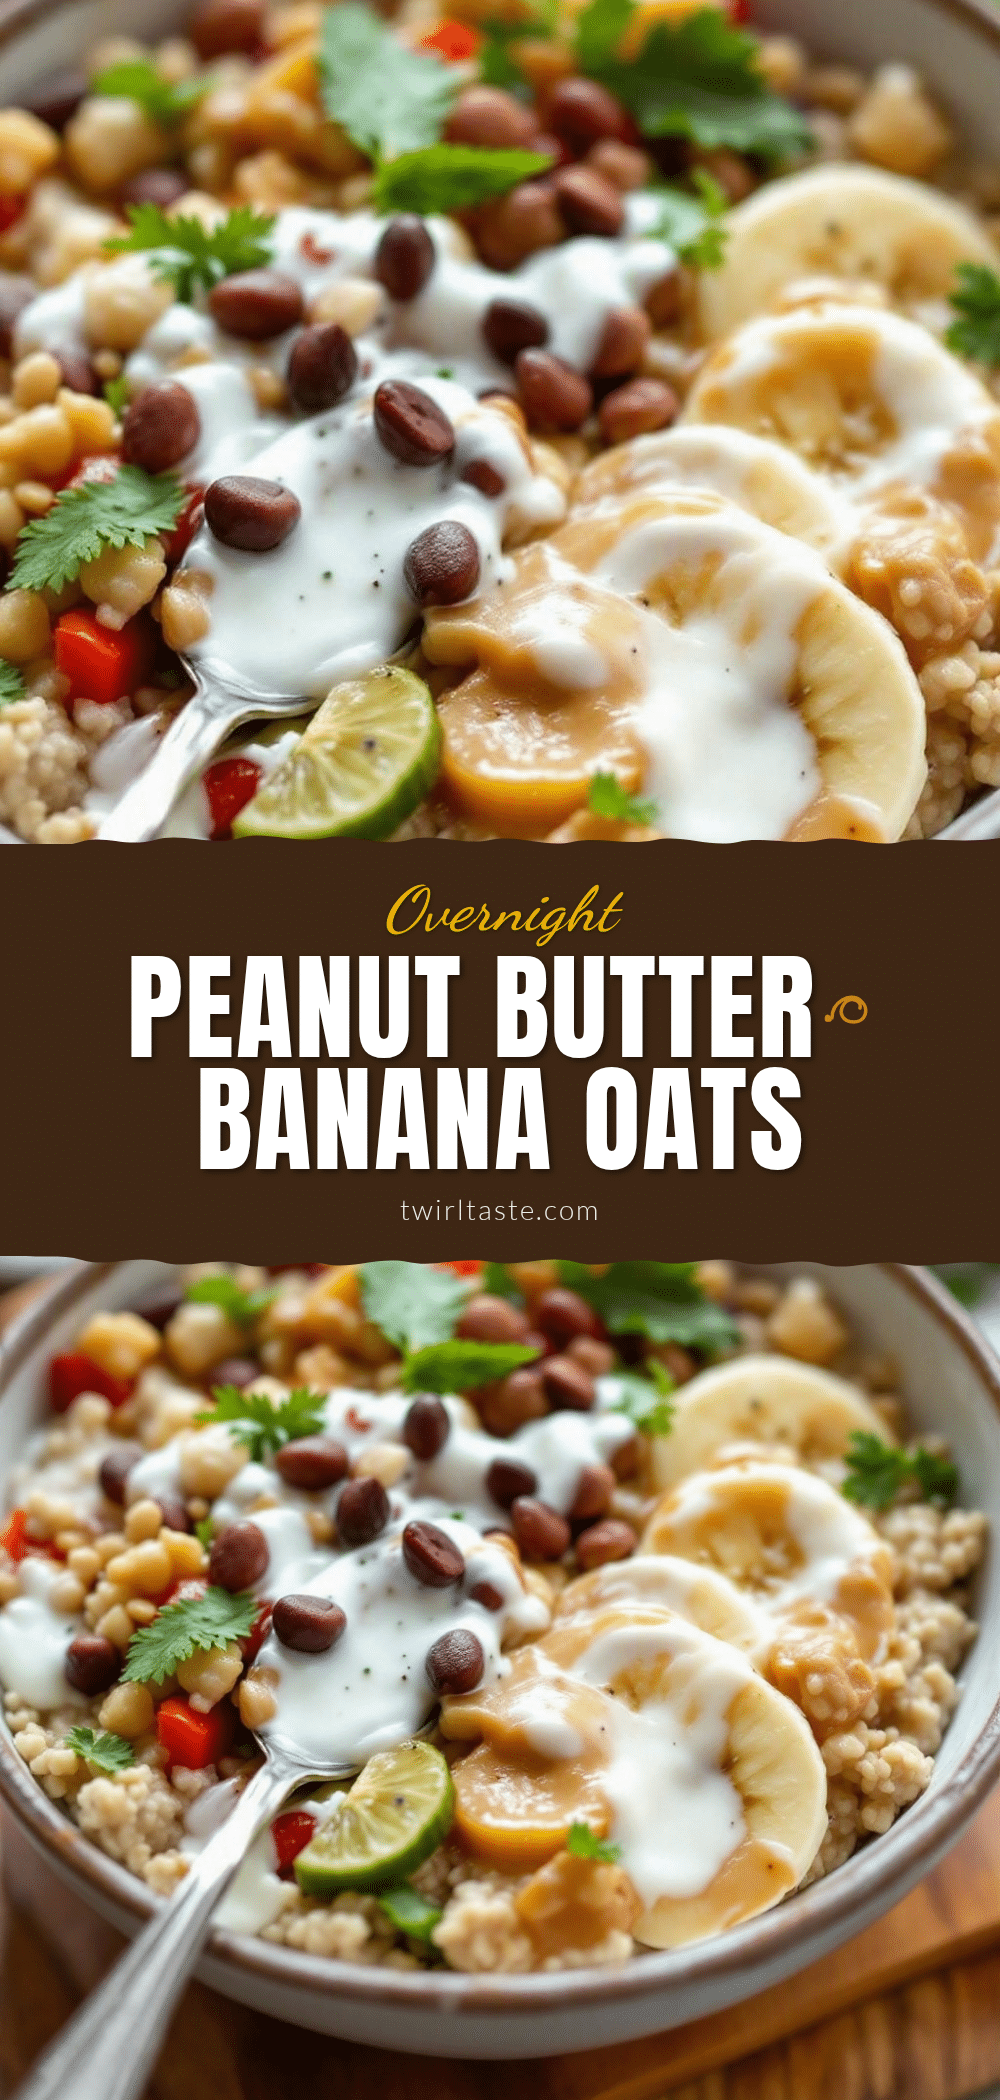
Creamy Overnight Peanut Butter Banana Oats
A quick, no-cook breakfast made with just a few simple ingredients. These overnight oats are creamy, satisfying, and perfect for meal prep, coming together in under five minutes.
- Prep Time: 5 minutes
- Cook Time: 0 minutes
- Total Time: 4 hours 5 minutes
- Yield: 1 serving 1x
- Category: Breakfast
- Cuisine: American
Ingredients
- 1 cup old-fashioned rolled oats
- 2 tablespoons creamy peanut butter
- 1 medium ripe banana
- 1 cup milk of choice (dairy, almond, or oat milk)
- 1 teaspoon honey or maple syrup (optional)
- 1/2 teaspoon cinnamon
- a pinch of salt
Instructions
- Peel the banana and place it in the bottom of a 4-8 oz mason jar or airtight container. Mash it thoroughly with a fork until it is almost a puree with no large lumps.
- Add the peanut butter, salt, and cinnamon to the jar. If the peanut butter is stiff, microwave it for 10 seconds to soften it for easier mixing.
- Pour in the milk. If using a blender, you can blend the milk, peanut butter, banana, and spices first for a smoother consistency, then pour over the oats.
- Add the rolled oats. They will float to the top initially.
- Stir the mixture vigorously with a fork or spoon to ensure the oats are fully submerged and the peanut butter is incorporated. This step is crucial to prevent dry clumps.
- Seal the jar tightly with a lid and place it in the refrigerator.
- Let the oats sit for at least 4 hours, but overnight is best to allow the oats to absorb the liquid and soften.
- In the morning, check the consistency. If too thick, add a splash of milk. If too thin, add a few more oats and let sit for 30 minutes.
Notes
Do not use instant oats as they become mushy; use old-fashioned rolled oats. For best texture, eat within 3 days, though they last up to 5 days in the fridge. Use cold milk to prevent the banana from browning. If adding protein powder, increase milk by 1/4 cup to account for absorption.
Nutrition
- Serving Size: 1 jar
- Calories: 375
- Sugar: 12
- Sodium: 150
- Fat: 14
- Saturated Fat: 2
- Carbohydrates: 50
- Fiber: 7
- Protein: 11
Keywords: overnight oats, peanut butter oats, banana oats, healthy breakfast, meal prep, quick breakfast, no cook oats, gluten-free option


