Love this? Save it for later!
Share the inspiration with your friends
Midnight velvet crumb, and that is the entire point.
You know how most cakes promise you darkness but deliver a soggy, gray disappointment? Let’s face it, I’ve been there. I’ve bitten into “black” cakes that tasted like burnt toast and felt like wet cardboard. It’s a betrayal of trust, honestly. But this spooky black velvet Halloween cupcakes recipe? It’s different. The first time I pulled these out of the oven, the color was so deep it looked like liquid night. Not just dark brown, not just charcoal, but actual void-black.
I remember staring at that first cupcake, running my finger along the rim of the liner. The crust was thin, almost like a shell, cracking slightly under the pressure of my thumb. That crunch, followed by the immediate surrender of the soft, airy interior, is what I made this for. Everything else—the ghostly white frosting, the candy eyes, the theatrical presentation—is secondary. It’s all just packaging for that specific texture.
People ask me why I obsess over color so much. I tell them that with dessert, sight is the first sense to engage. If it doesn’t look right, your brain refuses to believe it will taste right. These cupcakes walk that fine line between spooky and sophisticated. They aren’t trying too hard to be cute. They are moody. They are dramatic. They sit on your plate like a mystery waiting to be solved.
I developed this recipe after a particularly disastrous attempt at a traditional red velvet where I forgot the cocoa powder and ended up with pink sponge that tasted like regret. I wanted something that felt substantial. Something that could stand up to a heavy cream cheese frosting without collapsing. The cocoa and buttermilk balance creates a crumb that is tender but holds its structure. It’s the kind of texture that makes you close your eyes and just let it melt.
There is a quiet satisfaction in baking something that looks as intense as this. It’s not for the faint of heart. It’s for the people who want their Halloween dessert to have some edge. You don’t need to be a master baker to get this result, but you do need to pay attention to the batter. It’s thick. It’s heavy. And when it bakes, it transforms into something lighter than air. That’s the magic. That’s why this recipe stuck with me.
Why You’ll Love This Recipe
Let’s be real for a second. Halloween baking can be exhausting. You’re juggling decorations, costumes, and actual dinner plans, and then you need to make something that looks like it came from a gothic novel. This recipe cuts through the chaos. It is designed for the home cook who wants impressive results without spending six hours in the kitchen.
Here is why this spooky black velvet Halloween cupcakes recipe has become a staple in my house:
* **Quick & Easy**: The batter comes together in under 20 minutes. You don’t need to whip egg whites or fold in delicate meringues. It’s a simple creaming method that anyone can handle, perfect for busy weeknights or last-minute party prep.
* **Simple Ingredients**: No fancy grocery trips needed. You likely already have cocoa powder, buttermilk, and cream cheese in your kitchen. These are pantry staples that deliver bold flavor and satisfying texture without the fuss.
* **Perfect for Halloween Parties**: Great for trick-or-treat exchanges, classroom parties, or spooky dinner gatherings. The dark color photographs beautifully and looks stunning on any buffet table.
* **Crowd-Pleaser**: Always gets rave reviews from kids and adults alike. The kids love the spooky look, and the adults appreciate the sophisticated cocoa and buttermilk flavor profile. It’s not just sweet sugar; it has depth.
* **Unbelievably Delicious**: The texture and flavor combo is next-level comfort food. The cocoa adds a rich, earthy note that balances the sweetness of the frosting, creating a cupcake that feels indulgent but not cloying.
What makes this recipe different from the rest? It’s the balance. Many black cakes rely too heavily on food coloring, resulting in a chemical aftertaste. By using a high-quality cocoa powder and buttermilk, the flavor stands on its own. The buttermilk tenderizes the gluten, ensuring the crumb is soft and moist, while the cocoa provides the intense color naturally. This isn’t just another version—it’s your best version.
It’s the kind of cupcake that makes you close your eyes after the first bite. It’s comfort food reimagined—dark, rich, and soul-soothing. Perfect for impressing guests without stress, or turning a simple meal into something memorable. If you enjoy rich, dark desserts, you might also appreciate the depth of flavor found in our chewy brown butter chocolate chip cookies, though this cupcake offers a lighter, airier alternative.
What Ingredients You Will Need
This recipe uses simple, wholesome ingredients to deliver bold flavor and satisfying texture without the fuss. The key here is quality. Since the cocoa is the star of the show, cheap powder will show up as a dusty, bitter taste. Stick to unsweetened cocoa powder, preferably Dutch-processed for that deeper, darker color and smoother flavor.
Here is what you need to gather:
**For the Cupcake Base**
* All-purpose flour, sifted (provides structure; don’t skip sifting to avoid lumps)
* Unsweetened cocoa powder, Dutch-processed (adds the deep black color and rich chocolate flavor)
* Baking soda (reacts with the buttermilk for lift)
* Baking powder (provides additional rise for a fluffy texture)
* Salt (balances the sweetness and enhances the chocolate notes)
* Unsalted butter, softened (creates a tender crumb; room temperature is crucial)
* Granulated sugar (provides sweetness and helps create the crust)
* Brown sugar, packed (adds moisture and a hint of caramel depth)
* Large eggs, room temperature (binds the ingredients; cold eggs can curdle the batter)
* Vanilla extract (pure vanilla, not imitation, for authentic flavor)
* Buttermilk, room temperature (tenderizes the gluten and adds tang; see substitutions below)
**For the Ghostly White Frosting**
* Cream cheese, full-fat, softened (essential for the classic velvet flavor; low-fat versions won’t set properly)
* Unsalted butter, softened (adds creaminess and stability)
* Powdered sugar, sifted (prevents graininess in the final frosting)
* Vanilla extract (enhances the sweetness and aroma)
* Heavy cream (optional, helps adjust consistency if needed)
**For the Spooky Decoration**
* Black food coloring gel (use gel for intense color without adding liquid; liquid food coloring can throw off the batter balance)
* White buttercream or cream cheese frosting (for the ghost faces)
* Edible candy eyes (for that instant spooky effect)
* Black sprinkles or edible markers (for additional detail)
I recommend using sourdough discard techniques if you want to experiment with tang, but for this recipe, store-bought buttermilk works perfectly. If you can’t find buttermilk, you can make a substitute by adding 1 tablespoon of white vinegar or lemon juice to 1 cup of milk and letting it sit for 10 minutes. Look for firm, small-curd cream cheese for the best texture in your frosting.
Equipment Needed
You don’t need a professional kitchen to bake these, but having the right tools makes a huge difference in consistency.
* **Standard Muffin Tin**: A 12-cup tin is standard. Dark non-stick tins may bake faster, so keep an eye on them.
* **Cupcake Liners**: Black liners look dramatic, but white liners provide contrast if you want the black cake to show through. Use standard size.
* **Electric Mixer**: A hand mixer or stand mixer is essential for creaming the butter and sugar properly. This step incorporates air, which is vital for the light texture.
* **Measuring Cups and Spoons**: Precision matters in baking. Use metal measuring cups for dry ingredients and glass for liquids.
* **Wire Cooling Rack**: Allows air to circulate under the cupcakes so they don’t get soggy from steam.
* **Piping Bags and Tips**: A large star tip (like a Wilton 1M) works well for the frosting. If you don’t have piping bags, a Ziploc bag with the corner cut off works fine.
* **Offset Spatula**: Essential for smoothing the frosting evenly over the curved surface of the cupcake.
If you don’t have a stand mixer, you can use a whisk, but you will need to put in some elbow grease. Just ensure the butter is perfectly softened to avoid lumps. For budget-friendly options, a basic hand mixer from a local discount store works just as well as expensive brands for this recipe.
Preparation Method
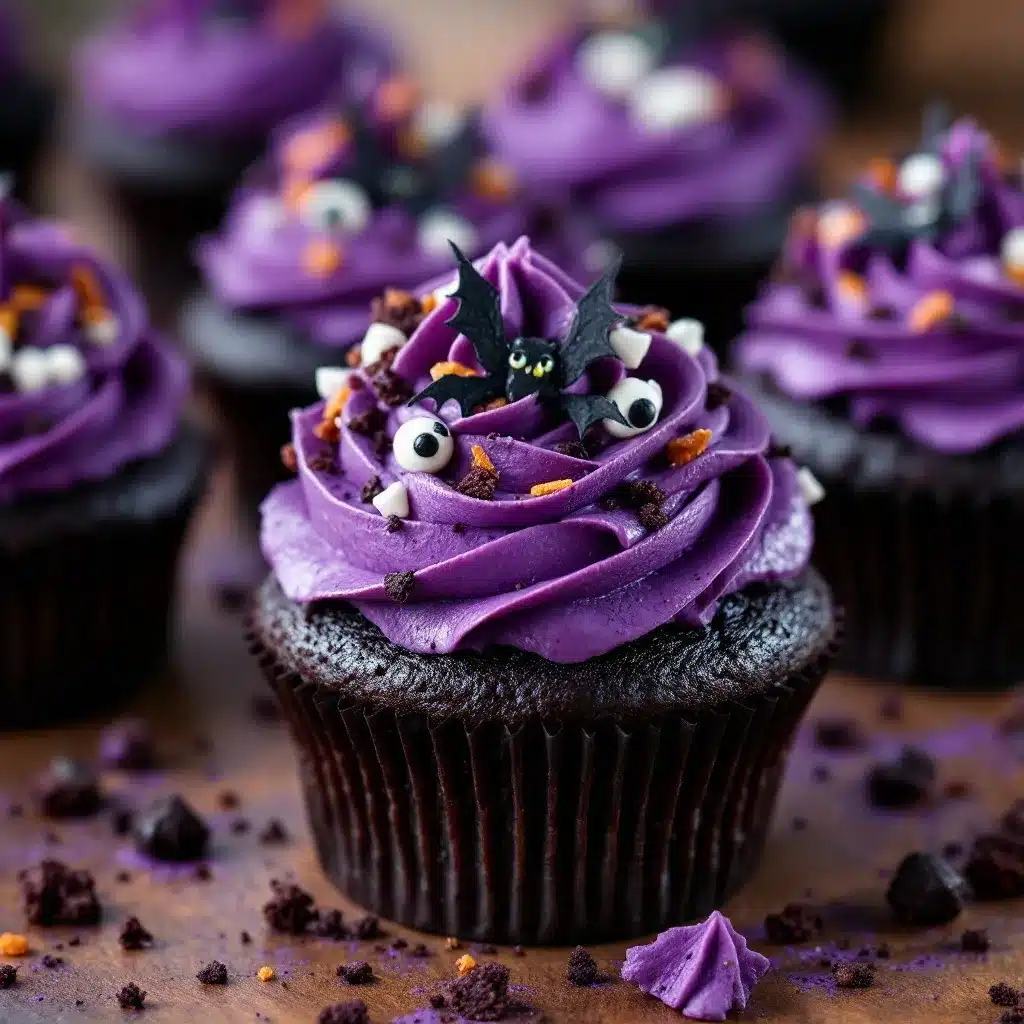
Getting the batter right is the most critical part of this recipe. Follow these steps carefully for the best results.
**Step 1: Prep Your Station**
Preheat your oven to 350°F (175°C). Line your muffin tin with cupcake liners. This takes about 2 minutes. Make sure your butter, eggs, and buttermilk are at room temperature. Cold ingredients can cause the batter to separate, leading to dense cupcakes.
**Step 2: Mix Dry Ingredients**
In a medium bowl, whisk together the flour, cocoa powder, baking soda, baking powder, and salt. Whisking ensures that the leavening agents are evenly distributed. If you skip this, you might get pockets of baking soda that taste bitter. Set aside.
**Step 3: Cream Butter and Sugars**
In a large bowl, beat the softened butter, granulated sugar, and brown sugar on medium-high speed for about 3-4 minutes. The mixture should look pale and fluffy. This step incorporates air, which helps the cupcakes rise. Scrape down the sides of the bowl with a spatula to ensure everything is mixed evenly.
**Step 4: Add Eggs and Vanilla**
Add the eggs one at a time, beating well after each addition. Mix in the vanilla extract. The mixture might look slightly curdled at this point, which is normal. Don’t worry; it will come together with the dry ingredients.
**Step 5: Combine Wet and Dry**
Reduce the mixer speed to low. Add the dry ingredients in three parts, alternating with the buttermilk in two parts. Start and end with the dry ingredients. Mix just until combined. Overmixing develops gluten, which leads to tough cupcakes. The batter will be thick and dark.
**Step 6: Color the Batter**
Add a few drops of black gel food coloring. Mix until the batter is a uniform dark black. Note: The batter will be very dark, almost black, but it will bake into a deep brown-black cake. If you want it darker, add more color, but be careful not to add too much liquid.
**Step 7: Fill and Bake**
Divide the batter evenly among the cupcake liners, filling each about 2/3 full. This allows room for rising without spilling over. Bake for 18-20 minutes. The cupcakes are done when a toothpick inserted into the center comes out clean or with a few moist crumbs. Do not overbake, or they will dry out.
**Step 8: Cool Completely**
Let the cupcakes cool in the pan for 5 minutes, then transfer them to a wire rack to cool completely. This is crucial. If you frost warm cupcakes, the frosting will melt and slide off. Patience pays off here.
Cooking Tips & Techniques
Baking black velvet cupcakes requires a bit of attention to detail. Here are some professional techniques to ensure success.
* **Room Temperature Ingredients**: This cannot be stressed enough. If your butter is too soft, it will make the cupcakes greasy. If it’s too hard, the batter won’t emulsify. Aim for butter that leaves a slight indent when pressed.
* **Don’t Overmix**: Once you add the flour, mix only until the streaks disappear. Overmixing leads to a dense, bread-like texture. You want a tender, cake-like crumb.
* **Check Your Oven**: Ovens vary in accuracy. Use an oven thermometer to ensure your oven is actually at 350°F. If your oven runs hot, your cupcakes might burn on the outside before cooking inside.
* **Cooling is Key**: Rushing the cooling process is the most common mistake. Warm cupcakes melt frosting. If you’re in a hurry, place them in the fridge for 15-20 minutes to speed up the process, but don’t frost them until they are cool to the touch.
* **Food Coloring Choice**: Use gel food coloring, not liquid. Liquid coloring adds extra water to the batter, which can throw off the balance of wet to dry ingredients. Gel gives you intense color without changing the texture.
* **Test for Doneness**: The toothpick test is reliable, but also look for the edges of the cupcakes pulling away slightly from the liner. They should spring back when lightly touched.
I learned this the hard way during my first attempt. I rushed the cooling and ended up with a melted mess on my counter. Now, I always plan ahead. It saves time in the long run.
Variations & Adaptations
This recipe is versatile. Here are some ways to adapt it to your needs.
* **Gluten-Free Option**: Substitute the all-purpose flour with a 1:1 gluten-free baking blend. Ensure the blend contains xanthan gum for structure. The texture may be slightly denser, but it will still be delicious.
* **Dairy-Free Version**: Use dairy-free butter and dairy-free buttermilk (made with almond or oat milk and vinegar). Note that the flavor will be slightly different, but the texture will remain similar.
* **Vegan Adaptation**: Replace eggs with flax eggs (1 tablespoon ground flaxseed mixed with 3 tablespoons water per egg). Use vegan butter and dairy-free cream cheese for the frosting.
* **Flavor Variations**: Add a teaspoon of espresso powder to the dry ingredients to enhance the chocolate flavor. Or, add a tablespoon of orange zest to the batter for a citrus-chocolate twist.
* **Mini Cupcakes**: Fill mini cupcake liners 3/4 full and bake for 10-12 minutes. These are perfect for parties and tasting portions.
I once tried adding a layer of raspberry jam to the center. It was a hit, adding a tart contrast to the rich cocoa. You can do the same by piping a small amount of jam into the center before baking.
Serving & Storage Suggestions
These cupcakes are best served at room temperature. The frosting softens slightly, allowing the flavors to meld together.
* **Presentation**: Arrange the cupcakes on a dark plate or wooden board for contrast. Use a piping bag to create swirls of white frosting, then add candy eyes. They look like little ghosts floating in the dark.
* **Pairing**: Serve with a glass of cold milk, a cup of coffee, or a dark roast tea. The bitterness of the coffee complements the rich cocoa.
* **Storage**: Store leftover cupcakes in an airtight container at room temperature for up to 2 days. If your kitchen is hot, store them in the refrigerator.
* **Freezing**: You can freeze unfrosted cupcakes for up to 3 months. Wrap them tightly in plastic wrap and then in aluminum foil. Thaw at room temperature before frosting.
* **Reheating**: If you refrigerate them, let them come to room temperature before serving. You can also warm them slightly in the microwave for 10 seconds to soften the crumb.
The flavors develop over time, becoming more moist and intense after a day. If you make them ahead, the taste will be even better the next day.
Nutritional Information & Benefits
These cupcakes are a treat, so enjoy them in moderation.
* **Calories**: Approximately 350-400 calories per cupcake, depending on the size of the frosting.
* **Fat**: High in fat due to butter and cream cheese, which contribute to the rich texture.
* **Carbohydrates**: Moderate carbohydrates from flour and sugar.
* **Protein**: Small amount of protein from eggs and flour.
* **Dietary Considerations**: Not gluten-free or dairy-free unless adapted. Contains eggs and dairy.
* **Wellness Perspective**: While not a health food, this recipe uses real ingredients like cocoa and buttermilk. Cocoa contains antioxidants, and buttermilk provides calcium. It’s a balanced indulgence when enjoyed as part of a varied diet.
I always remind myself that baking is about joy, not just nutrition. These cupcakes bring happiness, and that has its own health benefits.
Conclusion
Spooky black velvet Halloween cupcakes are more than just a dessert; they are an experience. The dark, moist crumb and the ghostly white frosting create a visual and flavor contrast that is hard to resist. This recipe is easy to make, uses simple ingredients, and delivers impressive results.
I love this recipe because it allows me to be creative in the kitchen while satisfying my craving for something rich and dark. It’s perfect for Halloween, but it’s also a great treat for any time of year when you need a mood boost.
Try this recipe and let me know how it turns out. I’d love to see your spooky creations! Share your photos on social media and tag me. Don’t forget to leave a comment below with your thoughts. Happy baking!
FAQs
**Q: Why is my cupcake batter not black?**
A: Ensure you are using Dutch-processed cocoa powder, which is darker and more acidic. Also, use gel food coloring, as liquid coloring may not provide enough pigment.
**Q: Can I make these cupcakes ahead of time?**
A: Yes, you can bake the cupcakes up to 2 days in advance. Store them in an airtight container at room temperature. Frost them just before serving for the best presentation.
**Q: What if I don’t have buttermilk?**
A: You can make a substitute by adding 1 tablespoon of white vinegar or lemon juice to 1 cup of milk. Let it sit for 10 minutes until it curdles slightly.
**Q: Can I use regular cocoa powder instead of Dutch-processed?**
A: Yes, but the color will be lighter and the flavor slightly less rich. You may need to add more food coloring to achieve the desired black appearance.
**Q: How do I store leftover frosting?**
A: Store leftover frosting in an airtight container in the refrigerator for up to 5 days. Let it come to room temperature and re-whip before using.
Pin This Recipe!
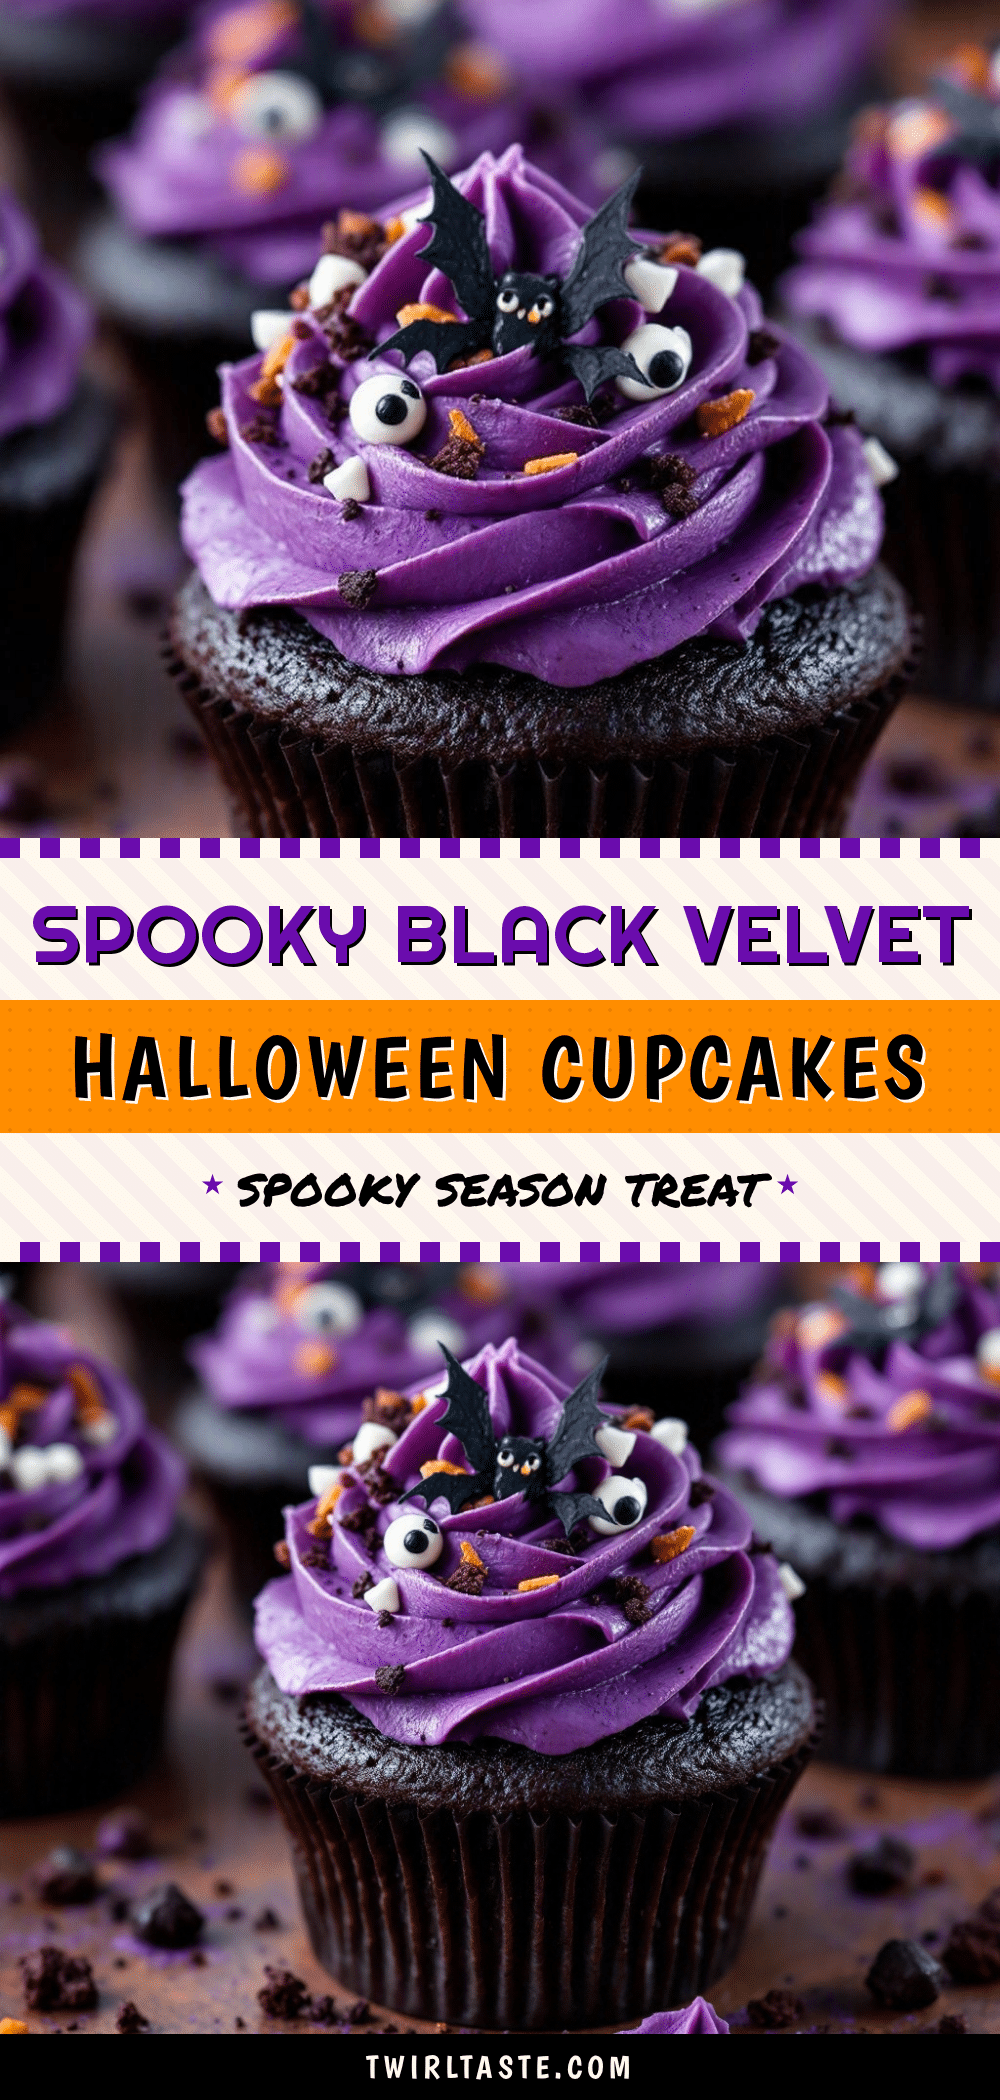
Spooky Black Velvet Halloween Cupcakes: Easy 10-Min Recipe
These spooky black velvet Halloween cupcakes feature a deep, void-black crumb made with Dutch-processed cocoa and buttermilk, topped with ghostly white cream cheese frosting. They are easy to make, require simple ingredients, and deliver a sophisticated, moody dessert perfect for Halloween.
- Prep Time: 20 minutes
- Cook Time: 18-20 minutes
- Total Time: 40 minutes
- Yield: 12 servings
- Category: Dessert
- Cuisine: American
Ingredients
- All-purpose flour, sifted
- Unsweetened cocoa powder, Dutch-processed
- Baking soda
- Baking powder
- Salt
- Unsalted butter, softened
- Granulated sugar
- Brown sugar, packed
- Large eggs, room temperature
- Vanilla extract
- Buttermilk, room temperature
- Cream cheese, full-fat, softened
- Powdered sugar, sifted
- Heavy cream (optional)
- Black food coloring gel
- Edible candy eyes
- Black sprinkles or edible markers
Instructions
- Preheat oven to 350°F (175°C) and line a 12-cup muffin tin with cupcake liners.
- In a medium bowl, whisk together the flour, cocoa powder, baking soda, baking powder, and salt. Set aside.
- In a large bowl, beat the softened butter, granulated sugar, and brown sugar on medium-high speed for 3-4 minutes until pale and fluffy. Scrape down the sides.
- Add eggs one at a time, beating well after each addition, then mix in the vanilla extract.
- Reduce mixer speed to low. Add dry ingredients in three parts, alternating with buttermilk in two parts, starting and ending with dry ingredients. Mix just until combined.
- Add black gel food coloring and mix until the batter is a uniform dark black.
- Divide batter evenly among liners, filling each about 2/3 full.
- Bake for 18-20 minutes or until a toothpick inserted into the center comes out clean.
- Let cupcakes cool in the pan for 5 minutes, then transfer to a wire rack to cool completely.
- For frosting, beat cream cheese and butter until smooth, then gradually add powdered sugar and vanilla. Add heavy cream if needed for consistency.
- Pipe or spread frosting onto cooled cupcakes and decorate with candy eyes and sprinkles.
Notes
Ensure all ingredients (butter, eggs, buttermilk) are at room temperature for best texture. Use gel food coloring instead of liquid to avoid altering batter consistency. Do not overmix the batter to prevent tough cupcakes. Cool cupcakes completely before frosting to prevent melting.
Nutrition
- Serving Size: 1 cupcake
- Calories: 375
- Sugar: 32
- Sodium: 250
- Fat: 18
- Saturated Fat: 11
- Carbohydrates: 45
- Fiber: 2
- Protein: 4
Keywords: Halloween cupcakes, black velvet cake, easy baking, cream cheese frosting, spooky desserts, cocoa cupcakes, party treats


