Love this? Save it for later!
Share the inspiration with your friends
My brother tossed a candy corn into the trash can with the force of someone discarding a used tissue. It was 2018, Halloween night, and the kitchen island was covered in the usual debris of trick-or-treaters: sticky hands, empty wrappers, and a suspiciously large pile of yellow sugar cookies.
I was holding a piece of candy corn, turning it over in my fingers like it was some kind of archaeological artifact. I wasn’t sure why I liked it. It tasted like sweetened plastic to me. But my brother, who has the palate of a raccoon, insisted that the yellow center was the only edible part.
That comment stuck with me. Honestly, it felt like a challenge. If the yellow part was the “good” part, why couldn’t I make a cookie that captured that specific, nostalgic sweetness without the waxy texture? I wanted something that tasted like Halloween but felt like a real dessert.
So, I started experimenting. I took my base recipe for soft sugar cookies and decided to infuse it with the distinct, buttery vanilla flavor of that yellow core. I added a hint of orange zest to mimic the middle layer, and then I drizzled a simple icing over the top to recreate the white tip.
The first batch was a disaster. They spread too much and turned into crispy shards. But by the third try, I nailed the ratio of brown sugar to butter. The result was a bar that was chewy in the middle and slightly crisp on the edges. It tasted like childhood, but better.
Now, every October, this is the first thing I pull out of the oven. It’s not just about the candy corn nostalgia. It’s about that specific moment when you take a bite and realize you’ve successfully captured a feeling in a dessert. You know that feeling? The one where you close your eyes and suddenly you’re eight years old again, standing on a porch in a costume that was slightly too big.
These bars are my tribute to that memory. They are messy, sweet, and completely worth the effort. Plus, they stop my brother from throwing candy in the trash, which is a win in my book.
Why You’ll Love This Recipe
There are a million sugar cookie recipes out there. You could probably find one in a cookbook from 1950. But let’s be honest, most of them are dry. They crumble into dust before you even get them to your mouth. I’ve spent years testing doughs, tweaking baking times, and burning more butter than I care to admit, all to get this texture just right.
This recipe isn’t just another sugar cookie. It’s a chewy, soft, candy-corn-inspired masterpiece that has become a staple in my kitchen. Here is why it stands out from the crowd:
- Perfect Texture Every Time: The secret is in the brown sugar. It adds moisture and a hint of caramel flavor that keeps these bars soft for days. I’ve tested this with white sugar alone, and it just doesn’t work. The chew is real.
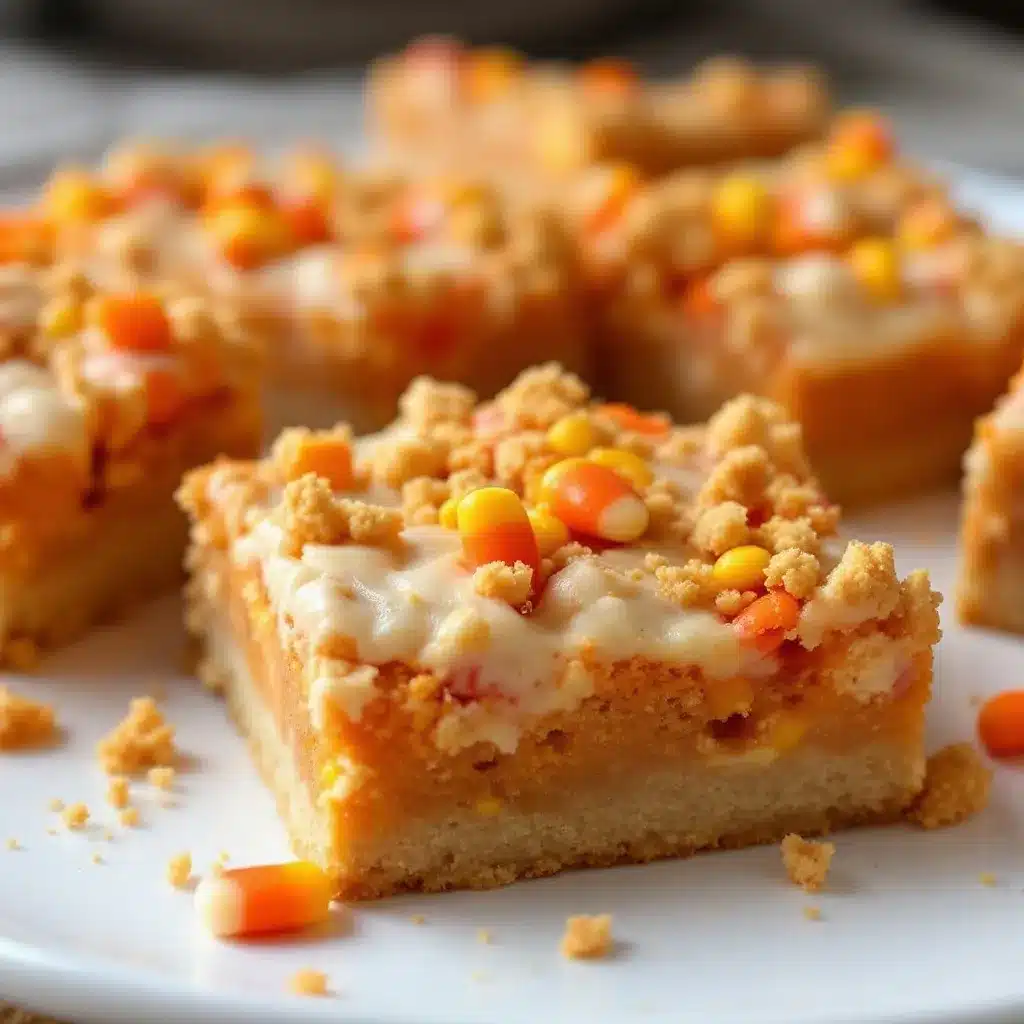
- Visual Appeal Without the Stress: I know what you’re thinking. “How do I make those stripes?” You don’t need piping bags or food coloring skills. A simple drizzle of icing is enough to trick the eye. It looks professional, but it takes five minutes.
- Flavor That Actually Tastes Like Candy Corn: Most people hate candy corn. I get it. But the flavor profile of yellow sugar cookies with a hint of orange zest is surprisingly delicious. It’s sweet, buttery, and nostalgic without being overpowering.
- Great for Parties: Bars are easier to serve than individual cookies. No stacking issues, no breakage. Just cut and go. They travel well in a Tupperware container, which is perfect for office parties or school events.
- Easy to Customize: If you don’t like orange zest, leave it out. If you want more color, add a drop of gel food coloring. This recipe is flexible enough to handle your whims.
I made these for a friend’s Halloween party last year. She told me they were the best thing she ate all night. Not the main course. Not the wine. The bars. That’s the kind of reaction you want. It’s comfort food reimagined for the spooky season.
What Ingredients You Will Need
This recipe relies on simple pantry staples. You don’t need anything fancy or hard to find. The magic happens in the ratio of fats to sugars, not in exotic spices. Here is what you need to gather before you start mixing.
For the Cookie Base
- Unsalted Butter: 1 cup (2 sticks). Softened to room temperature. This is crucial. If it’s cold, it won’t cream properly. I use Kerrygold because it has a richer flavor, but any high-quality butter works.
- Granulated White Sugar: 1 cup. This provides structure and crispness.
- Light Brown Sugar: 1 cup. Packed. This is the key to the chewy texture. It adds moisture and a subtle caramel note.
- Large Eggs: 2 eggs. Room temperature helps the batter emulsify better. Cold eggs can cause the butter to seize up slightly.
- Vanilla Extract: 2 teaspoons. Use pure vanilla, not imitation. The flavor difference is noticeable in a simple cookie.
- All-Purpose Flour: 3 cups. Don’t over-measure. Spoon it into the cup and level it off. Too much flour makes dry cookies.
- Baking Powder: 1 teaspoon. Helps the bars rise slightly so they aren’t dense.
- Baking Soda: 1/2 teaspoon. Adds lift and helps with browning.
- Salt: 1 teaspoon. Balances the sweetness. Don’t skip this.
For the Candy Corn Icing
- Confectioners’ Sugar: 2 cups. Sifted to remove lumps.
- Heavy Cream: 2-3 tablespoons. Adjust for consistency.
- Vanilla Extract: 1 teaspoon.
- Yellow Gel Food Coloring: A small amount. Gel coloring is better than liquid because it doesn’t add extra water.
- Orange Gel Food Coloring: A tiny amount. You want a hint, not a neon orange disaster.
If you are allergic to dairy, you can swap the butter for a high-quality vegan stick butter. The texture might be slightly different, but it will still taste great. For the icing, use non-dairy cream if needed.
Equipment Needed
You don’t need a lot of fancy gadgets for this. Here is what you’ll actually use.
- 9×13 Inch Baking Pan: This is the standard size for bars. Make sure to line it with parchment paper. It makes cleanup so much easier.
- Mixer: A stand mixer or a hand mixer. Creaming the butter and sugar by hand is possible, but it takes about ten minutes of arm workout. I prefer the mixer for consistency.
- Mixing Bowls: One large bowl for the wet ingredients and one for the dry.
- Cooling Rack: Essential for letting the bars cool completely before icing. If you ice them warm, the icing will melt and slide off.
- Zester or Microplane: For zesting the orange. A regular grater works too, but be careful not to get the white pith, which is bitter.
- Small Bowls: For mixing the icing colors separately.
- Piping Bag or Ziploc Bag: You can use a piping bag, but a small Ziploc bag with the corner snipped off works just as well. It’s less cleanup.
I used to use a glass pan, but I switched to metal because it conducts heat better. The edges get slightly crispier, which I love. If you only have glass, just lower the oven temperature by 25 degrees.
Preparation Method
Let’s get into the nitty-gritty. This process is straightforward, but timing is everything. Follow these steps closely.
- Prep the Pan: Preheat your oven to 350°F (175°C). Line your 9×13 inch pan with parchment paper, leaving an overhang on the long sides. This acts as a sling to lift the bars out later. Spray with non-stick spray.
- Cream the Butter and Sugars: In a large bowl, beat the softened butter, granulated sugar, and brown sugar together. Beat on medium-high speed for about 3-4 minutes. The mixture should look pale and fluffy. This step incorporates air, which helps the bars rise.
- Add Wet Ingredients: Add the eggs one at a time, beating well after each addition. Mix in the vanilla extract and the orange zest. The zest is optional, but it adds that “candy corn” aroma. Beat until combined.
- Mix Dry Ingredients: In a separate bowl, whisk together the flour, baking powder, baking soda, and salt. Sifting is nice, but whisking thoroughly is enough to ensure no lumps of baking soda end up in your cookies.
- Combine Wet and Dry: Gradually add the dry ingredients to the wet mixture. Mix on low speed until just combined. Do not overmix! If you mix too much, you develop gluten, and the cookies become tough. Stop when you see no more streaks of flour.
- Spread the Dough: Pour the dough into the prepared pan. Use wet hands or a spatula to press it into an even layer. It will be sticky. Wet your hands to prevent sticking. Smooth the top as best you can.
- Bake: Bake for 20-25 minutes. The edges should be lightly golden, and the center should still look slightly soft. They will firm up as they cool. Do not overbake, or they will be dry.
- Cool Completely: Let the bars cool in the pan on a wire rack. This takes at least 30 minutes. If you try to ice them warm, you will create a mess. Patience is key here.
- Make the Icing: While the bars cool, make the icing. Mix the confectioners’ sugar, vanilla, and heavy cream until smooth. Divide the icing into three bowls.
- Color the Icing: Leave one bowl white. Add a small amount of yellow gel coloring to the second bowl. Add a tiny amount of orange coloring to the third bowl. Mix until you have a pale yellow and a pale orange. You want pastel shades, not bright neon.
- Decorate: Put each color in a small Ziploc bag and snip the corner. Drizzle the white icing first in a zigzag pattern. Then drizzle the yellow, then the orange. Use a toothpick to swirl the colors slightly if you want a marbled effect, or just leave the stripes for a classic candy corn look.
- Set and Serve: Let the icing set for about 15 minutes. Then cut into squares and enjoy.
Cooking Tips & Techniques
I’ve made these bars so many times that I’ve learned a few tricks along the way. Here are some tips to ensure success.
Butter Temperature Matters: Your butter should be soft enough that you can indent it with your finger, but not so soft that it’s melting. If it’s too cold, it won’t cream properly. If it’s too warm, the cookies will spread too much. I usually leave my butter out for 30-45 minutes before starting.
Don’t Overmix the Dough: This is the most common mistake. Once you add the flour, mix until *just* combined. Overmixing leads to tough, chewy (in a bad way) cookies. The dough should look shaggy before it comes together.
Use Gel Food Coloring: Liquid food coloring adds water to the icing, which can make it runny and affect the setting time. Gel coloring is more concentrated and keeps the icing thick and stable.
Chill the Dough (Optional): If your kitchen is very warm, the dough might be too soft to spread evenly. In that case, chill the pan in the fridge for 15 minutes before baking. This helps the bars hold their shape.
Cooling is Non-Negotiable: I know it’s tempting to dig in. But if you ice warm bars, the heat will melt the icing, and it will slide right off. Wait until they are completely cool to the touch.
Variations & Adaptations
This recipe is a great base for other flavors too. Here are a few ideas.
- Pumpkin Spice: Add 1 tablespoon of pumpkin pie spice to the dry ingredients. Swap the orange zest for pumpkin puree (2 tablespoons) and reduce the cream in the icing slightly. Drizzle with a cinnamon-sugar glaze.
- White Chocolate Chip: Fold in 1 cup of white chocolate chips before baking. Add a few orange sprinkles to the icing for a fun texture.
- Gluten-Free: Swap the all-purpose flour for a 1:1 gluten-free flour blend. The texture might be slightly more delicate, but it will still be delicious.
- Vegan: Use vegan butter and flax eggs (1 tablespoon ground flaxseed mixed with 3 tablespoons water per egg). The icing can be made with coconut cream.
I once made these with lemon zest instead of orange. It was surprisingly good. It tasted like a lemon bar, but with the texture of a sugar cookie. It’s a nice twist for spring.
Serving & Storage Suggestions
These bars are best served at room temperature. The chewiness is most apparent when they aren’t cold from the fridge.
Storage: Store the bars in an airtight container at room temperature for up to 5 days. If your kitchen is very hot, you might need to refrigerate them, but let them come to room temperature before eating. They can also be frozen for up to 3 months. Freeze them in a single layer, then stack them in a freezer bag.
Serving Ideas: Serve these with a glass of cold milk or a cup of coffee. They pair well with other Halloween treats, like spooky witch finger cookies for a themed dessert table. They are also great for potlucks because they are easy to grab and eat.
The flavors develop over time. The bars taste even better the next day as the moisture redistributes. If you have leftovers, they won’t last long.
Nutritional Information & Benefits
While these are definitely a treat, they are made with simple ingredients. Each bar (assuming 16 bars) contains approximately:
- Calories: 250-300
- Fat: 12g
- Carbohydrates: 40g
- Sugar: 25g
- Protein: 3g
The recipe contains gluten and dairy, so it’s not suitable for those with allergies. However, the use of real butter and vanilla extract makes it feel more indulgent than artificial flavors. It’s a dessert to enjoy in moderation, but honestly, who can stop at just one?
I try to balance these treats with plenty of fruits and vegetables during the week. But for Halloween, this is my go-to comfort food. It reminds me of simpler times.
Conclusion
These Best Chewy Candy Corn Sugar Cookie Bars are more than just a recipe. They are a way to capture the spirit of Halloween in a dessert that tastes like home. They are easy to make, fun to decorate, and absolutely delicious.
I hope you try this recipe. It’s one of my favorites, and I think it will become one of yours too. Feel free to customize the icing or add your own twists. The beauty of baking is that it’s yours to play with.
If you make these, I’d love to see them! Tag me on social media or leave a comment below. Let me know how they turned out. Did you like the orange zest? Did you use gel coloring? I read every comment and love hearing from you.
Happy baking, and happy Halloween! Enjoy every bite.
Frequently Asked Questions
Can I use liquid food coloring instead of gel?
Yes, but you’ll need more of it to get a strong color. Liquid coloring also adds water, which can make the icing runny. Gel coloring is recommended for thicker, more vibrant results.
How do I keep the bars chewy?
The key is the brown sugar and not overbaking. Remove the bars from the oven when the edges are just set but the center still looks slightly soft. They will firm up as they cool.
Can I freeze the dough?
Yes, you can freeze the dough in the pan or in a ball. Let it thaw in the fridge overnight before baking. The baking time might need to be adjusted slightly.
Why did my bars spread too much?
This usually happens if the butter was too warm or if the pan was too small. Make sure your butter is softened, not melted, and use a 9×13 inch pan.
Can I make these gluten-free?
Yes, substitute the all-purpose flour with a 1:1 gluten-free flour blend. The texture may be slightly more delicate, but it will still be tasty.
Pin This Recipe!
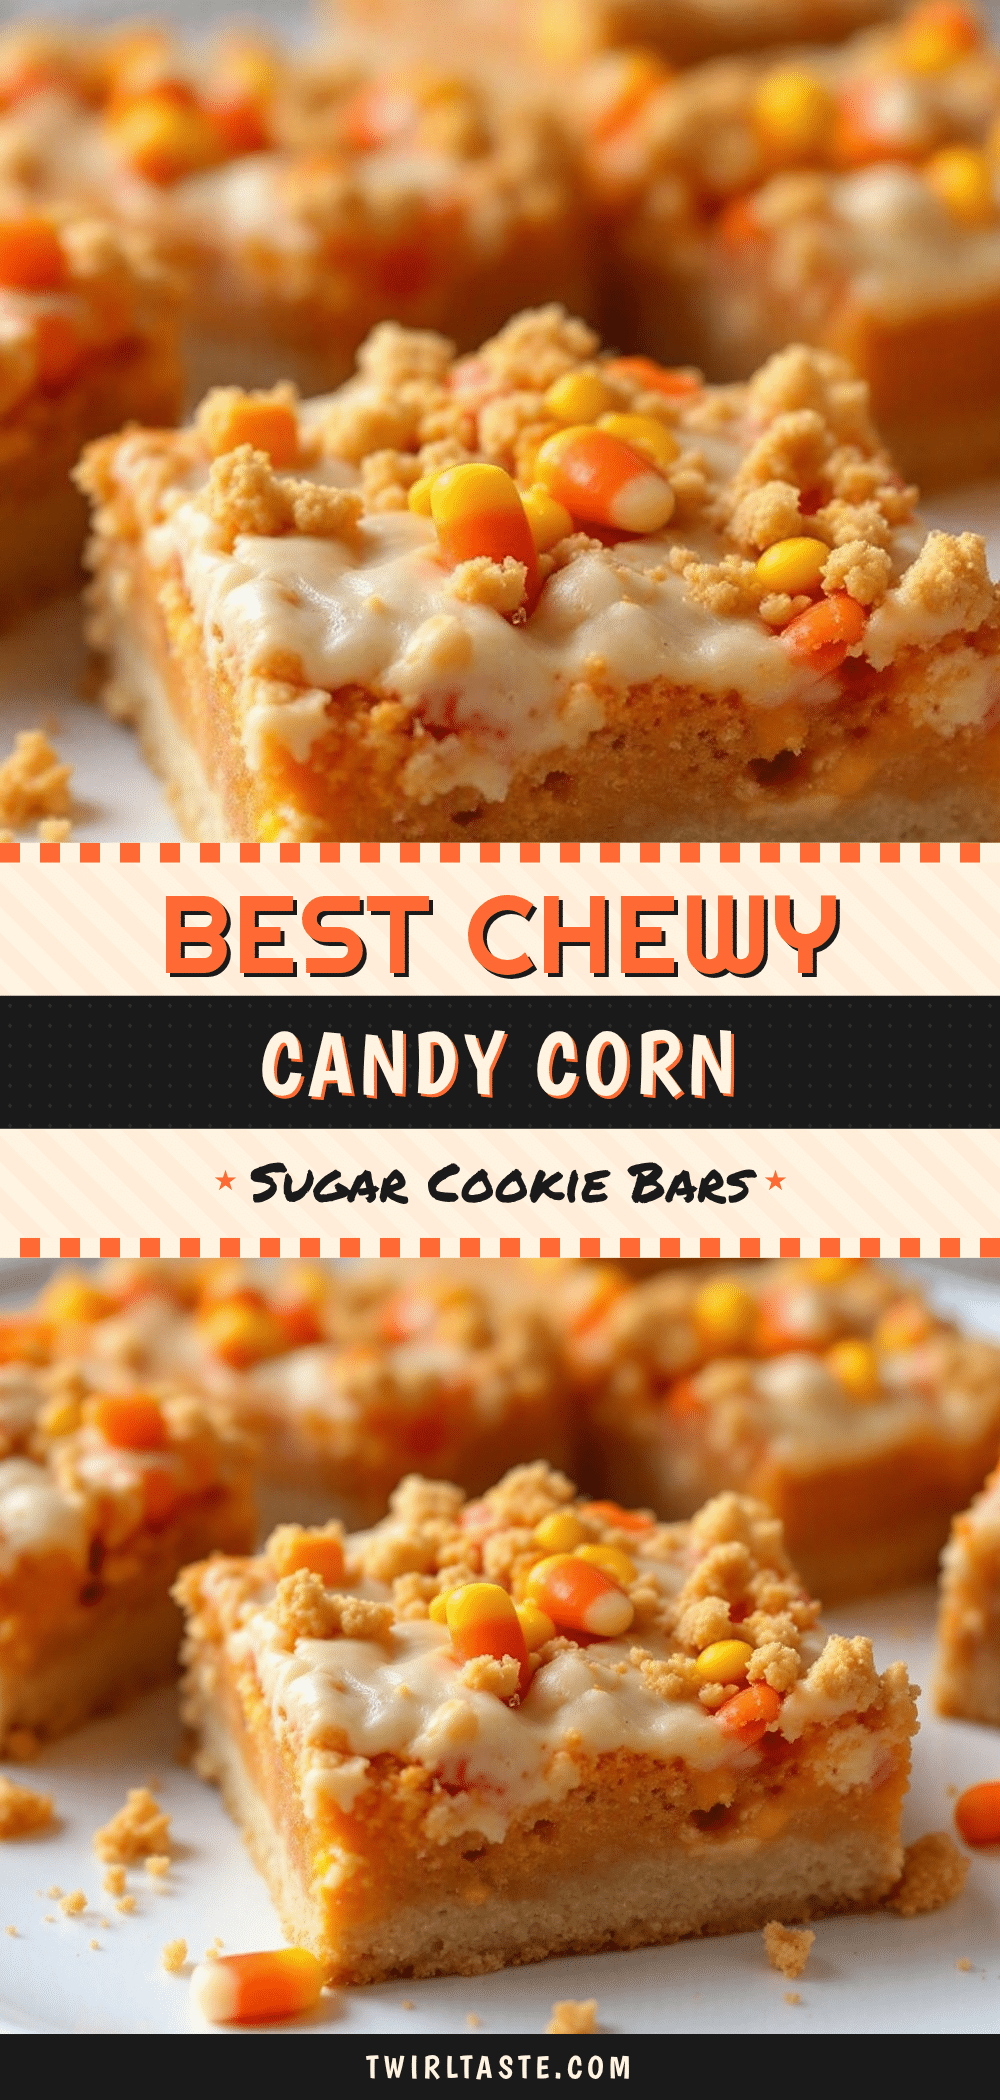
Best Chewy Candy Corn Sugar Cookie Bars
A chewy, soft sugar cookie bar infused with buttery vanilla and a hint of orange zest to mimic the flavor of candy corn, topped with a festive white, yellow, and orange icing drizzle.
- Prep Time: 20 minutes
- Cook Time: 25 minutes
- Total Time: 45 minutes
- Yield: 16 servings 1x
- Category: Dessert
- Cuisine: American
Ingredients
- 1 cup (2 sticks) unsalted butter, softened to room temperature
- 1 cup granulated white sugar
- 1 cup light brown sugar, packed
- 2 large eggs, room temperature
- 2 teaspoons pure vanilla extract
- Orange zest (optional, for flavor)
- 3 cups all-purpose flour
- 1 teaspoon baking powder
- 1/2 teaspoon baking soda
- 1 teaspoon salt
- 2 cups confectioners’ sugar, sifted
- 2–3 tablespoons heavy cream
- 1 teaspoon vanilla extract
- Yellow gel food coloring
- Orange gel food coloring
Instructions
- Preheat oven to 350°F (175°C). Line a 9×13 inch baking pan with parchment paper, leaving an overhang on the long sides, and spray with non-stick spray.
- In a large bowl, beat the softened butter, granulated sugar, and brown sugar on medium-high speed for 3-4 minutes until pale and fluffy.
- Add eggs one at a time, beating well after each addition. Mix in vanilla extract and orange zest until combined.
- In a separate bowl, whisk together flour, baking powder, baking soda, and salt.
- Gradually add dry ingredients to the wet mixture on low speed until just combined. Do not overmix.
- Pour dough into the prepared pan. Use wet hands or a spatula to press into an even layer.
- Bake for 20-25 minutes until edges are lightly golden and center looks slightly soft.
- Let bars cool completely in the pan on a wire rack (at least 30 minutes).
- While cooling, mix confectioners’ sugar, vanilla, and heavy cream until smooth. Divide into three bowls.
- Leave one bowl white. Add yellow gel coloring to the second bowl and orange gel coloring to the third. Mix to create pastel shades.
- Place each color in a small Ziploc bag with the corner snipped off. Drizzle white, then yellow, then orange icing over the cooled bars.
- Let icing set for 15 minutes before cutting into squares and serving.
Notes
Ensure butter is softened but not melted to prevent spreading. Do not overmix the dough to maintain a chewy texture. Cool bars completely before icing to prevent melting. Gel food coloring is recommended over liquid to maintain icing consistency.
Nutrition
- Serving Size: 1 bar
- Calories: 275
- Sugar: 25
- Sodium: 150
- Fat: 12
- Saturated Fat: 7
- Carbohydrates: 40
- Fiber: 1
- Protein: 3
Keywords: candy corn, sugar cookie bars, halloween dessert, chewy cookies, easy baking, fall treats


