Love this? Save it for later!
Share the inspiration with your friends
The kitchen was quiet, save for the soft bubbling coming from the oven. I pulled out the dish, and the scent hit me first—cinnamon, butter, and something deeply caramelized. My husband walked in, still on a work call, and mouthed the words: Is that the apple thing? He hung up two minutes later. That’s when I knew this version was different.
I had been chasing the perfect apple crisp for years. Not the soupy, sad ones that turn into mush, and not the ones where the topping slides off like an afterthought. I wanted a crisp that actually stayed crisp—where the apples held their shape and the oat crumble clung to every spoonful like it belonged there. This recipe came from a series of very specific failures, a bag of Honeycrisps that were about to turn, and a stubborn refusal to settle for “good enough.”
Honestly, I wasn’t trying to reinvent the wheel. I just wanted a dessert that felt like a hug without requiring a pastry degree. And after testing this one on neighbors, holiday dinners, and a few very skeptical teenagers, I can tell you this: it works. Every single time.
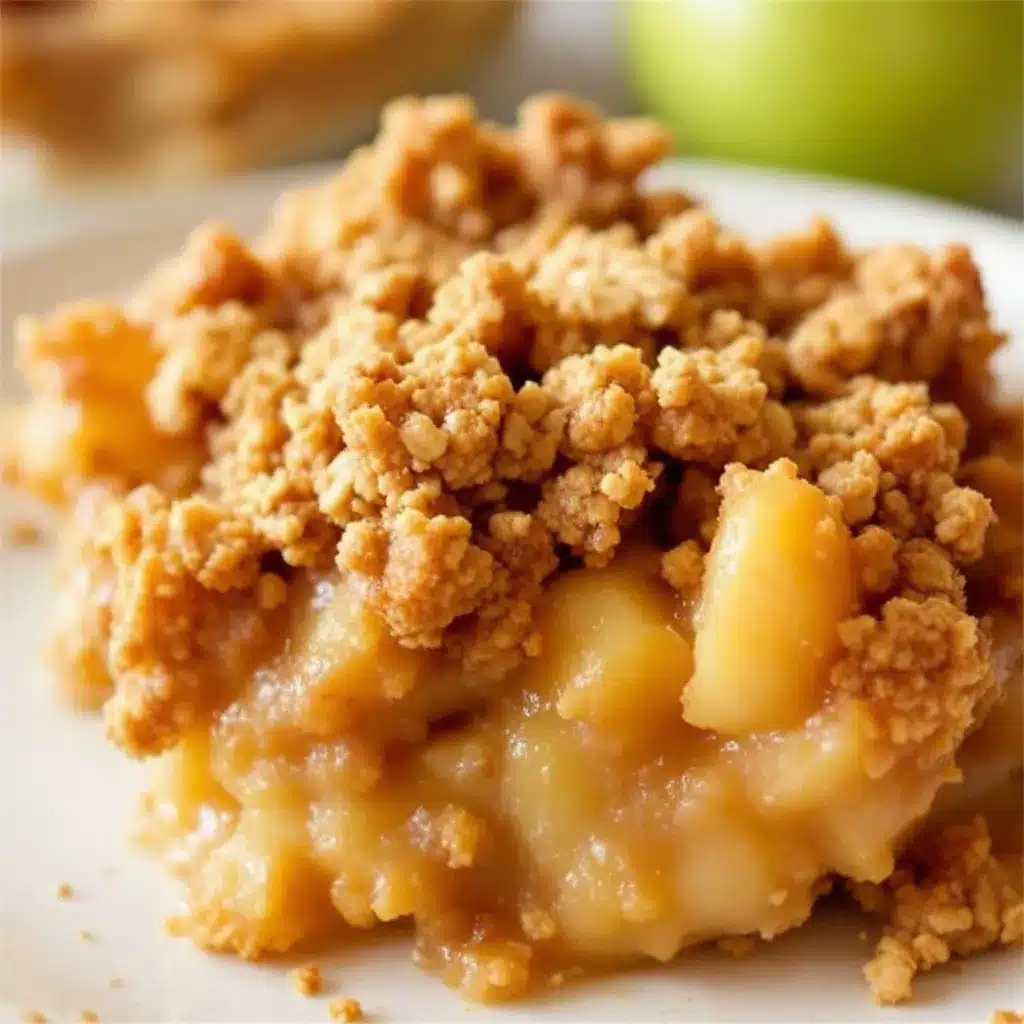
This classic apple crisp with oat crumble topping has become my go-to for fall gatherings, lazy Sundays, and those moments when you need something warm and sweet without the fuss of pie crust. It’s forgiving, adaptable, and somehow tastes even better the next day—if you have any left.
Why You’ll Love This Recipe
I’ve tested this apple crisp more times than I care to admit. Burned a few toppings. Over-spiced a batch or two. But this version? It’s the one I keep coming back to, and here is why it works:
- Simple Ingredients: No weird extracts or hard-to-find items. You probably have most of this in your pantry right now.
- Quick & Easy: From start to oven in about 20 minutes. No rolling dough, no chilling, no fuss.
- Perfect for Fall Gatherings: Bring this to any dinner or potluck, and watch it disappear. People always ask for the recipe.
- Crowd-Pleaser: Kids love the sweet oat topping. Adults appreciate that it’s not cloying. Everyone goes back for seconds.
- Unbelievably Delicious: The apples stay tender but not mushy. The topping stays crunchy. The balance of sweet and tart is just right.
What makes this different from every other apple crisp out there is the technique. Most recipes tell you to just toss everything together and hope for the best. I spent weeks figuring out why my topping kept getting soggy, why the apples turned to sauce, and why the flavors felt flat. The secret turned out to be a mix of pre-cooking the apples just slightly and using a specific ratio of oats to flour in the crumble. It’s not complicated, but it makes all the difference.
This is the kind of dessert that makes you close your eyes after the first bite. It’s comfort food at its best—warm, spiced, and topped with something that crunches just so. Perfect for impressing guests without breaking a sweat, or turning a regular Tuesday night into something memorable.
What Ingredients You Will Need
This recipe uses simple, wholesome ingredients to deliver bold flavor and satisfying texture. Most of these are pantry staples, which makes this dessert perfect for spontaneous baking.
For the Apple Filling
- 6 cups apples, peeled, cored, and sliced (about 5-6 medium apples; Honeycrisp, Granny Smith, or a mix work best)
- 1/3 cup granulated sugar
- 1/4 cup light brown sugar, packed
- 1 tablespoon all-purpose flour (helps thicken the juices)
- 1 teaspoon ground cinnamon
- 1/4 teaspoon ground nutmeg (freshly grated if you have it)
- 1 tablespoon fresh lemon juice (brightens the flavor and prevents browning)
- 1 teaspoon vanilla extract
For the Oat Crumble Topping
- 1 cup old-fashioned rolled oats (not quick oats; they get mushy)
- 3/4 cup all-purpose flour
- 1/2 cup light brown sugar, packed
- 1/4 cup granulated sugar
- 1/2 teaspoon ground cinnamon
- 1/4 teaspoon salt
- 1/2 cup unsalted butter, cold and cut into small cubes
- 1/2 cup chopped pecans or walnuts (optional, but highly recommended for crunch)
Ingredient Tips: For the apples, I prefer a mix of Honeycrisp and Granny Smith. The Honeycrisp adds sweetness and holds its shape well, while the Granny Smith brings that necessary tartness. If you only have one type, go with Honeycrisp—they’re forgiving. For the oats, stick with old-fashioned. Quick oats will turn into a paste, and steel-cut oats won’t soften enough.
I use King Arthur all-purpose flour for consistent results, but any brand works. For the butter, I recommend Kerrygold if you can find it—the higher fat content makes the topping extra flaky and rich. But honestly, any unsalted butter will do the job.
Substitution Guidance: For a gluten-free version, use a 1:1 gluten-free baking flour blend and certified gluten-free oats. For a dairy-free option, substitute the butter with cold coconut oil or a plant-based butter stick. The texture will be slightly different, but still delicious. If you don’t have pecans or walnuts, simply omit them or swap in sliced almonds.
Equipment Needed
- 9×13-inch baking dish (or a 2-quart casserole dish)
- Large mixing bowl (for the apples)
- Medium mixing bowl (for the topping)
- Chef’s knife and cutting board
- Vegetable peeler
- Measuring cups and spoons
- Pastry cutter or two forks (for cutting butter into the topping)
- Rubber spatula
- Baking sheet (place under the dish to catch any drips)
I’ve made this with a pastry cutter, two knives, and even my bare hands (cold hands are key for that). If you don’t have a pastry cutter, just use your fingertips—rub the butter into the dry ingredients until it looks like coarse meal. A food processor works in a pinch, but pulse carefully so you don’t overwork the butter.
Budget-Friendly Tip: You don’t need a fancy baking dish. A glass or ceramic dish works perfectly. I’ve even used a cast-iron skillet in a pinch, and it turned out great—just reduce the baking time by 5 minutes since cast iron holds heat differently.
Preparation Method
Preheat your oven to 350°F (175°C). Position a rack in the center of the oven.
- Prepare the apples: Peel, core, and slice the apples into even, 1/4-inch thick slices. Even slices ensure they cook at the same rate. Toss them in a large bowl with the lemon juice first—this prevents browning and adds brightness.
- Season the filling: Add the granulated sugar, brown sugar, flour, cinnamon, nutmeg, and vanilla extract to the apples. Toss everything together until the apples are evenly coated. Let this sit for 5-10 minutes while you make the topping. This maceration step helps draw out some juices, which will thicken into a beautiful syrup as it bakes.
- Make the oat crumble topping: In a medium bowl, whisk together the oats, flour, brown sugar, granulated sugar, cinnamon, and salt. Add the cold butter cubes. Using a pastry cutter or your fingertips, work the butter into the dry mixture until it resembles coarse crumbs with some pea-sized butter pieces remaining. If using nuts, fold them in now. Pro tip: Don’t overwork it—you want those butter chunks for a flaky texture.
- Assemble the crisp: Transfer the apple mixture to your greased baking dish, spreading it into an even layer. Sprinkle the oat crumble topping evenly over the apples. Don’t press it down—leave it loose for maximum crunch.
- Bake: Place the dish on a baking sheet to catch any bubbling juices. Bake for 40-45 minutes, or until the topping is golden brown and the filling is bubbling around the edges. If the topping is browning too quickly, tent loosely with foil for the last 10 minutes.
- Rest: Let the crisp cool on a wire rack for at least 15-20 minutes before serving. This allows the filling to set up so it doesn’t turn into soup on the plate.
Sensory Cues: At the 30-minute mark, your kitchen should smell like a fall candle come to life. The apples will be tender when pierced with a fork, and the topping will be deeply golden. If you see thick, syrupy bubbles breaking through the topping, you’re in business.
Troubleshooting: If your filling seems too liquidy after baking, you may have used very juicy apples (like McIntosh). Next time, add an extra tablespoon of flour to the filling. If the topping is browning too fast, your oven might run hot—check it at 35 minutes and cover with foil if needed.
Cooking Tips & Techniques
I learned most of these the hard way—through burnt toppings and soupy fillings. Save yourself the trouble.
- Use cold butter for the topping: This is non-negotiable. Cold butter creates steam pockets as it melts, giving you that flaky, crunchy texture. If the butter softens while you’re working, pop the bowl in the fridge for 5 minutes.
- Don’t skip the maceration step: Letting the apples sit with sugar draws out their natural juices, which then thicken into that perfect syrupy sauce. If you skip this, you’ll end up with dry apples and watery juices.
- Mix apple varieties: A blend of sweet and tart apples gives the best flavor. I use 3 Honeycrisp and 3 Granny Smith. The Honeycrisp breaks down slightly, creating a soft texture, while the Granny Smith holds its shape for little pops of tartness.
- Bake on a sheet pan: Apple crisp loves to bubble over. Placing your dish on a baking sheet saves you from scrubbing burnt sugar off the bottom of your oven.
- Let it rest: I know it’s tempting to dig in right away, but giving the crisp 20 minutes to set is the difference between a perfect slice and apple soup. The filling needs time to thicken as it cools.
One of my biggest failures happened when I tried to double the recipe and used a deeper dish. The topping burned before the apples were done. Lesson learned: stick to a single layer in a wide dish. If you need more, make two batches.
Variations & Adaptations
This recipe is incredibly forgiving, and I’ve tried more variations than I can count. Here are a few that actually worked:
- Gluten-Free Version: Substitute the all-purpose flour with a 1:1 gluten-free baking blend. I’ve tested this with Bob’s Red Mill 1:1 Baking Flour, and the texture is nearly identical. Make sure your oats are certified gluten-free as well.
- Dairy-Free Version: Use cold coconut oil or a plant-based butter stick. The topping won’t be quite as flaky, but it’s still delicious. I’ve used Miyoko’s European Style Cultured Vegan Butter with great results.
- Spiced Apple Crisp: Add 1/4 teaspoon of cardamom and a pinch of cloves to the filling. This gives it a chai-like warmth that’s perfect for winter holidays.
- Pear-Apple Crisp: Swap half the apples for firm pears (like Bosc or Anjou). The pears add a delicate sweetness and a slightly different texture. Reduce the sugar by 2 tablespoons since pears are naturally sweeter.
- Berry-Apple Crisp: Fold in 1 cup of fresh or frozen cranberries or raspberries with the apples. The tart berries balance the sweetness beautifully. If using frozen berries, add them straight from the freezer—no need to thaw.
I once made a version with caramel sauce drizzled over the top before baking. It was decadent, but honestly, the classic version is better. The caramel masked the apple flavor. Sometimes simple really is best.
Serving & Storage Suggestions
Serve this apple crisp warm—not piping hot, but warm enough that the filling is still slightly saucy. The classic pairing is a scoop of vanilla ice cream melting into the cracks of the topping. For a less indulgent option, a dollop of Greek yogurt or a drizzle of heavy cream works beautifully.
Presentation Tip: Spoon the crisp into shallow bowls so you get a good ratio of topping to apples in every bite. A light dusting of cinnamon on top adds visual appeal. For a fall gathering, serve it in individual ramekins for a more polished look.
Complementary Dishes: This crisp pairs perfectly with a warm cup of spiced cider or coffee. If you’re serving it as part of a larger meal, it follows a maple dijon roasted chicken dinner beautifully. The sweet and savory combo is a fall dream.
Storage: Cover the dish tightly with foil or plastic wrap and store in the refrigerator for up to 4 days. The topping will soften over time, but the flavor actually deepens. To reheat, place individual portions in a 350°F oven for 10 minutes, or microwave for 45 seconds. For a crispier topping, reheat in a toaster oven or air fryer at 350°F for 5 minutes.
Freezer Instructions: You can freeze the unbaked crisp for up to 3 months. Assemble it in a freezer-safe dish, wrap tightly in plastic wrap and foil, and freeze. Bake from frozen, adding 15-20 minutes to the baking time. Baked crisp can also be frozen, but the texture won’t be quite as good.
Flavor Development: This crisp actually tastes better the next day. The apples continue to absorb the spiced syrup, and the flavors meld together. If you can resist eating it all the first night, you’re in for a treat.
Nutritional Information & Benefits
Here are the estimated nutritional values per serving (based on 8 servings):
- Calories: 385
- Total Fat: 16g
- Saturated Fat: 8g
- Cholesterol: 30mg
- Sodium: 95mg
- Total Carbohydrates: 58g
- Dietary Fiber: 5g
- Sugars: 38g
- Protein: 4g
Health Benefits: Apples are packed with fiber and vitamin C, and eating them with the skin on (if you skip peeling) adds even more antioxidants. Oats are a great source of soluble fiber, which supports heart health. The nuts add healthy fats and a bit of protein, making this dessert slightly more balanced than your average sweet treat.
Dietary Considerations: This recipe is vegetarian and can be made gluten-free or dairy-free with simple substitutions. It’s not suitable for a low-carb or keto diet due to the sugar content. If you’re watching your sugar intake, you can reduce the sugar by 1/4 cup without significantly affecting the texture.
Allergen Note: This recipe contains wheat (gluten), dairy (butter), and tree nuts (if using pecans or walnuts). Adjust substitutions as needed for your dietary needs.
I personally love that this dessert feels indulgent but uses whole-food ingredients. It’s not health food by any stretch, but it’s a far cry from processed desserts. A small serving satisfies that sweet tooth without sending you into a sugar coma.
Conclusion
This classic apple crisp with oat crumble topping is the dessert I turn to when I want something that feels both special and effortless. It’s the recipe I’ve made for Thanksgiving, for casual weeknights, for neighbors who just had a baby, and for no reason at all except that the apples on my counter were begging to be used.
What I love most is how forgiving it is. You can use different apples, swap the nuts, adjust the spices, and it still comes out beautifully. It’s the kind of recipe that builds confidence in the kitchen—because when you pull that golden, bubbling dish out of the oven, you know you’ve made something good.
I hope you give this one a try. And when you do, I’d love to hear how it turned out. Did you use a different apple variety? Add extra cinnamon? Serve it with something unexpected? Drop a comment below and let me know—your tweaks might inspire someone else’s next batch.
Happy baking, friends. May your topping always be crunchy and your apples always tender.
Frequently Asked Questions
Can I use quick oats instead of old-fashioned oats?
I don’t recommend it. Quick oats are more finely processed and will absorb moisture too quickly, turning your topping into a pasty, soft mess. Old-fashioned oats give you that distinct, hearty crunch that makes a crisp, well, crisp.
Why is my apple crisp runny?
This usually happens for two reasons: either the apples were very juicy (like McIntosh or Fuji) and you didn’t add enough flour, or you didn’t let the crisp rest long enough after baking. Next time, add an extra tablespoon of flour to the filling and let it rest for at least 20 minutes before serving.
Can I make this ahead of time?
Absolutely. You can assemble the entire crisp (without baking) up to 24 hours in advance. Cover and refrigerate. When you’re ready to bake, add about 10 minutes to the baking time since you’re starting from cold. The topping might not be quite as crunchy, but the flavor will be even better.
What are the best apples for apple crisp?
Honeycrisp and Granny Smith are my top picks. Honeycrisp holds its shape and adds natural sweetness, while Granny Smith provides that necessary tartness. A mix of both gives you the best texture and flavor. Avoid Red Delicious—they turn into mush.
Can I freeze apple crisp?
Yes! You can freeze it either unbaked or baked. For unbaked, assemble the crisp in a freezer-safe dish, wrap tightly, and freeze for up to 3 months. Bake from frozen, adding 15-20 minutes. For baked, let it cool completely, wrap well, and freeze for up to 3 months. Thaw in the fridge overnight and reheat in the oven.
Pin This Recipe!
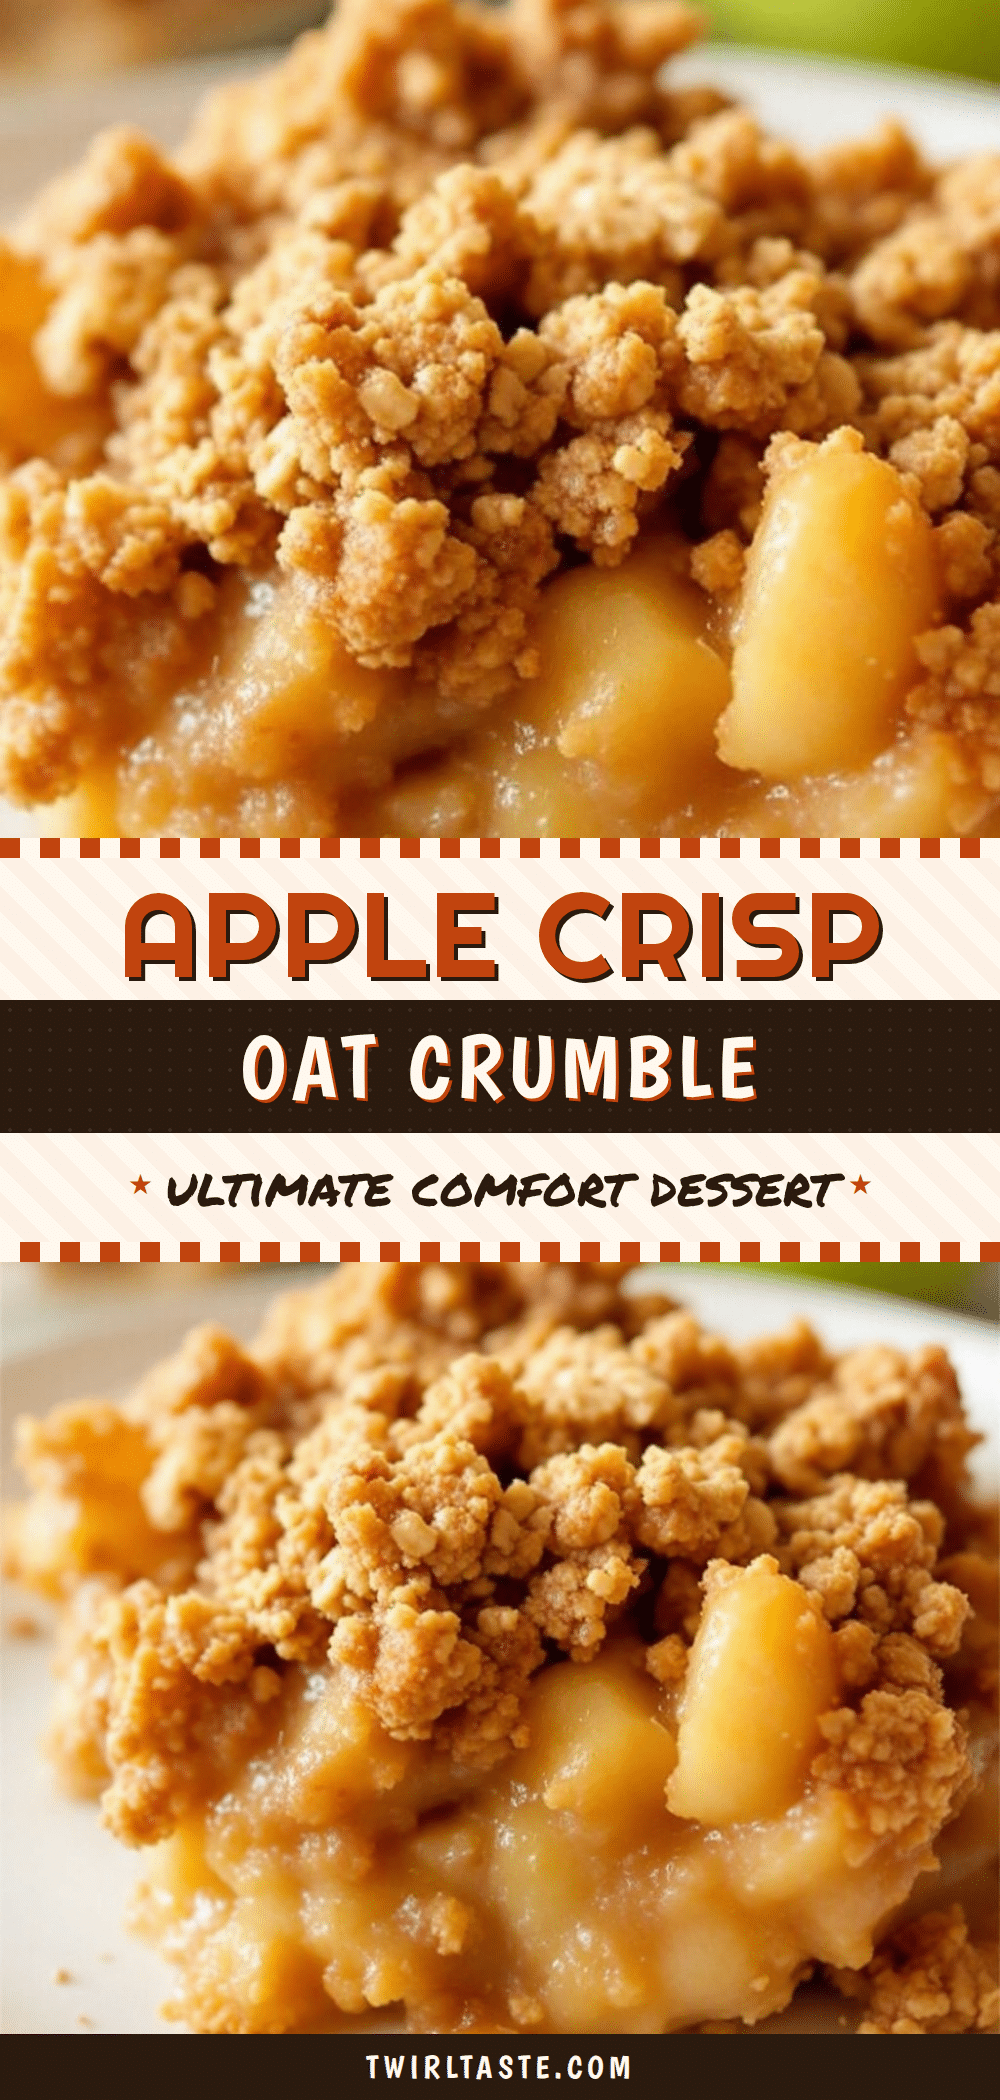
Classic Apple Crisp with Perfect Oat Crumble Topping
This classic apple crisp features tender, spiced apples topped with a crunchy oat crumble. It’s an easy, forgiving dessert perfect for fall gatherings or cozy weeknights.
- Prep Time: 20 minutes
- Cook Time: 45 minutes
- Total Time: 1 hour 5 minutes
- Yield: 8 servings 1x
- Category: Dessert
- Cuisine: American
Ingredients
- 6 cups apples, peeled, cored, and sliced (about 5–6 medium apples; Honeycrisp, Granny Smith, or a mix work best)
- 1/3 cup granulated sugar
- 1/4 cup light brown sugar, packed
- 1 tablespoon all-purpose flour
- 1 teaspoon ground cinnamon
- 1/4 teaspoon ground nutmeg (freshly grated if you have it)
- 1 tablespoon fresh lemon juice
- 1 teaspoon vanilla extract
- 1 cup old-fashioned rolled oats (not quick oats; they get mushy)
- 3/4 cup all-purpose flour
- 1/2 cup light brown sugar, packed
- 1/4 cup granulated sugar
- 1/2 teaspoon ground cinnamon
- 1/4 teaspoon salt
- 1/2 cup unsalted butter, cold and cut into small cubes
- 1/2 cup chopped pecans or walnuts (optional, but highly recommended for crunch)
Instructions
- Preheat your oven to 350°F (175°C). Position a rack in the center of the oven.
- Prepare the apples: Peel, core, and slice the apples into even, 1/4-inch thick slices. Toss them in a large bowl with the lemon juice first—this prevents browning and adds brightness.
- Season the filling: Add the granulated sugar, brown sugar, flour, cinnamon, nutmeg, and vanilla extract to the apples. Toss everything together until the apples are evenly coated. Let this sit for 5-10 minutes while you make the topping.
- Make the oat crumble topping: In a medium bowl, whisk together the oats, flour, brown sugar, granulated sugar, cinnamon, and salt. Add the cold butter cubes. Using a pastry cutter or your fingertips, work the butter into the dry mixture until it resembles coarse crumbs with some pea-sized butter pieces remaining. If using nuts, fold them in now.
- Assemble the crisp: Transfer the apple mixture to your greased baking dish, spreading it into an even layer. Sprinkle the oat crumble topping evenly over the apples. Don’t press it down—leave it loose for maximum crunch.
- Bake: Place the dish on a baking sheet to catch any bubbling juices. Bake for 40-45 minutes, or until the topping is golden brown and the filling is bubbling around the edges. If the topping is browning too quickly, tent loosely with foil for the last 10 minutes.
- Rest: Let the crisp cool on a wire rack for at least 15-20 minutes before serving. This allows the filling to set up so it doesn’t turn into soup on the plate.
Notes
For the apples, a mix of Honeycrisp and Granny Smith is recommended. Use cold butter for the topping and don’t skip the maceration step. Let the crisp rest for 15-20 minutes before serving to allow the filling to set. The crisp can be stored in the refrigerator for up to 4 days and tastes even better the next day.
Nutrition
- Serving Size: 1 serving
- Calories: 385
- Sugar: 38
- Sodium: 95
- Fat: 16
- Saturated Fat: 8
- Carbohydrates: 58
- Fiber: 5
- Protein: 4
Keywords: apple crisp, oat crumble, fall dessert, easy apple dessert, apple crisp recipe


