Love this? Save it for later!
Share the inspiration with your friends
I did not trust acorn squash in my oven. It felt like a gamble every single time I bought one. You know the feeling? You pick out the perfect-looking one at the store, the one with the deep green ridges and the sturdy stem. You bring it home, intending to make something healthy. Then you stare at it. It is hard. It is round. It is intimidating.
Honestly, I thought cutting into it sounded like a mistake until I actually tried the brown butter method. For years, I stuck to butternut squash because it was easy. Just peel, chop, roast. No wrestling match required. Acorn squash felt like work. I worried it would stay raw in the middle. I worried it would turn into mush. I worried the seeds would be impossible to clean.
Then my neighbor brought over a roasted half, drizzled with something golden and nutty. She didn’t say much, just handed me a fork. I took a bite. The flesh was creamy, almost custard-like. The brown butter added this deep, toasted flavor that made me close my eyes. It wasn’t just cooked vegetable; it was comfort food.
I went home and bought three acorn squashes the next day. I tried my old method first. It failed. The edges burned, the center stayed firm. But then I remembered the neighbor’s trick. I browned the butter separately, poured it over the squash, and roasted it face down. The result was magic.
Now, this creamy roasted acorn squash with brown butter is my go-to for autumn nights. It’s not just good; it’s the kind of side dish that makes people ask for the recipe before they’ve even finished their main course. I used to think it was too much effort. Now I think it’s the easiest, most rewarding thing I make all season. If you’ve been avoiding acorn squash, give this one chance. You might just convert too.
Why You’ll Love This Recipe
This isn’t just another roasted vegetable recipe. It is a lesson in how simple techniques can transform humble ingredients into something extraordinary. I have tested this method dozens of times, adjusting the butter ratio and roasting times, to get that perfect balance of tender flesh and nutty richness. Here is why this recipe stands out from the rest:
- Quick & Easy: While roasting takes time, the prep is minimal. You spend about 15 minutes getting ready, and then the oven does the heavy lifting. It is perfect for busy weeknights when you want something elegant but don’t have hours to spare.
- Simple Ingredients: You likely already have everything in your kitchen. Acorn squash, butter, salt, pepper, and maybe a touch of thyme. No fancy grocery trips needed for obscure spices or hard-to-find items.
- Perfect for Fall Gatherings: Whether it is a cozy dinner for two or a large holiday potluck, this dish fits right in. It has that warm, seasonal vibe that everyone associates with autumn comfort food.
- Crowd-Pleaser: Kids who usually pick vegetables off their plate will eat this without complaining. The buttery flavor masks any earthy bitterness, making it universally appealing.
- Unbelievably Delicious: The texture is the star here. When roasted correctly, the inside becomes silky and smooth, almost like a savory pudding. The brown butter adds a layer of complexity that regular melted butter just can’t match.
What makes this recipe different is the attention to the butter. Most people just melt butter and pour it on. We are taking the time to toast the milk solids in the butter until they are golden brown. This changes the flavor profile entirely, adding a nutty, almost caramel-like depth. It is a small step that makes a huge difference.
This recipe isn’t just good—it is the kind that makes you close your eyes after the first bite. It is comfort food reimagined—healthier, faster, but with the same soul-soothing satisfaction. Perfect for impressing guests without stress, or turning a simple meal into something memorable.
What Ingredients You Will Need
This recipe uses simple, wholesome ingredients to deliver bold flavor and satisfying texture without the fuss. The quality of the squash matters more than you might think, so take your time selecting the right ones. Here is what you will need to get started:
For the Squash
- Acorn Squash: Look for firm, small-curd varieties with a hard shell. They should feel heavy for their size. I recommend picking squashes that are dark green with distinct white stripes. Avoid any with soft spots or cracks. Two medium-sized halves (about 2-3 pounds total) work best for a family of four.
- Unsalted Butter: Use high-quality butter for the brown butter step. Since there are only a few ingredients, the butter flavor will shine. I prefer European-style butter for its higher fat content, which helps create a richer sauce. About 4 tablespoons (half a stick) is plenty.
- Salt: Kosher salt is my go-to because it is easier to control. Use about 1/2 teaspoon, or to taste. If you use table salt, reduce the amount slightly.
- Black Pepper: Freshly cracked black pepper adds a nice heat. About 1/4 teaspoon is usually enough.
- Optional Herbs: Fresh thyme or sage leaves add an earthy aroma. If you don’t have fresh herbs, a pinch of dried thyme works too. I usually skip this if I want the pure squash and butter flavor to stand out.
For the Glaze (Optional)
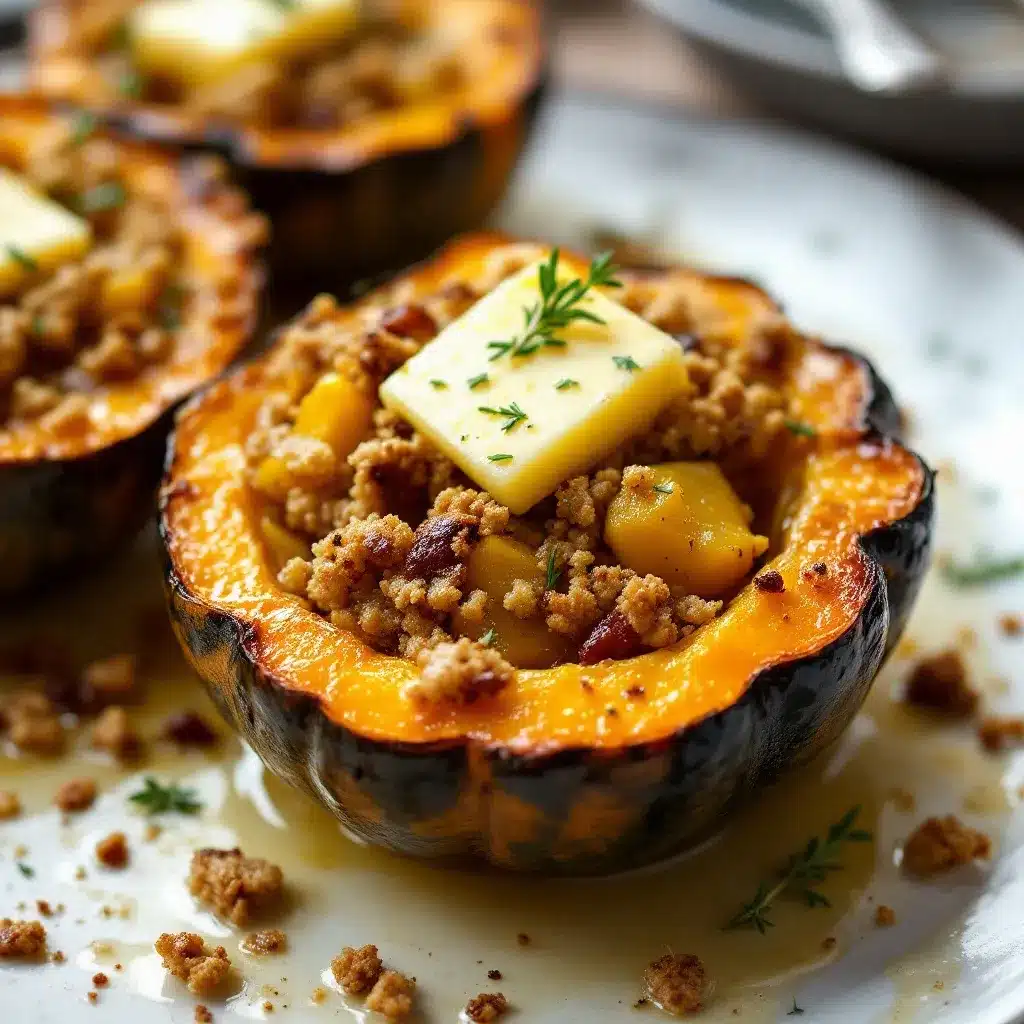
- Maple Syrup: For a hint of sweetness, add 1 tablespoon of pure maple syrup to the brown butter. This balances the savory notes beautifully. Use real maple syrup, not pancake syrup.
- Apple Cider: A splash of apple cider can be added to deglaze the pan if you want a slightly thinner sauce. It adds a fruity acidity that cuts through the richness.
I recommend using Organic Valley or Plugrá butter for the best texture and flavor. The choice of squash is critical. Look for firm, small-curd cottage cheese for best texture? No, that’s for a different recipe! Look for firm, dense acorn squash. In summer, swap in fresh berries instead of frozen? No, acorn squash is strictly a fall/winter vegetable. Stick to seasonal produce for the best flavor.
Substitution guidance: You can use ghee instead of butter if you are lactose intolerant, though the nutty flavor will be slightly different. Olive oil can be used, but it won’t brown in the same way, so you will miss out on that deep, toasted flavor. I don’t recommend skipping the butter entirely.
Equipment Needed
You don’t need a lot of fancy gear for this recipe. Here is what you will need:
- Rimmed Baking Sheet: A large, sturdy baking sheet is essential. Make sure it has raised edges to catch any melted butter so it doesn’t burn on the oven floor. A half-sheet pan (18×13 inches) is ideal.
- Sharp Chef’s Knife: Cutting through an acorn squash requires a sturdy, sharp knife. A dull knife will slip and could hurt you. If your knife is old, consider sharpening it before starting.
- Vegetable Peeler or Spoon: You will need to scoop out the seeds. A sturdy spoon works well for scraping out the stringy pulp. A peeler can help remove the tough outer skin if you prefer that.
- Small Saucepan: Needed for browning the butter. A light-colored pan is best so you can clearly see the color change of the butter milk solids.
- Pastry Brush or Spoon: To brush the brown butter over the squash halves. A silicone brush works nicely for even coverage.
If you don’t have a sharp knife, ask your grocery store to cut the squash in half for you. It is a common service. For the saucepan, any small skillet will work. Just keep an eye on it because butter burns quickly. Budget-friendly options: You don’t need a specialized roasting pan. A standard baking sheet works perfectly. Just make sure it is flat and level in your oven.
Preparation Method
Follow these steps carefully to ensure your squash comes out tender and flavorful.
- Preheat the Oven: Set your oven to 400°F (200°C). Line your baking sheet with parchment paper or aluminum foil for easy cleanup. This takes about 10 minutes to preheat properly.
- Prepare the Squash: Wash the acorn squash thoroughly. Place it on a cutting board. Using your sharp chef’s knife, carefully cut the squash in half from stem to base. This might require some force. Rock the knife back and forth gently if needed. Once cut, scoop out the seeds and stringy pulp with a spoon. Discard the seeds or save them for roasting later if you like.
- Season the Squash: Sprinkle the cut sides of the squash with salt and pepper. Rub it in gently. If you are using fresh herbs, place a few leaves on each half now.
- First Roast (Face Down): Place the squash halves face down on the prepared baking sheet. This steams the squash in its own juices, helping it cook evenly. Roast for 25-30 minutes. Check at 25 minutes by piercing the flesh with a fork. It should be tender but not mushy.
- Brown the Butter: While the squash roasts, place your small saucepan over medium heat. Add the butter. Stir constantly with a wooden spoon. The butter will melt, then foam, then start to crackle. Watch closely. Once the foam subsides and you see golden brown bits at the bottom, and smell a nutty aroma, remove from heat immediately. This takes about 3-5 minutes. Do not walk away.
- Combine: Remove the squash from the oven. Carefully flip the halves over so they are face up. Pour the hot brown butter evenly over the cut sides. If using maple syrup, drizzle it on now.
- Second Roast (Face Up): Return the baking sheet to the oven. Roast for another 10-15 minutes. This allows the squash to absorb the brown butter and get slightly caramelized on top. The edges should be golden brown.
- Rest and Serve: Remove from the oven and let rest for 5 minutes. This allows the juices to redistribute. Serve warm.
Troubleshooting: If the squash is still hard after 30 minutes, cover it loosely with foil and roast for another 10 minutes. If the butter burns, start over. Burnt butter tastes bitter and cannot be fixed.
Cooking Tips & Techniques
Mastering brown butter is the key to this recipe. Here are some tips to get it right every time.
- Watch the Color: Butter goes from golden to burnt very quickly. The milk solids sink to the bottom and toast. Look for a deep amber color, not dark brown. If it looks too dark, it is already burnt.
- Smell is Your Guide: When the butter is ready, it will smell like toasted nuts or hazelnuts. If it smells like burnt popcorn, you went too far.
- Use a Light Pan: A dark pan hides the color change. A stainless steel or light-colored pan lets you see the browning process clearly.
- Don’t Crowd the Pan: Make sure the squash halves are not touching each other on the baking sheet. This allows air circulation and promotes even roasting.
- Season Generously: Squash can be bland if under-seasoned. Don’t be shy with the salt. It brings out the natural sweetness of the vegetable.
Common mistakes: People often roast the squash face up from the start, which dries out the flesh. Starting face down keeps it moist. Another mistake is using salted butter without reducing the added salt. Always taste before adding more salt.
Personal failure: I once left the butter on the stove to answer the door. It smoked and smelled terrible. I had to throw it out. Never leave brown butter unattended. It is worth the vigilance.
Timing tip: Start browning the butter when the squash is in the oven for about 10 minutes. That way, everything is ready at the same time. Multitasking is key here.
Variations & Adaptations
This recipe is versatile. Here are some ways to customize it:
- Spicy Kick: Add a pinch of red pepper flakes to the brown butter. It adds a nice heat that contrasts with the sweetness of the squash.
- Herb-Infused: Add fresh rosemary or thyme to the butter while it browns. Strain out the herbs before pouring over the squash for a subtle herbal note.
- Cheesy Twist: Sprinkle crumbled goat cheese or feta over the squash after the second roast. The cheese melts slightly and adds a tangy contrast.
- Gluten-Free: This recipe is naturally gluten-free. Just ensure your maple syrup and other ingredients are certified gluten-free if you have celiac disease.
- Vegan Option: Use vegan butter or coconut oil. Coconut oil adds a slight coconut flavor that pairs well with the squash. The technique remains the same.
I once tried adding crispy bacon bits on top. It was delicious, but it changed the dish into something more savory and less sweet. It’s a great option if you are serving it with pork or chicken.
Serving & Storage Suggestions
Serve this creamy roasted acorn squash with brown butter as a side dish for roast chicken, pork chops, or turkey. It pairs well with green beans or a simple arugula salad.
Storage
- Refrigerator: Store leftovers in an airtight container for up to 3-4 days. The squash will soften further in the fridge.
- Freezer: You can freeze roasted squash, but the texture may become watery upon thawing. It is best used in soups or smoothies if frozen.
Reheating
Reheat in the oven at 350°F for 10-15 minutes to restore the texture. Microwaving is possible but may make the squash mushy.
The flavors develop over time, becoming more concentrated as the squash sits in the brown butter. It tastes even better the next day.
Nutritional Information & Benefits
Acorn squash is rich in vitamins A and C, as well as fiber. It is a low-calorie, nutrient-dense vegetable. Brown butter adds fat, which helps absorb fat-soluble vitamins. This recipe is naturally gluten-free and can be made vegan. It is a healthy addition to any meal.
Conclusion
This creamy roasted acorn squash with brown butter is a game-changer. It is simple, delicious, and impressive. I hope you try it and love it as much as I do. Customize it with your favorite herbs or spices. Let me know how you like it in the comments below. Share your photos on social media!
Frequently Asked Questions
Can I use butternut squash instead?
Yes, but the cooking time will be different. Butternut squash cubes will cook faster than acorn squash halves. Reduce the roasting time accordingly.
How do I know when the brown butter is done?
Look for golden brown bits at the bottom and a nutty aroma. It happens quickly, so watch closely.
Can I make this ahead of time?
You can prep the squash and brown the butter ahead of time. Assemble and roast just before serving for the best texture.
Is acorn squash healthy?
Yes, it is low in calories and high in fiber, vitamins, and antioxidants.
Why is my squash still hard?
It may need more time. Check at 30 minutes and roast longer if necessary. Covering with foil can help steam it further.
Pin This Recipe!
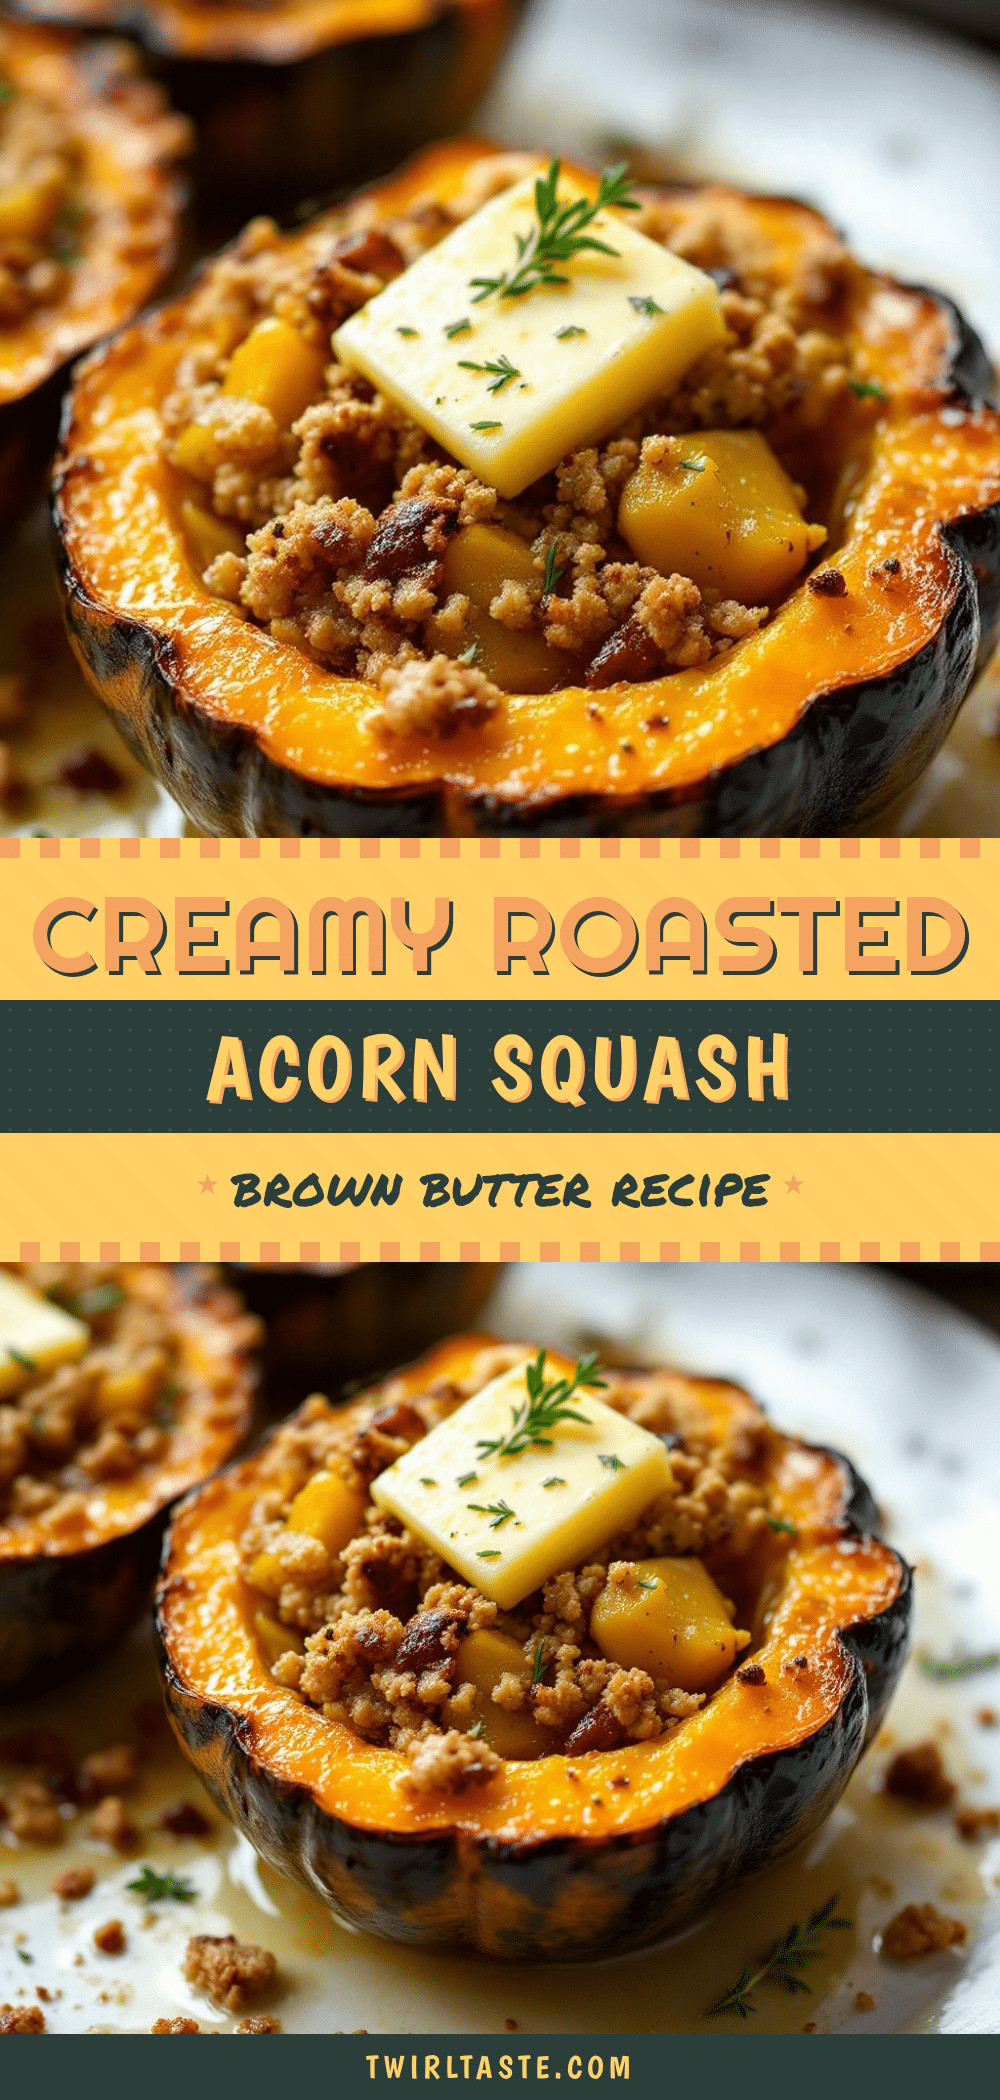
Creamy Roasted Acorn Squash with Brown Butter

A comforting autumn side dish featuring tender acorn squash roasted face-down to steam, then finished with nutty, toasted brown butter for a rich, caramelized flavor.
- Prep Time: 15 minutes
- Cook Time: 45 minutes
- Total Time: 60 minutes
- Yield: 4 servings 1x
- Category: Side Dish
- Cuisine: American
Ingredients
- 2 medium acorn squash halves (about 2–3 pounds total)
- 4 tablespoons unsalted butter
- 1/2 teaspoon kosher salt (or to taste)
- 1/4 teaspoon freshly cracked black pepper
- Optional: Fresh thyme or sage leaves
- Optional: 1 tablespoon pure maple syrup
- Optional: Splash of apple cider
Instructions
- Preheat oven to 400°F (200°C). Line a rimmed baking sheet with parchment paper or foil.
- Wash the acorn squash. Carefully cut it in half from stem to base. Scoop out seeds and stringy pulp with a spoon.
- Sprinkle the cut sides of the squash with salt and pepper. Rub gently. Add fresh herbs if using.
- Place squash halves face down on the baking sheet. Roast for 25-30 minutes until tender when pierced with a fork.
- While squash roasts, melt butter in a small saucepan over medium heat. Stir constantly until foam subsides and milk solids turn golden brown with a nutty aroma (3-5 minutes). Remove from heat immediately.
- Remove squash from oven and flip halves face up. Pour hot brown butter evenly over the cut sides. Add maple syrup if using.
- Return to oven and roast face up for another 10-15 minutes until edges are golden brown.
- Let rest for 5 minutes before serving.
Notes
Start browning the butter when the squash has been in the oven for about 10 minutes to ensure everything is ready simultaneously. Do not leave brown butter unattended as it burns quickly. If squash is still hard after 30 minutes, cover loosely with foil and roast longer. For vegan version, use vegan butter or coconut oil.
Nutrition
- Serving Size: 1 half squash
- Calories: 180
- Sugar: 6
- Sodium: 250
- Fat: 12
- Saturated Fat: 7
- Carbohydrates: 18
- Fiber: 4
- Protein: 2
Keywords: acorn squash, brown butter, roasted vegetables, fall recipes, gluten-free, vegan option, autumn comfort food, healthy side dish