Love this? Save it for later!
Share the inspiration with your friends
I assumed roasted pumpkin seeds would be a soft, chewy disappointment, much like the ones I bought at the grocery store in bulk bags. It took about twenty minutes in the oven for that assumption to shatter into a million salty, crunchy shards. Honestly, I was staring at a messy string of pumpkin guts after carving a jack-o-lantern, and I didn’t want to throw them away. So, I tossed them in oil and salt and put them in the oven. I expected a soggy mess. Instead, I got the best snack I’ve made all autumn.
The smell of garlic and parmesan filling the kitchen was the first clue that something was different. Usually, roasting seeds is just about drying them out until they’re hard as rocks. But adding that cheesy, garlicky coating changed the whole game. It turned a waste product into a crave-worthy treat. You know how sometimes you try a recipe and it just works? This was one of those times.
I remember eating them straight from the baking sheet, burning my fingers because they were too hot and too good to wait. My kids thought they were eating chips, which is a win in my book. There is something deeply satisfying about turning potential trash into treasure. It feels clever and economical, but mostly it just tastes incredible.
Now, I make these every time I see a pumpkin. It’s become a little ritual for me, especially when I’m watching football or just need a savory crunch while cooking dinner. The contrast between the nutty seed and the sharp cheese is what keeps me coming back. It’s simple, but it’s also surprisingly fancy.
Why You’ll Love This Recipe
There are a few reasons why these Crispy Roasted Garlic Parmesan Pumpkin Seeds have taken over my snack rotation, and honestly, once you try them, you’ll see why. It’s not just about saving money on pumpkin guts; it’s about the flavor profile and the texture. Here is why this recipe stands out from the rest of the crunchy snacks you might be making.
- Quick & Easy: The whole process takes less than 30 minutes from raw seed to crunchy snack. It’s perfect for those moments when you need a savory fix but don’t want to spend hours in the kitchen. The prep is minimal, and the oven does the heavy lifting.
- Simple Ingredients: You likely already have everything you need in your pantry. Pumpkin seeds (pepitas), olive oil, garlic powder, parmesan cheese, and salt. No fancy grocery trips or obscure ingredients required. It’s comfort food made from basics.
- Perfect for Game Day: Whether it’s the Super Bowl, a casual Sunday watch party, or just a quiet night with the remote, these seeds are ideal. They are easy to eat with one hand while you argue about the referee, which is a key feature for any game day snack.
- Crowd-Pleaser: These get rave reviews from kids and adults alike. The garlic and cheese flavor masks any “earthy” taste that some people dislike in plain roasted seeds. It tastes like a gourmet treat rather than a health food.
- Unbelievably Delicious: The texture is next-level. They are shatteringly crisp on the outside and tender on the inside. The parmesan creates a light, golden crust that clings to every seed, delivering a burst of umami with every bite.
What makes this recipe different is the technique of coating the seeds properly. Many people just sprinkle spices on dry seeds, and the seasoning falls off. By using a little oil and cheese, you create a cohesive coating that bakes into a crunchy shell. It’s a small detail, but it makes all the difference in the final product.
This recipe isn’t just good—it’s the kind that makes you close your eyes after the first bite. It’s savory crunch reimagined. It’s faster than making popcorn and more interesting than plain nuts. Perfect for impressing guests without stress, or turning a simple afternoon snack into something memorable.
What Ingredients You Will Need
This recipe uses simple, wholesome ingredients to deliver bold flavor and satisfying texture without the fuss. The beauty of this dish lies in its accessibility. You don’t need a specialty store to make these; you just need a few staples and a little bit of patience. Here is what you need to get started.
- Pumpkin Seeds (Pepitas): 1 cup raw, shelled pumpkin seeds. These are the base. If you are cleaning them from a fresh pumpkin, make sure they are rinsed well. For convenience, you can buy them pre-shelled, but fresh ones have a better nutty flavor.
- Olive Oil: 2 tablespoons extra virgin olive oil. This helps conduct the heat and helps the seasoning stick. I recommend using a good quality olive oil because you can taste it. It adds a fruity note that balances the sharp cheese.
- Garlic Powder: 1 teaspoon. I use garlic powder rather than fresh garlic here. Fresh garlic can burn easily at high temperatures and leave you with bitter, charred bits. Powder gives you that consistent garlic flavor without the risk.
- Parmesan Cheese: 2 tablespoons finely grated parmesan. This is the secret weapon. The cheese melts slightly and then crisps up, creating a savory crust. I recommend using the pre-grated kind in a cup or buying a wedge and grating it yourself. Pre-shredded bags often have anti-caking agents that might prevent proper melting.
- Salt: 1/2 teaspoon kosher salt. Adjust to taste. Since parmesan is already salty, start with less and add more if needed after roasting.
- Black Pepper: 1/4 teaspoon freshly cracked black pepper. Adds a little heat and depth to the flavor profile.
- Optional: Red Pepper Flakes: 1/4 teaspoon. If you like a little kick, this is a great addition. It adds a visual pop and a subtle warmth that complements the garlic.
For the best texture, look for flat, green pumpkin seeds rather than the striped ones. The flat ones tend to roast more evenly. If you can’t find raw seeds, you can use raw pepitas from the health food aisle. Just make sure they aren’t roasted or salted already.
In summer, you can swap the parmesan for nutritional yeast if you want a vegan version. It gives a similar cheesy flavor but without the dairy. For a gluten-free option, this recipe is naturally gluten-free, but always check your cheese packaging to be sure.
Equipment Needed
You don’t need a fancy kitchen to make these seeds. A few basic tools will get the job done perfectly. Here is what you’ll need to have ready before you start.
- Baking Sheet: A standard rimmed baking sheet is ideal. I prefer a light-colored metal sheet because it conducts heat evenly. Dark sheets can sometimes burn the bottom of the seeds, so keep an eye on them.
- Parchment Paper: Lining your baking sheet with parchment paper makes cleanup a breeze. The cheese and oil can stick to the pan if you don’t line it, and scrubbing burnt cheese is not fun. It also helps the seeds roast evenly by preventing direct contact with hot metal.
- Large Mixing Bowl: You need a bowl big enough to toss the seeds in the oil and spices. A wide bowl works best so the seeds can move around freely.
- Spatula: A silicone spatula is helpful for stirring the seeds in the bowl and spreading them out on the baking sheet. It won’t scratch your parchment paper or your bowl.
- Airtight Container: To store the leftover seeds, you’ll need a container that seals well. An airtight container keeps the crunch for days. Glass containers are great because they don’t retain odors.
If you don’t have parchment paper, you can use a silicone baking mat. It’s reusable and works just as well. For budget-friendly options, a standard rimmed baking sheet from a discount store works perfectly. You don’t need expensive copper pans for this. Just make sure your pan is flat and not warped, so the seeds cook evenly.
Preparation Method
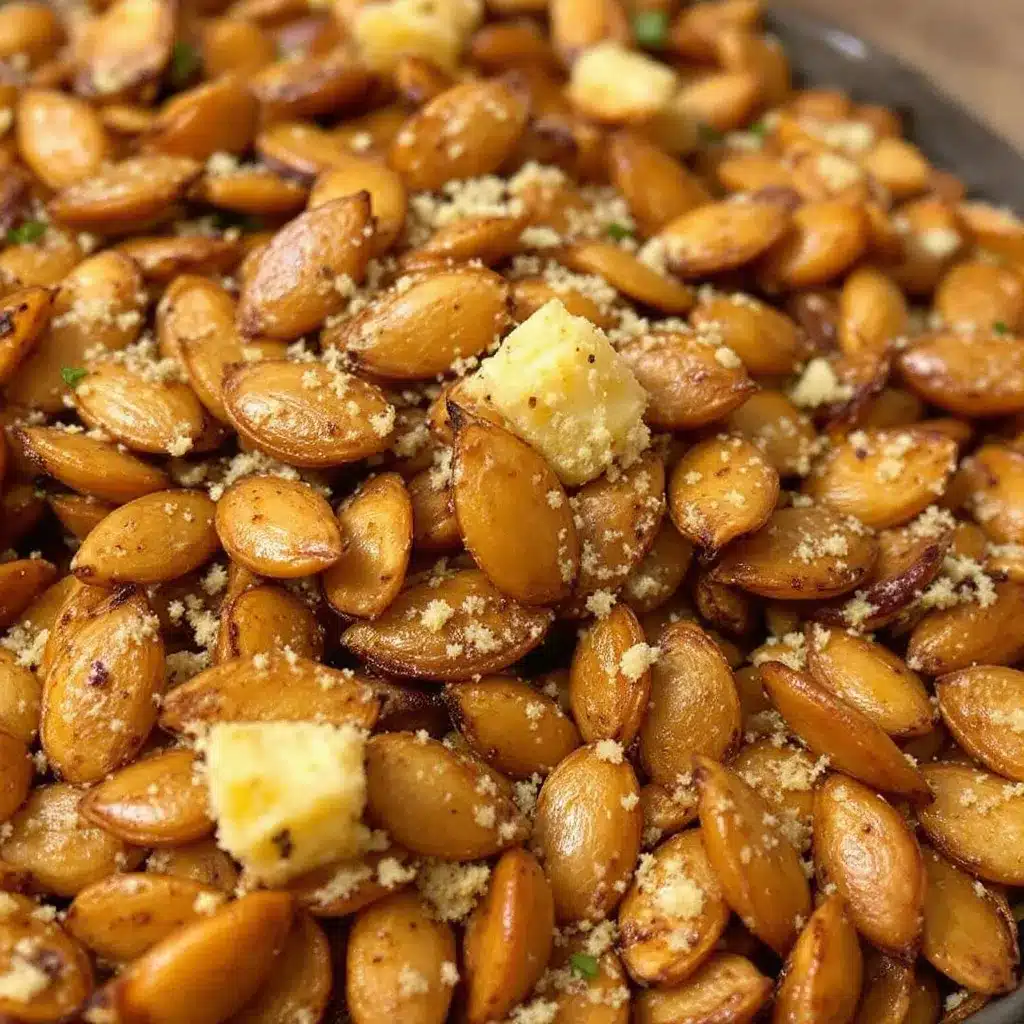
Making these seeds is straightforward, but there are a few steps to ensure they come out perfectly crispy. Follow these instructions carefully for the best results.
- Preheat the Oven: Start by preheating your oven to 325°F (160°C). This lower temperature is key. High heat can burn the garlic and cheese before the seeds are fully cooked. Let the oven fully preheat while you prepare the seeds.
- Prepare the Seeds: If you are using fresh seeds from a pumpkin, rinse them thoroughly under cold water to remove all the pulp and stringy bits. Pat them dry with a paper towel. Moisture is the enemy of crispiness, so the drier the better. If using store-bought raw seeds, you can skip the rinsing but give them a quick dry if they feel damp.
- Mix the Seasoning: In a large mixing bowl, combine the olive oil, garlic powder, parmesan cheese, salt, pepper, and red pepper flakes (if using). Whisk or stir with a fork until the mixture forms a slightly pasty consistency. This ensures the coating is even.
- Coat the Seeds: Add the pumpkin seeds to the bowl. Toss them well with your hands or a spoon until every single seed is coated in the cheesy mixture. It should look like the seeds are lightly dusted. If you see clumps of cheese, break them up.
- Spread on Baking Sheet: Line a baking sheet with parchment paper. Spread the coated seeds out in a single layer. Do not overcrowd the pan. If the seeds are piled on top of each other, they will steam instead of roast. You may need to use two pans if you are making a large batch.
- Roast: Place the baking sheet in the preheated oven. Roast for 15-20 minutes. Halfway through the cooking time, remove the pan and give the seeds a good stir. This ensures they brown evenly on all sides. You want them to turn a light golden color.
- Cool and Crisp: Remove the seeds from the oven when they are golden and fragrant. They will look slightly soft when hot, but they will crisp up as they cool. Let them cool completely on the baking sheet. This cooling period is crucial for the final texture. Do not store them while they are still warm, or they will become soggy.
Troubleshooting: If the seeds are browning too fast, lower the oven temperature to 300°F (150°C). If they are still soft after cooling, return them to the oven for 2-3 more minutes.
Cooking Tips & Techniques
I’ve made these seeds enough times to learn a few tricks that make a big difference. Here are some tips to help you avoid common mistakes and get that perfect crunch every time.
- Dry is Right: The most common mistake is using wet seeds. If you rinse fresh seeds, make sure they are completely dry. Any moisture will steam the seeds, and they will never get crispy. I usually let them sit on paper towels for 10 minutes after rinsing.
- Watch the Heat: Garlic powder burns quickly. If your oven runs hot, keep a close eye on the seeds. They should be golden, not brown. Burnt garlic tastes bitter and ruins the whole batch.
- Stir Regularly: Seeds can stick together or burn on the edges. Stirring them halfway through cooking ensures even distribution of heat and flavor. It’s a small step that prevents hot spots.
- Cool Completely: Patience pays off. The seeds continue to cook and crisp up as they cool. If you eat them hot, they might feel chewy. Wait until they are room temperature for the best texture.
- Don’t Skip the Oil: The oil helps the seasoning stick and promotes browning. Without it, the seeds will be dry and the spices will fall off. Use just enough to coat them lightly.
I once tried roasting these without oil, thinking it would be healthier. The result was a dry, crumbly mess with no flavor adhesion. Lesson learned. The oil is necessary for the texture. Also, using a mix of sea salt and kosher salt can add a nice variation in texture, but keep it simple to let the garlic and cheese shine.
Variations & Adaptations
While the garlic parmesan version is my favorite, there are plenty of ways to change up the flavor profile. Here are a few variations you can try.
- Spicy Cajun: Swap the parmesan and garlic for cajun seasoning, cayenne pepper, and smoked paprika. This adds a smoky heat that is great for game day.
- Sweet Cinnamon Sugar: For a dessert snack, toss the seeds with melted butter, cinnamon, and sugar. Roast them until the sugar caramelizes slightly. These are great with coffee or hot chocolate.
- Herb and Lemon: Use dried dill, lemon zest, and a pinch of garlic salt. This is a lighter, fresher option that pairs well with salads or fish.
- Vegan Option: Replace the parmesan with nutritional yeast and add a little extra salt. The nutritional yeast provides a cheesy, nutty flavor without any dairy. It works surprisingly well.
I tried the sweet cinnamon version once for a breakfast snack, and it was a hit with my kids. It’s a nice change from the savory options. You can also add different spices like cumin or chili powder for a mexican-inspired twist. The base recipe is very adaptable.
Serving & Storage Suggestions
These seeds are best served at room temperature. They make a great standalone snack or a topping for soups and salads.
- Serving: Serve them in a small bowl with a napkin. They pair well with a cold beer or a glass of wine. They are also great sprinkled over roasted butternut squash soup for added crunch.
- Storage: Store leftover seeds in an airtight container at room temperature. They will stay crisp for up to 5 days. Avoid storing them in the fridge, as the humidity can make them soft.
- Reheating: If they lose their crunch, you can re-crisp them in the oven at 300°F (150°C) for 5 minutes. Let them cool again before eating.
The flavors develop over time, so they often taste better on day two. I’ve been known to make a double batch just to have fresh ones later in the week. They travel well in snack bags for picnics or office lunches.
Nutritional Information & Benefits
Pumpkin seeds are a nutritional powerhouse. They are rich in magnesium, zinc, and protein. A one-ounce serving can provide a significant portion of your daily magnesium needs, which is important for muscle function and sleep.
- High in Protein: Great for a satiating snack that keeps you full longer than chips or crackers.
- Rich in Minerals: Packed with iron, magnesium, and zinc, which support immune health.
- Heart Healthy: Contains healthy fats and antioxidants that support cardiovascular health.
This recipe is naturally gluten-free. However, if you are watching your sodium intake, reduce the salt and use low-sodium parmesan. The parmesan adds some fat and calories, so enjoy in moderation. I like to think of these as a guilt-free indulgence compared to processed snacks.
Conclusion
These Crispy Roasted Garlic Parmesan Pumpkin Seeds are a game-changer for snack time. They are easy to make, delicious, and a great way to use up pumpkin guts. I love that they are savory, crunchy, and satisfying.
I encourage you to try this recipe and customize it to your liking. Add more spice, less cheese, or different herbs. It’s a flexible recipe that lets you experiment.
Please share your results in the comments below. I’d love to hear how you like them or if you tried a different variation. Pin this recipe to your snacks board for later, and share it with friends who love crunchy treats.
Enjoy the crunch!
FAQs
Can I use store-bought pumpkin seeds?
Yes, you can use raw, shelled pumpkin seeds from the store. They are often labeled as pepitas. Just make sure they are raw and not already roasted or salted.
Why are my seeds not crispy?
They might not have been dry enough before roasting, or they weren’t cooked long enough. Make sure to pat them dry and let them cool completely on the baking sheet. They crisp up as they cool.
How long do these seeds last?
Stored in an airtight container at room temperature, they will stay fresh and crispy for up to 5 days. They do not last long because they are so good!
Can I make these in an air fryer?
Yes, you can. Cook them at 300°F (150°C) for 8-10 minutes, shaking the basket halfway through. Keep a close eye on them as air fryers can vary in heat.
What can I substitute for parmesan cheese?
You can use nutritional yeast for a vegan option, or try other hard cheeses like pecorino romano. For a dairy-free option, skip the cheese and use extra garlic powder and salt.
Pin This Recipe!
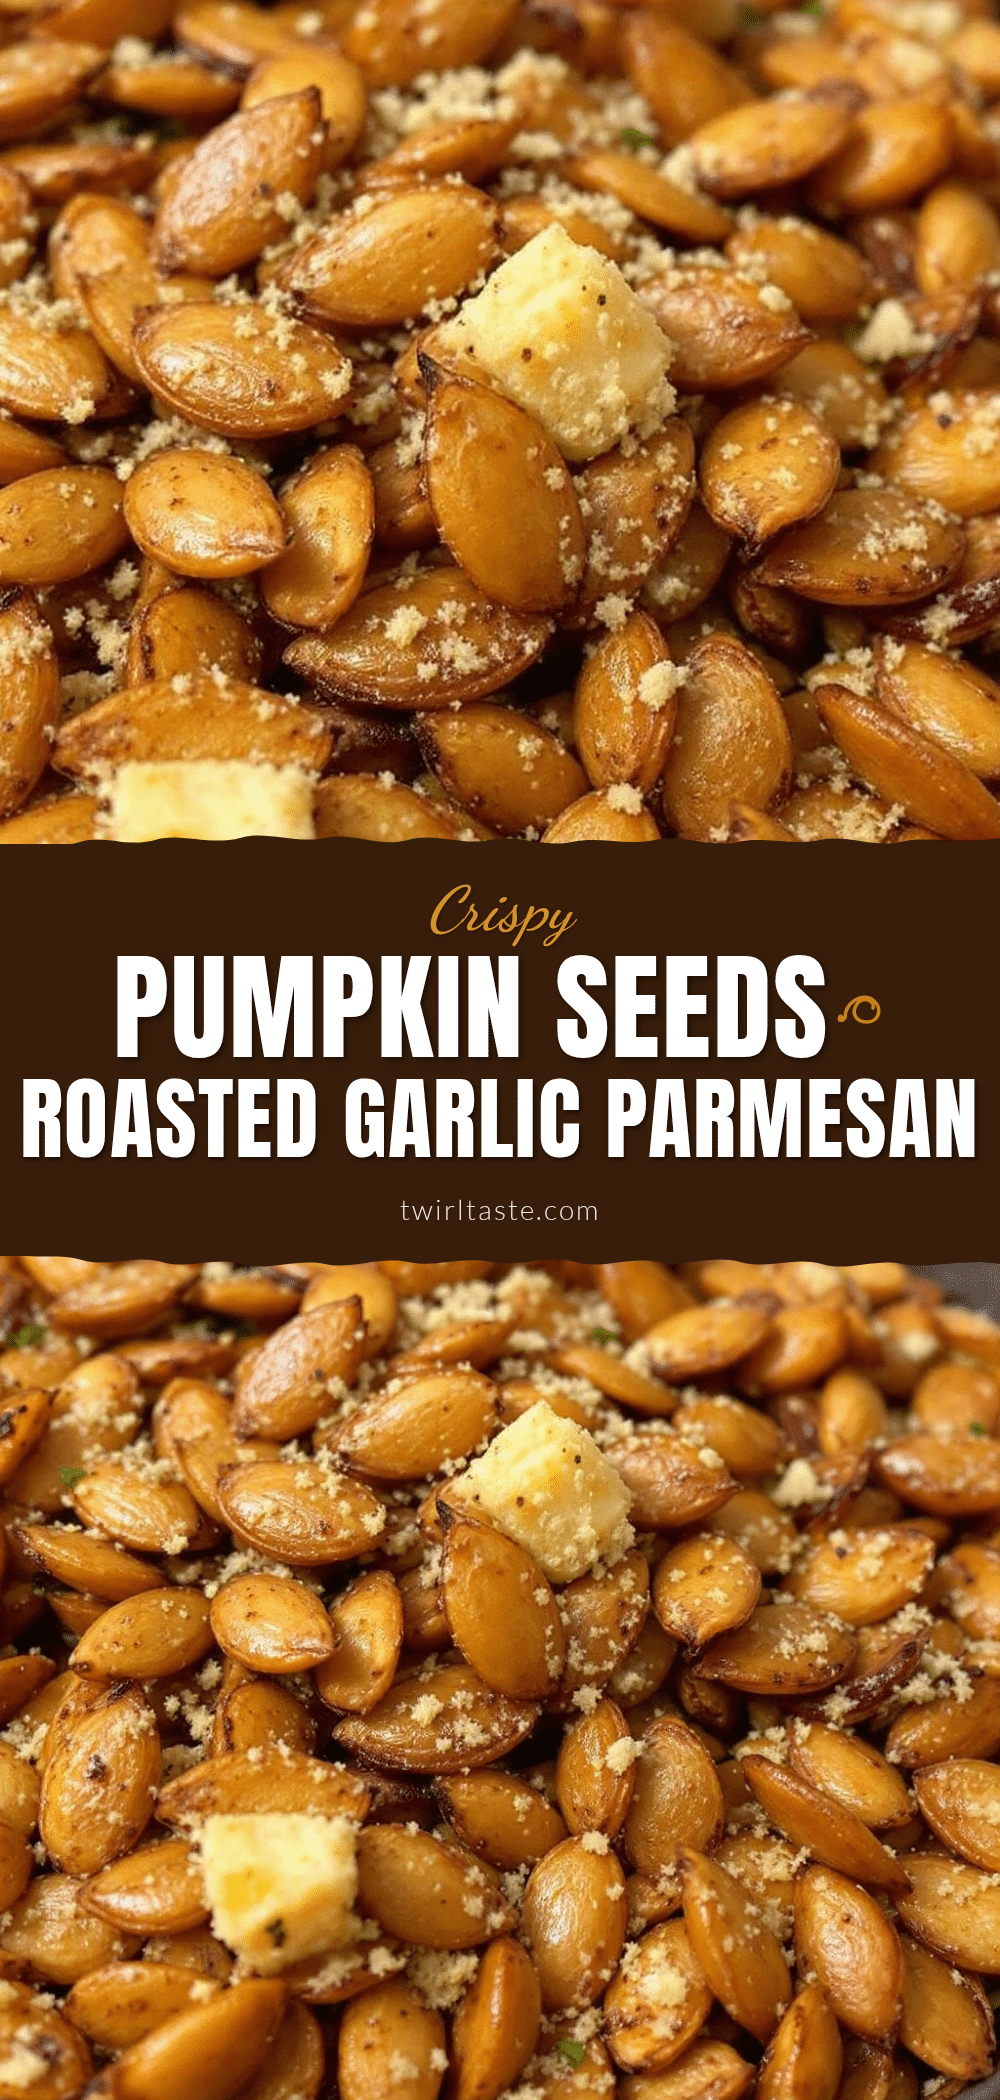
Crispy Roasted Garlic Parmesan Pumpkin Seeds
Transform leftover pumpkin guts into a crave-worthy, savory snack. These seeds are coated in olive oil, garlic powder, and parmesan cheese, then roasted until shatteringly crisp for a perfect game day treat.
- Prep Time: 10 minutes
- Cook Time: 20 minutes
- Total Time: 30 minutes
- Yield: 1 cup 1x
- Category: Snack
- Cuisine: American
Ingredients
- 1 cup raw, shelled pumpkin seeds (pepitas)
- 2 tablespoons extra virgin olive oil
- 1 teaspoon garlic powder
- 2 tablespoons finely grated parmesan cheese
- 1/2 teaspoon kosher salt
- 1/4 teaspoon freshly cracked black pepper
- 1/4 teaspoon red pepper flakes (optional)
Instructions
- Preheat oven to 325°F (160°C).
- If using fresh seeds, rinse thoroughly to remove pulp and pat completely dry with paper towels. Store-bought seeds can be used directly if dry.
- In a large mixing bowl, combine olive oil, garlic powder, parmesan cheese, salt, pepper, and red pepper flakes (if using). Stir until a slightly pasty consistency forms.
- Add pumpkin seeds to the bowl and toss until every seed is evenly coated in the cheesy mixture.
- Line a baking sheet with parchment paper and spread the seeds in a single layer, ensuring they are not overcrowded.
- Roast for 15-20 minutes, stirring halfway through to ensure even browning.
- Remove from oven when golden and fragrant. Let cool completely on the baking sheet to allow them to crisp up.
- Store in an airtight container at room temperature.
Notes
Ensure seeds are completely dry before roasting to achieve crispiness. Garlic powder burns easily, so keep an eye on the oven. Seeds will crisp up further as they cool. For a vegan version, substitute parmesan with nutritional yeast.
Nutrition
- Serving Size: 1 ounce (approx. 1/4
- Calories: 160
- Sodium: 250
- Fat: 12
- Saturated Fat: 3
- Carbohydrates: 8
- Fiber: 2
- Protein: 8
Keywords: pumpkin seeds, pepitas, roasted seeds, garlic parmesan, game day snack, healthy snack, gluten-free, vegan option, autumn recipe


