Love this? Save it for later!
Share the inspiration with your friends
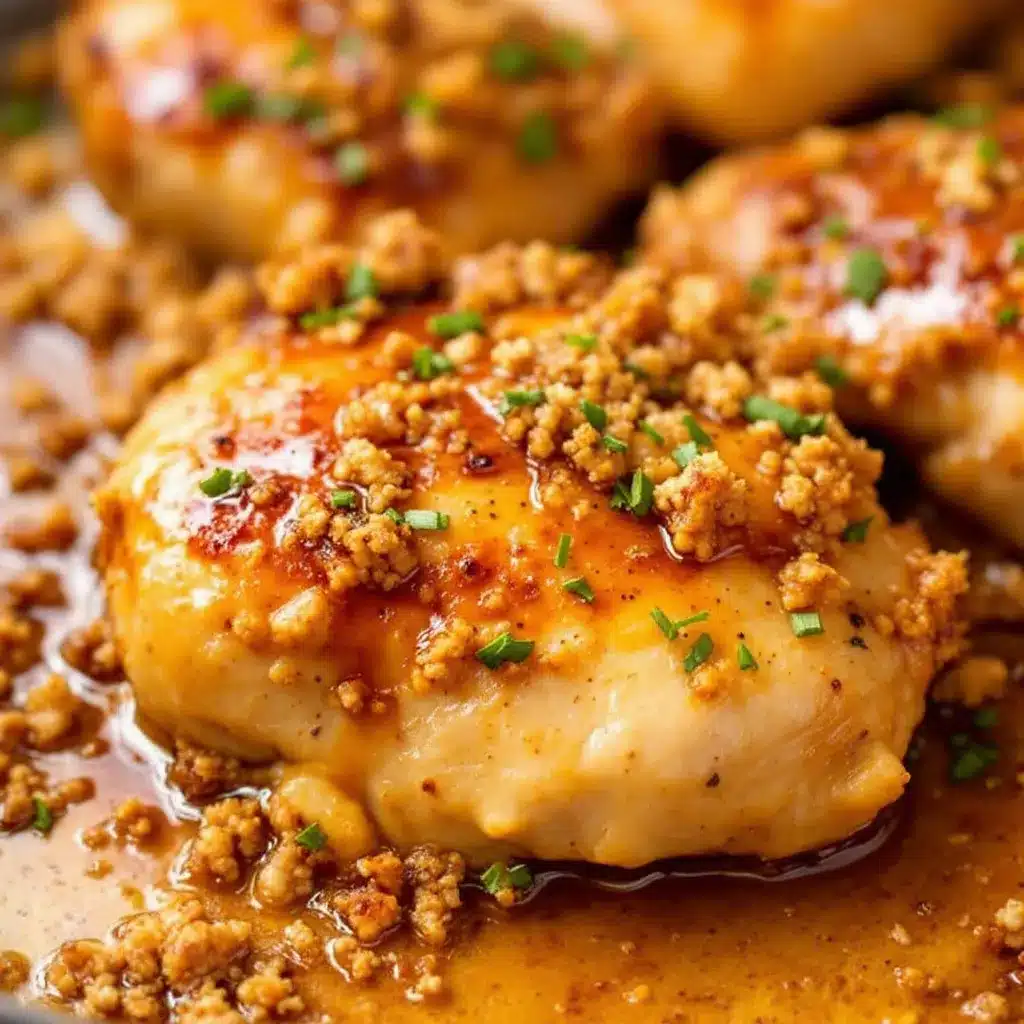
The glossy, sticky sheen on those chicken thighs—that’s what gets me every time. I mean, the way the honey garlic sauce clings to the skin, catching the light like amber glass, is honestly half the reason I make this dish. The other half? That first bite, where the sweet glaze gives way to impossibly tender meat underneath. It’s a whole mood, you know?
I stumbled onto this recipe on a Tuesday night that had completely gotten away from me. You know the kind—where you’re staring into the fridge at 6 p.m., the kids are circling like hungry sharks, and the thought of washing more than one pan makes you want to cry. I had chicken thighs thawed (thank goodness) and a desperate need for something that felt special without the effort. So I grabbed honey, garlic, soy sauce, and a skillet, and just… went for it. The first batch was a little too garlicky, honestly. The second, a touch burnt on the edges. But the third? That was the one. The sauce reduced into this perfect, clingy coating that made everyone at the table go quiet for a minute. And that’s the moment I knew this recipe was a keeper.
This isn’t fancy food, and it doesn’t pretend to be. It’s the kind of meal you make when you want a real dinner—something with flavor and soul—but you’re also just trying to get through the evening without a sink full of dishes. The sauce does the heavy lifting here, turning simple ingredients into something that feels like a hug on a plate. Trust me on this one.
Why You’ll Love This Recipe
After testing this recipe more times than I care to admit (my family has become a very willing focus group), I can confidently say this is one of those rare dishes that checks every single box. It’s the weeknight warrior you didn’t know you needed.
- One Pan, Minimal Mess: Seriously, you use one skillet. That’s it. No baking sheets, no separate bowls for sauce, no cutting boards to scrub (well, maybe one). Dinner is done, and so is the cleanup, in record time.
- Pantry-Friendly Ingredients: You probably have everything you need right now. Honey, soy sauce, garlic—these are staples. No special trips to the store for obscure ingredients.
- Perfect for Busy Weeknights: From start to finish, this comes together in about 30 minutes. It’s faster than takeout, and way more satisfying.
- A Total Crowd-Pleaser: I’ve served this to picky kids, my in-laws, and friends who “don’t really like chicken.” It disappears every single time. The sweet-savory combo is basically irresistible.
- Unbelievably Delicious: Let’s be real—the flavor is the star. The chicken gets this gorgeous, caramelized exterior while staying juicy and tender inside. The sauce reduces into this thick, glossy glaze that you’ll want to eat with a spoon.
What makes this version different from all the other honey garlic chicken recipes out there? It’s the technique. Instead of just dumping everything in the pan, we sear the chicken first to build that deep, savory flavor, then let it simmer gently in the sauce. This little extra step is the secret to getting that sticky, restaurant-quality glaze without any complicated steps. It’s not just another recipe—it’s the best version.
This is the kind of meal that makes you close your eyes after the first bite. It’s comfort food, reimagined for a busy life—faster and simpler, but with the same soul-soothing satisfaction. Perfect for impressing guests without the stress, or turning a simple Tuesday into something memorable.
What Ingredients You Will Need
This recipe uses simple, honest ingredients to create something truly special. The magic is in how they work together, building layers of flavor from your pantry staples. Here’s what you’ll need to grab:
For the Chicken
- 2 lbs bone-in, skin-on chicken thighs (about 6-8 thighs) — I prefer bone-in for the most flavor and juiciest meat, but boneless will work too (just reduce cooking time). Look for thighs with the skin still attached—it gets beautifully crispy.
- 1 tablespoon olive oil — For searing. Avocado oil works great too.
- Salt and freshly ground black pepper — To season the chicken. Don’t be shy with it.
For the Honey Garlic Sauce
- 1/3 cup honey — Use a good quality honey here; it’s the backbone of the sauce. I like a mild wildflower honey for its balanced sweetness.
- 1/4 cup low-sodium soy sauce — This gives us that savory umami kick. Tamari or coconut aminos work for a gluten-free option.
- 4 cloves garlic, minced — Fresh garlic is non-negotiable here. Pre-minced stuff from a jar just doesn’t have the same punch. Trust me on this one.
- 1 tablespoon rice vinegar — A little acidity to balance the sweetness. Apple cider vinegar works in a pinch.
- 1 teaspoon sesame oil — Adds a lovely, nutty depth. Optional, but highly recommended.
- 1/2 teaspoon red pepper flakes — For a tiny bit of heat. Leave it out if you’re sensitive to spice.
- 1 tablespoon cornstarch mixed with 2 tablespoons water (cornstarch slurry) — This is our secret weapon for thickening the sauce into that perfect, glossy glaze.
For Garnish (Optional but Recommended)
- Chopped fresh parsley or green onions — For a pop of color and freshness.
- Sesame seeds — Because they look pretty and add a little crunch.
Equipment Needed
The beauty of this recipe is its simplicity. You really don’t need much to make it happen. Here’s what you’ll want to have on hand:
- A large, heavy-bottomed skillet or frying pan (12-inch is ideal) — Cast iron or stainless steel works best for getting a good sear. Non-stick will work too, but you won’t get as much of that beautiful browned bits on the bottom.
- Tongs — For flipping the chicken without piercing the skin.
- A small bowl — For mixing the cornstarch slurry.
- A sharp knife and cutting board — For mincing the garlic.
- Measuring spoons and a liquid measuring cup — For accuracy.
If you don’t have a cast iron skillet, don’t sweat it. A good-quality non-stick pan will work just fine; just be careful not to crank the heat too high, as non-stick coatings can break down. I’ve made this in a well-seasoned carbon steel pan too, and it was fantastic. The key is using a pan that holds heat well and gives you enough surface area to sear the chicken without crowding it.
Preparation Method
Alright, let’s get cooking! This comes together faster than you think, so have everything prepped and ready to go before you turn on the heat. It makes the whole process so much smoother.
-
Prep the Chicken: Pat the chicken thighs dry with paper towels. This is a crucial step—dry chicken = crispy skin. Season generously on both sides with salt and pepper. Let them sit at room temperature for about 10 minutes while you prep the sauce.
-
Make the Sauce: In a small bowl or liquid measuring cup, whisk together the honey, soy sauce, minced garlic, rice vinegar, sesame oil, and red pepper flakes. Set aside. In a separate tiny bowl, stir the cornstarch and water together to make the slurry. Set that aside too.
-
Sear the Chicken: Heat the olive oil in your large skillet over medium-high heat. Once the oil is shimmering (a drop of water should sizzle on contact), carefully place the chicken thighs skin-side down in a single layer. Don’t crowd the pan—work in two batches if you need to. Let them cook undisturbed for 5-7 minutes, until the skin is a deep, golden brown and releases easily from the pan. Flip and cook for another 3-4 minutes on the other side.
-
Simmer in Sauce: Pour the honey garlic sauce into the skillet around the chicken (not directly on top, to keep that crispy skin intact). Bring the sauce to a gentle simmer, then reduce the heat to medium-low. Cover the pan and let it cook for 10 minutes. The chicken should be cooked through and tender. If you’re using an instant-read thermometer, it should read 165°F (74°C) at the thickest part.
-
Thicken the Glaze: Remove the chicken to a plate and tent loosely with foil. Give the cornstarch slurry a quick stir (it settles fast), then pour it into the simmering sauce in the pan. Whisk constantly for 1-2 minutes, until the sauce thickens into a glossy, syrupy glaze. The bubbles will get bigger and the sauce will visibly coat the back of a spoon. If it’s too thick, add a splash of water. Too thin, let it simmer another minute.
-
Glaze and Serve: Return the chicken thighs to the pan, spooning the thickened glaze over each piece. Let them warm through for a minute. Garnish with parsley or green onions and sesame seeds, and serve immediately.
A Note on Timing: The total active cooking time is about 25-30 minutes. The searing step is where the flavor builds, so don’t rush it. If the pan looks a little dry after searing, you can add a small pat of butter before pouring in the sauce—it adds a lovely richness.
Cooking Tips & Techniques
I’ve made this recipe more times than I can count, and I’ve definitely learned a few things the hard way. Here are my best tips to make sure your chicken turns out perfect every single time.
Patience is key for crispy skin. The biggest mistake people make is moving the chicken too soon. When you place the thighs skin-side down in the hot oil, just let them be. Don’t poke, don’t peek, don’t even breathe on them for a solid 5 minutes. The skin needs that uninterrupted contact with the hot pan to render its fat and turn golden and crisp. You’ll know it’s ready when it releases from the pan easily. If it sticks, it’s not done searing yet.
Don’t skip the cornstarch slurry. I know it feels like an extra step, but it’s the difference between a thin, watery sauce and a luscious, restaurant-quality glaze. The slurry gives the sauce that beautiful, clingy texture that coats every inch of the chicken. Without it, you’ll end up with a pan full of tasty liquid that just runs off the plate.
Watch the heat. Honey burns easily because of its high sugar content. Once you add the sauce to the pan, keep an eye on it. If the heat is too high, the sugars will caramelize too quickly and can turn bitter. A gentle simmer is all you need. I learned this the hard way when I walked away for “just a second” and came back to a pan of slightly acrid, burnt sauce. Not my finest moment.
Let the chicken rest. After simmering, letting the chicken rest for a few minutes under foil while you finish the sauce allows the juices to redistribute throughout the meat. This keeps it from drying out when you cut into it. It’s a small step that makes a big difference.
Multitask like a pro. While the chicken is searing, you can whisk together your sauce. While it’s simmering, you can chop your garnish or start on a quick side dish. This recipe is designed to be efficient, so use those little pockets of downtime.
Variations & Adaptations
One of the best things about this recipe is how flexible it is. You can tweak it to fit your mood, your diet, or what you have in the fridge. Here are a few of my favorite ways to change it up.
Spicy Honey Garlic Chicken: If you like things hot, add an extra teaspoon of red pepper flakes, or stir in a tablespoon of sriracha or gochujang (Korean chili paste) along with the sauce. The heat cuts through the sweetness beautifully. I made this version for a game day gathering once, and it was gone in minutes.
Low-Carb / Keto Version: Swap the honey for a sugar-free honey substitute or use 2 tablespoons of monk fruit sweetener mixed with a tablespoon of water. Use tamari or coconut aminos instead of soy sauce. It won’t be quite as sticky, but the flavor is still fantastic. Pair it with some roasted broccoli or cauliflower rice.
Baked Version: For a hands-off approach, sear the chicken as directed, then transfer the skillet to a preheated 400°F (200°C) oven for 20-25 minutes, or until the chicken is cooked through. Remove the chicken, thicken the sauce on the stovetop with the slurry, and glaze. This is perfect for when you’re making a bigger batch.
Chicken Breast Swap: You can use boneless, skinless chicken breasts instead of thighs. Just be careful not to overcook them—they’ll need less time. Sear for 3-4 minutes per side, then simmer covered for about 8-10 minutes, or until they reach 165°F (74°C) internally.
Add Some Veggies: Throw in some broccoli florets, snap peas, or bell pepper strips during the last 5 minutes of simmering. They’ll steam right in the sauce and pick up all that amazing flavor. It turns this into a complete one-pan meal with almost no extra effort.
Serving & Storage Suggestions
This honey garlic chicken is incredibly versatile when it comes to serving. Here’s how I like to enjoy it, and how to save any leftovers (if you’re lucky enough to have any).
Serving: Serve the chicken hot, straight from the pan, with extra glaze spooned over the top. It’s incredible over a bed of fluffy steamed rice or quick brown butter sage pasta to soak up every drop of that sauce. For a lighter option, serve it alongside roasted vegetables or a crisp green salad. The sweetness of the glaze pairs beautifully with something tangy, like a simple vinaigrette. I also love serving it with some fresh grilled watermelon and feta salad for a fantastic flavor contrast.
Storage: Store leftover chicken in an airtight container in the refrigerator for up to 4 days. The flavors actually meld and deepen overnight, making it even more delicious the next day. I often double the recipe just so I have leftovers for lunch.
Reheating: The best way to reheat is in a skillet over medium-low heat with a splash of water or chicken broth to loosen the sauce. Cover and heat through for about 5-7 minutes. You can also reheat individual portions in the microwave, but the skin won’t be as crispy. Avoid the oven, as it can dry the chicken out.
Freezing: This recipe freezes beautifully. Let the chicken cool completely, then place it in a freezer-safe container with the sauce. It will keep for up to 3 months. Thaw overnight in the refrigerator and reheat as directed above.
Nutritional Information & Benefits
While this is definitely a comfort food dish, it’s made with whole, recognizable ingredients that offer some surprising benefits. Here’s a quick look at what you’re getting in each serving.
Estimated nutritional information per serving (2 chicken thighs):
- Calories: ~450-500
- Protein: ~35-40g
- Fat: ~25-28g
- Carbohydrates: ~25-30g
- Sugar: ~20-22g (from honey)
- Sodium: ~600-700mg (varies based on soy sauce)
Key Ingredient Benefits: Chicken thighs are a great source of high-quality protein, iron, and zinc, which are important for energy and immune function. Honey, while still a sugar, contains antioxidants and has natural antibacterial properties. Garlic is a powerhouse ingredient known for its heart-health and immune-boosting benefits. Using low-sodium soy sauce helps keep the salt content in check.
Dietary Considerations: This recipe is naturally gluten-free if you use tamari or coconut aminos instead of soy sauce. It’s also dairy-free and nut-free. For a lower-carb option, see the variations section above. I personally love that I can feel good about serving this to my family—it’s a balanced meal that satisfies without any weird ingredients.
Frequently Asked Questions
Can I use boneless, skinless chicken thighs?
Absolutely! Boneless, skinless thighs will work perfectly. They’ll cook much faster, so reduce the simmering time to about 5-7 minutes covered. You won’t get the crispy skin, but the honey garlic flavor will still be amazing.
My sauce is too thin. What did I do wrong?
This usually happens if the cornstarch slurry isn’t incorporated properly, or if there’s too much liquid in the pan. Make sure the sauce is simmering gently when you add the slurry, and whisk constantly. Let it cook for another minute or two; it will thicken as it cools slightly.
Can I make this in a slow cooker?
You can, but you’ll lose the crispy skin. Sear the chicken as directed, then transfer it to the slow cooker with the sauce (minus the cornstarch slurry). Cook on low for 4-5 hours or high for 2-3 hours. Remove the chicken, thicken the sauce on the stovetop with the slurry, and serve. It’s still delicious, just a different texture.
How can I make this less sweet?
Easy! Reduce the honey to 1/4 cup. You can also add an extra tablespoon of soy sauce or a squeeze of fresh lemon juice to balance the sweetness with more salt and acid.
Is this recipe freezer-friendly?
Yes, it freezes wonderfully. Let the chicken and sauce cool completely, then store in a freezer-safe container for up to 3 months. Thaw overnight in the fridge and reheat gently in a skillet.
Conclusion
This easy one-pan honey garlic chicken thighs recipe is more than just a weeknight dinner—it’s a solution. It’s the answer to those nights when you want something delicious, satisfying, and impressive, but you’re short on time, energy, and patience for a sink full of dishes. The sticky, sweet-savory glaze, the tender, juicy meat, and the fact that it all comes together in one pan makes it a meal you’ll turn to again and again.
I love that this recipe feels special without being fussy. It’s the kind of food that brings people to the table and makes them smile. Whether you serve it over rice, with a simple salad, or alongside some roasted veggies, it’s guaranteed to become a favorite in your home too. I’d love to hear how it turns out for you! Did you try a variation? What did you serve it with? Drop a comment below and let me know—your feedback and ideas always inspire me.
Now go make some dinner. You’ve got this!
Pin This Recipe!
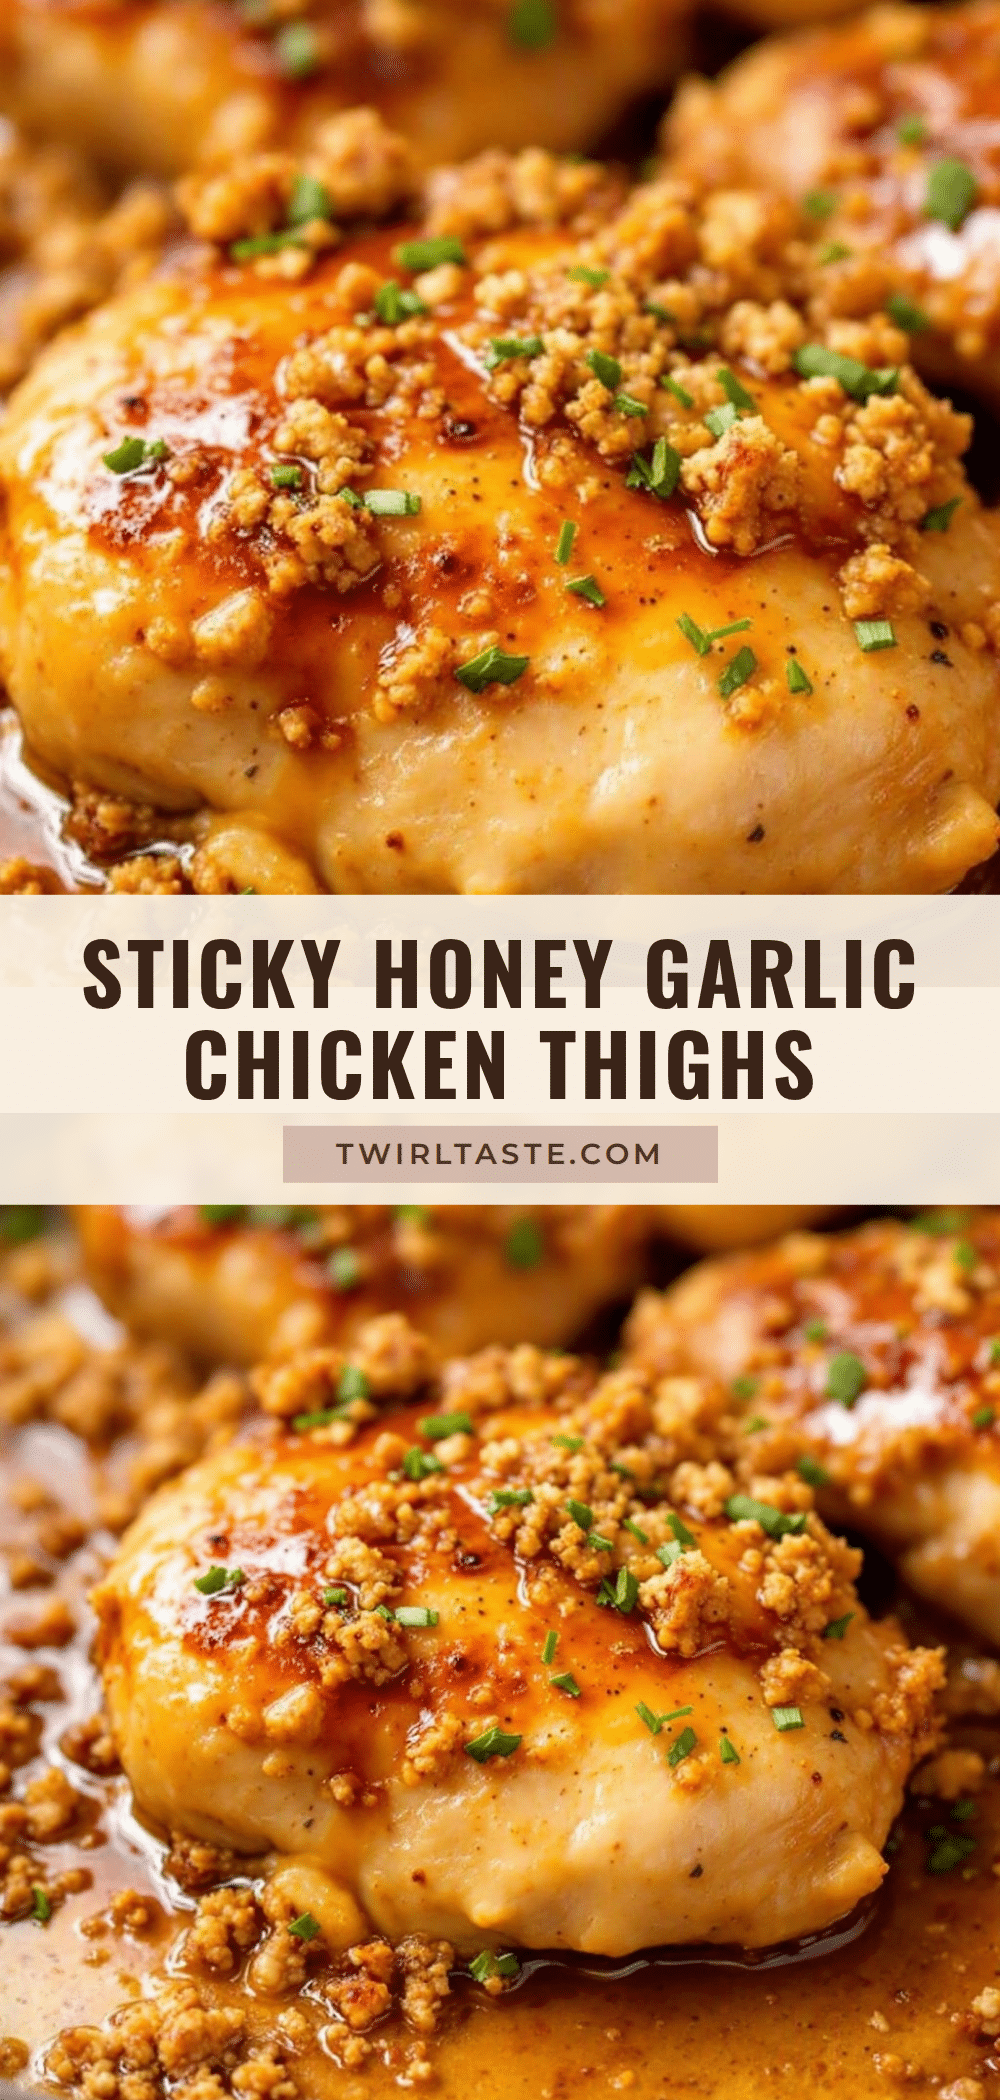
Easy One-Pan Honey Garlic Chicken Thighs Recipe

Sticky, sweet-savory honey garlic chicken thighs cooked in one skillet for a quick and delicious weeknight dinner. The glossy glaze and tender meat make this a crowd-pleaser that comes together in about 30 minutes.
- Prep Time: 10 minutes
- Cook Time: 20 minutes
- Total Time: 30 minutes
- Yield: 4 servings 1x
- Category: Main Course
- Cuisine: American
Ingredients
- 2 lbs bone-in, skin-on chicken thighs (about 6–8 thighs)
- 1 tablespoon olive oil
- Salt and freshly ground black pepper, to taste
- 1/3 cup honey
- 1/4 cup low-sodium soy sauce
- 4 cloves garlic, minced
- 1 tablespoon rice vinegar
- 1 teaspoon sesame oil
- 1/2 teaspoon red pepper flakes
- 1 tablespoon cornstarch mixed with 2 tablespoons water (cornstarch slurry)
- Chopped fresh parsley or green onions, for garnish (optional)
- Sesame seeds, for garnish (optional)
Instructions
- Pat the chicken thighs dry with paper towels. Season generously on both sides with salt and pepper. Let them sit at room temperature for about 10 minutes while you prep the sauce.
- In a small bowl or liquid measuring cup, whisk together the honey, soy sauce, minced garlic, rice vinegar, sesame oil, and red pepper flakes. Set aside. In a separate tiny bowl, stir the cornstarch and water together to make the slurry. Set that aside too.
- Heat the olive oil in a large skillet over medium-high heat. Once the oil is shimmering, carefully place the chicken thighs skin-side down in a single layer. Cook undisturbed for 5-7 minutes, until the skin is deep golden brown and releases easily. Flip and cook for another 3-4 minutes on the other side.
- Pour the honey garlic sauce into the skillet around the chicken (not directly on top). Bring to a gentle simmer, then reduce heat to medium-low. Cover and cook for 10 minutes, until chicken is cooked through (165°F / 74°C internal temperature).
- Remove the chicken to a plate and tent loosely with foil. Give the cornstarch slurry a quick stir, then pour it into the simmering sauce. Whisk constantly for 1-2 minutes, until the sauce thickens into a glossy, syrupy glaze.
- Return the chicken thighs to the pan, spooning the thickened glaze over each piece. Let warm through for a minute. Garnish with parsley or green onions and sesame seeds, and serve immediately.
Notes
Patience is key for crispy skin—don’t move the chicken too soon. Don’t skip the cornstarch slurry for a thick, glossy glaze. Watch the heat to prevent honey from burning. Let the chicken rest after simmering to keep it juicy. For a baked version, sear then transfer to a 400°F (200°C) oven for 20-25 minutes.
Nutrition
- Serving Size: 2 chicken thighs
- Calories: 475
- Sugar: 21
- Sodium: 650
- Fat: 26.5
- Saturated Fat: 7
- Carbohydrates: 27.5
- Fiber: 0.5
- Protein: 37.5
Keywords: honey garlic chicken, one-pan chicken, chicken thighs, easy weeknight dinner, sticky chicken, skillet chicken


