Love this? Save it for later!
Share the inspiration with your friends
It was 4:30 PM on a Tuesday, and I was supposed to be starting dinner. Instead, I was standing over a saucepan, watching my butter turn from pale yellow to a deep, nutty brown, praying it wouldn’t burn while simultaneously trying to figure out how to open a jar of pumpkin puree with one hand and hold the door open with the other. The kids were home from school, the mailman was waiting, and the house smelled like it was on fire. It was chaotic, messy, and absolutely necessary.
That’s how I ended up with the best loaf of bread I’ve ever made. I didn’t have time to bake a complex cake or prepare a multi-course meal. I had a box of flour, some leftover canned pumpkin from last week’s soup, and a desperate need for comfort. So I threw everything into a bowl. I didn’t measure precisely at first. I just tasted. I added more cinnamon. I drizzled in some maple syrup because, let’s be honest, we’re all just trying to get through the week.
The bread came out of the oven with a crust that crackled as it cooled, smelling like a cozy autumn evening despite the chaos inside. The interior was impossibly moist, thanks to the brown butter and that pumpkin. It wasn’t perfect, but it was real. It was the kind of thing you eat with your hands while standing at the kitchen counter, wiping flour off your cheek. That’s the story behind this recipe. It’s not about being a professional baker. It’s about making something delicious when life gets loud.
Over the years, I’ve refined it. I learned that browning the butter isn’t just a trend; it’s the secret to depth. I figured out that a simple maple glaze ties it all together without making it too sweet. This moist brown butter pumpkin bread with maple glaze became my go-to for those “I need a win” moments. It’s reliable. It’s forgiving. And honestly? It’s better than anything you’ll buy at the bakery.
Why You’ll Love This Recipe
There are a thousand pumpkin bread recipes out there. Some are dry. Some taste like they’re missing something. This one? It hits every note. I’ve tested this recipe at least a dozen times, tweaking the ratios of butter to flour and experimenting with different types of maple syrup. The result is a loaf that is consistently moist, rich, and packed with warm spices. It’s the kind of bread that makes people stop talking and just listen to you chew. You know that look? The one where their eyes close for a second? That’s the goal.
Here is why this recipe stands out from the crowd:
- Quick & Easy: You don’t need to spend hours in the kitchen. The active time is minimal, and the browning butter happens while you prep the dry ingredients. It’s perfect for busy weeknights or lazy weekends when you want to feel like a hero without the effort.
- Simple Ingredients: You likely have everything in your pantry right now. Flour, sugar, butter, eggs, canned pumpkin, and spices. No fancy grocery trips needed. No obscure ingredients that cost a fortune. Just good, honest food.
- Perfect for Gifting: This bread travels well. Wrap it up in foil and plastic wrap, tie it with a ribbon, and hand it to a neighbor. It’s the ultimate “I’m sorry I didn’t call back” or “thanks for being there” gift. It pairs beautifully with my easy cozy maple butternut squash soup with crispy sage for a complete autumn meal.
- Crowd-Pleaser: Kids love the sweetness. Adults love the nutty depth from the brown butter. It’s a safe bet for potlucks, holiday mornings, or just a Tuesday snack. It always gets rave reviews.
- Unbelievably Delicious: The texture is next-level. The brown butter adds a toasty, caramel-like flavor that regular melted butter just can’t achieve. The maple glaze adds a sticky, sweet finish that makes every bite feel special. It’s comfort food reimagined.
What makes this different? It’s the technique. Most people just melt their butter. I brown it. That Maillard reaction creates hundreds of new flavor compounds. It’s the same reason we brown steaks. It adds complexity. Plus, the maple glaze isn’t just sugar water; it’s a thin, flavorful coating that soaks in slightly, creating a crust that shatters when you bite it. It’s not just good—it’s the kind of recipe that sticks in your memory.
What Ingredients You Will Need
This recipe relies on simple, high-quality ingredients to deliver bold flavor and satisfying texture without the fuss. The key is using fresh spices and good butter. Don’t skimp on the butter here; it’s the star of the show. And for the maple syrup, make sure it’s 100% pure maple syrup, not pancake syrup. The difference in flavor is night and day.
- All-Purpose Flour (2 ½ cups / 315g): The base of the bread. Don’t use self-rising flour, or the texture will be off. Spoon it into the cup and level it off for accuracy.
- Baking Soda (1 teaspoon): This is our leavening agent. It reacts with the acidic pumpkin puree to help the bread rise. Make sure it’s fresh; old baking soda won’t work well.
- Baking Powder (½ teaspoon): A little extra lift to ensure the loaf isn’t dense.
- Kosher Salt (1 teaspoon): Essential for balancing the sweetness. If you use table salt, reduce this to ¾ teaspoon.
- Ground Cinnamon (1 ½ teaspoons): The primary spice. Use a good quality brand like Spice Islands or simply fresh ground.
- Ground Ginger (½ teaspoon): Adds a warm, spicy kick.
- Ground Nutmeg (¼ teaspoon): Just a hint. Too much nutmeg can taste bitter.
- Ground Cloves (¼ teaspoon): Optional, but recommended for that classic pumpkin pie flavor. Use sparingly.
- Unsalted Butter (½ cup / 113g): We are browning this. Use high-quality European-style butter if you can find it; the higher fat content makes for a richer flavor.
- Granulated Sugar (¾ cup / 150g): Provides sweetness and helps with the crust color.
- Light Brown Sugar (½ cup / 100g): Adds moisture and a caramel note. Pack it into the cup.
- Large Eggs (2 large, room temperature): Room temperature eggs emulsify better into the batter. Don’t skip this step.
- Pumpkin Puree (1 cup / 245g): Make sure it’s 100% pure pumpkin, not pumpkin pie filling. The filling has extra sugar and spices, which will throw off the balance.
- Vanilla Extract (1 teaspoon): Pure vanilla. Artificial stuff can taste harsh.
For the Maple Glaze:
- Confectioners’ Sugar (1 cup / 120g): Sifted to remove lumps. This ensures a smooth glaze.
- Maple Syrup (2-3 tablespoons): Pure maple syrup again. Adjust for desired thickness.
- Milk (1-2 teaspoons): Use whole milk for a richer glaze, or water if you want it thinner.
If you’re looking for a variation, you can swap half the all-purpose flour for whole wheat flour, but the bread will be denser. For a gluten-free option, use a 1:1 gluten-free flour blend, but note that the texture may vary slightly. I also like to add a cup of pumpkin chocolate chip bread elements, like white chocolate chips, for an extra treat.
Do I need to use canned pumpkin?
Yes, for consistency. Fresh pumpkin can be watery and hard to puree evenly. Canned pumpkin puree is cooked and strained, giving you a reliable texture every time.
Can I use pumpkin pie filling?
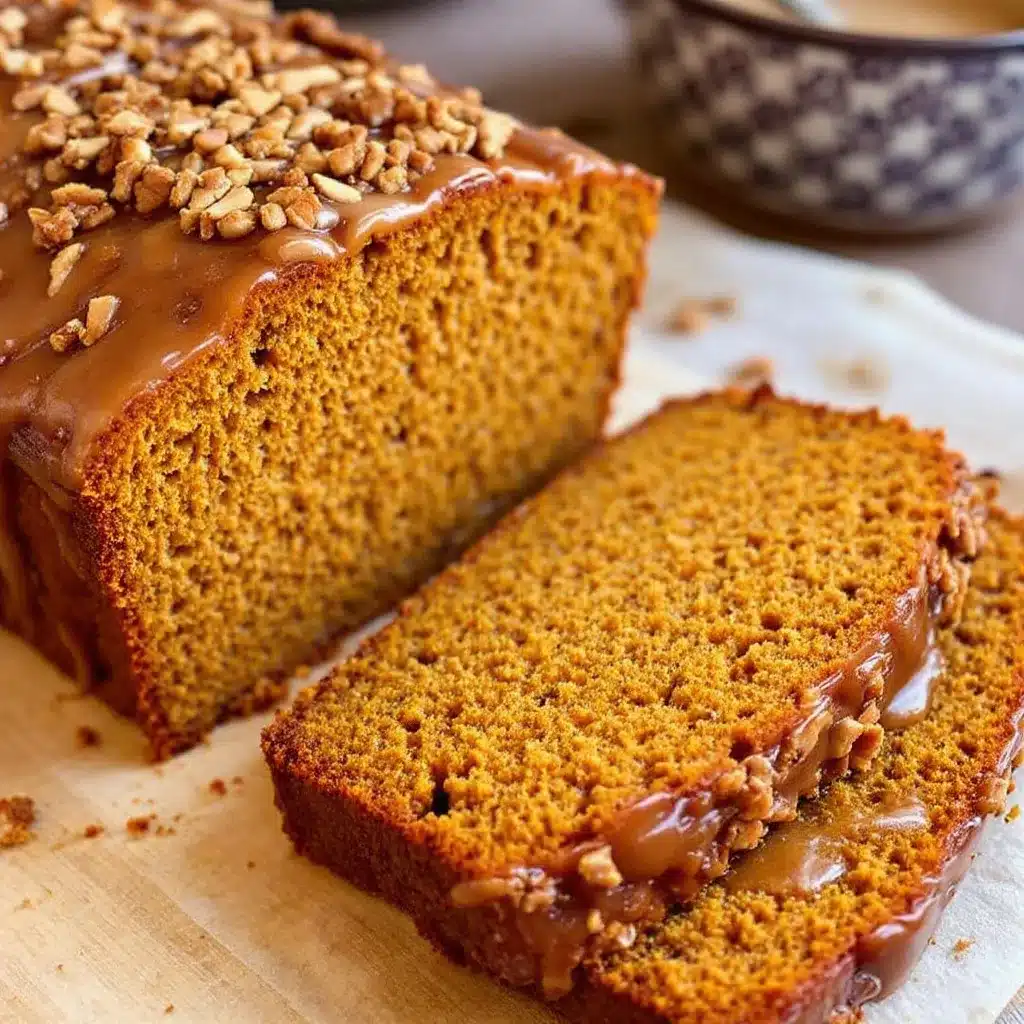
No. Pumpkin pie filling already contains sugar and spices. If you use it, your bread will be too sweet and overly spiced, and the texture will be wrong.
Equipment Needed
You don’t need much fancy gear for this. A standard 9×5-inch loaf pan is perfect. I prefer metal pans over glass because they conduct heat more evenly, leading to a better rise and a crisper crust. If you only have glass, reduce the oven temperature by 25°F.
- 9×5-inch Loaf Pan: Grease it well with butter or non-stick spray. Lining it with parchment paper makes removal easier, though it’s not strictly necessary if you grease it well.
- Saucepan: Light-colored is best for browning butter so you can see the color change clearly. A stainless steel or non-stick pan works well.
- Mixing Bowls: One large bowl for dry ingredients and one medium for wet.
- Whisk and Spatula: A whisk is great for aerating the dry ingredients. A rubber spatula is essential for folding the batter without overmixing.
- Measuring Cups and Spoons: Level off dry ingredients for accuracy.
- Wire Rack: For cooling the bread after baking.
I’ve used cheap, thin pans that warp in the oven, and I’ve used heavy, professional-grade pans that last forever. The heavy ones are worth the investment if you bake often. For the glaze, a small bowl and a whisk are all you need. No fancy tools required.
Preparation Method
Let’s get started. This process is straightforward, but attention to detail makes all the difference.
- Prep the Pan and Oven (5 minutes): Preheat your oven to 350°F (175°C). Grease your 9×5-inch loaf pan generously with butter or cooking spray. If you want to be extra safe, line the bottom with parchment paper. This ensures the bread doesn’t stick.
- Brown the Butter (5-7 minutes): This is the most critical step. Cut the butter into cubes and place it in a saucepan over medium heat. Stir constantly with a silicone spatula. The butter will melt, foam up, and then start to quiet down. Watch for the milk solids to turn golden brown and smell nutty. This takes about 5-7 minutes. Remove from heat immediately and pour into a heatproof bowl. Let it cool for 10 minutes so it doesn’t cook the eggs.
- Mix Dry Ingredients (3 minutes): In a large bowl, whisk together the flour, baking soda, baking powder, salt, cinnamon, ginger, nutmeg, and cloves. Whisking aerates the flour and distributes the leavening agents evenly. Set aside.
- Whisk Wet Ingredients (3 minutes): In a separate medium bowl, whisk the granulated sugar, brown sugar, cooled brown butter, eggs, pumpkin puree, and vanilla extract until smooth and well combined. The mixture should look creamy and uniform.
- Combine Wet and Dry (2 minutes): Pour the wet ingredients into the dry ingredients. Use a spatula to gently fold them together. Stop as soon as no dry flour remains. Do not overmix! Overmixing develops gluten, which makes the bread tough and dense. The batter will be thick and sticky.
- Bake (55-65 minutes): Pour the batter into the prepared loaf pan. Smooth the top with the spatula. Bake in the preheated oven for 55-65 minutes. Check at 55 minutes. Insert a toothpick into the center; it should come out clean or with a few moist crumbs (no wet batter). If the top is browning too quickly, tent it with aluminum foil for the last 15 minutes.
- Cool (30 minutes): Let the bread cool in the pan for 10 minutes, then transfer it to a wire rack to cool completely. This is crucial. If you glaze warm bread, the glaze will melt and run off. If you cut it hot, it will be gummy.
- Make the Glaze and Apply (5 minutes): While the bread cools, whisk the confectioners’ sugar, maple syrup, and milk in a small bowl until smooth. Drizzle over the completely cooled bread. Let the glaze set for 10 minutes before slicing.
Troubleshooting Tip: If your toothpick comes out clean but the center feels jiggly, let it cool longer. The residual heat will finish cooking the center. If it’s dry, your oven might be hot. Use an oven thermometer to check.
Cooking Tips & Techniques
Browning butter is an art. I’ve burned more butter than I care to admit. The key is to never leave it unattended. Once it starts to quiet down, watch it like a hawk. The smell goes from buttery to nutty to burnt in seconds. If you smell burning, you’ve missed it. Start over. It’s worth the extra butter.
Room temperature eggs are important for emulsion. Cold eggs can cause the butter to seize up when mixed in. If you forgot to take them out, soak them in warm water for 5 minutes.
Don’t overmix the batter. I know it’s tempting to get every last streak of flour out, but stop when it looks mostly combined. A few small lumps are fine. Overmixing leads to a rubbery texture. I learned this the hard way with my first batch—it was like chewing on a tire.
Use a light-colored saucepan for browning butter. Dark pans hide the color change, making it easy to burn. Stainless steel is ideal.
For the glaze, if it’s too thick, add milk one teaspoon at a time. If it’s too thin, add more sugar. You want it to drizzle easily but still coat the bread.
Why is my bread sinking in the middle?
This usually happens if the oven door is opened too early, or if there’s too much leavening agent. Make sure your baking soda and powder are fresh. Also, check your oven temperature with a thermometer.
Can I freeze the bread?
Yes! Wrap the cooled loaf tightly in plastic wrap and then in aluminum foil. It will keep for up to 3 months. Thaw at room temperature before glazing.
Variations & Adaptations
This recipe is a great base for many variations. Here are a few I’ve tried:
- Walnut or Pecan Bread: Fold in 1 cup of chopped walnuts or pecans for added crunch. Toast the nuts first for extra flavor.
- White Chocolate Chip: Add 1 cup of white chocolate chips. This pairs beautifully with the maple glaze. It’s similar to the pumpkin chocolate chip bread but with a nuttier base.
- Spiced Latte: Add 1 tablespoon of instant espresso powder to the dry ingredients. It enhances the chocolate and spice flavors without making it taste like coffee.
- Dairy-Free: Use a dairy-free butter alternative and almond milk in the glaze. The texture may be slightly different, but it’s still delicious.
- Gluten-Free: Use a 1:1 gluten-free flour blend. Add ½ teaspoon of xanthan gum if the blend doesn’t include it.
I also like to add a swirl of cream cheese to the batter. Mix 4 oz of softened cream cheese with 1 tablespoon of sugar and drizzle it over the batter before baking. Swirl it with a knife. It adds a tangy contrast to the sweet bread.
Serving & Storage Suggestions
This bread is best served at room temperature. It makes a perfect breakfast with a cup of coffee or tea. It’s also great for lunchboxes or as a snack. Pair it with a glass of cold milk or a best easy apple cider margarita recipe with cinnamon sugar rim for a fall-themed treat.
Storage: Store leftovers in an airtight container at room temperature for up to 3 days. For longer storage, refrigerate for up to 5 days, though it may dry out slightly. Reheat slices in the microwave for 20 seconds to restore moisture.
Freezing: Wrap the cooled loaf tightly in plastic wrap and then in foil. Freeze for up to 3 months. Thaw at room temperature. Glaze after thawing for the best texture.
The flavors deepen over the first day. It’s often better on day two than day one. Let it sit overnight if you can resist!
Nutritional Information & Benefits
Here is an estimate per slice (1/10 of the loaf):
- Calories: 280
- Fat: 12g
- Carbohydrates: 40g
- Fiber: 2g
- Sugar: 22g
- Protein: 4g
Pumpkin is rich in vitamin A, fiber, and potassium. The whole wheat flour option (if used) adds more fiber and nutrients. The brown butter adds healthy fats, though it is calorie-dense. This bread is not a health food, but it’s a better alternative to store-bought loaves with preservatives. Enjoy it in moderation as a treat.
For a lower sugar option, reduce the sugar in the batter by ¼ cup. The bread will still be sweet from the pumpkin and maple syrup.
Conclusion
This moist brown butter pumpkin bread with maple glaze is more than just a recipe. It’s a reminder that the best things in life often come from improvisation. It’s warm, comforting, and deeply satisfying. I hope you try it and make it your own. Add your favorite nuts, swap the spices, or just enjoy it plain. It’s versatile and forgiving.
I’d love to hear how it turns out for you. Leave a comment below with your variations or photos. Share it with friends and family. And if you make it, tag me on social media. I love seeing your creations.
Happy baking! And remember, if the butter starts smoking, don’t panic. Just stir faster. You’ve got this.
FAQs
Can I use fresh pumpkin instead of canned?
You can, but it requires more work. Roast the pumpkin, scoop out the flesh, and puree it until smooth. You may need to strain it to remove excess water. Canned is more consistent and convenient.
Why did my bread turn out dense?
You likely overmixed the batter. Fold the ingredients gently and stop as soon as the flour is incorporated. Also, check your baking soda; if it’s old, it won’t leaven properly.
Can I make this in a muffin tin?
Yes! Divide the batter into 12-14 muffin cups. Bake at 350°F for 20-25 minutes. The glaze works great on muffins too.
Is the maple glaze necessary?
No, but it adds a nice touch of sweetness and flavor. You can skip it if you prefer a less sweet bread. The brown butter flavor is still amazing on its own.
How do I know when the bread is done?
Insert a toothpick into the center. It should come out clean or with a few moist crumbs. The top should be golden brown and spring back when lightly pressed.
Pin This Recipe!
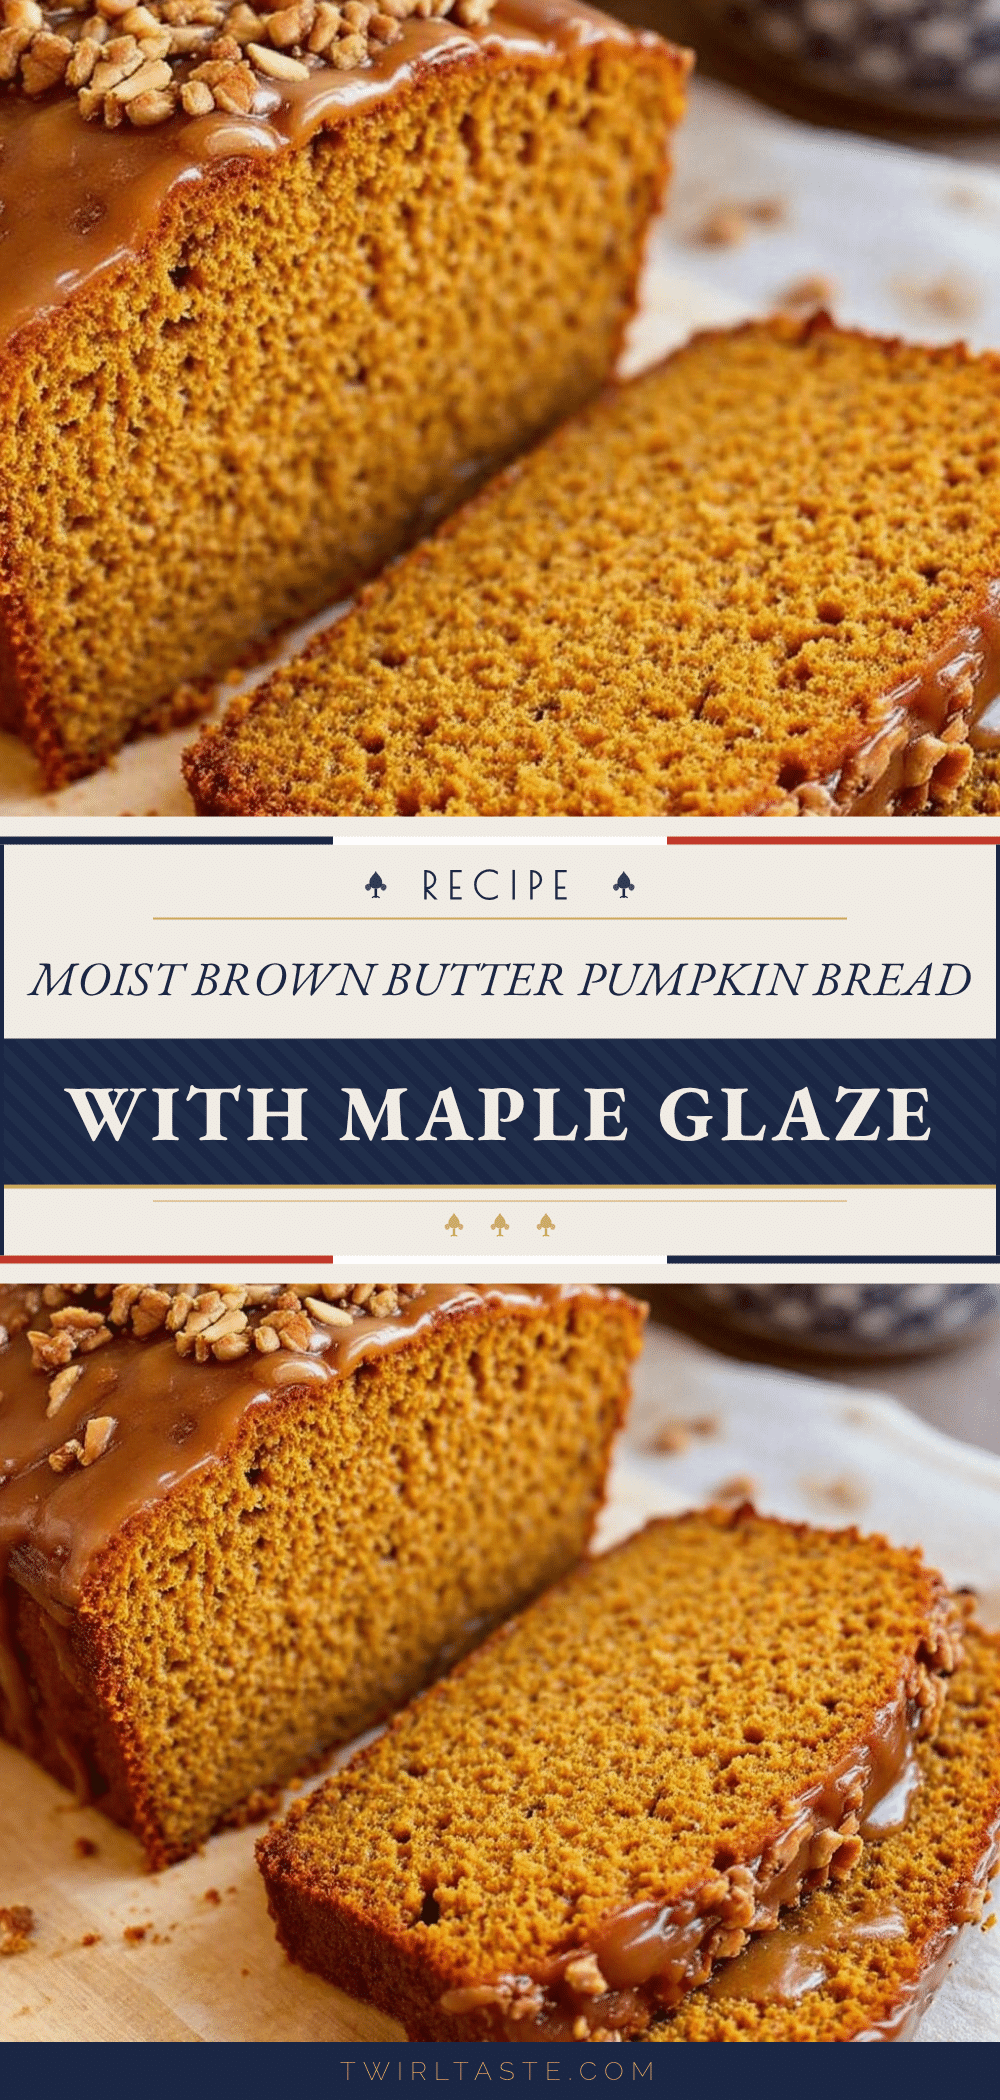
Moist Brown Butter Pumpkin Bread: Easy 5-Step Maple Glaze
A rich, moist pumpkin bread made with nutty brown butter and topped with a simple maple glaze. This forgiving recipe uses simple pantry ingredients for a comforting, bakery-quality loaf perfect for autumn.
- Prep Time: 15 minutes
- Cook Time: 60 minutes
- Total Time: 75 minutes
- Yield: 10 servings 1x
- Category: Dessert
- Cuisine: American
Ingredients
- 2 ½ cups all-purpose flour
- 1 teaspoon baking soda
- ½ teaspoon baking powder
- 1 teaspoon kosher salt
- 1 ½ teaspoons ground cinnamon
- ½ teaspoon ground ginger
- ¼ teaspoon ground nutmeg
- ¼ teaspoon ground cloves
- ½ cup unsalted butter
- ¾ cup granulated sugar
- ½ cup light brown sugar
- 2 large eggs, room temperature
- 1 cup pumpkin puree
- 1 teaspoon vanilla extract
- 1 cup confectioners’ sugar (for glaze)
- 2–3 tablespoons pure maple syrup (for glaze)
- 1–2 teaspoons milk (for glaze)
Instructions
- Preheat oven to 350°F (175°C). Grease a 9×5-inch loaf pan generously with butter or cooking spray, optionally lining the bottom with parchment paper.
- Cut butter into cubes and place in a light-colored saucepan over medium heat. Stir constantly until the butter melts, foams, and then quietens. Watch for milk solids to turn golden brown and smell nutty (5-7 minutes). Remove from heat and pour into a heatproof bowl to cool for 10 minutes.
- In a large bowl, whisk together flour, baking soda, baking powder, salt, cinnamon, ginger, nutmeg, and cloves.
- In a separate medium bowl, whisk granulated sugar, brown sugar, cooled brown butter, eggs, pumpkin puree, and vanilla extract until smooth.
- Pour wet ingredients into dry ingredients. Gently fold together with a spatula until just combined. Do not overmix.
- Pour batter into the prepared loaf pan and smooth the top. Bake for 55-65 minutes, or until a toothpick inserted into the center comes out clean or with moist crumbs. Tent with foil if browning too quickly.
- Let bread cool in the pan for 10 minutes, then transfer to a wire rack to cool completely.
- While bread cools, whisk confectioners’ sugar, maple syrup, and milk until smooth. Drizzle over the completely cooled bread and let set for 10 minutes before slicing.
Notes
Ensure butter is cooled before adding to eggs to prevent cooking them. Do not overmix the batter to avoid a dense texture. Use 100% pure pumpkin puree, not pumpkin pie filling. For a gluten-free version, use a 1:1 gluten-free flour blend. The bread can be frozen for up to 3 months.
Nutrition
- Serving Size: 1 slice (1/10 of the
- Calories: 280
- Sugar: 22
- Sodium: 350
- Fat: 12
- Saturated Fat: 7
- Carbohydrates: 40
- Fiber: 2
- Protein: 4
Keywords: pumpkin bread, brown butter, maple glaze, autumn baking, easy bread recipe, fall dessert, moist pumpkin bread


