Love this? Save it for later!
Share the inspiration with your friends
I stared at the empty wooden slab like it was a blank canvas that was judging my life choices. The internet promised something grand, like a museum exhibit of cured meats and artisanal cheeses. I wanted to create a vibe that said “I have my life together” without actually having to cook a hot meal. Let’s face it, game night is chaotic enough without worrying about burnt wings or soggy dips.
I grabbed a knife and started stabbing at a wheel of brie. It didn’t go as smoothly as the influencer videos. The cheese kept sliding away, and I ended up with a wedge that looked more like a broken tooth than a fancy cheese slice. I laughed, honestly. It was better than trying to look perfect.
The real trick wasn’t the layout. It was the ratio of salty to sweet. I realized halfway through that I needed something crunchy to break up the soft textures. A handful of walnuts changed the whole game. It wasn’t about perfection; it was about abundance.
By the time the guests arrived, the board was a mess of crumbs and empty spaces where I’d already eaten three crackers. But that’s the secret. The best charcuterie board is the one you eat while building it. It’s the ultimate build your own charcuterie board for game night because it lets everyone grab what they want without standing around waiting for a plate.
It stuck with me because it saved my sanity. I didn’t have to be the hostess with the mostess. I could just be the person with the good snacks. That quiet realization that less pressure means better food is something I carry into every party now.
Why You’ll Love This Recipe
Quick & Easy Assembly
This board comes together in under 30 minutes, which is perfect for those last-minute game night invitations. You aren’t spending hours in the kitchen. You’re grabbing what you have and making it look intentional. It’s the kind of prep that lets you enjoy the game instead of hiding in the kitchen.
Simple Ingredients
No fancy grocery trips are needed. You likely already have crackers, some cheese, and maybe a jar of jam in your pantry. The beauty of this ultimate build your own charcuterie board for game night is its accessibility. You don’t need to hunt down obscure items to make it look impressive.
Perfect for Game Night
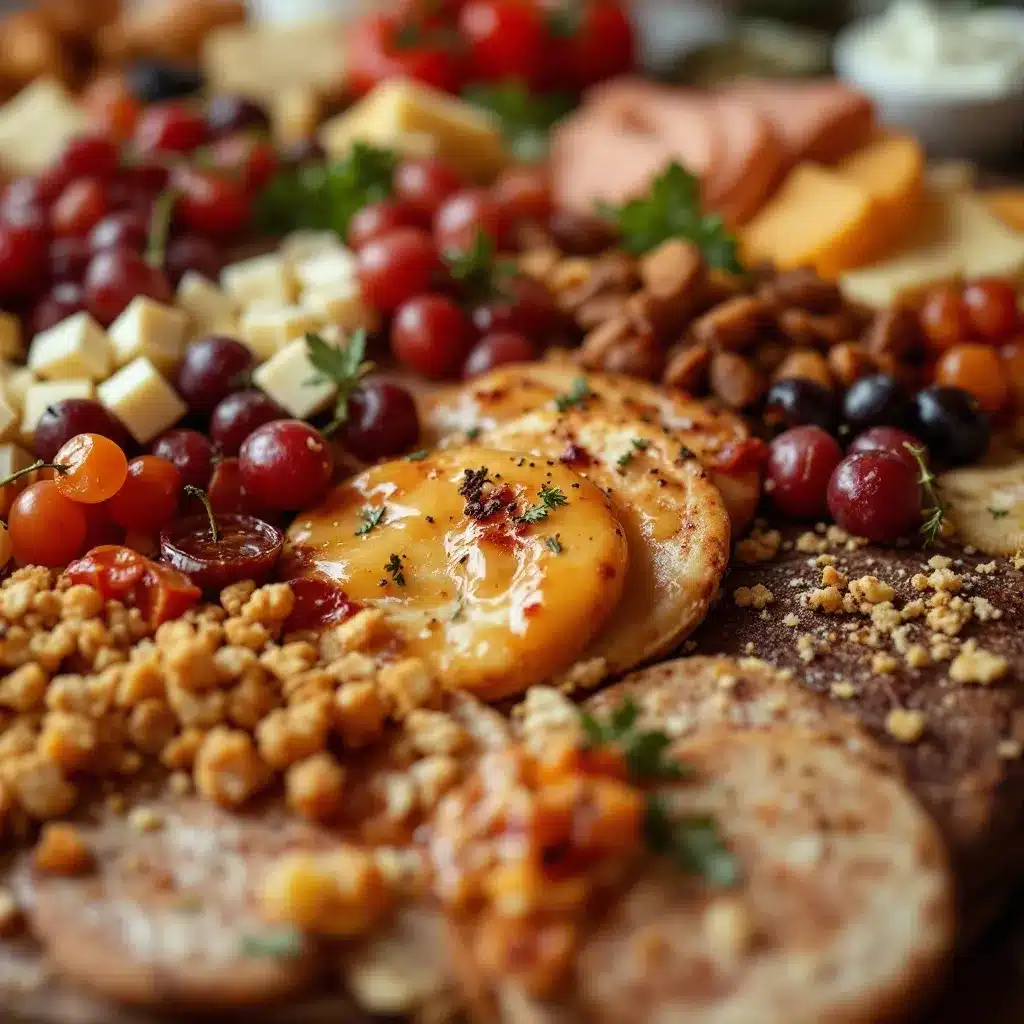
Whether it’s the big match or a casual Friday hang, this setup is ideal. It’s easy to eat with one hand while holding a controller or a drink with the other. It’s functional design at its finest.
Crowd-Pleaser
Kids and adults alike will rave about the variety. There’s something for every taste bud, from the salty prosciutto lover to the sweet jam fan. It removes the stress of choosing one dish that might not please everyone.
Unbelievably Delicious
The texture combo is next-level comfort food. You get the crunch of a cracker, the creaminess of cheese, and the snap of a pickle. It’s satisfying in a way that heavy meals just aren’t.
What Makes It Different
Most boards are just piles of stuff. This one is about balance. I recommend using a mix of soft and hard cheeses to create visual interest and flavor contrast. It’s not just another version; it’s your best version because it’s customizable.
Emotional Connection
This isn’t just food. It’s the kind of setup that makes you feel relaxed. It’s comfort food reimagined for social gatherings. It’s perfect for impressing guests without the stress of cooking a full meal.
What Ingredients You Will Need
This recipe uses simple, wholesome ingredients to deliver bold flavor and satisfying texture without the fuss. The goal is to create a balance of salty, sweet, savory, and crunchy elements. You can adjust the ratios based on what your guests prefer.
The Meats
- Prosciutto: Thinly sliced, adds a delicate salty punch. Fold it into rosettes for presentation.
- Salami: Look for a hard salami like Genoa. Slice into quarters or leave whole for easy grabbing.
- Chorizo: Soft Spanish chorizo adds a spicy kick. Slice into coins.
The Cheeses
- Cheddar: Sharp cheddar provides a strong flavor base. Cut into cubes or sticks.
- Brie: A soft, creamy cheese that contrasts with the hard meats. Serve with the rind on.
- Gouda: Smoked gouda adds a unique depth. Slice thinly.
The Crunch
- Crackers: Use a mix of water crackers and seeded crackers. They hold up well to wet toppings.
- Nuts: Walnuts or almonds add texture. Toast them lightly for extra flavor.
- Chips: Potato chips or pretzels add a different kind of crunch.
The Sweet & Savory Accents
- Olives: Kalamata or green olives add a briny bite.
- Dried Fruit: Apricots or figs provide natural sweetness.
- Grain Mustard: Adds a tangy element that pairs well with meats.
- Fruit: Grapes or apple slices add freshness and color.
Equipment Needed
You don’t need a lot of fancy tools to pull this off. A large wooden board or a slate platter is essential. It gives you a canvas to work with. If you don’t have a board, a large baking sheet lined with parchment paper works too.
You’ll need a few cheese knives. A wire cheese cutter is great for hard cheeses, while a small paring knife works for soft ones. Having separate knives prevents flavor mixing, though for a casual game night, it’s not strictly necessary.
Small bowls are useful for holding olives, nuts, or dips. They keep the board from looking too cluttered. If you’re short on space, just pile the nuts directly on the board.
A sharp knife is important for slicing meats and cheeses cleanly. Dull knives will crush the brie or tear the prosciutto. Keep your tools close by so you can assemble quickly.
Preparation Method
Step 1: Prep the Board
Start by placing your board in the center of the table. If you’re using small bowls, place them first. This anchors the design. Space them out evenly.
Step 2: Add the Cheeses
Place your cheeses on the board first. Cut the cheddar into cubes. Slice the brie into wedges. Arrange them in different spots. This creates visual balance. Let this take about 5 minutes.
Step 3: Fold the Meats
Take the prosciutto and fold it loosely. Don’t lay it flat. It looks more abundant when it’s folded. Place it near the cheeses. Slice the salami and chorizo. Arrange them in piles or folds. This takes about 10 minutes.
Step 4: Fill the Gaps
Add your crackers and chips. Tuck them into the empty spaces. Add the olives and nuts in small piles. This step is about filling voids. It takes about 5 minutes.
Step 5: Add the Sweet Elements
Place the dried fruit and fresh fruit in the remaining spots. Drizzle some honey or mustard if you’re feeling fancy. This takes about 5 minutes.
Step 6: Final Touches
Step back and look at the board. Add more of anything that looks sparse. Taste a piece of cheese. Adjust if needed. This takes about 5 minutes.
Cooking Tips & Techniques
Let’s talk about temperature. Cheese tastes better at room temperature. Take your cheeses out of the fridge 30 minutes before serving. Cold cheese loses its flavor and aroma. It’s a common mistake, but an easy one to fix.
Don’t overcrowd the board. Leave space between items. It makes it easier for guests to grab what they want without making a mess. It also looks more professional.
Use a variety of shapes. Cubes, wheels, folds, and piles create visual interest. It keeps the eye moving across the board. It’s a simple design trick that makes a big difference.
Taste as you go. If you have something too salty, add a sweet element nearby. Balance is key. This ultimate build your own charcuterie board for game night should have something for every palate.
Variations & Adaptations
You can easily adapt this board for different dietary needs. For a gluten-free option, use rice crackers or veggie sticks instead of wheat crackers. It’s just as satisfying.
For a vegetarian twist, swap the meats for marinated tofu or roasted vegetables. It changes the flavor profile but keeps the spirit of the board.
If you want to add a kick, include some spicy peppers or jalapeños. It pairs well with the sweet fruits. It’s a personal favorite of mine for game nights with friends who like heat.
For a lighter option, increase the fruit and vegetable content. Add carrot sticks or cucumber slices. It adds crunch and freshness without the heaviness.
Serving & Storage Suggestions
Serve the board at room temperature. It’s the most flavorful state for cheese and meat. Provide small plates and napkins for your guests. It keeps things tidy.
Leftovers can be stored in the fridge. Keep the meats and cheeses separate from the fresh fruit. Wrap them tightly in plastic wrap. They will last for 2-3 days.
Reheat nothing. Charcuterie is best served cold or room temperature. If you need to warm something, only warm the crackers in the oven for a minute. It adds a nice crunch.
Flavors develop over time. The meats and cheeses will meld together slightly. It’s still good the next day, though the fresh fruit may brown.
Nutritional Information & Benefits
This board is high in protein and fat, which can keep you full during long game sessions. It’s lower in carbs if you choose low-carb crackers. It’s a flexible meal option.
Cheese provides calcium and protein. Meats offer iron and B vitamins. Fruits add fiber and vitamins. It’s a balanced snack plate when chosen wisely.
It’s gluten-free if you select the right crackers. It’s also adaptable for dairy-free diets with plant-based cheeses. It’s inclusive for various dietary needs.
Conclusion
This ultimate build your own charcuterie board for game night is worth trying because it’s easy, delicious, and stress-free. It lets you enjoy your guests instead of stressing over the food. Customize it to your taste. Add what you love. Share your creations with friends.
FAQs
How far in advance can I prepare the board?
You can prep the ingredients up to 24 hours in advance. Assemble the board 1-2 hours before serving to keep everything fresh.
Can I use store-bought meats and cheeses?
Absolutely. Quality matters, but you don’t need to buy from a specialty shop. Look for good brands at your local grocery store.
What is the best cheese for a charcuterie board?
A mix of hard and soft cheeses is best. Cheddar, brie, and gouda are classic choices that offer variety.
How do I keep the board from looking messy?
Use small bowls for loose items like nuts and olives. Leave space between items. It helps maintain a tidy appearance.
Can I make this board vegetarian?
Yes, swap the meats for roasted vegetables, marinated tofu, or extra cheeses. It’s just as satisfying and delicious.
Pin This Recipe!
Ultimate Build Your Own Charcuterie Board for Game Night

A stress-free, customizable charcuterie board perfect for game night that balances salty, sweet, and crunchy elements without requiring complex cooking.
- Prep Time: 30 minutes
- Cook Time: 0 minutes
- Total Time: 30 minutes
- Yield: 8-10 servings
- Category: Appetizer
- Cuisine: American
Ingredients
- Prosciutto, thinly sliced
- Salami (e.g., Genoa), sliced into quarters
- Soft Spanish chorizo, sliced into coins
- Sharp Cheddar cheese, cut into cubes or sticks
- Brie cheese, served with rind on
- Smoked Gouda cheese, sliced thinly
- Water crackers
- Seeded crackers
- Walnuts or almonds, lightly toasted
- Potato chips or pretzels
- Kalamata or green olives
- Dried apricots or figs
- Grain mustard
- Fresh grapes or apple slices
- Honey (optional)
Instructions
- Place the large wooden board or slate platter in the center of the table.
- If using small bowls, place them on the board first to anchor the design, spacing them out evenly.
- Arrange the cheeses on the board: cut cheddar into cubes, slice brie into wedges, and arrange smoked gouda. Let this take about 5 minutes.
- Fold the prosciutto loosely into rosettes and place near the cheeses. Slice and arrange salami and chorizo in piles or folds. Let this take about 10 minutes.
- Fill gaps with crackers and chips. Add olives and nuts in small piles to fill voids. Let this take about 5 minutes.
- Place dried fruit and fresh fruit in remaining spots. Drizzle with honey or mustard if desired. Let this take about 5 minutes.
- Step back and assess the board. Add more of any sparse items and adjust as needed. Let this take about 5 minutes.
Notes
Take cheeses out of the fridge 30 minutes before serving to allow them to reach room temperature for better flavor. Leave space between items to prevent overcrowding and make it easier for guests to serve themselves. For a gluten-free option, use rice crackers or veggie sticks. For a vegetarian version, swap meats for marinated tofu or roasted vegetables.
Nutrition
- Serving Size: Varies based on indi
- Calories: 450
- Sugar: 8
- Sodium: 800
- Fat: 35
- Saturated Fat: 12
- Carbohydrates: 15
- Fiber: 2
- Protein: 20
Keywords: charcuterie board, game night snacks, easy appetizer, party food, build your own board, cheese board, meat board, crowd pleaser


