Love this? Save it for later!
Share the inspiration with your friends
It was late November, and the air outside was already biting, but in there, it was just warmth and dust motes dancing in the afternoon sun. I remember standing on a stool that wobbled just enough to be dangerous, watching her work. She didn’t measure anything. Not really. Flour was poured until the mound looked “right,” and cold butter was cut in until the mixture resembled coarse sand with a few stubborn, pea-sized lumps hiding underneath. That texture, I learned later, was the secret. Those little pockets of butter? They steam in the oven and puff up, creating layers that shatter when you cut into them.
Back then, I thought making a pie was magic. It wasn’t until I was old enough to stand at the counter myself that I realized it was just technique. And patience. Mostly patience. There’s a specific kind of anxiety that comes with blind-baking a crust. You’re staring at the oven, worried it’ll shrink, worried it’ll burn, worried that your hands are too warm and you’re melting the butter into the flour instead of keeping it distinct. But honestly, that tension is part of the ritual. It forces you to slow down in a world that rarely asks us to do that.
I’ve spent years tweaking this best pumpkin pie from scratch with flaky crust, trying to replicate that Sunday afternoon feeling. Some people say canned pie filling is easier, and sure, it is. But there’s no comparison to the depth of flavor you get when you roast your own pumpkin or squash. The difference is night and day. One tastes like dessert; the other tastes like a memory. This recipe isn’t just about getting a slice on the table. It’s about that moment when you take the first bite, the crust crumbling under your fork, and the spiced custard is so smooth it feels like silk. It’s the kind of dessert that makes people close their eyes and just sit there for a minute.
Why You’ll Love This Recipe
I’ve tested this pumpkin pie recipe more times than I can count, and I’ve probably thrown out a dozen failures along the way. There was the one that was too eggy (too many eggs, apparently), and the one that wept liquid onto the counter (underbaked, my bad). But this version? This is the one that sticks. It’s the result of years of trial, error, and a lot of tasting. Here’s why this recipe stands out in a crowded field of pumpkin desserts:
- Quick & Easy Prep: While the crust takes a little love, the filling comes together in under 10 minutes. You’re not spending hours whisking. It’s perfect for busy weeknights or when you’re hosting a large gathering and need to keep your sanity.
- Simple Ingredients: You likely already have everything in your pantry. No fancy, hard-to-find spices or exotic creams. Just butter, flour, pumpkin, spices, and eggs. It’s wholesome, honest cooking.
- Perfect for Holidays: Whether it’s Thanksgiving, Christmas, or just a cozy Sunday in October, this pie fits every occasion. It’s the centerpiece that brings people together.
- Crowd-Pleaser: Kids love the sweetness, and adults appreciate the balance of spice. It’s always the first slice to disappear, often before the coffee is even brewed.
- Unbelievably Delicious: The texture combo of the shatteringly flaky crust and the silky, spiced custard is next-level comfort food. It’s not just good; it’s the kind that makes you want to lick the spoon.
What makes this different from the rest? It’s the technique. I use a mix of heavy cream and evaporated milk for the custard base. The cream adds richness, while the evaporated milk gives it that classic, slightly caramelized pumpkin pie flavor without being too heavy. Plus, the crust is rolled thin enough to be delicate but sturdy enough to hold the filling. It’s not just another version—it’s your best version. It’s comfort food reimagined, with the same soul-soothing satisfaction as the original, but with a bit more control over the ingredients.
What Ingredients You Will Need
This recipe uses simple, wholesome ingredients to deliver bold flavor and satisfying texture without the fuss. The key is quality. Since there are so few components, each one needs to shine. I recommend using unsalted butter so you can control the saltiness, and fresh spices if you can find them, as pre-ground spices lose their potency quickly. For the crust, all-purpose flour is your best friend—it has the right protein content to hold together without becoming tough. If you’re looking for a specific brand, I’ve had great luck with King Arthur Flour for its consistency, though any standard all-purpose will work fine.
For the Flaky Crust
- All-purpose flour (2 ½ cups, sifted) – The foundation. Sifting helps aerate it for a lighter crust.
- Unsalted butter (1 cup, cold and cubed) – Cold is non-negotiable. Warm butter ruins the layers.
- Vegetable shortening (½ cup, cold) – This helps create those flaky layers because it has a higher melting point than butter.
- Salt (1 teaspoon) – Enhances the flavor.
- Sugar (1 tablespoon) – Adds a hint of sweetness and helps with browning.
- Ice water (6-8 tablespoons) – Keeps the dough cold while bringing it together.
For the Pumpkin Filling
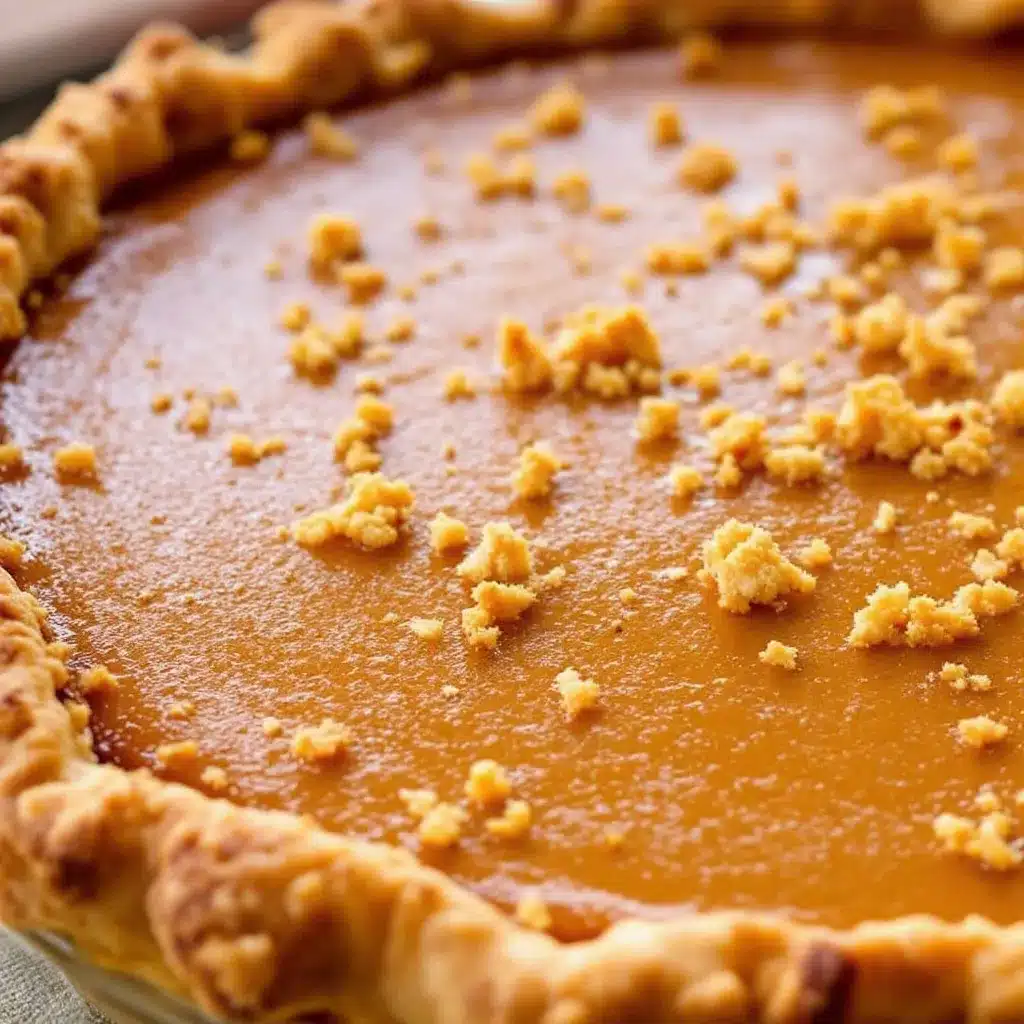
- Pure pumpkin puree (15 oz can or freshly roasted) – Make sure it’s pure pumpkin, not pumpkin pie mix, which already has sugar and spices added.
- Evaporated milk (12 oz can) – Adds a creamy, slightly caramelized depth.
- Heavy cream (½ cup) – For richness and a silky mouthfeel.
- Large eggs (2 whole + 1 yolk) – The yolk adds color and richness.
- Granulated sugar (¾ cup) – Adjust based on how sweet your pumpkin is.
- Light brown sugar (½ cup, packed) – Adds molasses notes and moisture.
- Ground cinnamon (1 teaspoon) – The backbone of the spice profile.
- Ground ginger (½ teaspoon) – Adds a warm, spicy kick.
- Ground nutmeg (¼ teaspoon) – Freshly grated is best if you have it.
- Ground cloves (¼ teaspoon) – Use sparingly; it’s potent.
- Salt (½ teaspoon) – Balances the sweetness.
If you’re making your own pumpkin puree, look for sugar pumpkins or pie pumpkins, which are sweeter and less watery than carving pumpkins. In summer, you could even swap in roasted butternut squash for a slightly different flavor profile, though the texture might be a bit firmer. For a dairy-free option, you can swap the heavy cream for coconut cream, but the flavor will shift towards a tropical note.
Equipment Needed
You don’t need a fancy kitchen to make this pie, but having the right tools makes the process much less stressful. A 9-inch pie dish is essential. I prefer glass or ceramic because they heat evenly and help you see the bottom crust as it bakes. Metal pans can sometimes lead to over-browning if you’re not careful. For the crust, a food processor is a huge time-saver for cutting in the butter, but you can definitely do it by hand with a pastry blender or even two forks if you’re feeling nostalgic.
A rolling pin is obvious, but make sure it’s smooth. A textured one can stick. I also recommend a pie weight or dried beans for blind baking if you’re worried about the crust puffing up. If you don’t have a pie dish, a deep-dish tart pan with a removable bottom works, but the crust might not be as flaky on the sides. Avoid non-stick pie dishes if you can; they can sometimes prevent the crust from browning properly. Keep it simple, keep it clean, and your pie will thank you.
Preparation Method
Making the best pumpkin pie from scratch with flaky crust starts with the dough. Patience is key here. If your butter melts, you’ve lost the flakiness. So, keep everything cold. Start by combining your flour, salt, and sugar in a food processor. Pulse a few times to mix. Then, add the cold, cubed butter and shortening. Pulse in short bursts—don’t overdo it. You want the mixture to look like coarse meal with some pea-sized pieces of butter remaining. Those chunks are what create the steam pockets in the oven.
Next, add the ice water, one tablespoon at a time, pulsing after each addition. Stop as soon as the dough starts to clump together. It shouldn’t be a ball yet; it should look like a shaggy mess. Turn it out onto a counter and gently press it together. Divide the dough in half if you’re making a double crust, or keep it whole for a single crust. Flatten it into a disk, wrap it tightly in plastic wrap, and refrigerate for at least an hour. This rest time relaxes the gluten, which prevents shrinkage, and re-chills the butter.
While the dough chills, preheat your oven to 425°F (220°C). Roll out your dough on a floured surface. Don’t be afraid to use flour; you want it to slide easily. Roll it into a 12-inch circle. Gently transfer it to your pie dish. Press it into the corners without stretching it, as stretching causes shrinkage. Trim the edges and crimp them as you like. Prick the bottom with a fork and line it with parchment paper. Fill it with pie weights or dried beans. Blind bake for 15 minutes, then remove the weights and bake for another 5-10 minutes until the crust is set and lightly golden. Let it cool slightly.
For the filling, whisk together the sugars, spices, and salt in a large bowl. Add the eggs and egg yolk, whisking until smooth. Stir in the pumpkin puree, then slowly whisk in the evaporated milk and heavy cream. Pour this mixture into the pre-baked crust. Reduce the oven temperature to 350°F (175°C). Bake for 50-60 minutes. The pie is done when the edges are set but the center still jiggles slightly like Jell-O. It will firm up as it cools. Let it cool completely on a wire rack before slicing. This cooling time is crucial for the custard to set properly.
How Do I Know When the Pie is Done?
The jiggle test is your best friend. If the center is liquid, it needs more time. If it’s firm all the way to the edge, you might have overbaked it. You want that slight wobble in the center, about 2 inches in diameter.
Cooking Tips & Techniques
I’ve learned a lot of hard lessons while making pie, and I hope you can avoid them. The biggest mistake people make is overworking the dough. When you’re mixing the butter into the flour, stop as soon as it looks like coarse crumbs. Over-mixing develops gluten, which makes the crust tough instead of tender. Also, keep your hands cool. If your hands are warm, they’ll melt the butter. If you’re in a warm kitchen, chill your bowl before you start.
Another tip: don’t skip the blind baking. If you put the wet filling into a raw crust, the bottom will likely be soggy. Blind baking sets the structure and creates a barrier. If you don’t have pie weights, use raw rice or dried beans. They work just as well. And when you’re rolling out the dough, if it cracks, just press it back together. It happens. Don’t stress. A few cracks won’t ruin the flavor.
For the filling, make sure your ingredients are at room temperature, except for the butter in the crust. Cold eggs can cause the custard to curdle if added to hot ingredients, so let them sit out for 30 minutes. Whisking the filling thoroughly ensures there are no lumps of spice or sugar. And finally, let the pie cool completely. Cutting into a warm pie is tempting, but the custard hasn’t set yet, and you’ll end up with a mess. Patience pays off.
Variations & Adaptations
While this classic recipe is my go-to, there are plenty of ways to tweak it to suit your taste. For a gluten-free version, you can use a 1:1 gluten-free flour blend in the crust, though the texture might be slightly more crumbly. Add a little xanthan gum if your blend doesn’t have it. For a dairy-free option, swap the butter in the crust for coconut oil or vegan butter, and use full-fat coconut milk instead of the heavy cream and evaporated milk. The flavor will be slightly coconutty, which pairs well with the spices.
If you want to change the flavor profile, try adding a tablespoon of bourbon or maple syrup to the filling. It adds a nice depth of flavor. For a chocolate twist, you can sprinkle chocolate chips on top of the custard before baking, or swirl some peanut butter into the filling. I once tried adding a layer of graham cracker crumbs to the bottom of the crust, which added a nice crunch. It’s a personal variation I’ve stuck with ever since. You can also use sweet potato puree instead of pumpkin for a slightly different, earthier flavor.
Serving & Storage Suggestions
This pie is best served at room temperature or slightly chilled. Cold pie makes the crust harder, which can be unpleasant. Serve it with a dollop of whipped cream, preferably homemade, and a sprinkle of cinnamon on top. It pairs beautifully with a cup of black coffee or a spiced cider. If you’re hosting a dinner, serve it alongside some roasted vegetables or a simple salad to balance the sweetness.
For storage, cover the pie loosely with plastic wrap or aluminum foil. It can be kept at room temperature for up to two days, or in the refrigerator for up to five days. If you’re freezing it, wrap it tightly in plastic and then foil. It will last for up to three months. Thaw it in the refrigerator overnight before serving. Reheating is best done in the oven at 300°F for 10-15 minutes to soften the crust. Microwave reheating can make the crust soggy, so avoid it if possible. The flavors actually develop and meld over the first day, making it even better on day two.
Nutritional Information & Benefits
Pumpkin is a nutritional powerhouse. It’s rich in vitamin A, which is great for eye health and immune function. It’s also high in fiber, which aids digestion, and contains antioxidants like beta-carotene. While this pie is a dessert and should be enjoyed in moderation, using real pumpkin adds more nutrients than artificial flavorings. The spices, like cinnamon and ginger, have anti-inflammatory properties. Just be mindful of the sugar content in the crust and filling. If you’re watching your sugar intake, consider reducing the sugar in the filling by 25% or using a natural sweetener like maple syrup, though the texture may vary slightly.
Conclusion
Making the best pumpkin pie from scratch with flaky crust is a labor of love, but it’s worth every minute. It’s not just a dessert; it’s a tradition. It’s a way to bring people together, to share a moment of warmth and comfort. I hope this recipe becomes a part of your holiday traditions, just as it has become a part of mine. Don’t be afraid to experiment with the spices or the crust. Make it your own. And when you take that first bite, remember the effort you put in, and enjoy it fully. If you make this recipe, I’d love to hear how it turned out. Leave a comment below with your thoughts, or share a photo of your creation. Happy baking!
FAQs
Can I use fresh pumpkin instead of canned?
Yes, you can. Roast a sugar pumpkin or pie pumpkin until tender, scoop out the flesh, and puree it. Make sure to drain any excess liquid by placing the puree in a cheesecloth or paper towel before adding it to the recipe. Fresh pumpkin can be watery, so draining is crucial.
Why did my pie filling crack?
Cracking usually happens when the pie is overbaked or cooled too quickly. Make sure to remove the pie when the center still jiggles slightly. Let it cool slowly at room temperature before refrigerating. Avoid putting a hot pie directly into the fridge.
Can I make the crust ahead of time?
Absolutely. You can make the dough and keep it in the refrigerator for up to three days, or freeze it for up to three months. Just let it thaw in the refrigerator overnight before rolling it out.
What is the best way to store leftover pie?
Store leftover pie in the refrigerator, covered with plastic wrap or aluminum foil. It will stay fresh for up to five days. For longer storage, freeze it tightly wrapped in plastic and foil.
Can I use a store-bought crust?
You can, but the flavor and texture won’t be the same as a homemade flaky crust. If you’re short on time, a store-bought crust is a convenient option, but I highly recommend taking the time to make your own for the best results.
Pin This Recipe!
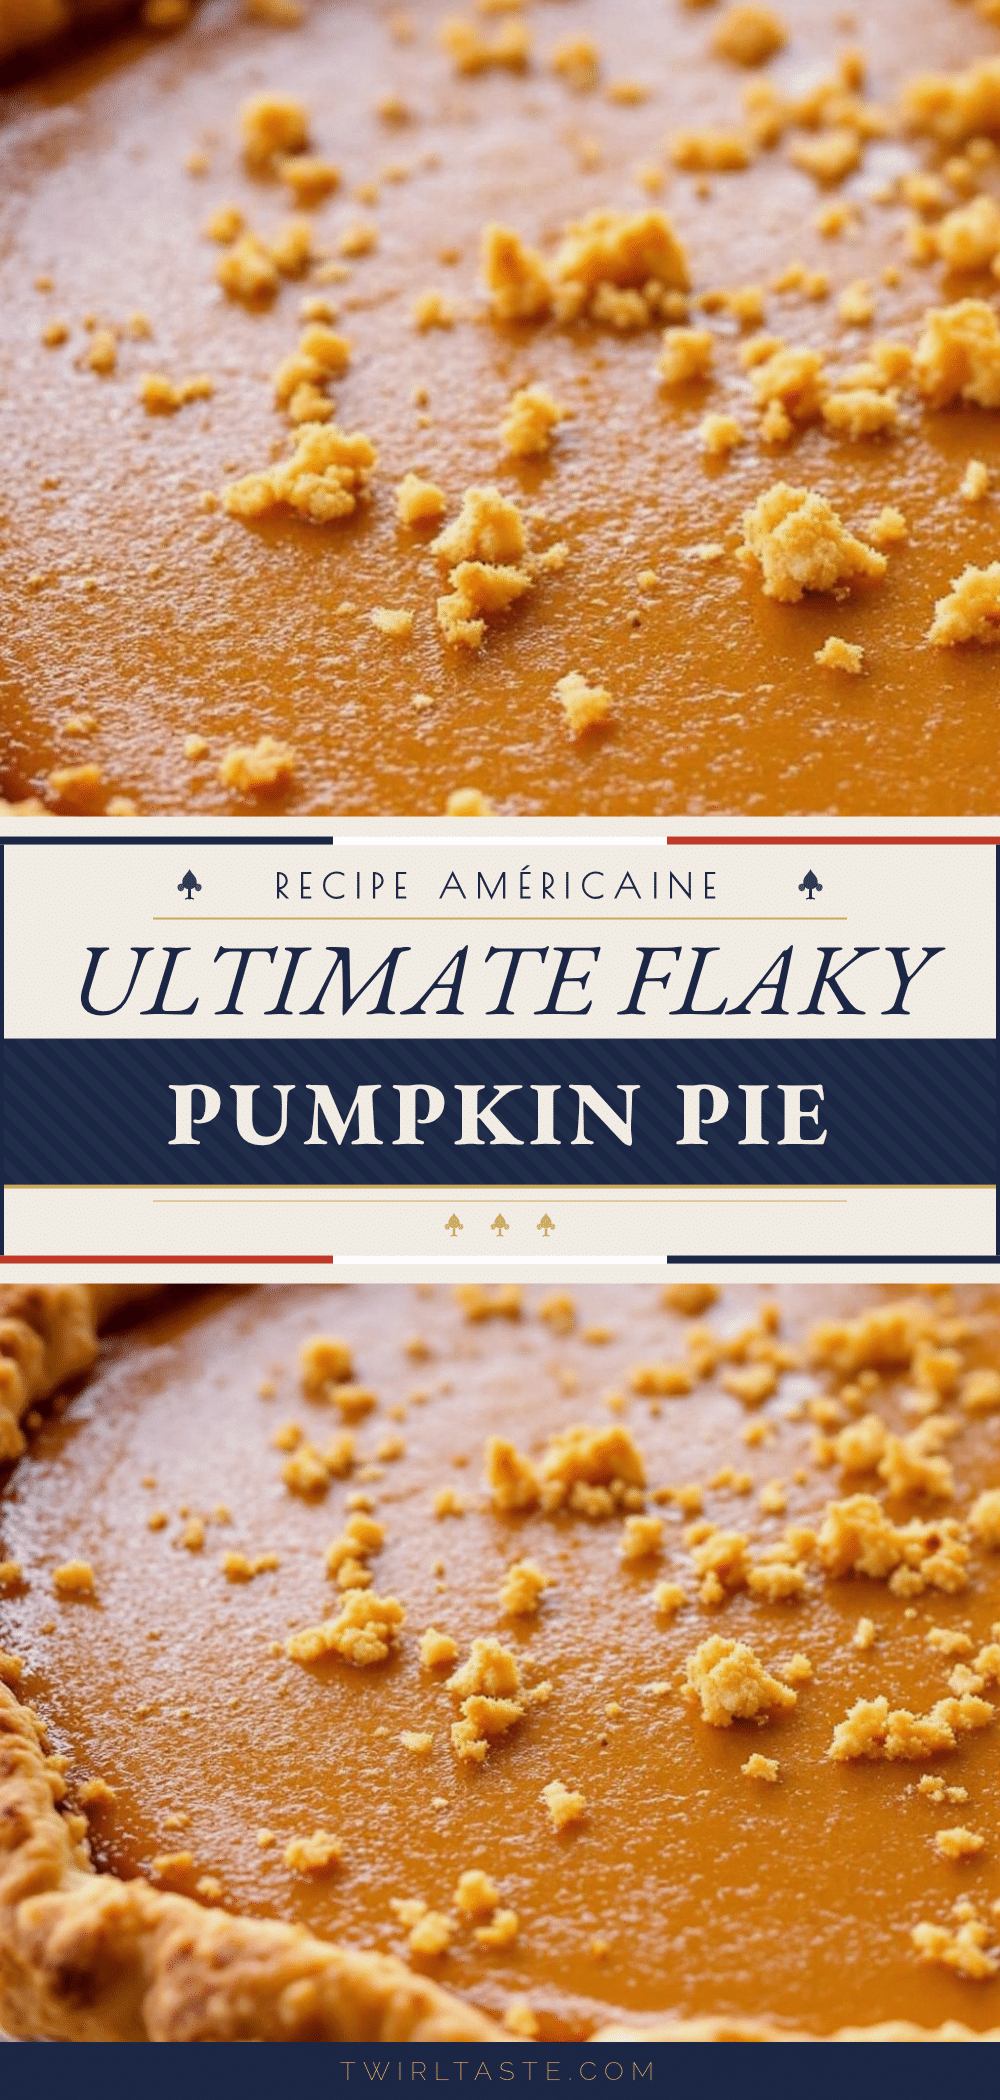
Best Pumpkin Pie from Scratch: Easy Homemade Flaky Crust
A homemade pumpkin pie featuring a shatteringly flaky, buttery crust and a silky, spiced custard filling made with a mix of heavy cream and evaporated milk for rich flavor.
- Prep Time: 30 minutes
- Cook Time: 75 minutes
- Total Time: 105 minutes
- Yield: 8 servings 1x
- Category: Dessert
- Cuisine: American
Ingredients
- 2 ½ cups all-purpose flour, sifted
- 1 cup unsalted butter, cold and cubed
- ½ cup vegetable shortening, cold
- 1 teaspoon salt
- 1 tablespoon sugar
- 6–8 tablespoons ice water
- 15 oz pure pumpkin puree
- 12 oz evaporated milk
- ½ cup heavy cream
- 2 large eggs + 1 egg yolk
- ¾ cup granulated sugar
- ½ cup light brown sugar, packed
- 1 teaspoon ground cinnamon
- ½ teaspoon ground ginger
- ¼ teaspoon ground nutmeg
- ¼ teaspoon ground cloves
- ½ teaspoon salt
Instructions
- Preheat oven to 425°F (220°C).
- In a food processor, pulse flour, salt, and sugar to mix.
- Add cold butter and shortening; pulse in short bursts until mixture resembles coarse meal with pea-sized butter pieces.
- Add ice water one tablespoon at a time, pulsing until dough clumps together.
- Turn dough out, press together, flatten into a disk, wrap in plastic, and refrigerate for at least 1 hour.
- Roll dough into a 12-inch circle on a floured surface and transfer to a 9-inch pie dish without stretching.
- Trim edges, crimp, prick bottom with a fork, line with parchment, and fill with pie weights.
- Blind bake for 15 minutes, remove weights, and bake 5-10 more minutes until lightly golden. Let cool slightly.
- Reduce oven temperature to 350°F (175°C).
- Whisk sugars, spices, and salt in a large bowl. Add eggs and yolk, whisking until smooth.
- Stir in pumpkin puree, then slowly whisk in evaporated milk and heavy cream.
- Pour filling into the pre-baked crust.
- Bake for 50-60 minutes until edges are set but center jiggles slightly.
- Cool completely on a wire rack before slicing.
Notes
Keep all ingredients cold for the crust to ensure flakiness. Do not overwork the dough. Let the pie cool completely to allow the custard to set. Fresh pumpkin puree must be drained well to avoid a watery filling.
Nutrition
- Serving Size: 1 slice
- Calories: 380
- Sugar: 28
- Sodium: 250
- Fat: 22
- Saturated Fat: 11
- Carbohydrates: 42
- Fiber: 3
- Protein: 5
Keywords: pumpkin pie, flaky crust, homemade pie, Thanksgiving dessert, holiday baking, pumpkin recipe, scratch baking


