Love this? Save it for later!
Share the inspiration with your friends
It was late October, and the air had that crisp, biting edge that only exists in the Midwest before the first real snow. I was sitting on those creaky wooden steps, my legs dangling over the side, watching the leaves swirl in the wind. My grandmother was inside, but I could hear the rhythmic scrape of a spoon against a bowl. She was cleaning out the guts of a giant sugar pumpkin, the one we’d hauled home from the farm stand.
Most people toss those seeds. They see the slimy orange mess and think trash. But she never did. She’d rinse them, dry them, and toss them with oil and spices. The smell would drift out the window, mixing with the woodsmoke from her fireplace. It wasn’t sweet like the pie she’d bake later. It was savory, deep, and slightly spicy. That specific combination of smoked paprika and garlic powder is what stuck in my head.
I remember the first time I tried them. I was maybe ten years old, waiting for dinner. She handed me a handful straight from the baking sheet. They were hot, jagged little jewels of crunch. The paprika coated every ridge, turning the pale seed into a vibrant orange-red speck. I didn’t say anything, just chewed slowly, letting the smoky flavor hit my tongue. It was the best snack I’d ever had, and it didn’t require a single minute of cooking time for a main meal.
Years later, I’ve tried dozens of ways to roast seeds. Some get burnt. Some stay soggy. Some taste like cardboard. But this version? It’s the one I come back to. It’s simple, honest, and it uses up the waste part of the pumpkin. If you are making easy no-bake pumpkin pie for a holiday gathering, you are already halfway there. Just save those seeds. Don’t throw them away. This recipe for Crispy Smoked Paprika Roasted Pumpkin Seeds is the perfect way to turn a messy chore into a addictive, healthy snack that tastes like autumn in a bowl.
Why You’ll Love This Recipe
Let’s be honest for a second. Snacking is hard. You want something crunchy, something salty, something that satisfies that afternoon slump without making you feel like you just ate a whole cake. Most store-bought trail mixes are loaded with sugar and cheap nuts. This recipe changes the game. It’s not just about saving seeds; it’s about creating a texture that actually stays crispy.
- Quick & Easy: From cleaning to crunch, this takes less than 45 minutes. You can prep these while your main dish is roasting. It’s the ultimate multitasking snack for busy weeknights or when you’re prepping for a party.
- Simple Ingredients: You likely have everything right now. Pumpkin seeds, oil, smoked paprika, garlic powder, and salt. No fancy grocery runs needed. It’s pantry-friendly and zero-waste cooking at its finest.
- Perfect for Game Day: Whether you are watching football or just hanging out on the couch, these are better than chips. They pair perfectly with easy slow cooker pulled pork sliders if you’re feeling hungry, but they stand alone just fine too.
- Crowd-Pleaser: Kids usually love the crunch, and adults love that it’s actually good for them. They are high in protein and magnesium, so you get a energy boost without the crash.
- Unbelievably Delicious: The smoked paprika adds a depth that regular paprika just can’t match. It tastes like you spent hours smoking them over a fire, but you didn’t. It’s next-level comfort food for your fingers.
What makes this different from other roasted seed recipes? It’s the drying step. Most people skip drying the seeds thoroughly before baking, and that’s why they end up chewy. We take the time to get them as dry as possible. Also, the seasoning blend is balanced perfectly so it sticks to the seed without clumping. It’s not just salt on top; it’s flavor infused into every bite.
What Ingredients You Will Need
This recipe relies on the humble pumpkin seed, but the magic really happens in the seasoning. You don’t need a lot to make these taste incredible. The key is quality. If you use bland oil or stale spices, the result will be boring. But with a few simple tweaks, you get restaurant-quality snacks at home.
- Fresh Pumpkin Seeds: About 1 to 1.5 cups of raw, cleaned seeds. These come from a medium-sized sugar pumpkin or pie pumpkin. Avoid the giant carving pumpkins if you can; their seeds are often smaller and harder to clean, though they still work. Fresh seeds have a better texture than dried ones from the store.
- Extra Virgin Olive Oil: About 2 tablespoons. I prefer olive oil for its fruity undertones, which balance the smokiness of the paprika. You can use melted butter for a richer flavor, or avocado oil if you want a neutral taste. Olive oil helps the spices adhere better than water alone.
- Smoked Paprika: 1 teaspoon. This is the star of the show. Make sure it’s smoked, not just sweet paprika. Smoked paprika (pimentón) gives that BBQ-like depth without actual smoking. If you buy it, check the date; old paprika loses its punch quickly.
- Garlic Powder: 1/2 teaspoon. Fresh garlic burns easily in the oven, so powder is the way to go. It provides a savory backbone that makes the seeds taste savory and complex. Do not skip this; it adds the necessary umami.
- Onion Powder: 1/4 teaspoon. This adds a subtle sweetness and aromatic quality that complements the garlic. It’s a classic pairing in savory snacks.
- Sea Salt: 1/2 teaspoon, or to taste. Use flaky sea salt if you have it for a nicer crunch, or fine kosher salt for even distribution. Salt is crucial for bringing out the nutty flavor of the seeds.
- Optional Heat: A pinch of cayenne pepper or chili flakes. If you like a little kick, add this now. It pairs wonderfully with the smoked paprika for a spicy-sweet-savory profile.
For the best results, I recommend rinsing the seeds in a fine-mesh strainer until the water runs clear. This removes all the stringy pulp. If you leave the pulp on, it will burn in the oven and make the seeds taste bitter. Also, make sure your oil is at room temperature when you mix it with the spices so it coats evenly.
Equipment Needed
You don’t need a fancy kitchen to make these. In fact, simplicity is key here. Here is what you’ll need to get the job done right.
- Large Mixing Bowl: Something wide enough to toss the seeds around. A glass or stainless steel bowl works best because it’s easy to clean.
- Fine-Mesh Strainer: Essential for rinsing the seeds. A regular colander might let the tiny seeds slip through, so make sure the holes are small enough.
- Baking Sheet: A standard half-sheet pan. I prefer one with a rim so the oil doesn’t drip into the oven. Line it with parchment paper for easy cleanup, though it’s not strictly necessary if you scrub it well.
- Pastry Brush or Spoon: To toss the seeds in oil. A spoon is faster, but a brush can help coat them evenly if you are using less oil.
- Clean Kitchen Towel or Paper Towels: This is the most important tool. You need something absorbent to dry the seeds. The drier they are, the crispier they get.
If you don’t have a baking sheet, you can use a cast-iron skillet, but you’ll need to stir them more frequently to prevent burning. Also, avoid non-stick spray; it can make the seeds greasy. Just use the oil you measured out. It’s cleaner and gives you more control over the texture.
Preparation Method
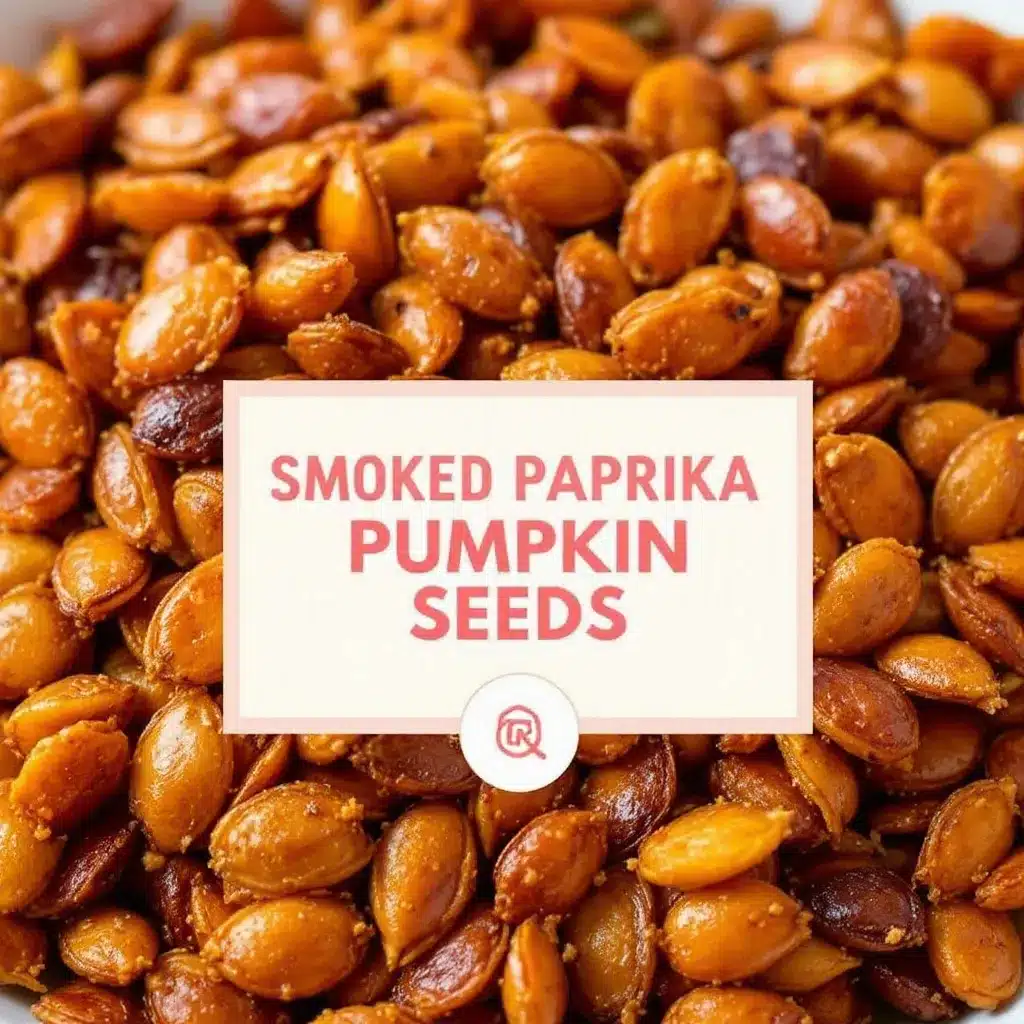
Getting these crispy takes a little patience, but the steps are straightforward. Follow these instructions carefully, especially the drying part, because that is where most people go wrong.
- Extract the Seeds (2 minutes): Cut your pumpkin in half and scoop out the insides. Use a sturdy spoon to scrape the seeds away from the fibrous pulp. Try to get as many seeds as you can. Don’t worry if you get a few stringy bits; we’ll clean them next.
- Rinse Thoroughly (3 minutes): Pour the seed mixture into your fine-mesh strainer. Hold it under cold running water. Use your fingers to gently rub the seeds against each other. This helps separate the seeds from the slimy strands. Keep rinsing until the water is completely clear and no more slime is visible. This step is non-negotiable for good flavor.
- Initial Dry (5 minutes): Spread the rinsed seeds out on a clean kitchen towel. Pat them down gently with another towel. You want to remove as much surface moisture as possible. The less water on them, the faster they will roast and the crunchier they will become. Let them sit for a few minutes to air dry while you preheat the oven.
- Preheat Oven (10 minutes): Set your oven to 325°F (165°C). We are using a lower temperature than you might think. High heat burns the oils in the seeds before they crisp up. Low and slow is the secret to a golden, crunchy seed.
- Season the Seeds (2 minutes): In your large mixing bowl, combine the damp seeds, olive oil, smoked paprika, garlic powder, onion powder, and salt. Toss them well. You want every seed coated in a thin layer of orange-red spice. If it looks too dry, add a tiny splash more oil. If it looks clumpy, add a few more seeds or a pinch more oil.
- Spread on Pan (1 minute): Pour the seasoned seeds onto your lined baking sheet. Spread them out in a single layer. Do not pile them up. Crowding the pan creates steam, which leads to soggy seeds. If you have a lot of seeds, use two pans.
- Roast (20-25 minutes): Place the pan in the oven. Bake for 20 to 25 minutes. Halfway through (around the 10-minute mark), pull the pan out and give the seeds a good stir. This ensures even browning. You want them to turn a light golden brown. Watch them closely in the last few minutes; they can go from perfect to burnt very quickly.
- Cool Completely (30+ minutes): This is the hardest part. Remove the pan from the oven. The seeds will still feel slightly soft when they are hot. They will crisp up as they cool. Let them sit on the pan until they are completely room temperature. Do not store them while they are warm, or they will get soggy in the container.
Trust the cooling process. It’s tempting to eat them hot, but the true crunch comes only after they have cooled down. If you rush this, you’ll be disappointed. Patience pays off with better texture.
Cooking Tips & Techniques
I’ve learned a few hard lessons about roasting seeds over the years. Here is how to avoid the common pitfalls and get it right the first time.
Don’t Skip the Drying: I cannot stress this enough. If your seeds are wet when they go into the oven, they will steam. Steaming makes them chewy. Chewy seeds are not what we want. After rinsing, let them sit on the counter for 15-20 minutes to air dry before tossing them in oil. It makes a huge difference.
Low and Slow: Many recipes say 350°F or 400°F. I find that too hot. The paprika can burn at higher temps, leaving a bitter taste. 325°F is the sweet spot. It allows the moisture to evaporate slowly while the nutty flavor develops.
Stir Frequently: Oven hot spots are real. Even if your oven is calibrated, the edges of the pan will cook faster than the center. Stirring every 10 minutes ensures uniform color. You want a consistent golden hue, not some black and some pale.
Season While Damp: Toss the seeds with oil and spices while they are still slightly damp from rinsing. The moisture helps the spices stick. If you add spices after they are dry and oily, they tend to fall off when you eat them.
Test One Seed: About 5 minutes before you think they are done, take one seed out, let it cool for a minute, and taste it. If it’s still soft, give it another 5 minutes. If it’s crispy and salty, you are good to go.
Variations & Adaptations
While the smoked paprika version is my favorite, these seeds are a blank canvas. You can change the flavor profile to suit your mood or what you have in your pantry.
- Sweet & Spicy: Swap the garlic and onion powder for cinnamon and a tablespoon of brown sugar. Drizzle with a little honey after roasting. These are great with classic apple crisp as a topping substitute.
- Herb & Garlic: Use dried rosemary, thyme, and plenty of garlic powder. This tastes like focaccia bread. Great for pairing with soups or salads.
- Chili Lime: Use chili powder, cumin, and a squeeze of fresh lime juice after roasting. This is a great Mexican-inspired snack.
- Gluten-Free & Vegan: This recipe is naturally gluten-free and vegan. Just ensure your spices are certified gluten-free if you have celiac disease, as cross-contamination can happen in spice mills.
I once tried roasting them with curry powder, and it was surprisingly good. It added an earthy, warm flavor that worked well with a yogurt dip. Feel free to experiment. The base recipe is forgiving.
Serving & Storage Suggestions
These seeds are best served at room temperature. Heat makes them soft, and cold can make the oils congeal slightly, changing the mouthfeel. Keep them in a cool, dry place.
Storage: Once completely cooled, store them in an airtight container. They will stay crispy for up to 5 days at room temperature. If you live in a humid climate, you might want to add a silica packet or a piece of bread to the container to absorb moisture. They can also be frozen for up to 3 months, though the texture might change slightly upon thawing.
Serving Ideas: Serve them in a small bowl on the coffee table. They are perfect for movie nights. You can also sprinkle them over salads for extra crunch, or use them as a garnish for cozy creamy tomato soup. They add a nice textural contrast to soft dishes.
Reheating is not recommended. If they lose their crunch, you can put them back in the oven at 300°F for 5 minutes to refresh them, but they are best fresh.
Nutritional Information & Benefits
These seeds are a nutritional powerhouse. A one-ounce serving (about 28 grams) contains roughly 150 calories, 8 grams of protein, and 5 grams of healthy fats. They are rich in magnesium, which is great for muscle function and relaxation. They also contain zinc, which supports immune health.
Unlike chips, these don’t have empty calories. They provide sustained energy. For anyone watching their weight, the protein and fiber help keep you full. They are a much smarter snack choice than processed crackers. Plus, by roasting them yourself, you control the sodium and oil content. You aren’t drowning them in unhealthy additives. It’s a clean, whole-food snack that tastes indulgent.
Conclusion
Making Crispy Smoked Paprika Roasted Pumpkin Seeds is easier than you think, and the payoff is huge. You get a snack that is crunchy, savory, and packed with flavor, all while reducing food waste. It’s a small effort for a big reward. I hope you try this recipe and find yourself making it again and again, especially during the fall season.
Feel free to tweak the spices to your liking. Maybe you want more heat, or less salt. This is your kitchen. And if you make them, I’d love to hear how they turned out. Leave a comment below with your thoughts or any variations you tried. Share this recipe with a friend who loves snacks, and let’s spread the word about healthy, homemade treats. Happy roasting!
FAQs
Can I use store-bought raw pumpkin seeds?
Yes, you can. Store-bought seeds are usually already cleaned and dried. You will need to rinse them briefly to remove any dust, then pat them very dry. The roasting time might be slightly shorter, so check them around the 15-minute mark.
Why are my seeds still chewy after cooling?
This usually happens if they weren’t dried enough before roasting, or if they were crowded on the pan. Make sure to spread them in a single layer and dry them thoroughly with towels before adding oil. Also, ensure your oven temperature is accurate.
How do I clean the pulp off the seeds?
Place the seeds in a large bowl of water. The good seeds will sink, and the pulp and bad seeds will float. Skim off the floating debris. Then, rinse the sunk seeds in a strainer under running water while rubbing them with your fingers to remove any remaining slime.
Can I season these seeds after roasting?
It’s better to season before roasting so the spices toast slightly and the oil helps them stick. If you season after, the spices will just fall off. However, you can add a dusting of fresh herbs or a pinch of salt after roasting if you want a fresher taste.
How long do roasted pumpkin seeds last?
Stored in an airtight container at room temperature, they will stay crispy for about 5 days. In the fridge, they can last up to 2 weeks, but they may lose some crunch. Freezing is an option for longer storage, up to 3 months.
Pin This Recipe!
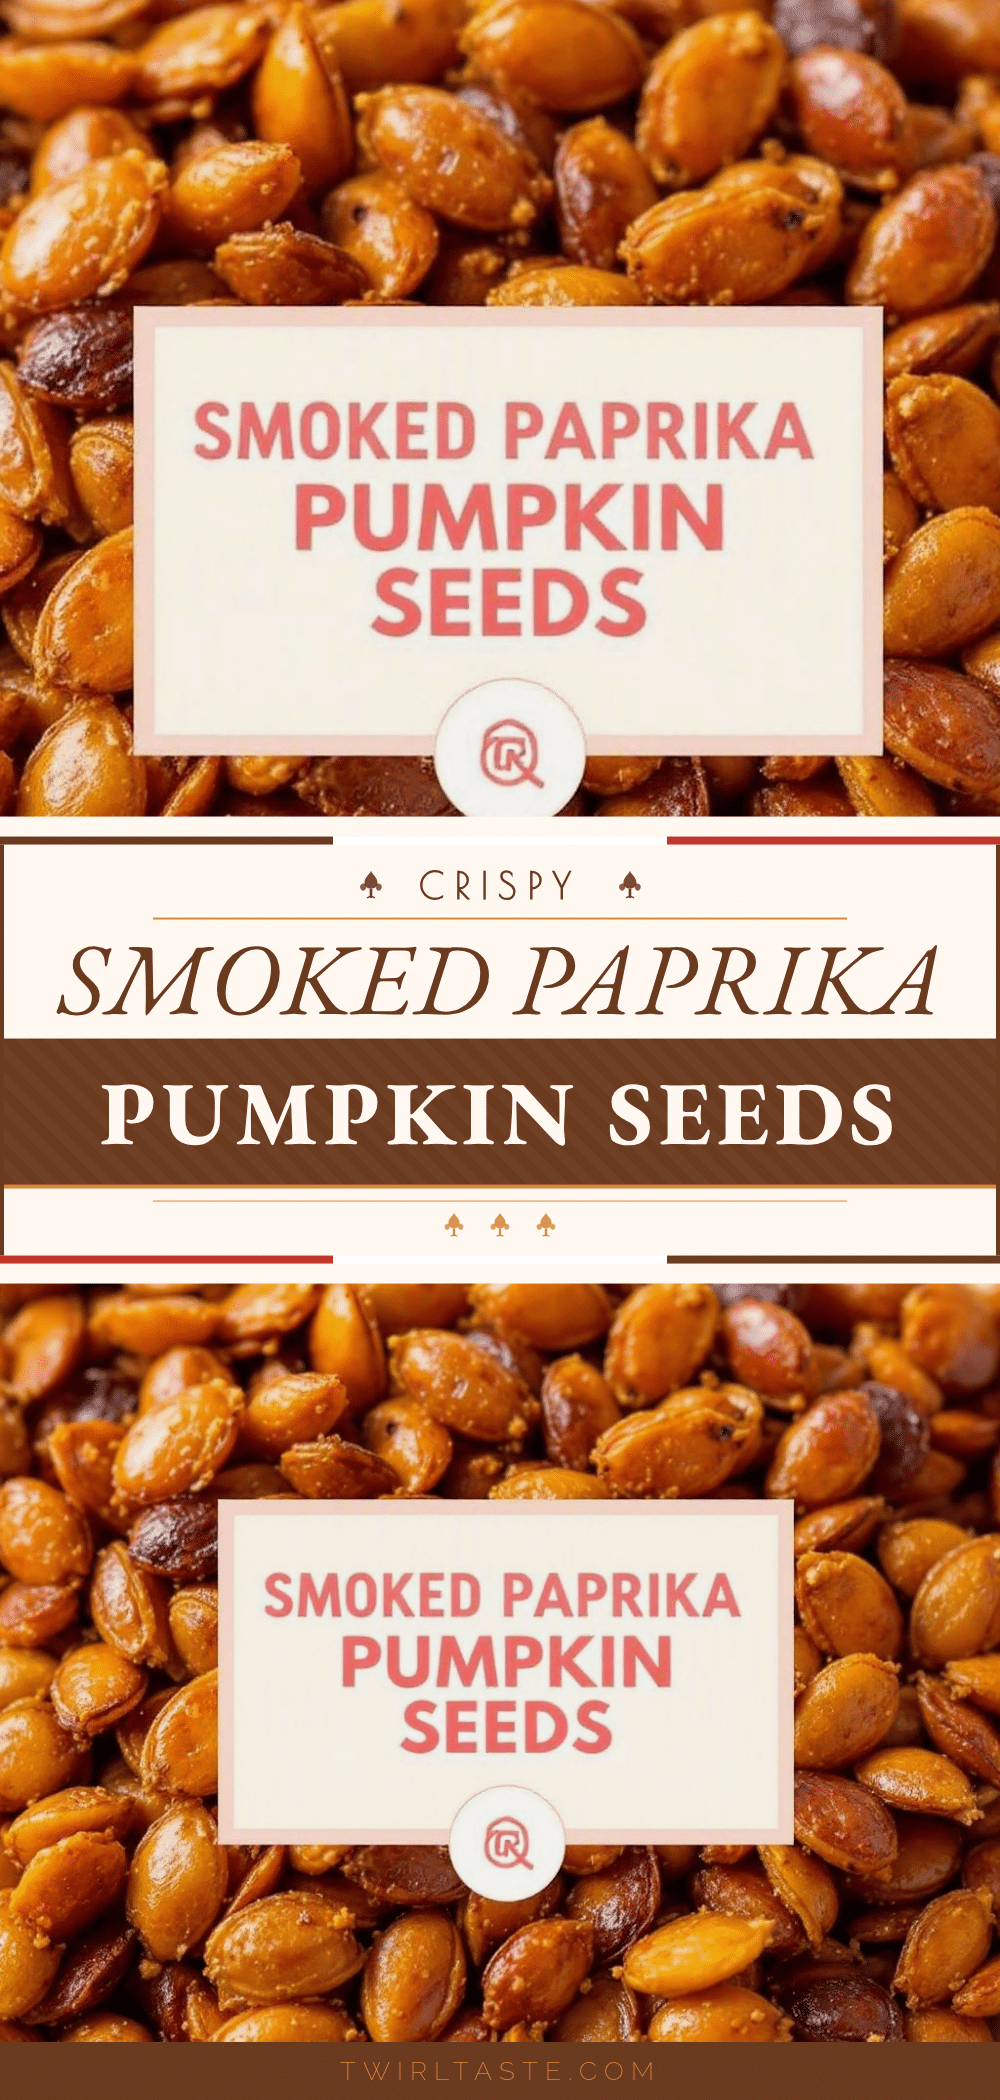
Crispy Smoked Paprika Roasted Pumpkin Seeds: Easy Snack
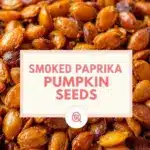
A simple, zero-waste recipe for crunchy, savory roasted pumpkin seeds seasoned with smoked paprika, garlic powder, and sea salt. Perfect for game day or a healthy autumn snack.
- Prep Time: 10 minutes
- Cook Time: 25 minutes
- Total Time: 45 minutes
- Yield: 1 to 1.5 cups roasted seeds 1x
- Category: Snack
- Cuisine: American
Ingredients
- 1 to 1.5 cups raw, cleaned pumpkin seeds
- 2 tablespoons extra virgin olive oil
- 1 teaspoon smoked paprika
- 1/2 teaspoon garlic powder
- 1/4 teaspoon onion powder
- 1/2 teaspoon sea salt
- Pinch of cayenne pepper or chili flakes (optional)
Instructions
- Cut the pumpkin in half and scoop out the seeds, scraping away as much fibrous pulp as possible.
- Place seeds in a fine-mesh strainer and rinse thoroughly under cold running water, rubbing gently to remove all slime until water runs clear.
- Spread seeds on a clean kitchen towel and pat dry with another towel to remove surface moisture. Let them air dry for a few minutes.
- Preheat oven to 325°F (165°C).
- In a large mixing bowl, combine the slightly damp seeds, olive oil, smoked paprika, garlic powder, onion powder, and salt. Toss well to coat evenly.
- Spread the seasoned seeds in a single layer on a parchment-lined baking sheet.
- Roast for 20-25 minutes, stirring halfway through, until golden brown.
- Remove from oven and let cool completely on the pan until room temperature to ensure crispiness.
Notes
The key to crispy seeds is thorough drying before roasting. Do not crowd the pan; use two sheets if necessary. Seeds will feel soft when hot but crisp up as they cool completely. Store in an airtight container for up to 5 days.
Nutrition
- Serving Size: 1 ounce (approx. 28
- Calories: 150
- Sodium: 200
- Fat: 8
- Saturated Fat: 1
- Carbohydrates: 5
- Fiber: 2
- Protein: 8
Keywords: pumpkin seeds, roasted pumpkin seeds, smoked paprika, healthy snack, zero waste, gluten-free, vegan, game day snack, autumn recipes