Love this? Save it for later!
Share the inspiration with your friends
“Mom, can you make those peanut butter ball things again?” My daughter didn’t even look up from her homework when she said it. Just a quiet request, like asking for the Wi-Fi password. And that was it — I realized my no-bake energy bites had become a lunchbox legend in our house, and I hadn’t even noticed.
The thing is, I didn’t set out to create a viral school lunch idea. I was just tired of throwing away half-eaten granola bars and sad, squished sandwiches. One afternoon, staring at a bunch of spotty bananas on my counter (you know the ones — too brown for breakfast, perfect for baking), I threw together some oats, peanut butter, and that overripe banana. I figured if it worked as a snack for me, it might work for the kids. Honestly, I was just trying to use up what I had.
What came out of that little experiment was a recipe that has literally saved our school mornings more times than I can count. These easy peanut butter banana energy bites are soft, chewy, and just sweet enough to feel like a treat — but they’re packed with enough good stuff to keep little (and big) bellies full until lunch. They’re not fancy. They’re not complicated. They’re just exactly what a busy parent needs.
And that’s the thing about the best recipes, right? They don’t start with a trip to a specialty grocery store or a complicated technique. They start with a need, a few simple ingredients, and a little bit of desperation. These energy bites have become our go-to, and I have a feeling they’re about to become yours too.
Why You’ll Love This Recipe
Let me tell you why these little guys have earned a permanent spot in our weekly rotation. I’ve tested this recipe more times than I can count — through picky eaters, busy mornings, and even a few failed batches that were too sticky or too dry. This version? It’s the Goldilocks of energy bites.
- No-Bake & Ready in 15 Minutes : You don’t even need to turn on the oven. Mix, roll, and you’re done. Perfect for those “I forgot it’s my turn to bring snacks” moments.
- Simple Pantry Ingredients : Oats, peanut butter, banana, honey — that’s it. No weird health food store finds or expensive superfood powders.
- School Lunchbox Hero : They hold up beautifully in a lunchbox, no refrigeration needed for the morning. Just toss them in and go.
- Kid-Approved & Parent-Proud : My kids actually ask for these. They have no idea they’re eating whole grains and protein. I’m not telling if you’re not.
- Endlessly Customizable : Add chocolate chips, shredded coconut, flaxseed — whatever you have on hand. It’s a forgiving recipe that loves improvisation.
What makes these different from every other energy ball recipe out there? It’s the texture. That ripe banana adds a natural softness and sweetness that you just can’t get from honey alone. They’re not dry and crumbly like some recipes I’ve tried. They’re almost like a soft cookie dough — but way better for you.
And honestly? There’s something about knowing exactly what’s in your kid’s lunch. No preservatives, no weird ingredients you can’t pronounce. Just real food, rolled into little bites of goodness. That’s a win in my book.
What Ingredients You Will Need
This recipe uses simple, wholesome ingredients that you probably already have in your kitchen. I’ve tested these exact proportions to get the perfect texture — not too sticky, not too dry. Here’s what you’ll need:
- 1 cup old-fashioned rolled oats (not quick oats — they get mushy. I prefer Quaker or Bob’s Red Mill for consistent texture)
- 1/2 cup creamy peanut butter (natural, no-stir works best. Skip the oily, separated kind unless you want a greasy bite. I use Skippy Natural)
- 1 medium ripe banana, mashed (the riper the better — those brown spots mean more natural sweetness and better binding)
- 2 tablespoons honey (or maple syrup for a vegan option. Local honey adds a nice floral note if you have it)
- 1/4 cup mini chocolate chips (optional but highly recommended. Semi-sweet or dark — your call)
- 1/4 cup ground flaxseed (adds fiber and omega-3s. You can skip it, but I love the nutritional boost)
- 1/2 teaspoon vanilla extract (pure, not imitation. It makes a difference)
- Pinch of salt (if your peanut butter is unsalted. Balances the sweetness beautifully)
Ingredient Tips from My Kitchen: For the best texture, make sure your banana is truly ripe — like, “I was going to make banana bread” ripe. The natural sugars and moisture are key. If your peanut butter is too thick, microwave it for about 10 seconds to make it easier to mix. And here’s something I learned the hard way: don’t use old oats that have been sitting in your pantry for a year. Fresh oats make a huge difference in taste and texture.
Substitution Guidance: Need a nut-free version? Sunflower seed butter works perfectly — just add a pinch more honey since it’s a bit less sweet. Gluten-sensitive? Certified gluten-free oats are widely available now. Want to cut the sugar? Skip the chocolate chips and use just the banana and honey — they’re still plenty sweet. I’ve tried this with almond butter too, and it works, though the flavor is milder. Peanut butter really is the star here.
Equipment Needed
You don’t need a fancy kitchen to make these energy bites. In fact, you probably already own everything required. Here’s the short list:
- Large mixing bowl (any size works, but bigger is better for mixing without making a mess)
- Fork or potato masher (for mashing that banana. A fork works fine, but a masher is faster)
- Rubber spatula or wooden spoon (for mixing everything together. I prefer a spatula — less sticking)
- Measuring cups and spoons (eyeballing works, but for consistent results, measure properly the first time)
- Baking sheet or large plate (for holding the rolled bites while you shape them)
- Parchment paper or wax paper (optional, but makes cleanup a breeze)
- Cookie scoop or tablespoon (for uniform-sized bites. A 1.5-tablespoon scoop is my sweet spot)
I’ve made these with just a bowl and a fork when I was camping (yes, really). The key is having a good mixing bowl that’s deep enough to keep everything contained. My favorite is a simple glass mixing bowl — nothing fancy. And if you don’t have a cookie scoop, just use your hands. They’re the best tool you’ve got.
Preparation Method
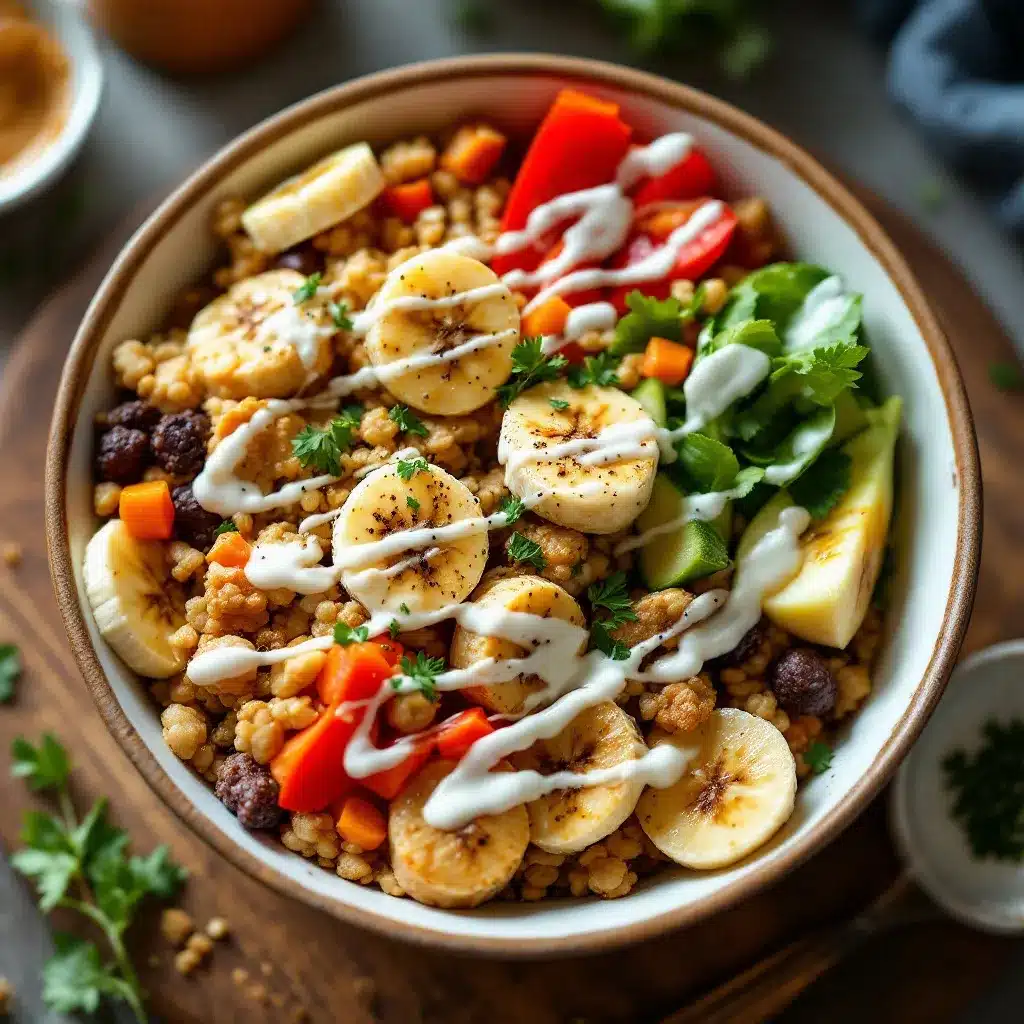
Let me walk you through this step by step. I’ve made these so many times I could do it in my sleep — and sometimes I practically have, on those early school mornings.
- Mash the banana. In your large mixing bowl, mash that ripe banana with a fork until it’s mostly smooth. A few small lumps are fine — they add texture. You want about 1/3 cup of mashed banana. If your banana is huge, use what you need and eat the rest (no judgment).
- Add the wet ingredients. Spoon in the peanut butter, drizzle the honey, and add the vanilla extract. Stir everything together with your spatula until it’s well combined. The mixture should be thick and slightly sticky. If it looks too stiff, your peanut butter might be too thick — microwave it for 10 seconds next time.
- Mix in the dry ingredients. Add the rolled oats, ground flaxseed, and a pinch of salt. Stir until everything is evenly distributed. This takes a bit of elbow grease — the mixture is thick. Don’t rush it. Make sure there are no dry patches of oats hiding at the bottom.
- Fold in the chocolate chips. If you’re using them, now’s the time. Gently fold them in so they’re evenly distributed. The warmth from the mixture might start melting them slightly — that’s okay. It creates little chocolate swirls throughout.
- Chill the mixture. Here’s the trick I learned after making these too sticky to roll: pop the bowl in the fridge for 15-20 minutes. This firms everything up and makes rolling so much easier. I know you’re in a hurry, but trust me on this one. It’s the difference between frustration and smooth sailing.
- Roll into bites. Line a baking sheet with parchment paper. Using a cookie scoop or your hands, scoop out about 1.5 tablespoons of mixture and roll it between your palms into a smooth ball. You should get about 16-18 bites, depending on size. If the mixture sticks to your hands, lightly wet your palms with water.
- Final chill (optional but recommended). Place the rolled bites on the parchment-lined sheet and refrigerate for another 20-30 minutes. This helps them hold their shape better, especially if you’re packing them for lunch. They’ll be perfectly firm but still soft when you bite into them.
Sensory Cues: The mixture should feel like a thick, slightly sticky dough — similar to cookie dough but a bit softer. When you roll it, it should hold together without cracking. If it’s too dry, add a teaspoon more honey or peanut butter. Too wet? Add a tablespoon more oats. You’ll know it’s right when the ball holds its shape and feels slightly firm to the touch.
My Personal Efficiency Tip: I make a double batch on Sunday evenings while I’m meal prepping. They keep perfectly in the fridge all week, and I just grab a few each morning. It takes the same amount of effort to make one batch as it does to make two, so go big.
Cooking Tips & Techniques
I’ve made a lot of mistakes with energy bites over the years. Like the time I used chunky peanut butter and ended up with bites that fell apart (the chunks create air pockets). Or the time I forgot to chill the mixture and ended up with sticky hands and lopsided balls. Here’s what I’ve learned so you don’t have to repeat my errors.
The Banana Sweet Spot: Don’t use a barely ripe banana. I know, it’s tempting to use up that yellow one sitting on the counter. But underripe bananas don’t mash well and don’t provide enough natural sweetness or moisture. Wait until it’s spotted — even mostly brown. That’s when the magic happens.
Rolling Without the Stickiness: If your hands are getting covered in mixture, try this trick: keep a small bowl of water nearby and lightly dampen your palms between each ball. Not soaking wet — just a light mist. It creates a barrier that prevents sticking without adding extra moisture to the bites.
Temperature Matters: These energy bites are best when they’ve had time to chill. The flavors meld together overnight, and the texture becomes perfectly uniform. If you eat one right after making it, it’ll taste good. If you eat one the next day, it’ll taste amazing. There’s a noticeable difference.
My Biggest Failure: I once tried to make these with almond flour instead of oats. Don’t do it. The texture was weird — kind of gritty and dry. Oats are non-negotiable here. They provide the perfect chew and help bind everything together. Stick with the recipe the first time, then experiment once you know what it’s supposed to feel like.
Multitasking Strategy: While the mixture is chilling in the fridge, use that time to clean up your dishes or pack the rest of the lunches. I’ve streamlined this into a 15-minute total process: 5 minutes of mixing, 10 minutes of chilling (while I do other things), 5 minutes of rolling. It’s efficient and stress-free.
Variations & Adaptations
One of the best things about this recipe is how flexible it is. I’ve tried dozens of variations, and honestly, most of them worked beautifully. Here are some of my favorites:
- Chocolate Peanut Butter Dream: Add 2 tablespoons of cocoa powder to the dry ingredients. You’ll get a rich, chocolatey version that tastes like dessert. My kids go crazy for this one.
- Tropical Twist: Swap the chocolate chips for dried pineapple or mango pieces, and add 1/4 cup shredded coconut. It’s like a vacation in a bite. Perfect for summer lunchboxes.
- Crunchy Seed Power: Replace the chocolate chips with 2 tablespoons each of chia seeds and hemp hearts. You get extra protein and omega-3s, plus a satisfying crunch. This is my go-to post-workout snack.
- Vegan & Nut-Free: Use maple syrup instead of honey, and sunflower seed butter instead of peanut butter. Add an extra tablespoon of oats if the mixture seems too wet. Sunflower butter can be runnier than peanut butter.
- Fall Spice Version: Add 1 teaspoon of pumpkin pie spice and 2 tablespoons of finely chopped pecans. It’s like eating a pumpkin roll in bite form. I make these every October.
My personal favorite variation? The chunky monkey granola bar inspired version — add 1/4 cup chopped walnuts and an extra tablespoon of chocolate chips. The crunch from the walnuts against the soft banana-oat base is incredible. I’ve also been known to add a tablespoon of dark chocolate almond butter protein powder for an extra protein boost on busy mornings.
Serving & Storage Suggestions
These energy bites are incredibly versatile when it comes to serving. Here’s how I handle them in my house:
Serving Temperature: They’re best straight from the fridge — cold, firm, and perfectly chewy. But they’re also great at room temperature, which makes them ideal for lunchboxes. If you’re serving them as a snack, pull them out 5 minutes before eating for the softest texture.
Lunchbox Packing: I pop 3-4 bites into a small container or reusable snack bag. They don’t need an ice pack, which is a huge plus. They won’t melt, get squished, or make a mess. Just grab and go.
Storage Instructions: Keep them in an airtight container in the refrigerator for up to 10 days. They’ll stay fresh and firm. For longer storage, freeze them in a single layer on a baking sheet, then transfer to a freezer bag. They’ll keep for up to 3 months. Thaw overnight in the fridge or for 15 minutes at room temperature.
Flavor Development: Here’s something interesting — these bites actually get better after a day or two in the fridge. The flavors meld together, the oats soften slightly, and the texture becomes more uniform. So don’t worry if you make them a few days ahead. They’re actually better that way.
Pairing Suggestions: Serve these alongside some creamy strawberry cheesecake overnight oats for a complete breakfast that feels indulgent but is actually good for you. Or pack them with a healthy high-protein chicken rice bowl for a balanced lunch that keeps everyone full until dinner.
Nutritional Information & Benefits
I’m not a nutritionist, but I’ve done my research on these ingredients. Here’s an estimated breakdown per bite (based on 16 servings):
- Calories: Approximately 120-140 per bite
- Protein: 4-5 grams
- Fiber: 3-4 grams
- Healthy Fats: 6-7 grams (from peanut butter and flaxseed)
- Natural Sugars: 8-10 grams (from banana and honey)
Health Benefits: The combination of oats, peanut butter, and flaxseed provides sustained energy without the crash you get from processed snacks. Bananas are packed with potassium, which supports muscle function and heart health. Flaxseed adds omega-3 fatty acids and lignans, which have anti-inflammatory properties. And peanut butter? It’s a great source of plant-based protein and healthy monounsaturated fats.
Dietary Considerations: This recipe is naturally vegetarian and can easily be made vegan (use maple syrup). For gluten-free, use certified gluten-free oats. For nut-free, substitute sunflower seed butter. The recipe is also free of refined sugar if you skip the chocolate chips.
Potential Allergens: Contains peanuts and oats. May contain traces of other nuts depending on your peanut butter brand. Always check labels if serving to someone with allergies.
My Personal Take: I love that I can feel good about giving these to my kids. They’re getting real food — whole grains, healthy fats, natural sweetness. No artificial colors, no preservatives, no high-fructose corn syrup. And they actually enjoy eating them. That’s a win-win in my book.
Conclusion
These easy peanut butter banana energy bites have honestly changed our school morning routine. No more scrambling for a healthy snack, no more throwing away half-eaten granola bars, no more guilt about what’s going into those lunchboxes. They’re simple, they’re delicious, and they’re made with ingredients you can feel good about.
I’d love for you to try this recipe and make it your own. Maybe you’ll add dried cranberries instead of chocolate chips, or swap in almond butter for a different flavor profile. The beauty of this recipe is that it’s a starting point — a canvas for your own creativity. Don’t be afraid to experiment.
When you make them, drop a comment below and let me know how they turned out. Did your kids love them? Did you discover a new favorite variation? I genuinely want to hear about it. And if you share a photo on Pinterest, tag me — I love seeing these little bites out in the wild.
Here’s to easier mornings, happier lunchboxes, and snacks that actually make us feel good. Happy rolling, friends!
Frequently Asked Questions
Can I use quick oats instead of rolled oats?
You can, but the texture will be different. Quick oats are more processed and will result in a softer, almost mushy bite. Rolled oats give you that satisfying chew. If quick oats are all you have, reduce the chilling time slightly and expect a denser texture.
How long do these energy bites last at room temperature?
They’re fine at room temperature for about 4-6 hours, which is perfect for a school lunchbox. But for longer storage, keep them in the fridge. They’ll last up to 10 days refrigerated and up to 3 months frozen.
Can I make these without a banana?
Yes, but you’ll need to adjust the recipe. Replace the banana with 1/3 cup of unsweetened applesauce or 1/4 cup of pumpkin puree. You may need to add an extra tablespoon of oats to compensate for the extra moisture. The flavor will be different, but still delicious.
Why did my energy bites turn out too dry?
This usually happens if your banana wasn’t ripe enough or if you added too many oats. Next time, make sure your banana is very ripe (spotted brown) and measure your oats carefully. If the mixture seems dry before rolling, add a teaspoon more honey or peanut butter.
Can I add protein powder to this recipe?
Absolutely! Add 1-2 scoops of your favorite protein powder. You’ll likely need to add an extra tablespoon or two of liquid (milk, water, or extra peanut butter) to compensate for the dry powder. Start with one scoop and adjust from there. These high-protein dark chocolate almond butter protein balls are a great example of how to incorporate protein powder successfully.
Pin This Recipe!
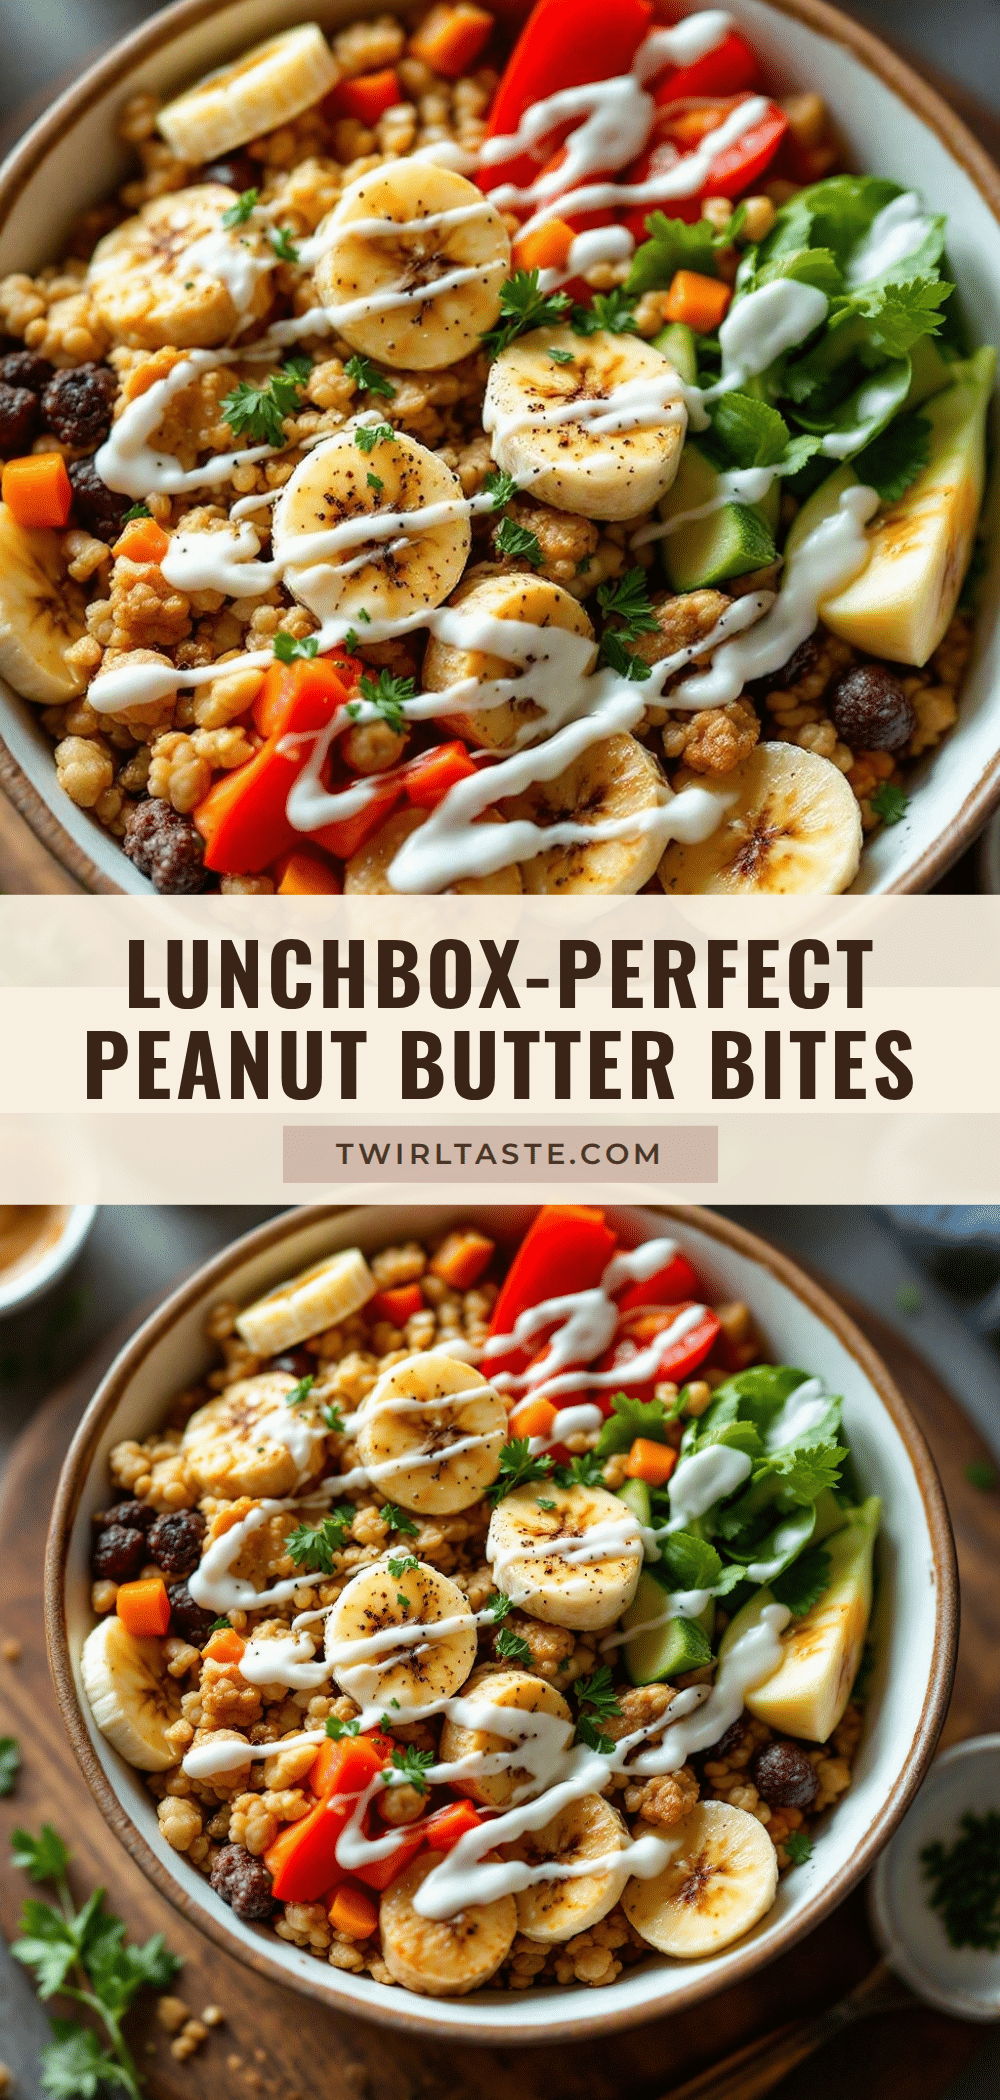
Easy Peanut Butter Banana Energy Bites: Perfect School Lunch Idea
These no-bake peanut butter banana energy bites are soft, chewy, and just sweet enough to feel like a treat, but packed with wholesome ingredients to keep little (and big) bellies full until lunch. Perfect for school lunchboxes, busy mornings, or a quick snack.
- Prep Time: 15 minutes
- Cook Time: 0 minutes
- Total Time: 45 minutes (includes chilling time)
- Yield: 16-18 bites 1x
- Category: Snack
- Cuisine: American
Ingredients
- 1 cup old-fashioned rolled oats
- 1/2 cup creamy peanut butter (natural, no-stir works best)
- 1 medium ripe banana, mashed (about 1/3 cup)
- 2 tablespoons honey (or maple syrup for vegan)
- 1/4 cup mini chocolate chips (optional)
- 1/4 cup ground flaxseed
- 1/2 teaspoon vanilla extract (pure)
- Pinch of salt (if peanut butter is unsalted)
Instructions
- Mash the banana in a large mixing bowl with a fork until mostly smooth (a few small lumps are fine).
- Add the peanut butter, honey, and vanilla extract. Stir until well combined and the mixture is thick and slightly sticky.
- Add the rolled oats, ground flaxseed, and a pinch of salt. Stir until evenly distributed, making sure there are no dry patches.
- Fold in the chocolate chips (if using) until evenly distributed.
- Chill the mixture in the refrigerator for 15-20 minutes to firm up for easier rolling.
- Line a baking sheet with parchment paper. Using a cookie scoop or your hands, scoop about 1.5 tablespoons of mixture and roll into smooth balls. You should get about 16-18 bites.
- Place the rolled bites on the parchment-lined sheet and refrigerate for another 20-30 minutes to help them hold their shape. Serve cold or at room temperature.
Notes
For best texture, use a very ripe banana (spotted brown). If mixture is too sticky, chill longer or lightly wet palms with water when rolling. These bites keep in the fridge for up to 10 days or freeze for up to 3 months. They actually taste better after a day or two as flavors meld.
Nutrition
- Serving Size: 1 bite
- Calories: 130
- Sugar: 9
- Sodium: 50
- Fat: 7
- Saturated Fat: 1.5
- Carbohydrates: 15
- Fiber: 3
- Protein: 4
Keywords: energy bites, peanut butter banana, no-bake, school lunch, healthy snack, kid-friendly, gluten-free option, vegan option