Love this? Save it for later!
Share the inspiration with your friends
“Wait, you didn’t even cook anything?” My sister-in-law stood in my kitchen, staring into the jar I had just pulled from the fridge. She had texted me the night before, complaining about her chaotic mornings—skipping breakfast, grabbing a granola bar in the car, the usual. I told her to stop by on her way to work and I’d have breakfast ready. She looked suspicious, honestly, like I was about to serve her some kind of weird science experiment. But then she took a bite. And then another. And then she asked for the recipe before she even finished chewing.
That right there is the magic of these Peanut Butter Banana Overnight Oats. They look unassuming, sure. A jar of what looks like mushy oats isn’t exactly winning any beauty contests. But one spoonful and you get it. It’s creamy, it’s naturally sweet from the banana, it has that rich, nutty peanut butter flavor running through every bite, and it tastes like you actually put in effort. Which, let’s be real, you didn’t. You just stirred stuff together and went to bed.
I’ve been making overnight oats for years, trying every ratio and combination under the sun. Some turn out gluey. Some are too runny. Some are just plain boring. This version? It’s the one I keep coming back to. It’s the one I actually look forward to eating. And it takes five minutes of active time, max. That’s not a gimmick—that’s just how easy it is. No cooking, no fancy equipment, no stress. Just a solid, satisfying breakfast that makes your mornings feel a little less frantic and a little more like you have your life together.
Why You’ll Love This Recipe
This isn’t just another overnight oats recipe. I’ve tested dozens of variations over the years, and this combination hits that sweet spot between indulgent and wholesome. It’s the breakfast I actually crave, not one I force myself to eat because it’s “healthy.”
- Five Minutes of Work : I’m not exaggerating. If it takes you longer than five minutes to throw this together, you’re probably overthinking it. Just stir, seal, and fridge. That’s the whole routine.
- Pantry-Friendly Ingredients : You probably have everything already. Oats, peanut butter, a banana, milk, maybe a splash of maple syrup. No trips to a specialty store required.
- Perfect for Busy Mornings : Grab-and-go breakfast that actually fills you up. No waiting, no cooking, no dishes at 7 AM. Just open the jar and eat.
- Kid-Approved and Adult-Approved : My niece calls these “banana pudding oats” and asks for them every time she sleeps over. Meanwhile, I pack them for work lunches and get asked what smells so good.
- Customizable to Your Taste : More peanut butter? Go for it. Want it sweeter? Add honey. Need more protein? Toss in some chia seeds. It’s a forgiving recipe that adapts to what you have and what you like.
What really sets this recipe apart is the texture. So many overnight oats turn into a sad, sludgy mess. The trick here is mashing the banana into the liquid ingredients first, which creates a silky, almost pudding-like base. It’s not watery, it’s not gluey—it’s just right. The kind of breakfast that makes you close your eyes for a second after that first bite.
What Ingredients You Will Need
This recipe uses simple, everyday ingredients to create something genuinely delicious. No weird health food store finds, no obscure superfood powders. Just real food that works together.
- Rolled Oats : Use old-fashioned rolled oats, not instant or steel-cut. Rolled oats soak up the liquid perfectly overnight, turning creamy without getting mushy. Instant oats turn to paste, and steel-cut oats stay too chewy. I prefer Quaker Old-Fashioned Oats for consistent results, but any brand works.
- Ripe Banana : The riper the better. A banana with brown spots is ideal—it’s sweeter and mashes easily into the liquid. A green banana won’t give you that natural sweetness or creamy texture. Mash it well with a fork before adding anything else.
- Creamy Peanut Butter : Natural peanut butter works great, but stir it well first to incorporate the oil. Skippy or Jif also work if that’s what you have. Avoid chunky peanut butter here—it doesn’t distribute as evenly through the oats. The peanut butter adds protein, healthy fats, and that unmistakable flavor.
- Milk of Choice : Any milk works. I use 2% dairy milk for creaminess, but unsweetened almond milk, oat milk, or coconut milk are all great options. If using a thinner milk like unsweetened almond, the oats will be slightly less creamy—still delicious, just different.
- Greek Yogurt : This is the secret ingredient for extra creaminess and a protein boost. Plain Greek yogurt works best—vanilla adds extra sweetness if you prefer. Use dairy-free yogurt if needed. The yogurt also gives the oats a slight tang that balances the sweetness.
- Maple Syrup or Honey : Optional, depending on how sweet your banana is. I usually add about a teaspoon of maple syrup, but if your banana is super ripe, you might not need any. Honey works too, or a little brown sugar if that’s what you have.
- Chia Seeds : Optional but highly recommended. Chia seeds thicken the oats and add fiber, omega-3s, and a nice little texture. They also help keep you full longer. A tablespoon is plenty.
- Pinch of Salt : Don’t skip this. A tiny pinch of salt makes the peanut butter flavor pop and balances the sweetness. It’s a small thing that makes a noticeable difference.
- Optional Toppings : Sliced banana, a drizzle of extra peanut butter, a sprinkle of granola, chocolate chips, chopped nuts, or a dusting of cinnamon. Toppings add texture and make it feel more like a treat.
Equipment Needed
You don’t need much for this recipe, which is part of the appeal. Here’s what you’ll need:
- Mason Jar or Airtight Container : A 16-ounce mason jar works perfectly. Wide-mouth jars are easier to eat from and easier to clean. Any airtight container works—just make sure it seals well to keep the oats fresh.
- Fork or Whisk : For mashing the banana and mixing everything together. A fork works fine, but a small whisk makes the banana incorporate more smoothly.
- Measuring Spoons and Cups : For accurate measurements. After you’ve made this a few times, you’ll probably eyeball it, but measuring helps the first time.
- Spatula : Helpful for scraping every last bit of peanut butter into the jar. Waste not, want not.
That’s it. No blender, no stove, no special gadgets. If you have a jar and a spoon, you’re set.
Preparation Method
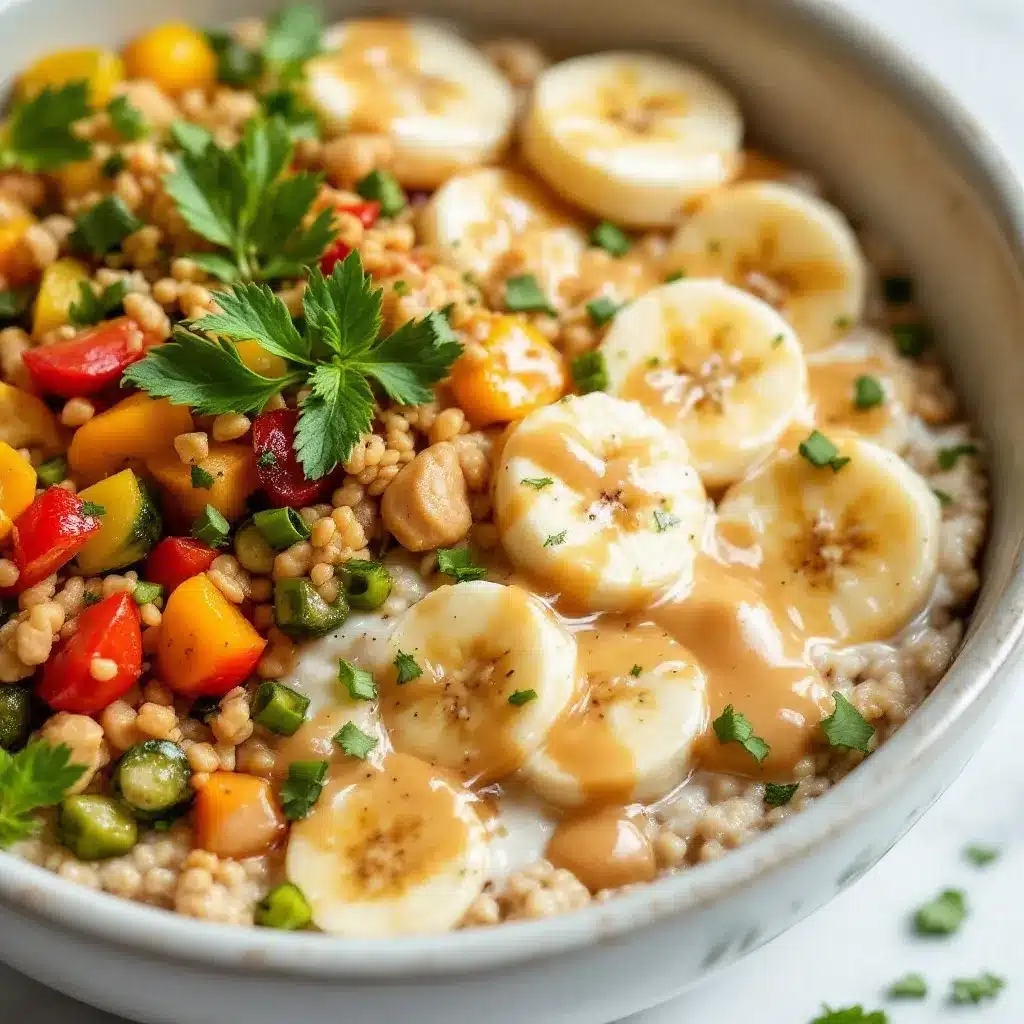
This is where the magic happens. Follow these steps, and you’ll have breakfast ready for the next three mornings.
- Mash the Banana : Peel your ripe banana and place it in your mason jar or a small bowl. Use a fork to mash it until it’s mostly smooth with a few tiny lumps left. You want it incorporated into the liquid, not floating in chunks. This takes about 30 seconds.
- Add the Wet Ingredients : To the mashed banana, add 1/2 cup of milk (120 ml), 1/4 cup of plain Greek yogurt (60 grams), and 2 tablespoons of creamy peanut butter (32 grams). If using maple syrup or honey, add 1 teaspoon now. Whisk or stir everything together until the peanut butter is fully incorporated and the mixture looks smooth. The banana should be completely mixed in.
- Add the Dry Ingredients : Add 1/2 cup of rolled oats (45 grams), 1 tablespoon of chia seeds (optional, 15 grams), and a tiny pinch of salt. Stir everything together until the oats are fully coated in the liquid mixture. Make sure there are no dry patches of oats at the bottom of the jar.
- Seal and Refrigerate : Put the lid on your jar or container and seal it tightly. Place it in the refrigerator for at least 4 hours, but overnight is best (8-12 hours). The oats need time to soften and absorb the liquid. Don’t rush this step.
- Enjoy the Next Morning : In the morning, take the jar out of the fridge. Give it a good stir—the chia seeds may have settled at the bottom, and the oats will have absorbed most of the liquid. If it’s too thick for your liking, add a splash of milk and stir. Top with sliced banana, a drizzle of peanut butter, a sprinkle of granola, or whatever you like. Eat cold or microwave for 30-45 seconds if you prefer warm oats.
Prep Note : If you’re making multiple jars for the week, you can double or triple the recipe easily. Just multiply the ingredients by the number of servings you want. They’ll keep in the fridge for up to 5 days, though the texture is best within 3 days.
Sensory Cue : After stirring everything together, the mixture should look like a slightly thick, creamy liquid. The oats will be floating around, but everything should be well combined. In the morning, it should be thick and spoonable, like a pudding. If it looks watery, you may have used too much milk or not enough chia seeds.
Troubleshooting : If your oats are too thick in the morning, stir in a tablespoon of milk at a time until it reaches your desired consistency. If they’re too runny, you may have used too much milk or not enough oats. Next time, reduce the milk by a couple of tablespoons or add an extra tablespoon of chia seeds.
Cooking Tips & Techniques
After making overnight oats more times than I can count, I’ve learned a few things the hard way. Here are my best tips for perfect results every time.
Don’t Skip the Mash : I know it’s tempting to just slice the banana and throw it in, but mashing it first makes a huge difference. Mashed banana integrates into the liquid, creating a creamy, naturally sweet base. Sliced banana just sits there and doesn’t flavor the oats evenly.
Stir Halfway Through : If you remember, give the jar a quick stir after about an hour in the fridge. This helps distribute the chia seeds and oats evenly so they don’t settle at the bottom. It’s not essential, but it does improve the texture.
Use a Wide-Mouth Jar : Trust me on this. Wide-mouth jars are easier to eat from, easier to stir in, and easier to clean. Narrow jars are a pain to get a spoon into, and you’ll end up with oats stuck to the sides.
Adjust Liquid to Your Liking : Some people like their overnight oats thick and spoonable. Others prefer them thinner and more drinkable. The ratio in this recipe is my sweet spot, but feel free to adjust the milk by a tablespoon or two to get the consistency you want. More milk = thinner oats, less milk = thicker oats.
Don’t Overdo the Chia Seeds : Chia seeds are great, but they absorb a lot of liquid and can turn your oats into a gel if you use too much. One tablespoon per serving is plenty. If you’re new to chia seeds, start with half a tablespoon and see how you like it.
Let It Sit Overnight : Four hours is the minimum, but overnight (8-12 hours) is ideal. The oats need time to soften and absorb the liquid properly. If you try to rush it, you’ll end up with crunchy oats and a watery mixture. Patience pays off here.
I once made the mistake of using quick oats instead of rolled oats because I thought it would save time. It did not. The texture was gluey and unappealing, and I ended up throwing the whole batch away. Learn from my mistake—stick with rolled oats.
Variations & Adaptations
This recipe is a great base to build on. Here are some of my favorite variations, all tested and approved.
Chocolate Peanut Butter Version : Add 1 tablespoon of unsweetened cocoa powder to the dry ingredients before mixing. The chocolate and peanut butter combination is unbeatable. Top with a few dark chocolate chips for extra indulgence.
High-Protein Version : Add a scoop of your favorite vanilla or chocolate protein powder. You may need to increase the milk by a tablespoon or two to keep the consistency right. This version keeps me full until lunch, no problem.
Vegan and Dairy-Free : Use unsweetened almond milk or oat milk and a dairy-free yogurt alternative. Maple syrup works as the sweetener. Everything else is already plant-based. It’s just as creamy and satisfying.
No-Banana Version : If you don’t have a banana or just don’t like them, substitute with 1/4 cup of unsweetened applesauce. The texture will be slightly different—less creamy, more apple-y—but still delicious. You might want to add a little extra sweetener since applesauce isn’t as sweet as a ripe banana.
Seasonal Twist : In the fall, add 1/4 teaspoon of pumpkin pie spice and a tablespoon of pumpkin puree. It gives the oats a cozy, spiced flavor that pairs beautifully with the peanut butter. If you love pumpkin recipes, you might also enjoy my easy baked pumpkin donuts for a fun breakfast treat.
Nut-Free Option : Substitute the peanut butter with sunflower seed butter or tahini. Sunflower seed butter has a similar texture and works well with banana. Just note that it will turn a slightly greenish color when combined with the banana—that’s normal and safe to eat.
Serving & Storage Suggestions
These oats are best served cold, straight from the fridge, but they’re also delicious warmed up. If you prefer warm oats, microwave the jar for 30-45 seconds, stir, and check the temperature. Add another 15 seconds if needed. Don’t overheat, or the texture can become gummy.
For presentation, I like to top my oats with a few things just before eating. Sliced banana, a drizzle of warm peanut butter, a sprinkle of granola for crunch, and maybe a few mini chocolate chips if I’m feeling fancy. It takes an extra 30 seconds but makes it feel like a real breakfast, not just a jar of mush.
These oats pair well with a cup of coffee or a homemade pumpkin spice latte for a cozy morning. They also work great as a post-workout snack or a light lunch when you’re short on time.
Storage Instructions : Keep the jar sealed in the refrigerator for up to 5 days. The texture is best within the first 3 days, but they’re still good after that. Do not leave them at room temperature for more than 2 hours. These oats are not freezer-friendly—the texture becomes watery and unappetizing after thawing.
Reheating : If you prefer warm oats, microwave in 15-second intervals, stirring between each, until heated through. You can also transfer to a small saucepan and warm over low heat, stirring frequently. Add a splash of milk if it thickens too much during reheating.
Flavor Development : The flavors actually get better after a day or two in the fridge. The peanut butter and banana meld together, and the oats absorb all the liquid, creating a more cohesive texture. I often make a double batch on Sunday and enjoy them throughout the week.
Nutritional Information & Benefits
Here’s an approximate nutritional breakdown for one serving (without toppings):
- Calories : 380-420
- Protein : 16-18 grams
- Carbohydrates : 48-52 grams
- Fiber : 8-10 grams
- Fat : 16-18 grams
- Sugar : 18-22 grams (mostly natural from banana and milk)
These oats are packed with fiber from the oats and chia seeds, which helps keep you full and supports healthy digestion. The peanut butter and Greek yogurt provide protein and healthy fats for sustained energy. Bananas are a great source of potassium and vitamin B6. This is a balanced breakfast that fuels your morning without a sugar crash.
This recipe is naturally vegetarian and can be made vegan and dairy-free with simple substitutions. It contains peanuts and dairy (unless substituted), so keep that in mind for allergies. If you’re gluten-sensitive, use certified gluten-free rolled oats to ensure safety.
I love that this breakfast feels indulgent but is actually pretty wholesome. It’s the kind of meal that makes you feel good about starting your day, without any guilt or deprivation.
Conclusion
These Peanut Butter Banana Overnight Oats are proof that a great breakfast doesn’t need to be complicated. Five minutes of effort, a few basic ingredients, and you wake up to something genuinely delicious. No cooking, no stress, no excuses.
I love this recipe because it’s flexible. Sometimes I add chocolate chips. Sometimes I top it with granola and a drizzle of honey. Sometimes I just eat it plain with a spoon, straight from the jar. It always hits the spot. It’s the breakfast I actually look forward to, not one I force myself to eat because it’s “healthy.”
Try it this week. Make a jar tonight and see how much easier your morning feels. And if you come up with a fun variation—maybe a swirl of raspberry jam or a sprinkle of toasted coconut—I’d love to hear about it. Drop a comment below or tag me in your photos. Happy eating, friends.
Frequently Asked Questions
Can I use quick oats instead of rolled oats?
I don’t recommend it. Quick oats absorb liquid faster and turn mushy and gluey overnight. Rolled oats hold their texture much better and give you that creamy, satisfying consistency. If you’re in a pinch, you can use quick oats, but reduce the soaking time to 2-4 hours and expect a softer texture.
How long do these overnight oats last in the fridge?
They’ll keep for up to 5 days in an airtight container. The texture is best within the first 3 days, but they’re still perfectly safe and tasty after that. Just give them a good stir before eating, as the chia seeds and oats may settle at the bottom.
Can I make these without yogurt?
Absolutely. Just replace the yogurt with an equal amount of milk. The oats won’t be as creamy or high in protein, but they’ll still be delicious. You might want to add an extra teaspoon of maple syrup or honey to balance the flavor since yogurt adds a slight tang.
Can I eat these oats warm?
Yes! I actually prefer them cold, but many people love them warm. Just microwave the jar for 30-45 seconds, stir, and check the temperature. Add another 15 seconds if needed. You can also transfer to a small saucepan and warm over low heat. Add a splash of milk if they thicken too much.
Are these oats gluten-free?
Oats are naturally gluten-free, but they’re often processed in facilities that also handle wheat, so cross-contamination is possible. If you need gluten-free oats, look for a brand that’s certified gluten-free, like Bob’s Red Mill or GF Harvest. The rest of the ingredients are naturally gluten-free.
Pin This Recipe!
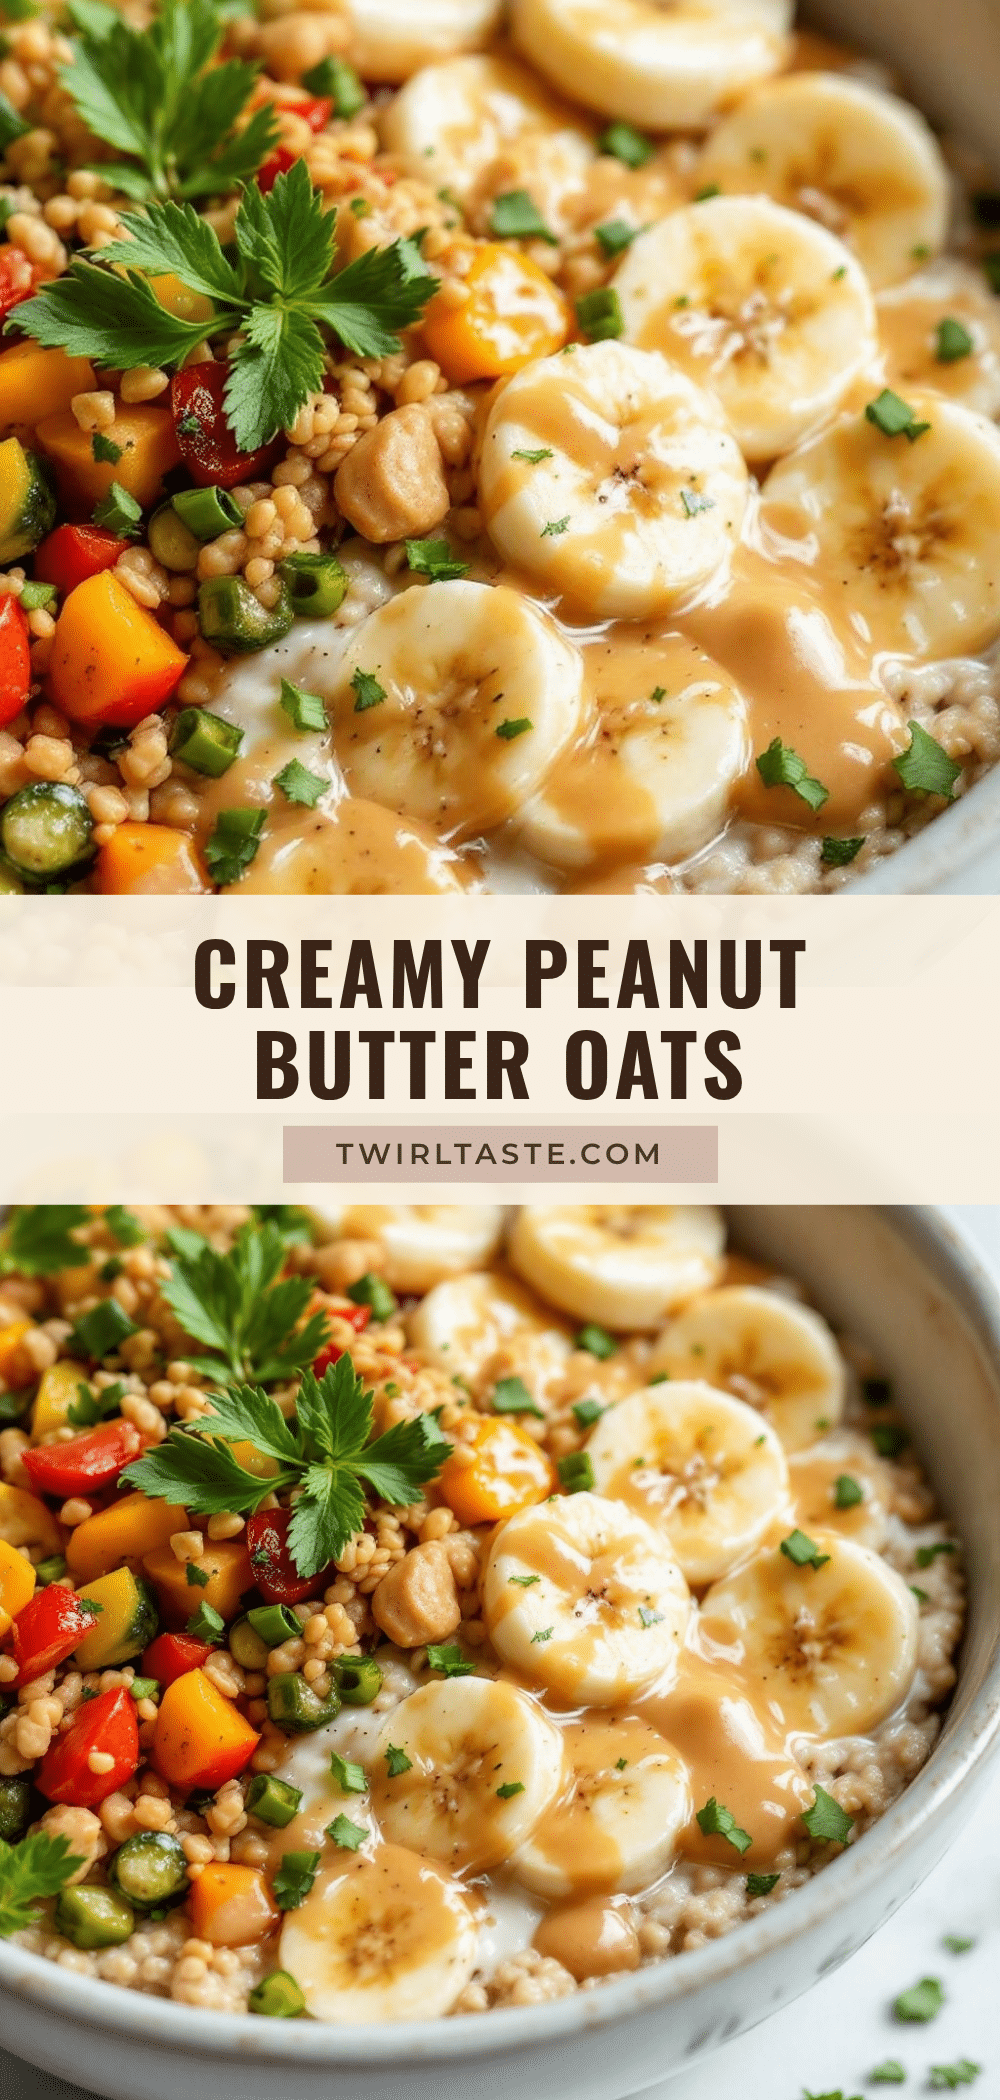
Peanut Butter Banana Overnight Oats: Best 5-Minute Recipe
These Peanut Butter Banana Overnight Oats are creamy, naturally sweet, and take just five minutes of prep. A perfect grab-and-go breakfast for busy mornings.
- Prep Time: 5 minutes
- Cook Time: 0 minutes
- Total Time: 5 minutes (plus overnight refrigeration)
- Yield: 1 serving 1x
- Category: Breakfast
- Cuisine: American
Ingredients
- 1/2 cup rolled oats (45 grams)
- 1 ripe banana
- 2 tablespoons creamy peanut butter (32 grams)
- 1/2 cup milk of choice (120 ml)
- 1/4 cup plain Greek yogurt (60 grams)
- 1 teaspoon maple syrup or honey (optional)
- 1 tablespoon chia seeds (optional, 15 grams)
- Pinch of salt
- Optional toppings: sliced banana, extra peanut butter, granola, chocolate chips, chopped nuts, cinnamon
Instructions
- Mash the ripe banana in a mason jar or small bowl until mostly smooth.
- Add milk, Greek yogurt, peanut butter, and maple syrup or honey (if using). Whisk or stir until smooth and well combined.
- Add rolled oats, chia seeds (if using), and a pinch of salt. Stir until all oats are coated.
- Seal the jar tightly and refrigerate for at least 4 hours, preferably overnight (8-12 hours).
- In the morning, stir the oats. If too thick, add a splash of milk. Top with desired toppings and enjoy cold or warm (microwave 30-45 seconds).
Notes
For best texture, use rolled oats (not instant or steel-cut). Mash banana thoroughly for a creamy base. Oats keep in fridge up to 5 days, best within 3. If too thick, add milk; if too runny, reduce milk or add more chia seeds.
Nutrition
- Serving Size: 1 jar (about 1.5 cup
- Calories: 380420
- Sugar: 1822
- Sodium: 150200
- Fat: 1618
- Saturated Fat: 34
- Carbohydrates: 4852
- Fiber: 810
- Protein: 1618
Keywords: overnight oats, peanut butter banana, easy breakfast, no-cook, meal prep, healthy breakfast


